Yeelight Bulb Color 1S
With the newly launched Razer Chroma Connector, you can get an interactive, smart gaming light setup on the cheap. The Yeelight bulbs are simple to install and require no hub–just a standard Wi-Fi router. Compatible with all the major home assistants, Yeelight is a budget-friendly way to get in on the smart lighting revolution.
- Brand: Xioami Yeelight
- Integrations: Alexa, HomeKit, Google Home, SmartThings, Razer Chroma
- Protocol: 2.4Ghz Wi-Fi
- Hub Required: No
- Music Reactive: Yes, through the app
- Multicolor Capable: No, single color bulb
- No hub required
- Around half the price of leading competitor
- Simple music-reactive party mode using the app
- Picky about dual-band networks; requires 2.4GHz only
- Chroma connectivity can be buggy
You either love a bit of RGB LEDs on your gaming rig, or you can't stand the distraction. Since you're reading this, I'm going to assume you're in the former category.
Razer has taken gaming lights to the extreme with its range of Chroma-enabled gaming accessories and extensive Synapse software. But these smart, reactive lighting systems generally don't come cheap. And if you want to extend the lighting beyond your keyboard, smart bulbs that connect to the Razer Chroma system tend to cost around $50 each! If only there were a cheaper way to deck out your gaming room with smart, reactive RGB lighting?
Well, now there is. Yeelight has been a firm favorite of ours in the smart lighting arena for some time, and now you can use your Yeelight Color 1S Wi-Fi bulbs and LED Lightstrip 1S with Razer Chroma too, thanks to the Yeelight Razer Connector app.
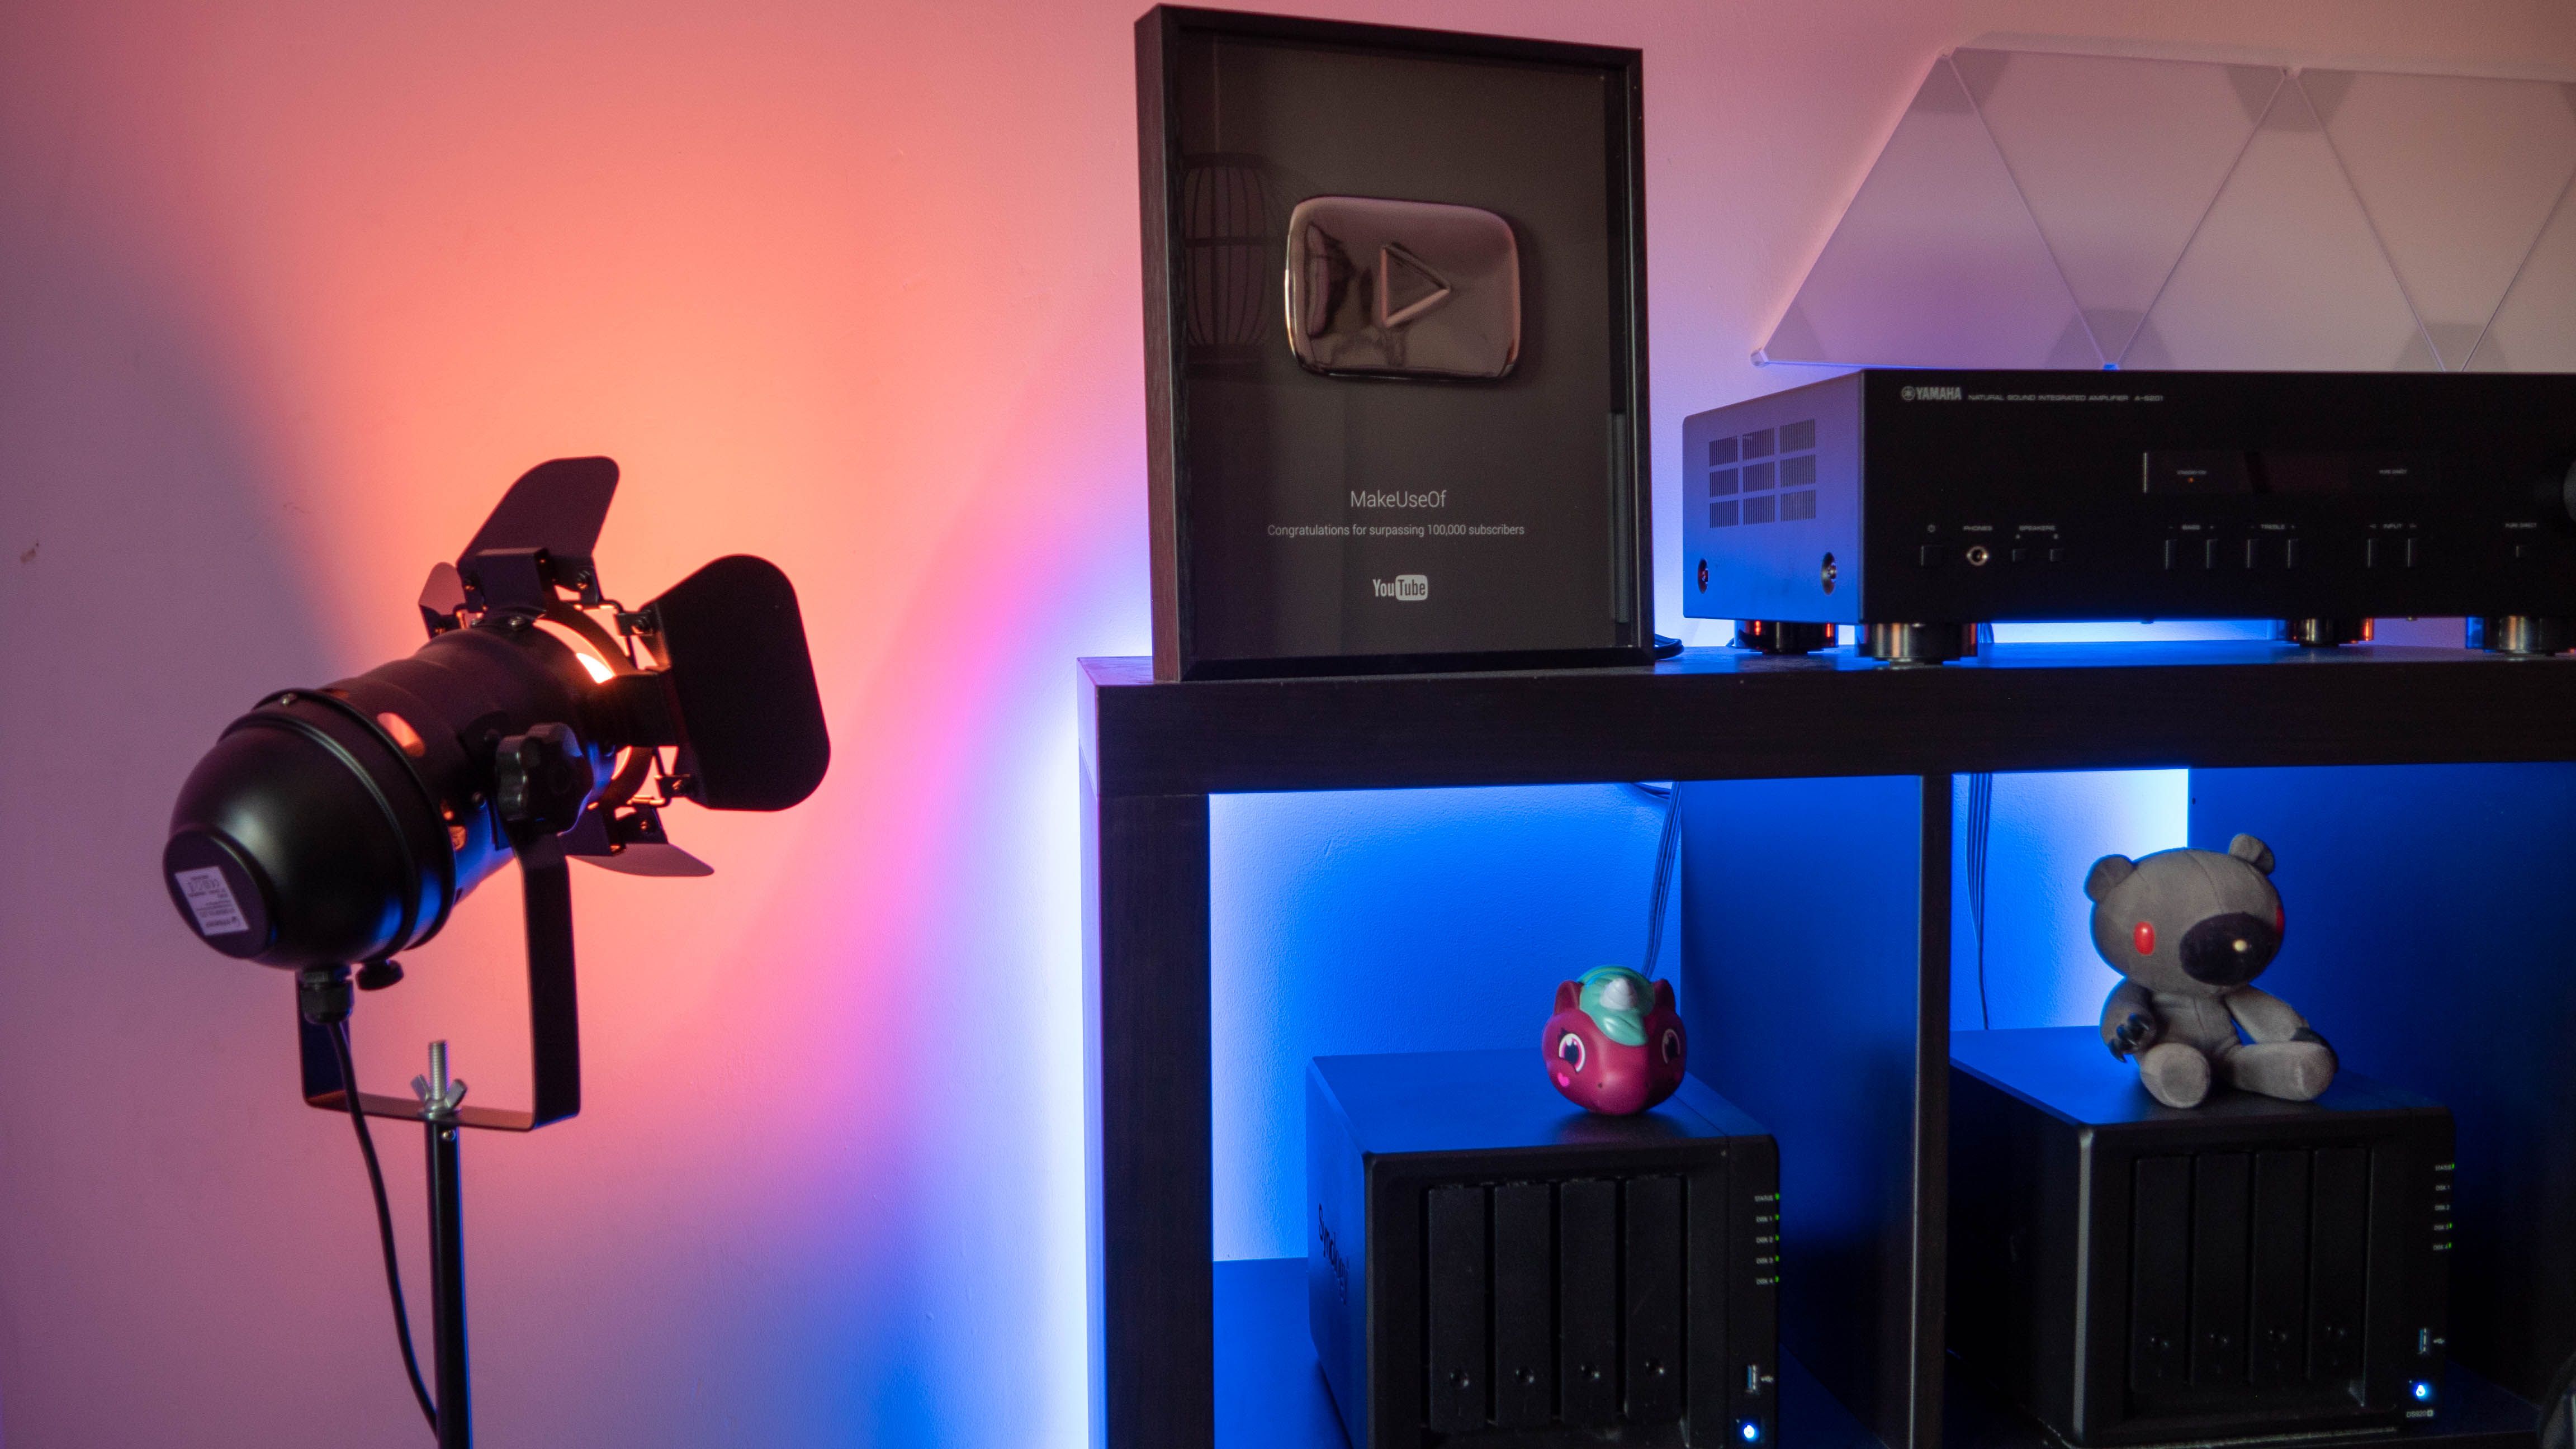
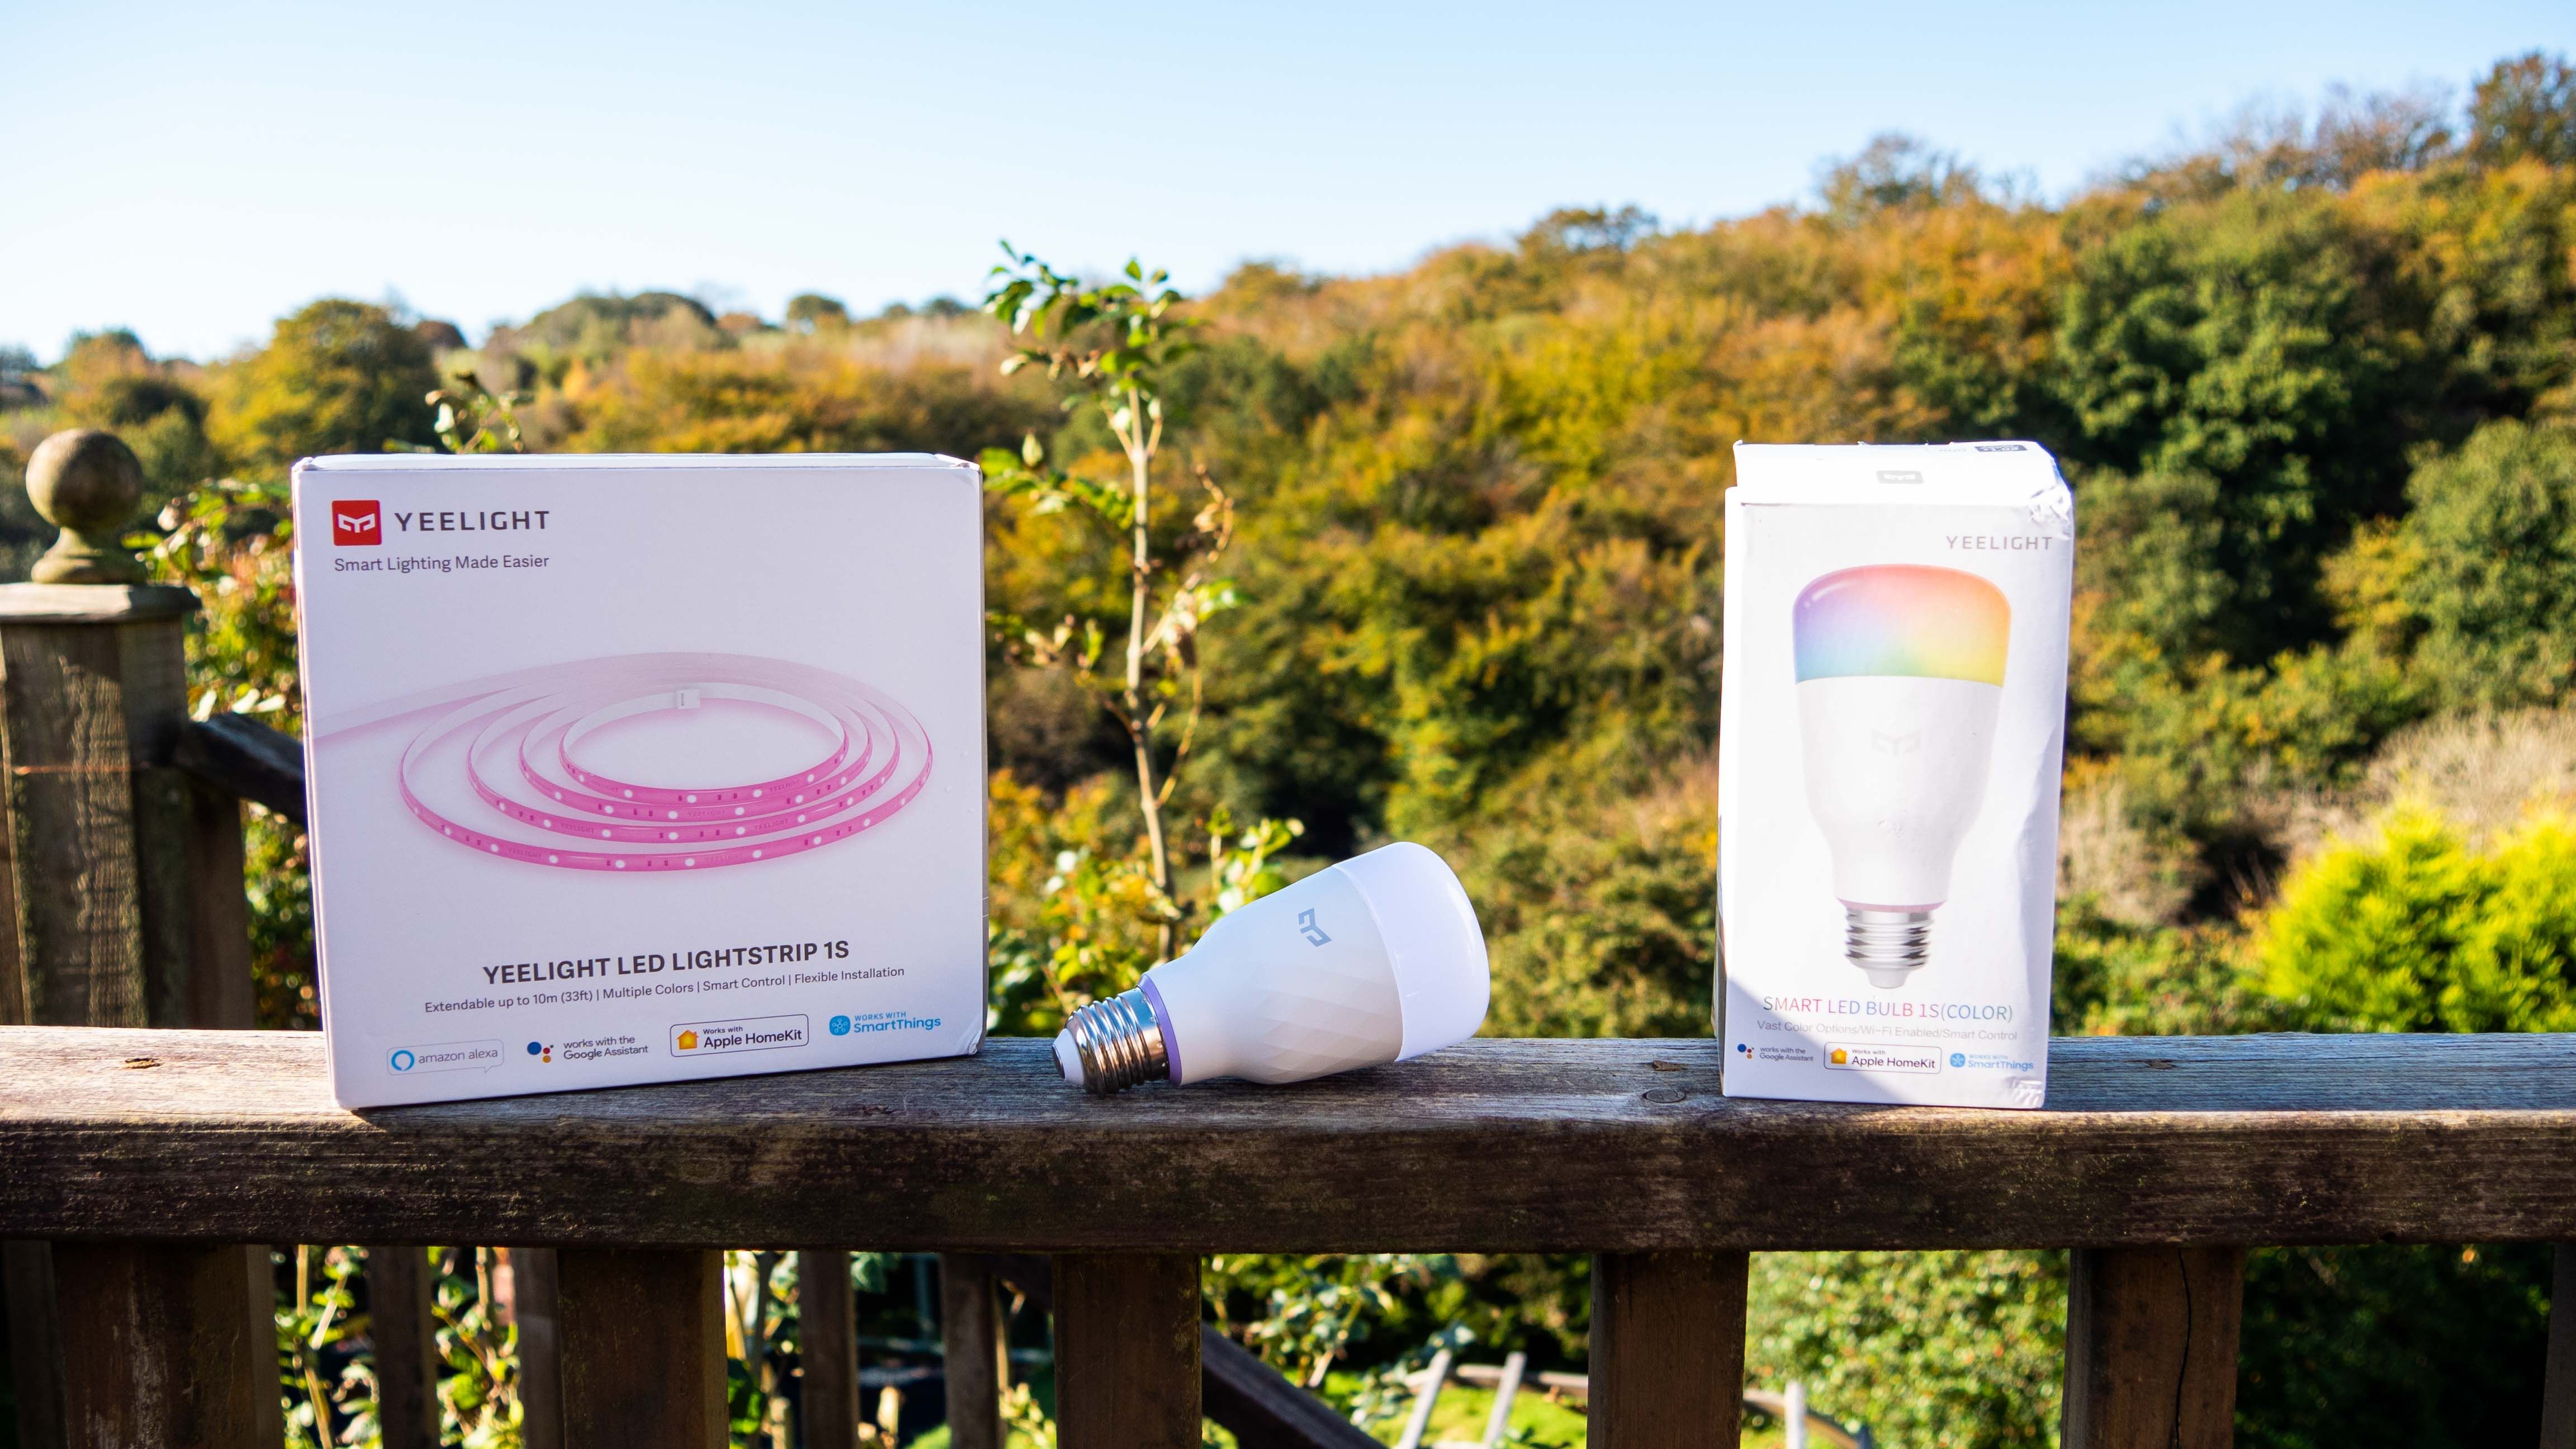
To celebrate the launch, Yeelight sent us a complete "gamer kit", consisting of two Color 1S bulbs, and an LED Lightstrip 1S. Join us as we take a closer look at them, and play some games. And at the end of this review, we've got another complete set of two bulbs and a light strip to give away to one lucky reader!
Yeelight Color 1S
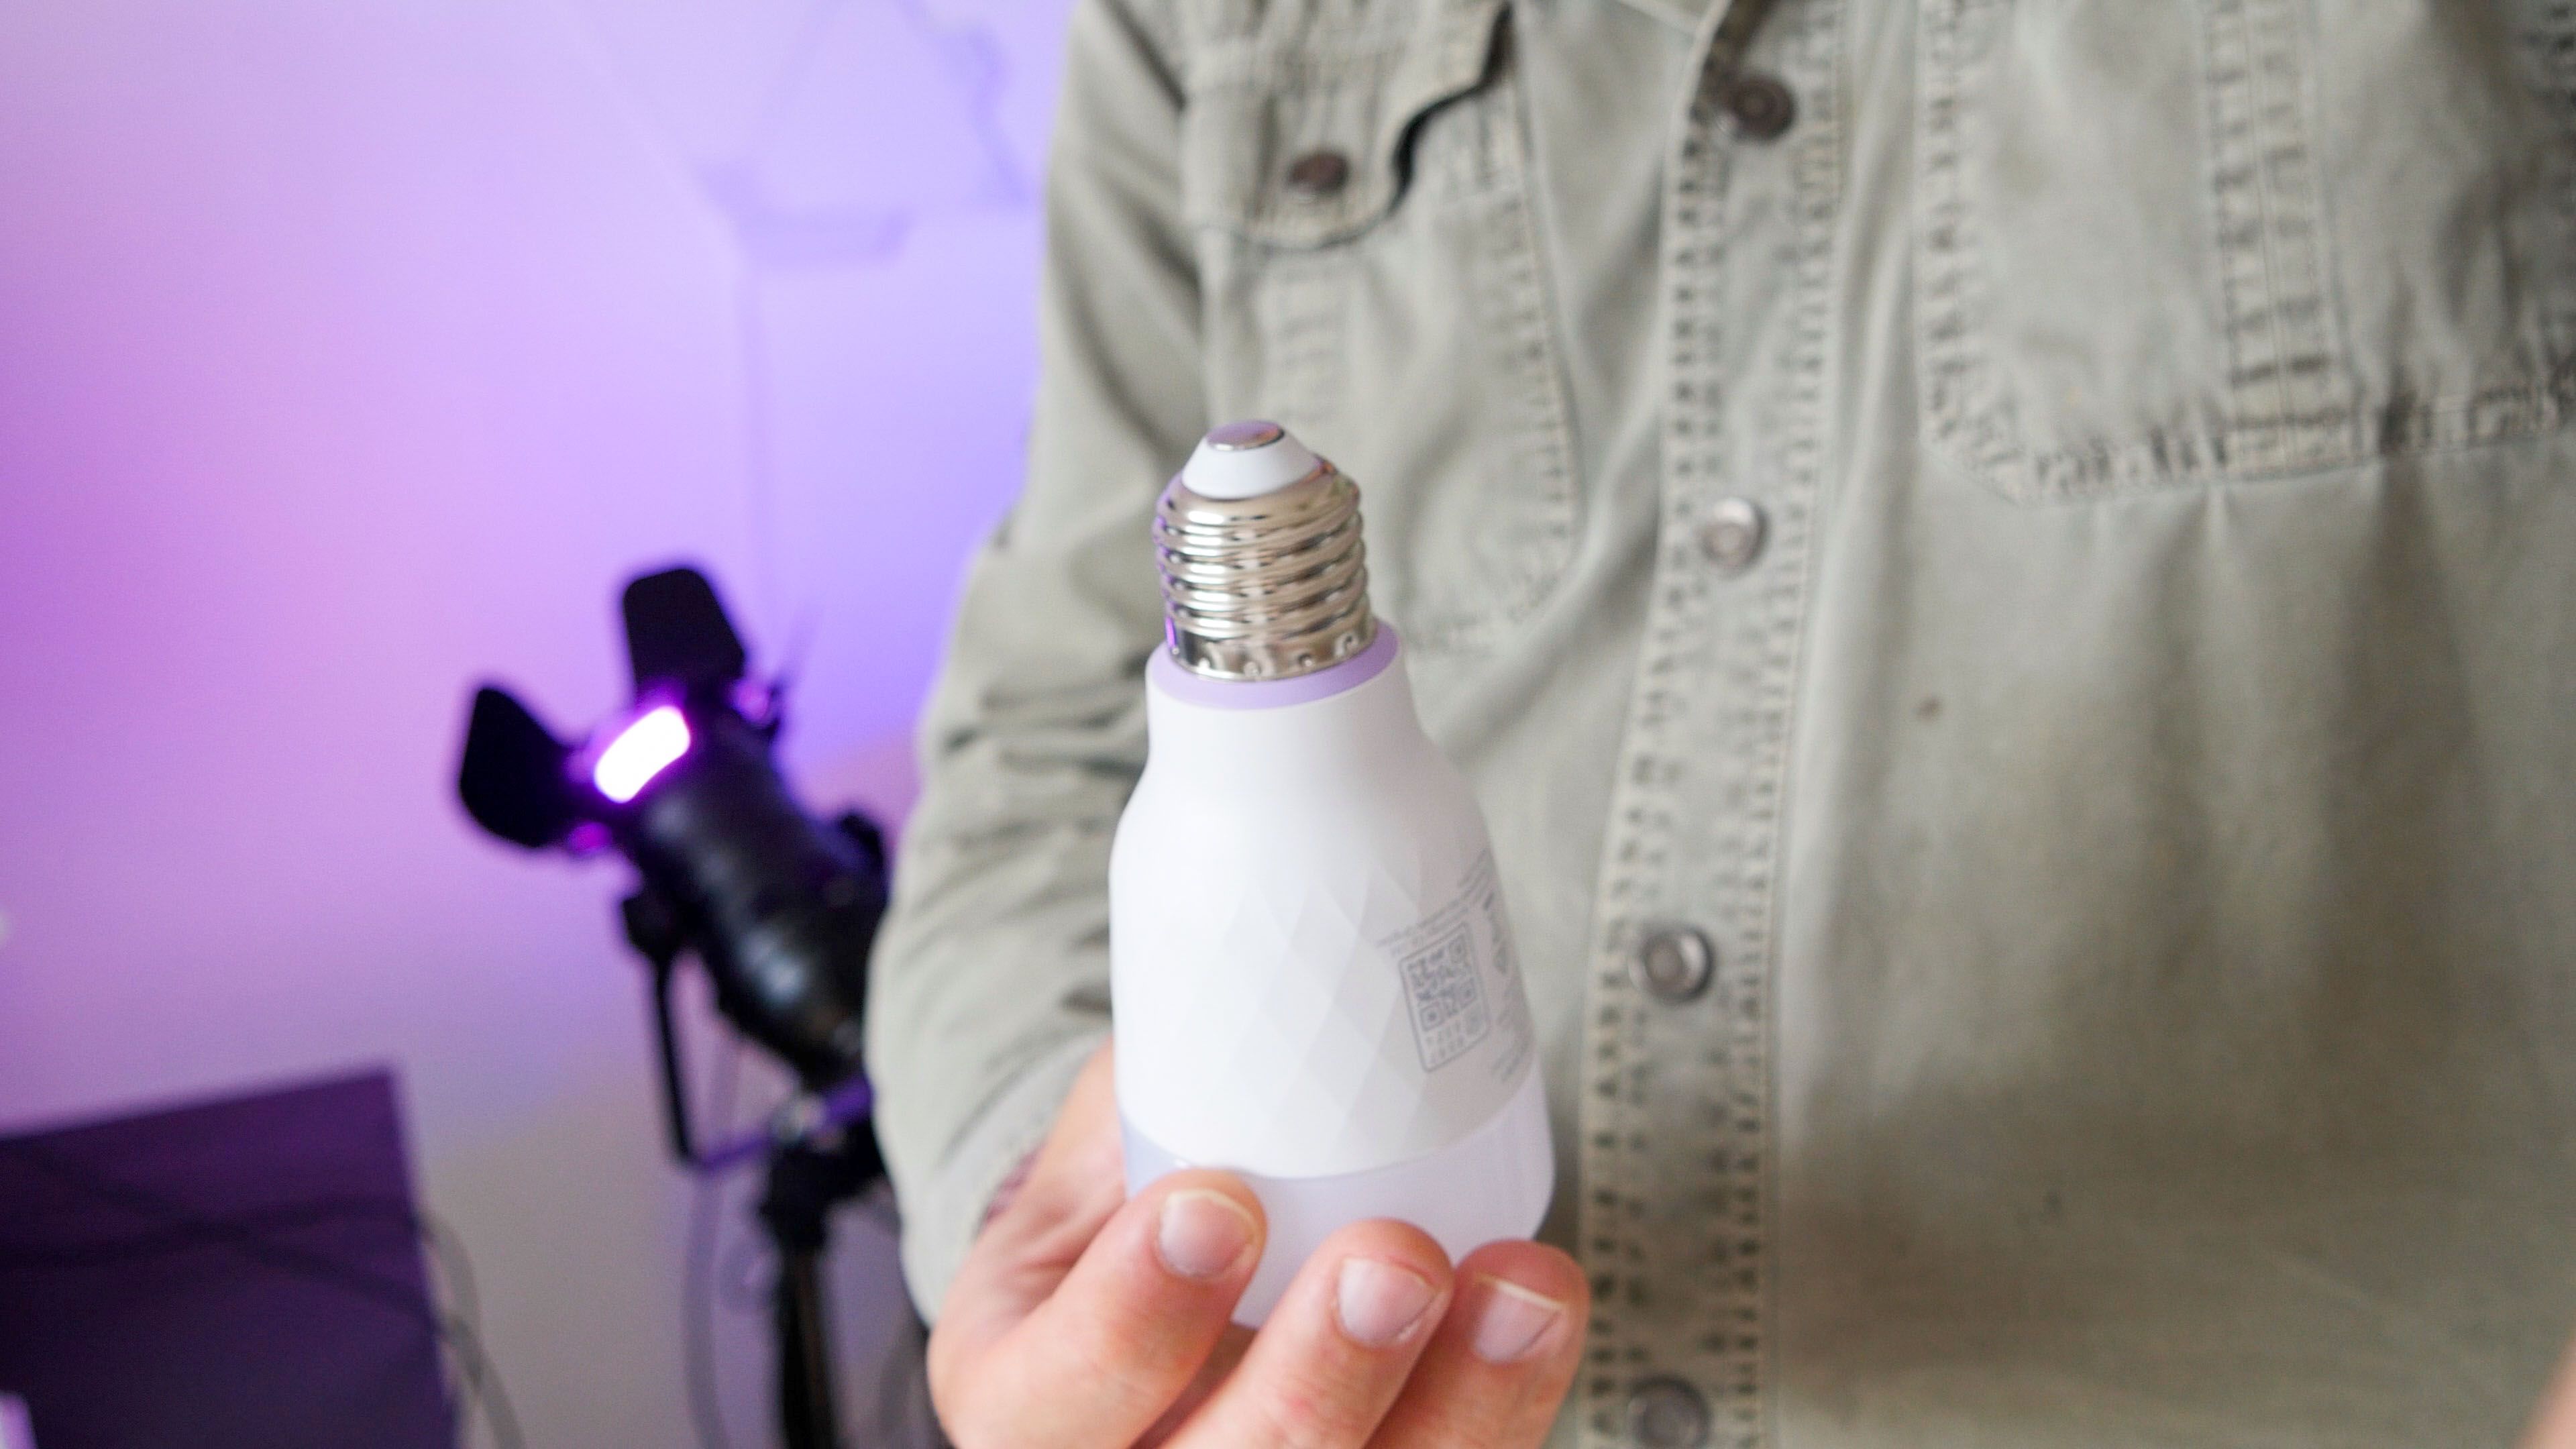
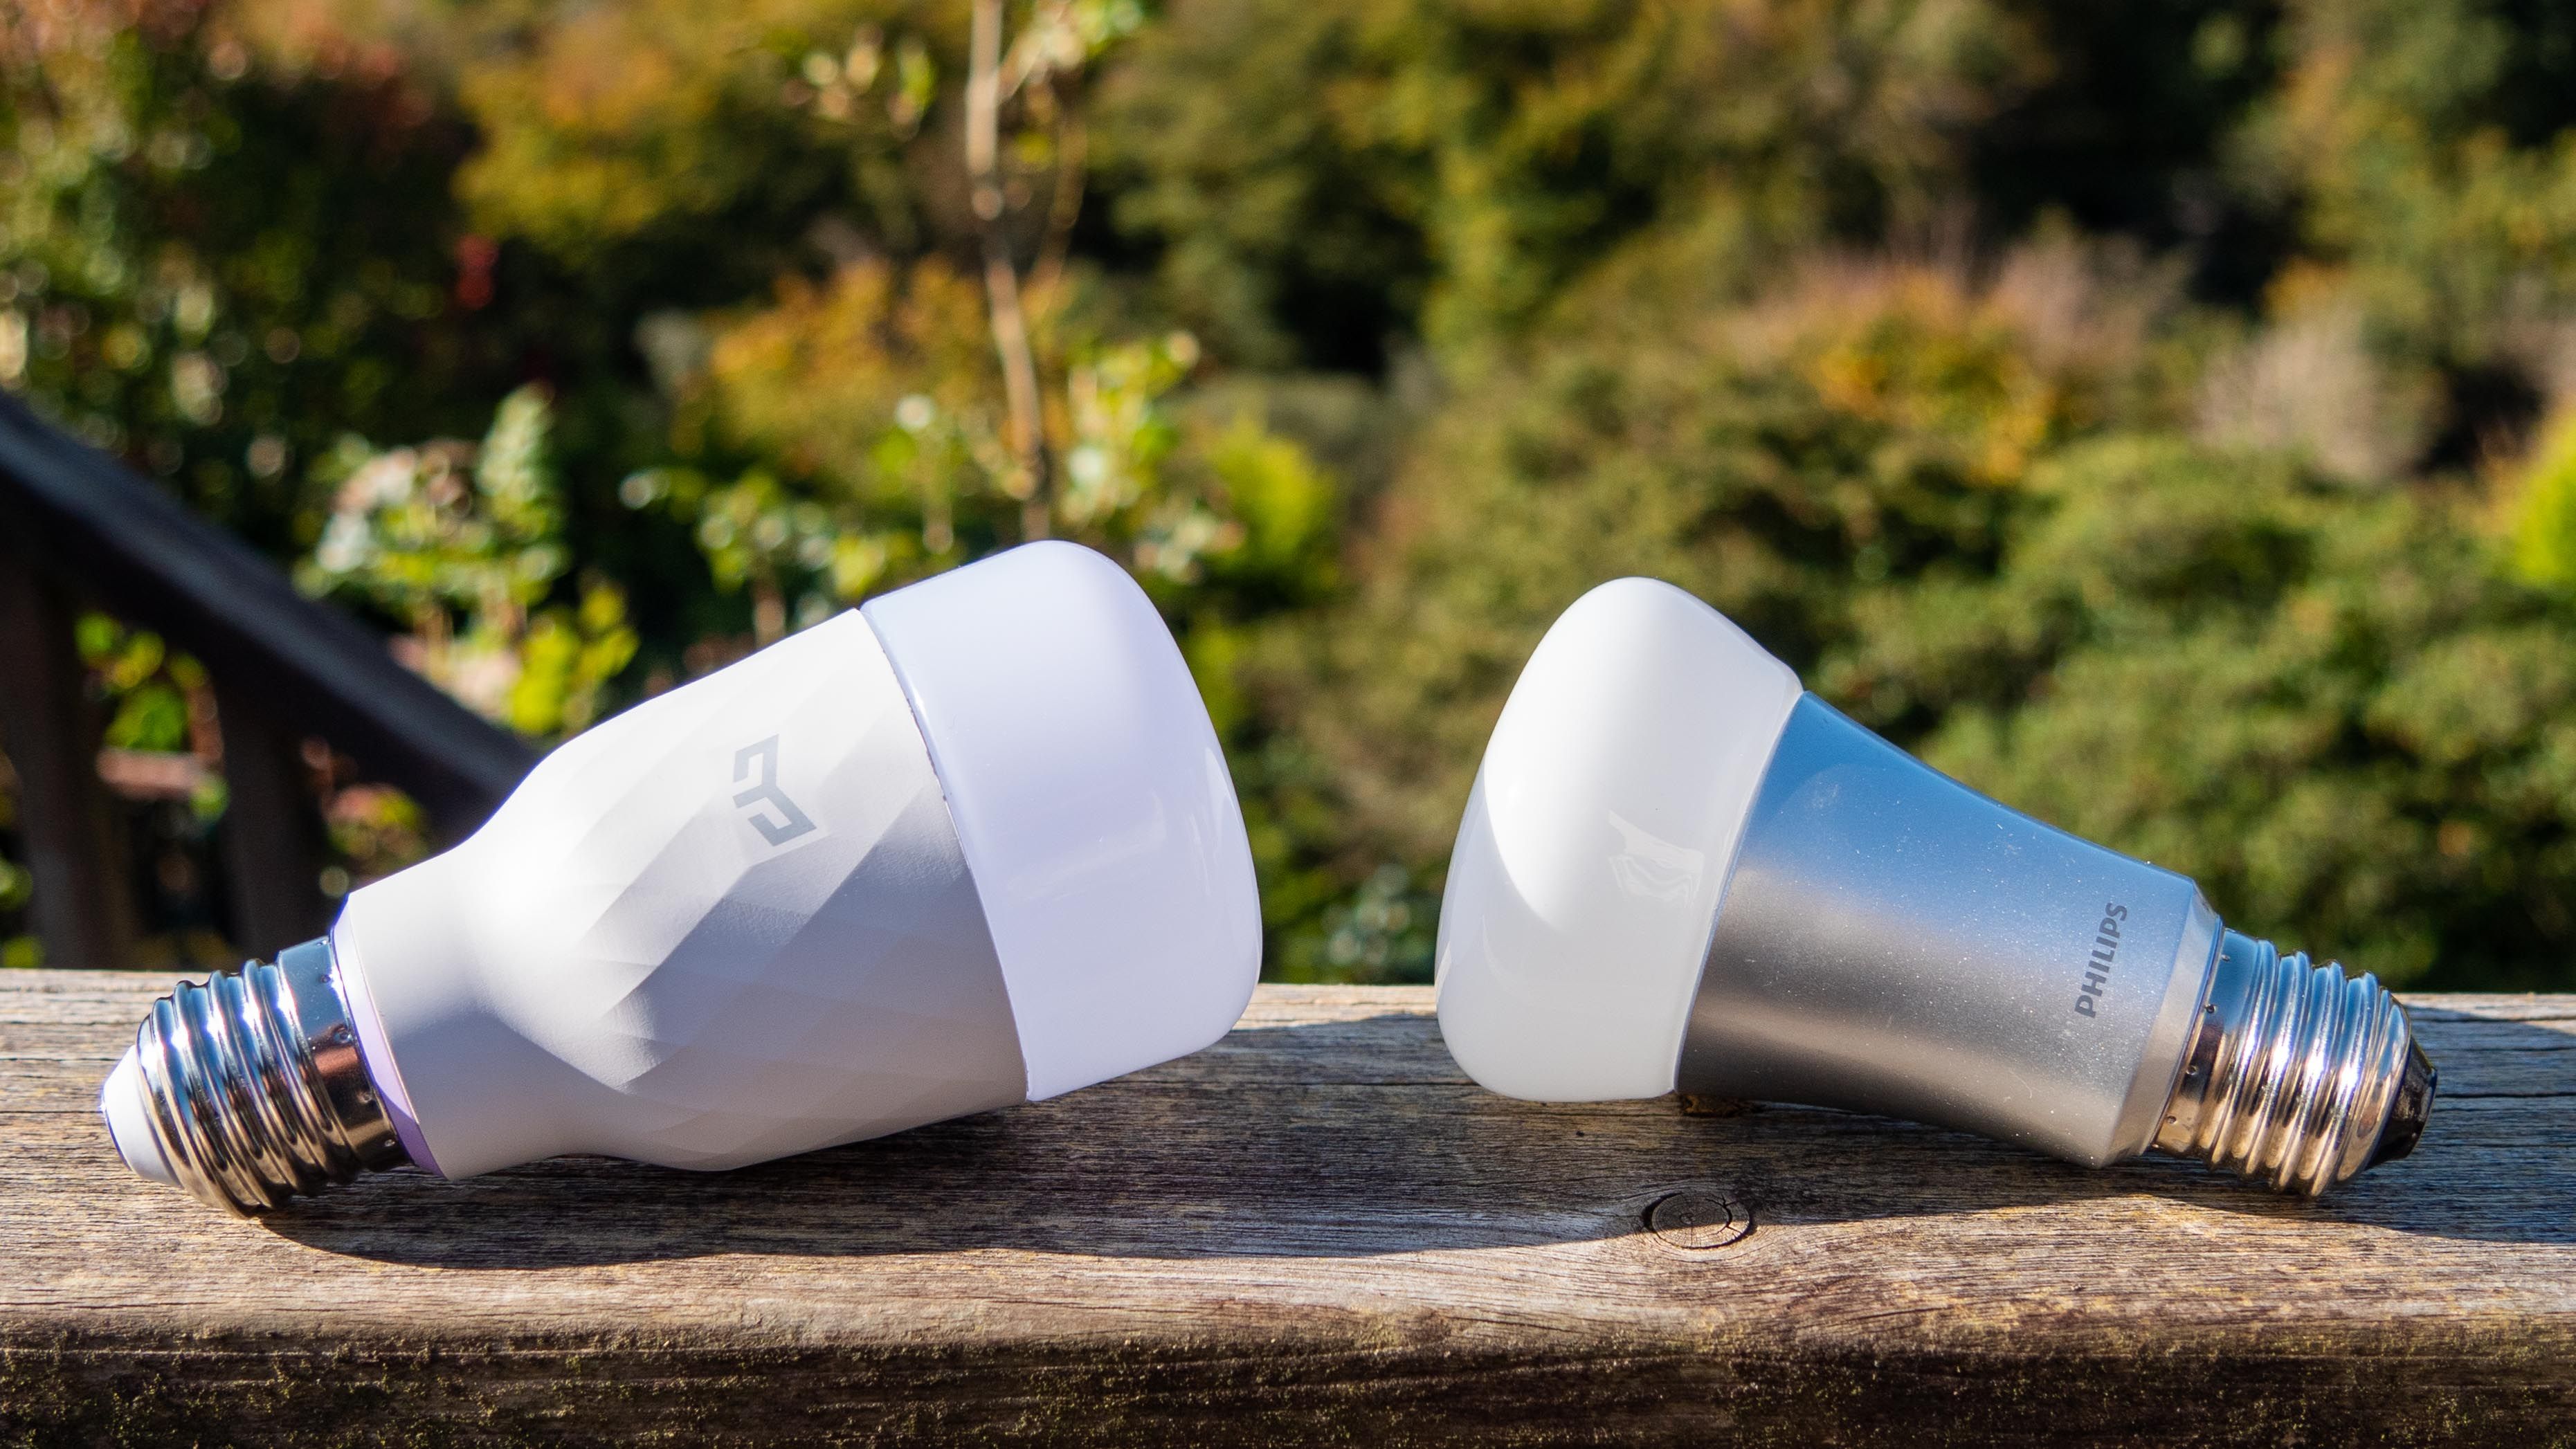
The Color 1S emits up to 800 lumens of brightness, which is about the same as a 60W incandescent bulb. It uses an Edison Screw fitting, and measures 124mm tall, with a diameter of 60mm at the widest part of the bulb.
You will, of course, need a suitable fixture to mount the bulb in.
Yeelight LED Lightstrip 1S
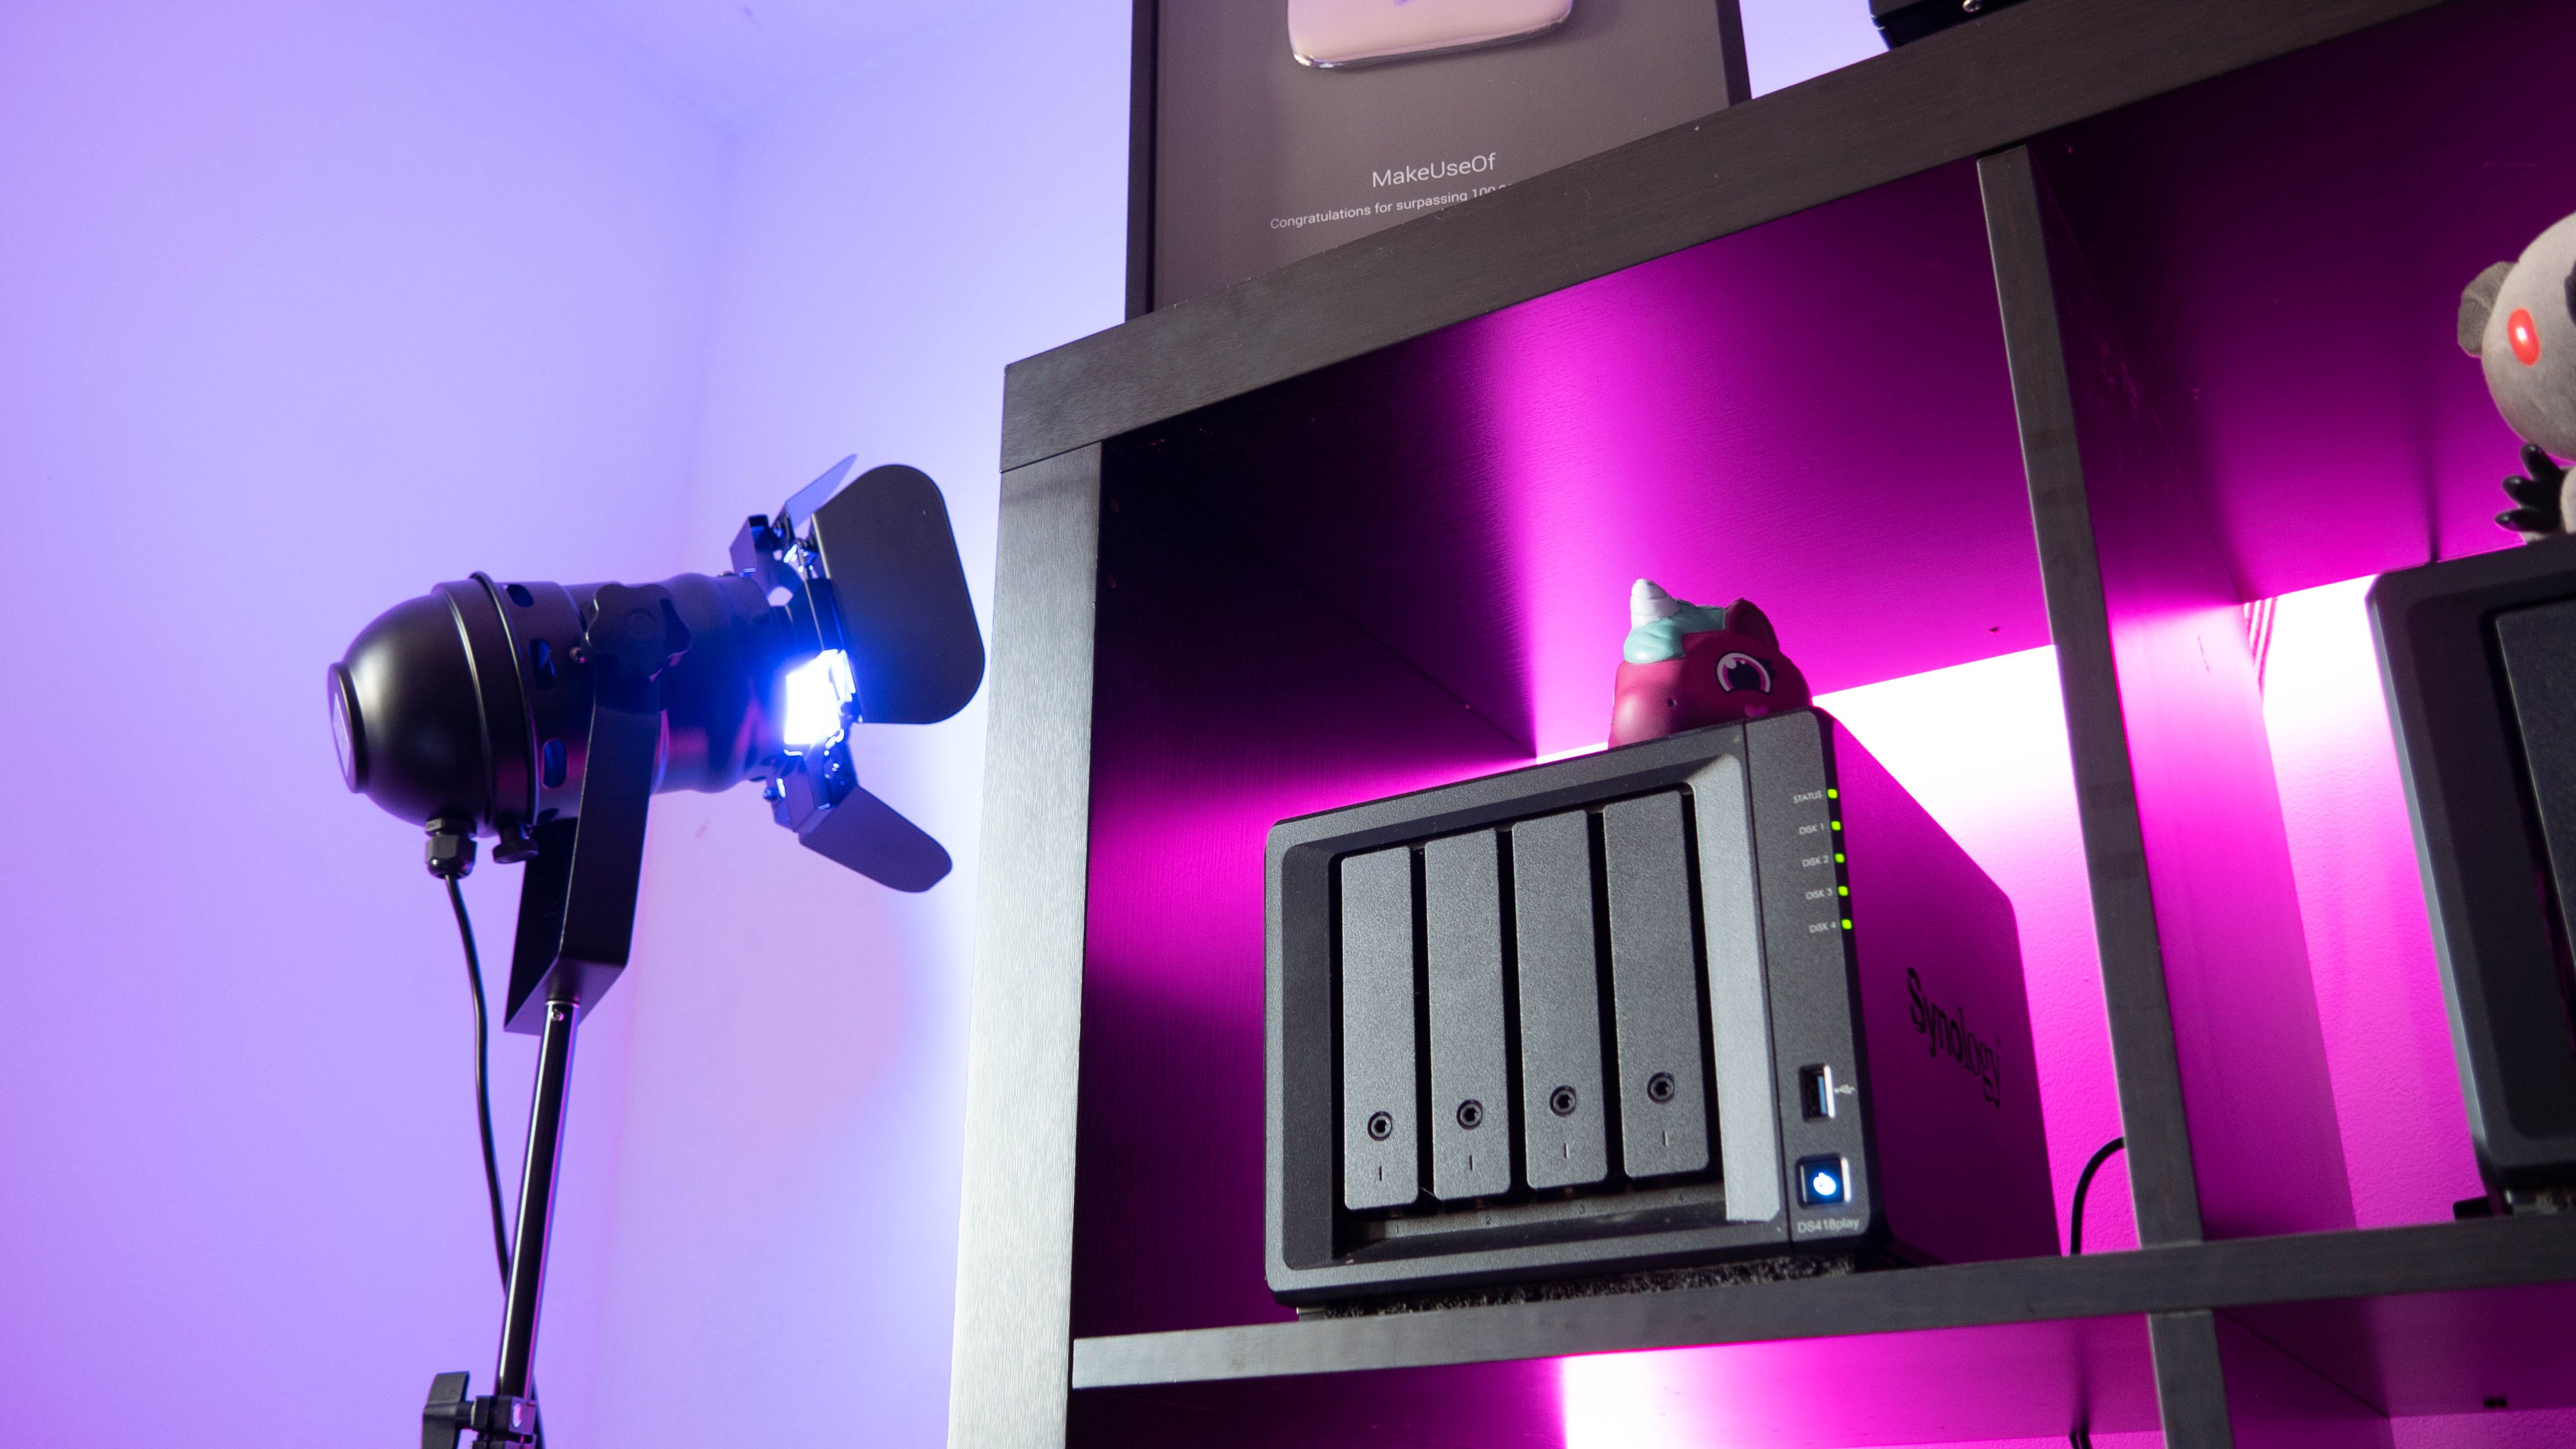
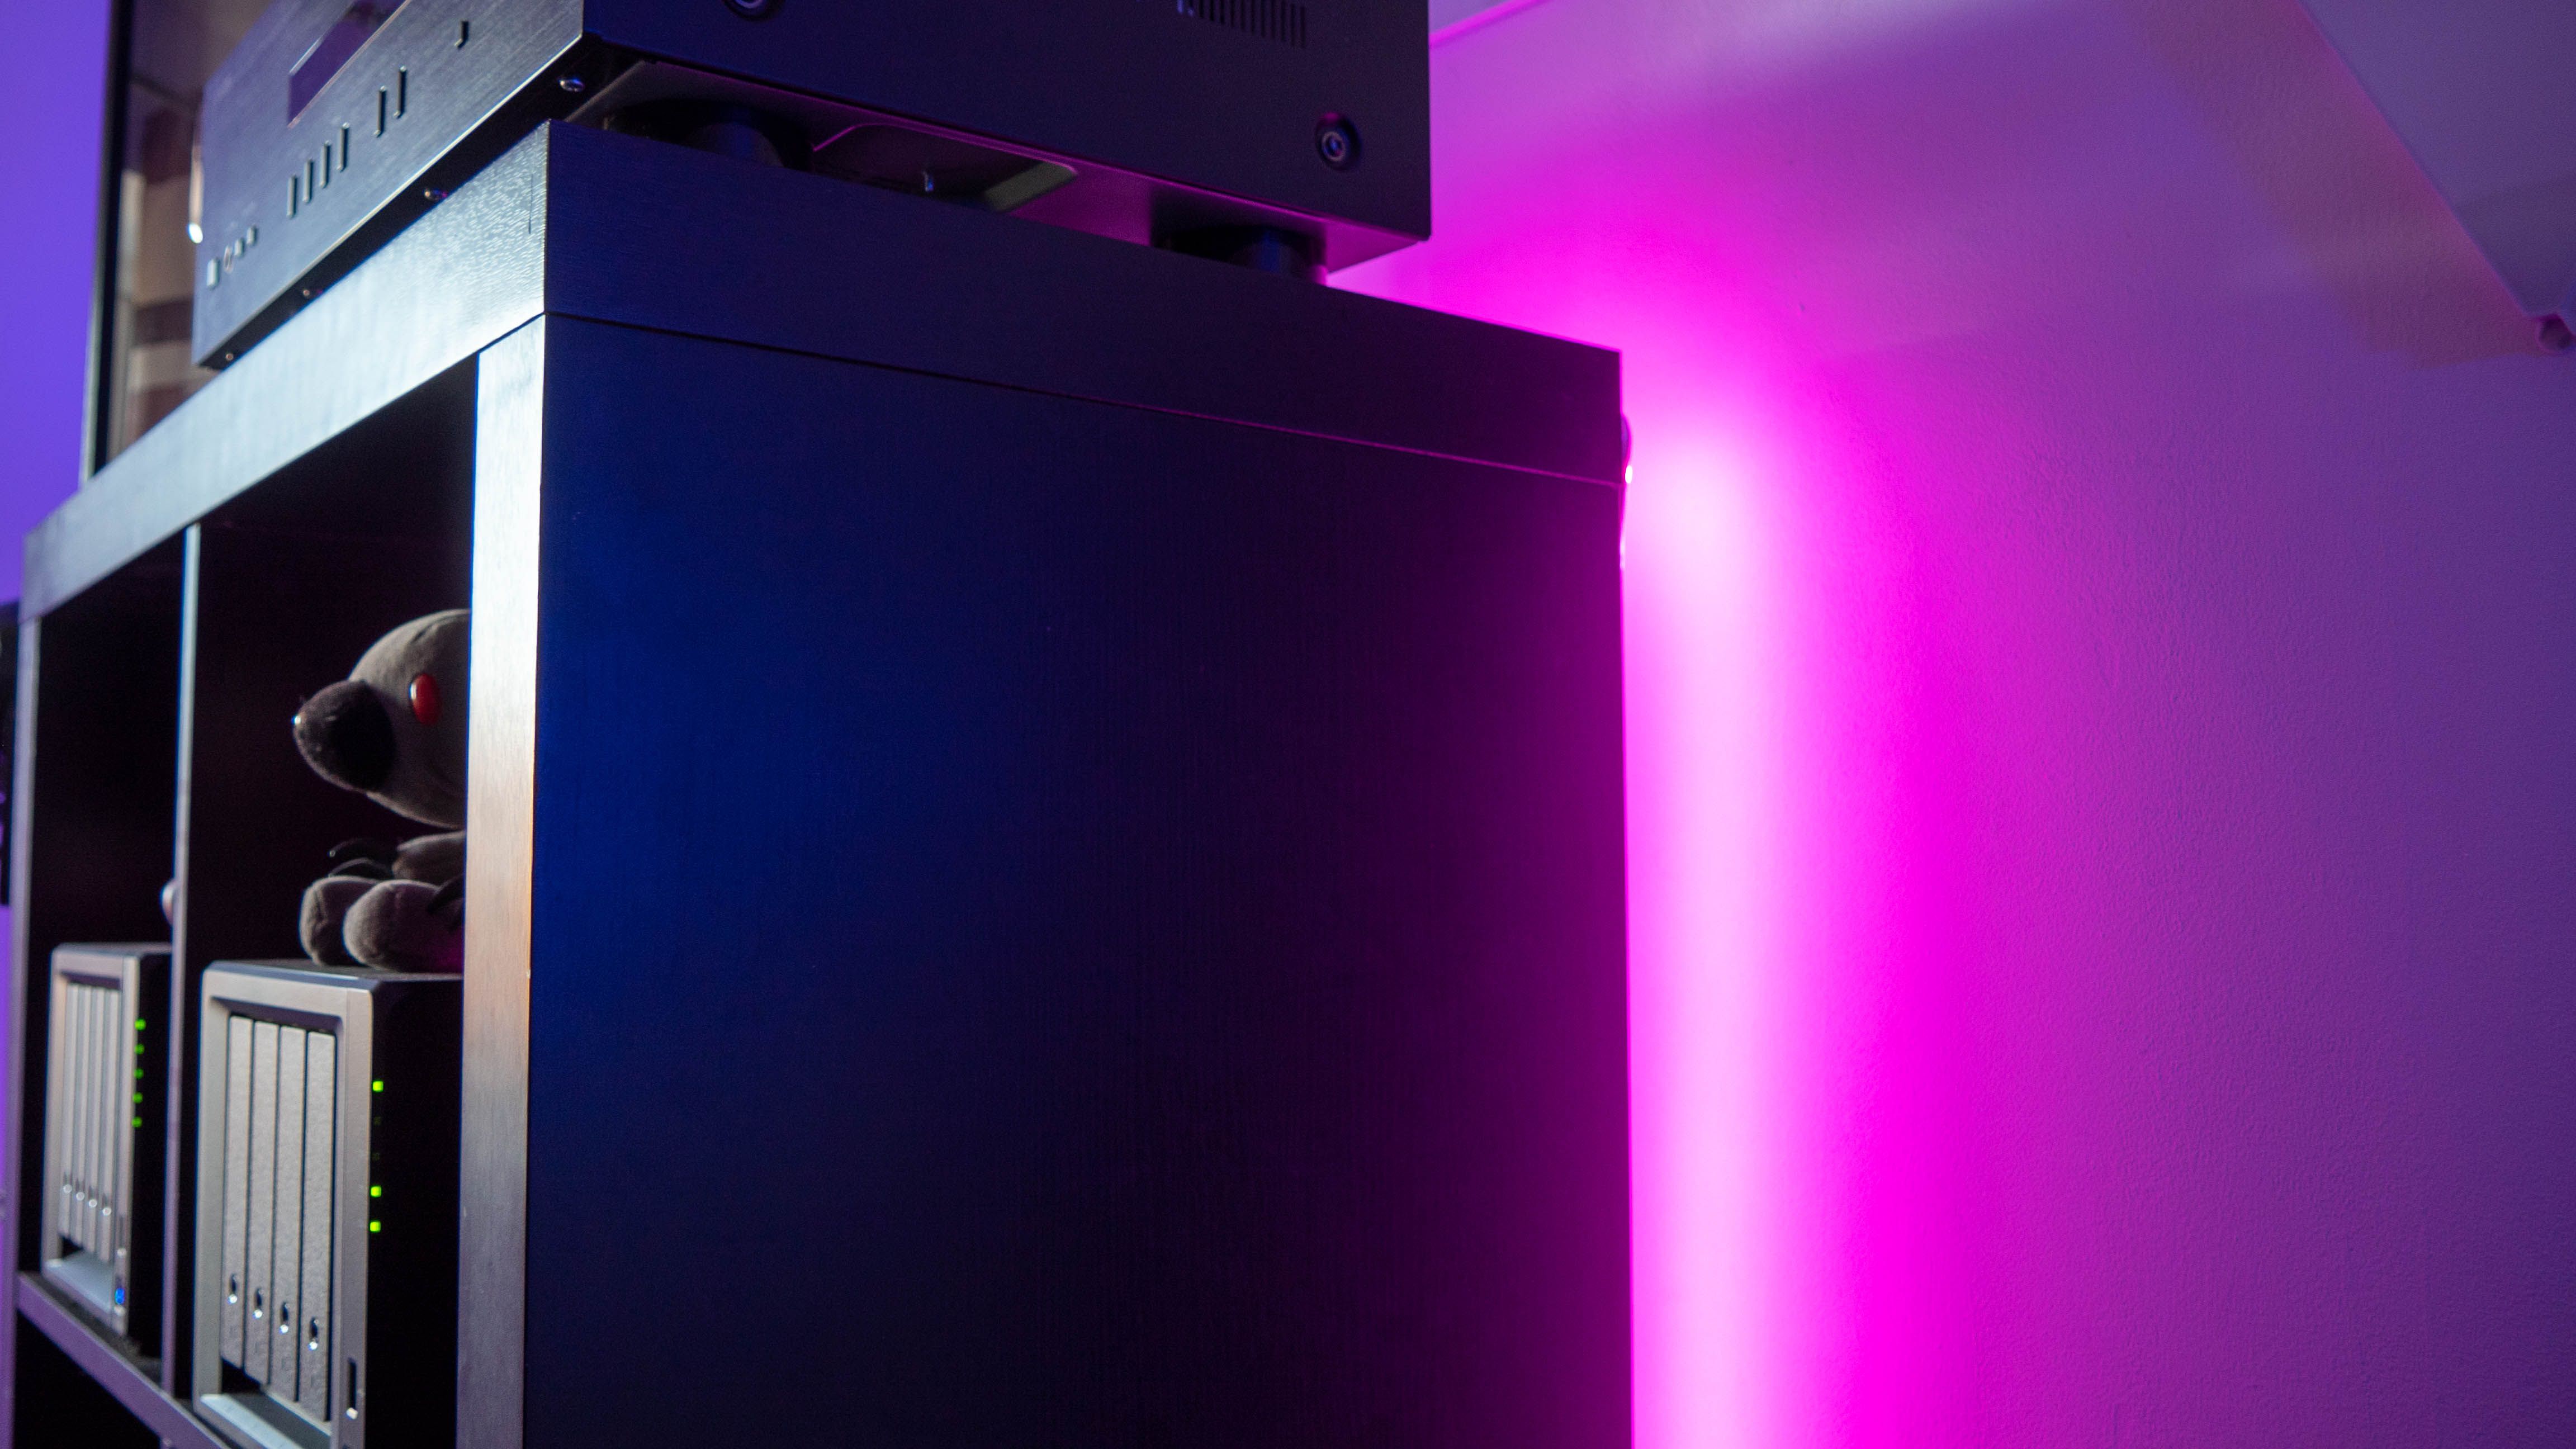
The Lightstrip 1S is a 2-meter long strip of RGB LEDs, spaced approximately 5cm apart, with 60 LEDs per meter. With an integrated Wi-Fi controller, the strip can also be extended if needed. It's designed to be stuck onto something via the adhesive backing tape, such as a desk or shelving unit. The exact brightness isn't published, but based on my experience, the full strip isn't as bright as the bulbs, so I'd guess around 300-400 lumens. These are not pixel LEDs, so the entire strip will show the same color at any one time.
The LED Lightstrip 1S can be extended in one-meter intervals up to a total of 10 meters. At the basic 2 meter length, it consumes just over 7 watts of power. At 10 meters, it consumes around 25 watts.
If you place it on the floor as an ambient room light, it's a little underwhelming. Instead, it's best to affix the strip to an item of furniture such that it's facing a wall, where it produces a glowing outline effect.
Setting Up the Yeelight Smart Lighting
Before you can use the bulbs or light strip, you'll need to enter your Wi-Fi details. Use the Yeelight app to do this, and if you have a separate 2.4GHz network, ensure your smartphone is connected to that first. Then power cycle the bulbs or light strip five times, until a selection of colors is lit up in sequence. This places them into pairing mode, and you can now add them via the app. Annoyingly, you need to search through the list of all Yeelight models ever made, until you find the right one–and it's a long list.
If you wish to add your new lights to HomeKit, make sure you keep hold of the manuals, as the required QR codes are located on the back.
If you're having trouble getting the bulbs to connect to your network, you may need to configure your router to broadcast a separate 2.4GHz network. Like most Wi-Fi IoT devices, the Yeelight bulbs are a little picky. If the signal is patchy, they may be unresponsive, even if you do manage to add them to the network initially.
Finally, ensure LAN Control is enabled. You'll need to do this for each lighting fixture individually.
Integrating with Razer Synapse
To get the gaming side of things working, you'll need two things.
First is obviously the Razer Synapse software. Ensure you're running the latest version, even if you already have it installed.
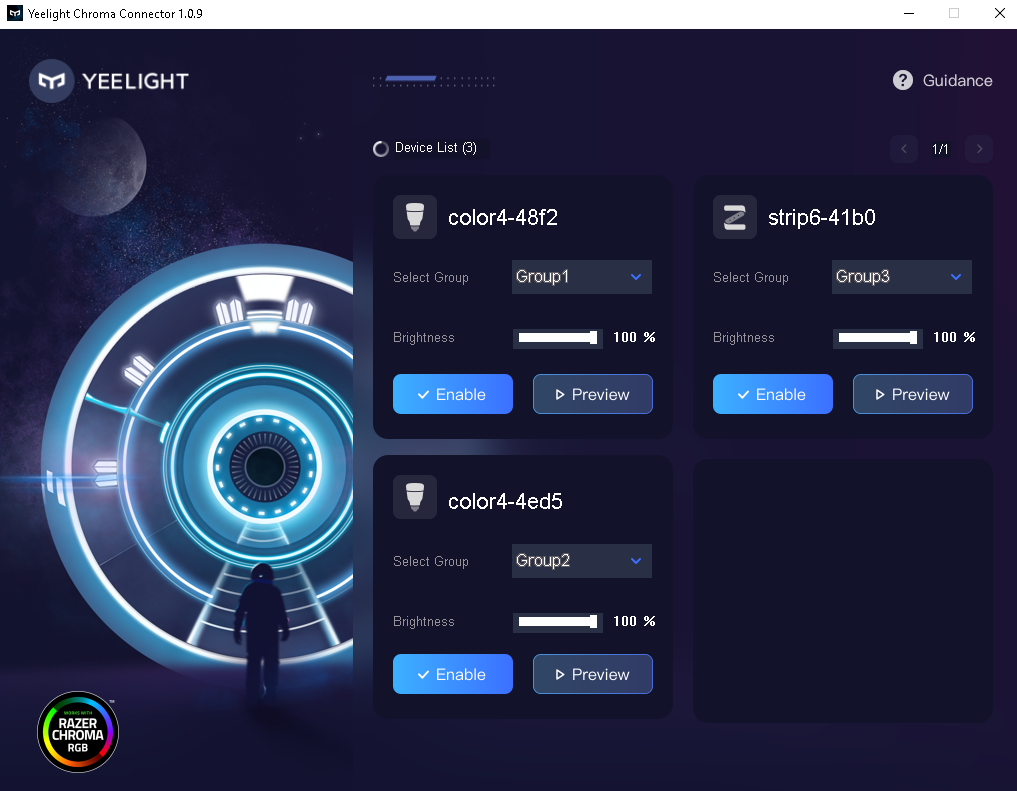
Second is the Yeelight Razer Connector App, which you can download directly from the Yeelight. Once installed, open it up and you should see your devices automatically listed. If you don't see them shown in the interface after a while, you either forgot to enable LAN control, or your computer is on a different network to your bulbs. Your doesn't need to be on Wi-Fi, but your network connection should be on the same subnet. If you have an odd router that separates the Wi-Fi and Ethernet, or you've deliberately chosen to isolate IoT devices from your home network for security reasons, this won't going to work. Your computer must be able to talk to the bulbs over the local network.
Assuming it's all working, enable each bulb, and hit the Preview button to see which one it is. You might also want to assign a different group so that different dynamic lighting can be sent to each bulb from supported titles.
One quirk I found is that you'll need to exit Razer Synapse or disable lighting effects if you want to control the bulbs manually again. Otherwise, any attempts to change the colors will simply be overridden by the signals coming from Synapse.
Smart Features
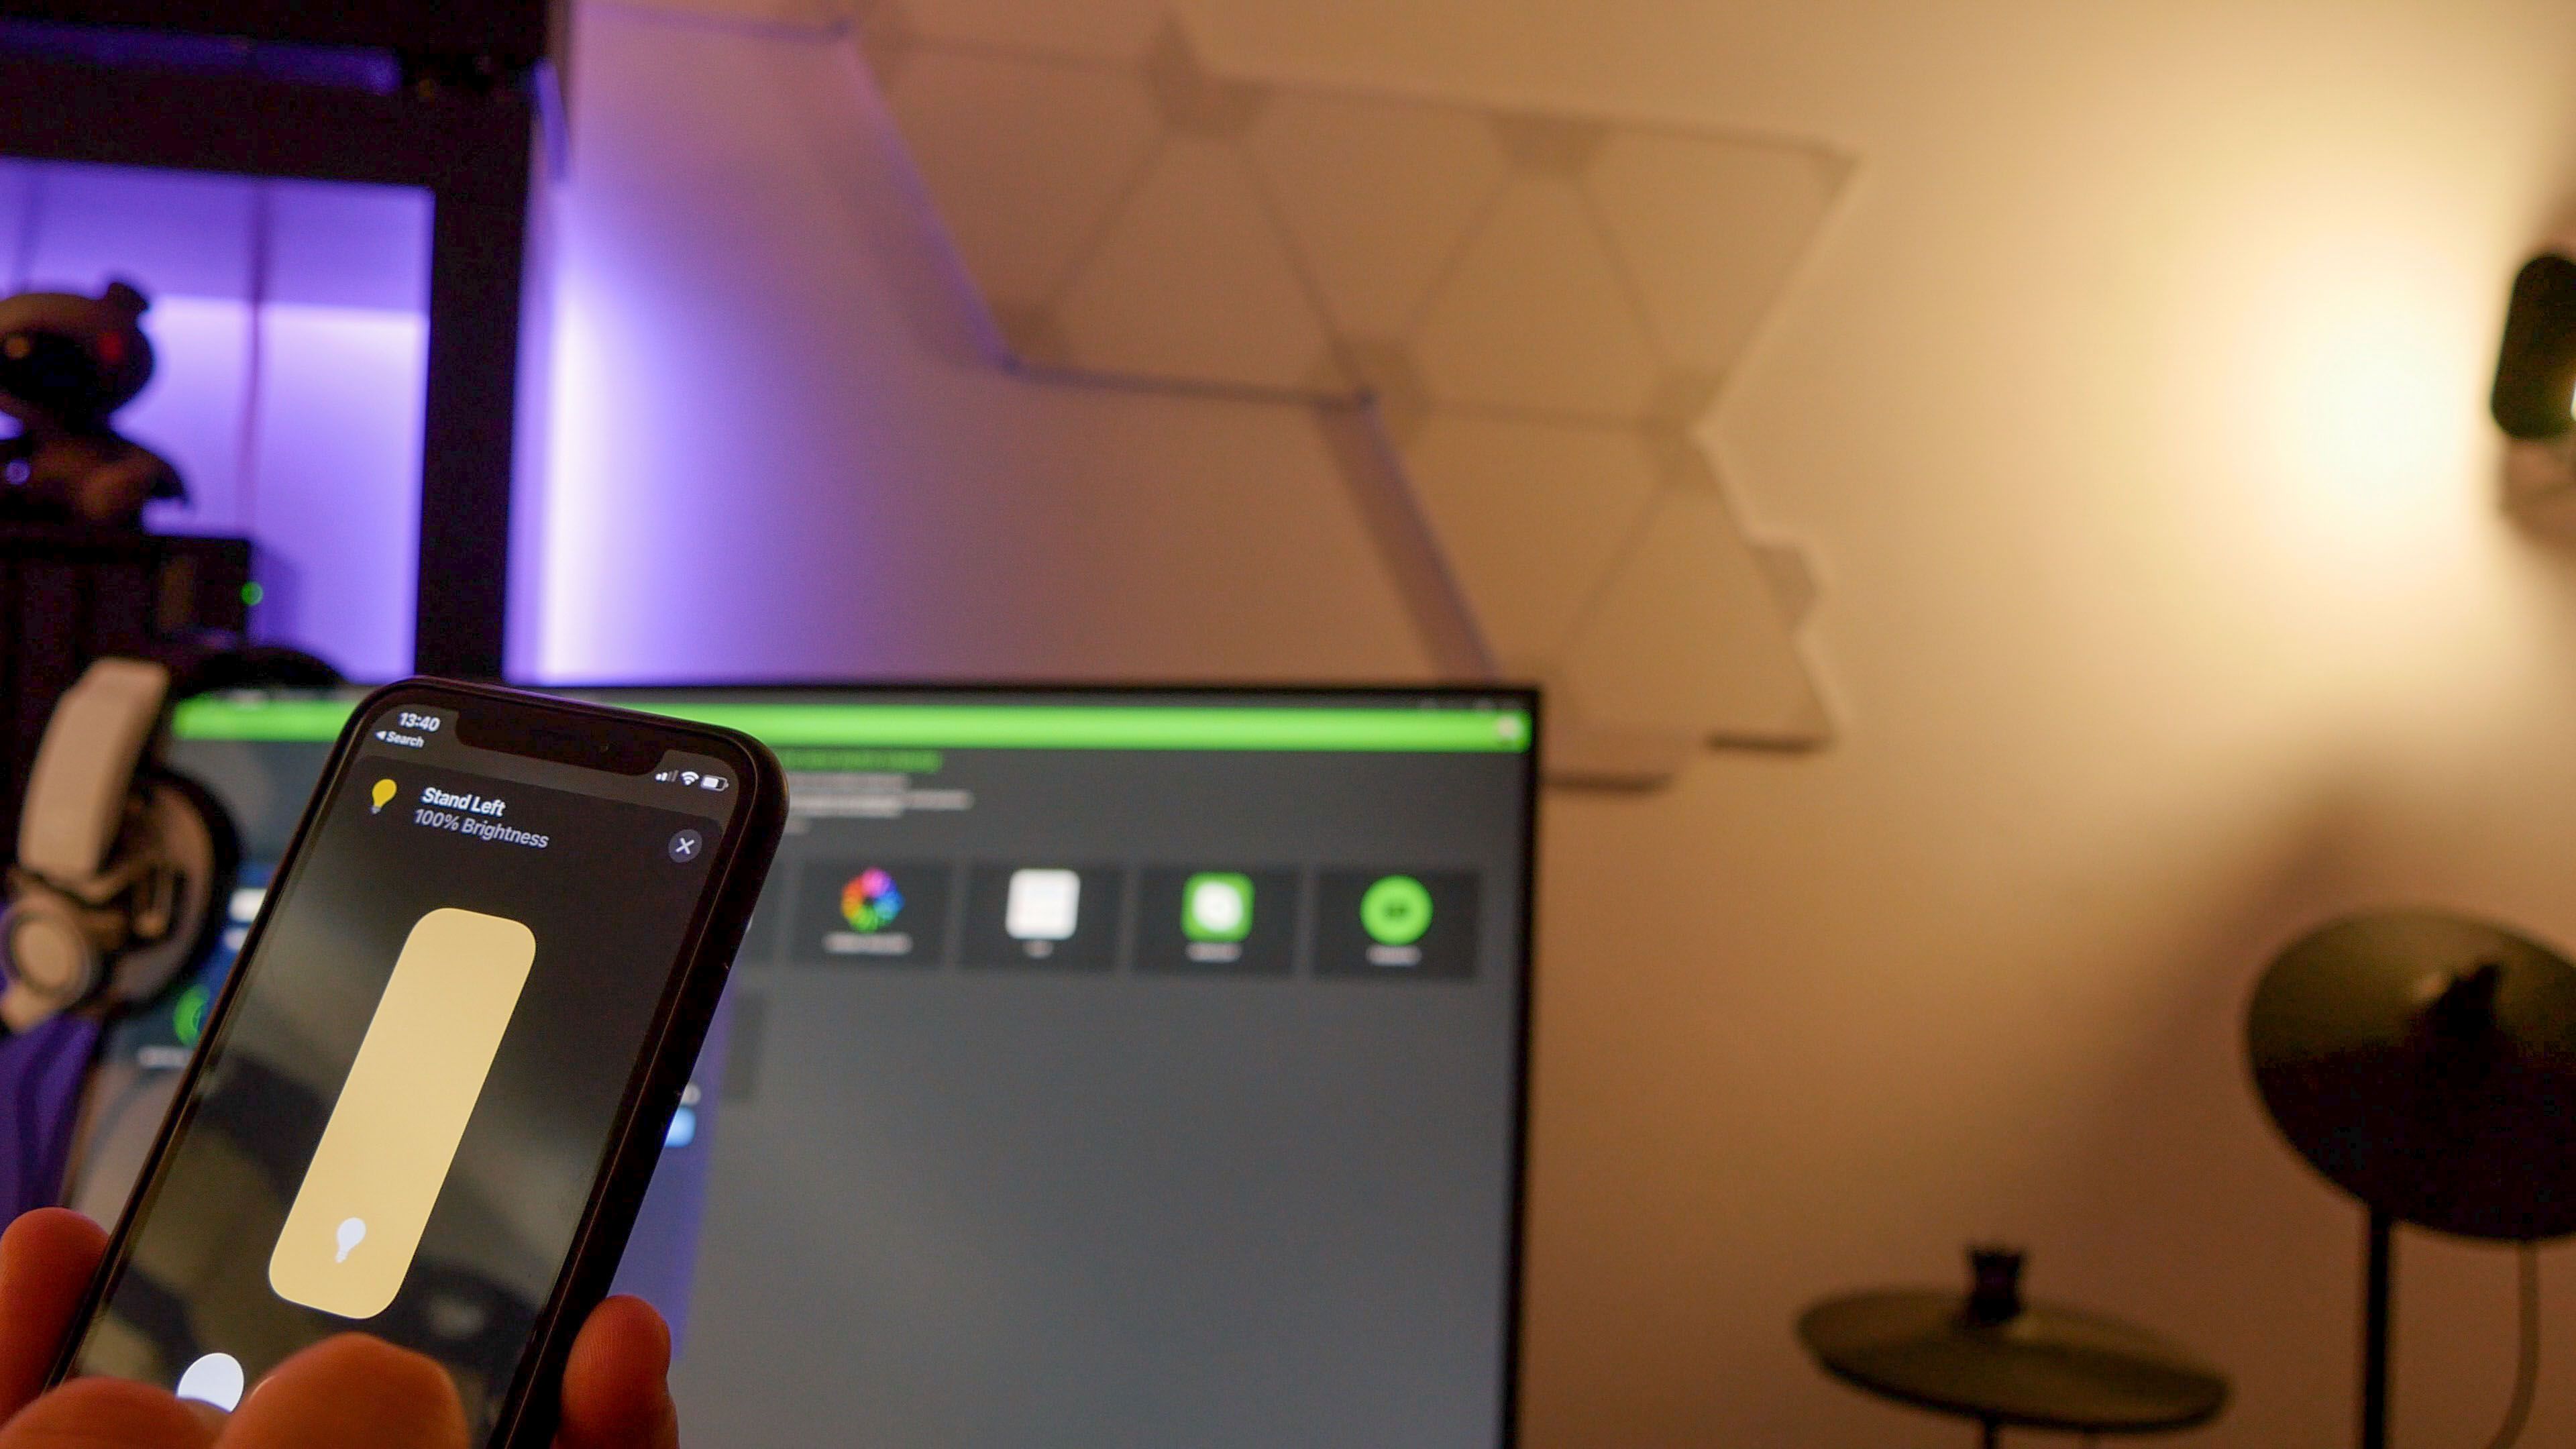
Both the Color 1S bulb and Lightstrip 1S can be controlled from the Yeelight app, Google Home, Apple HomeKit, Alexa, or IFTTT. I found this to be generally reliable, though HomeKit does have a tendency to mark everything as unresponsive (even when it clearly is responding and can be controlled just fine). This might be a quirk of my network infrastructure though and isn't unique to the Yeelight bulbs by any means.
The Gaming Experience
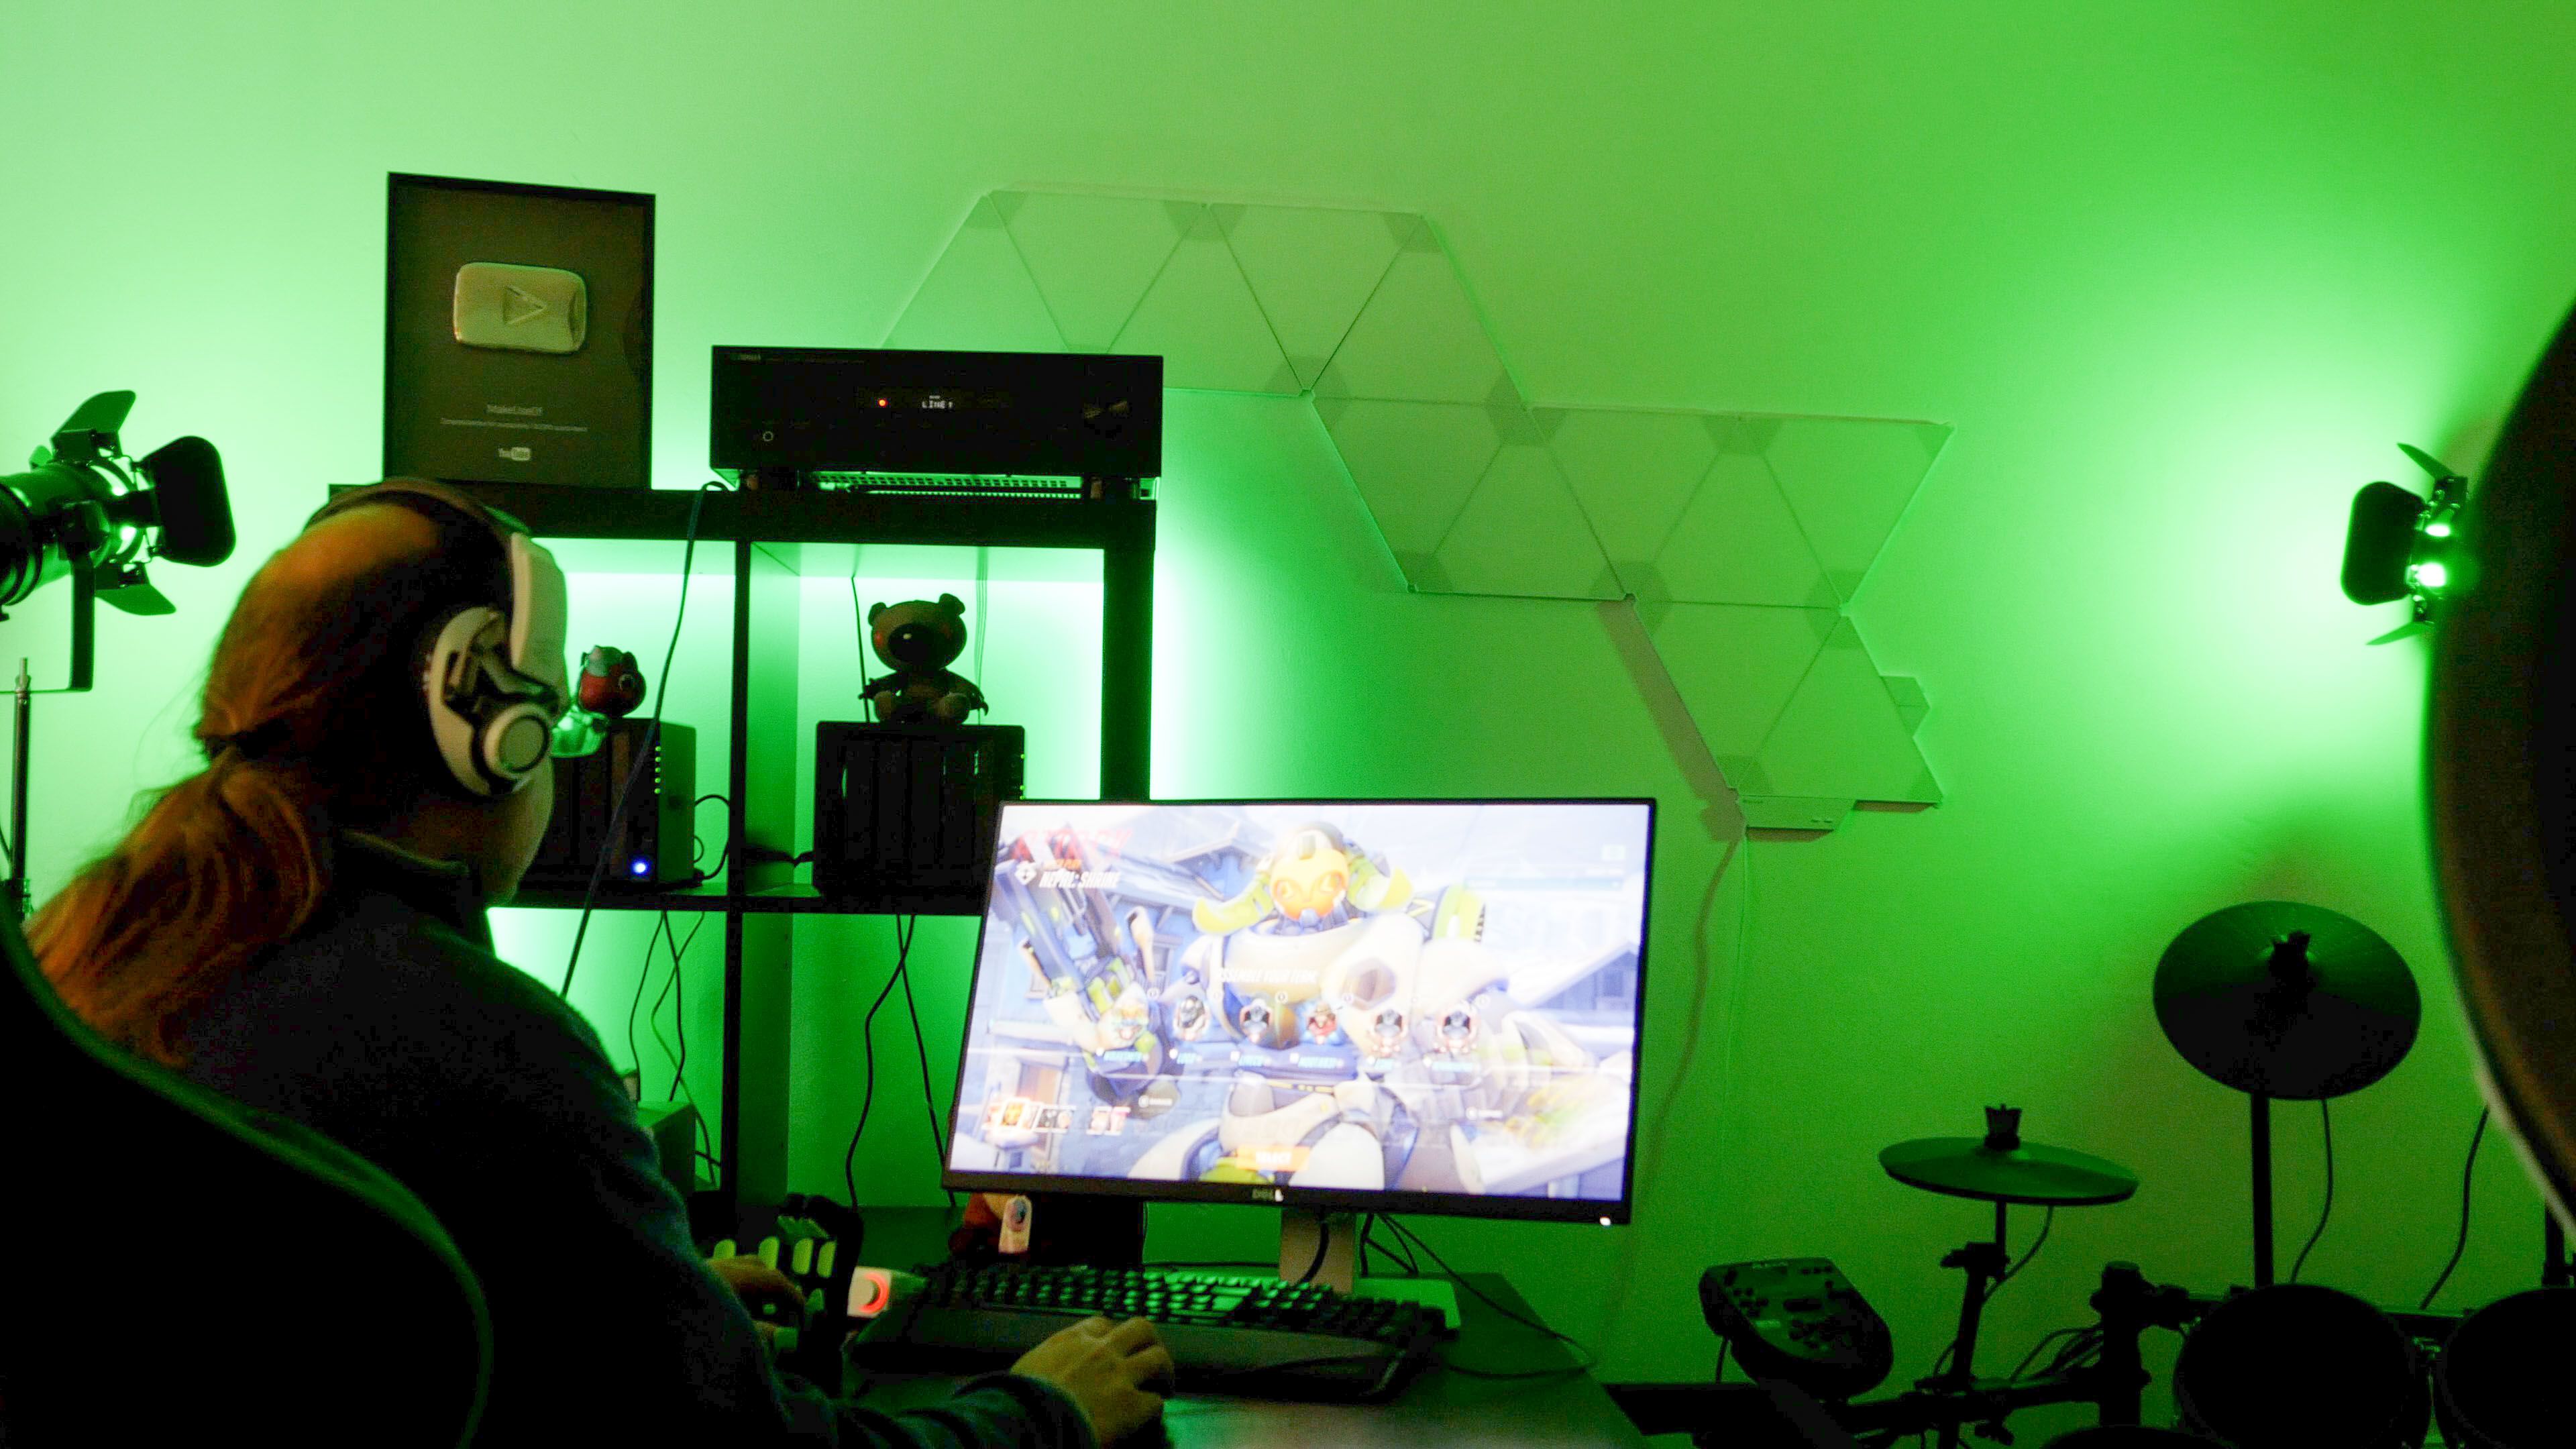
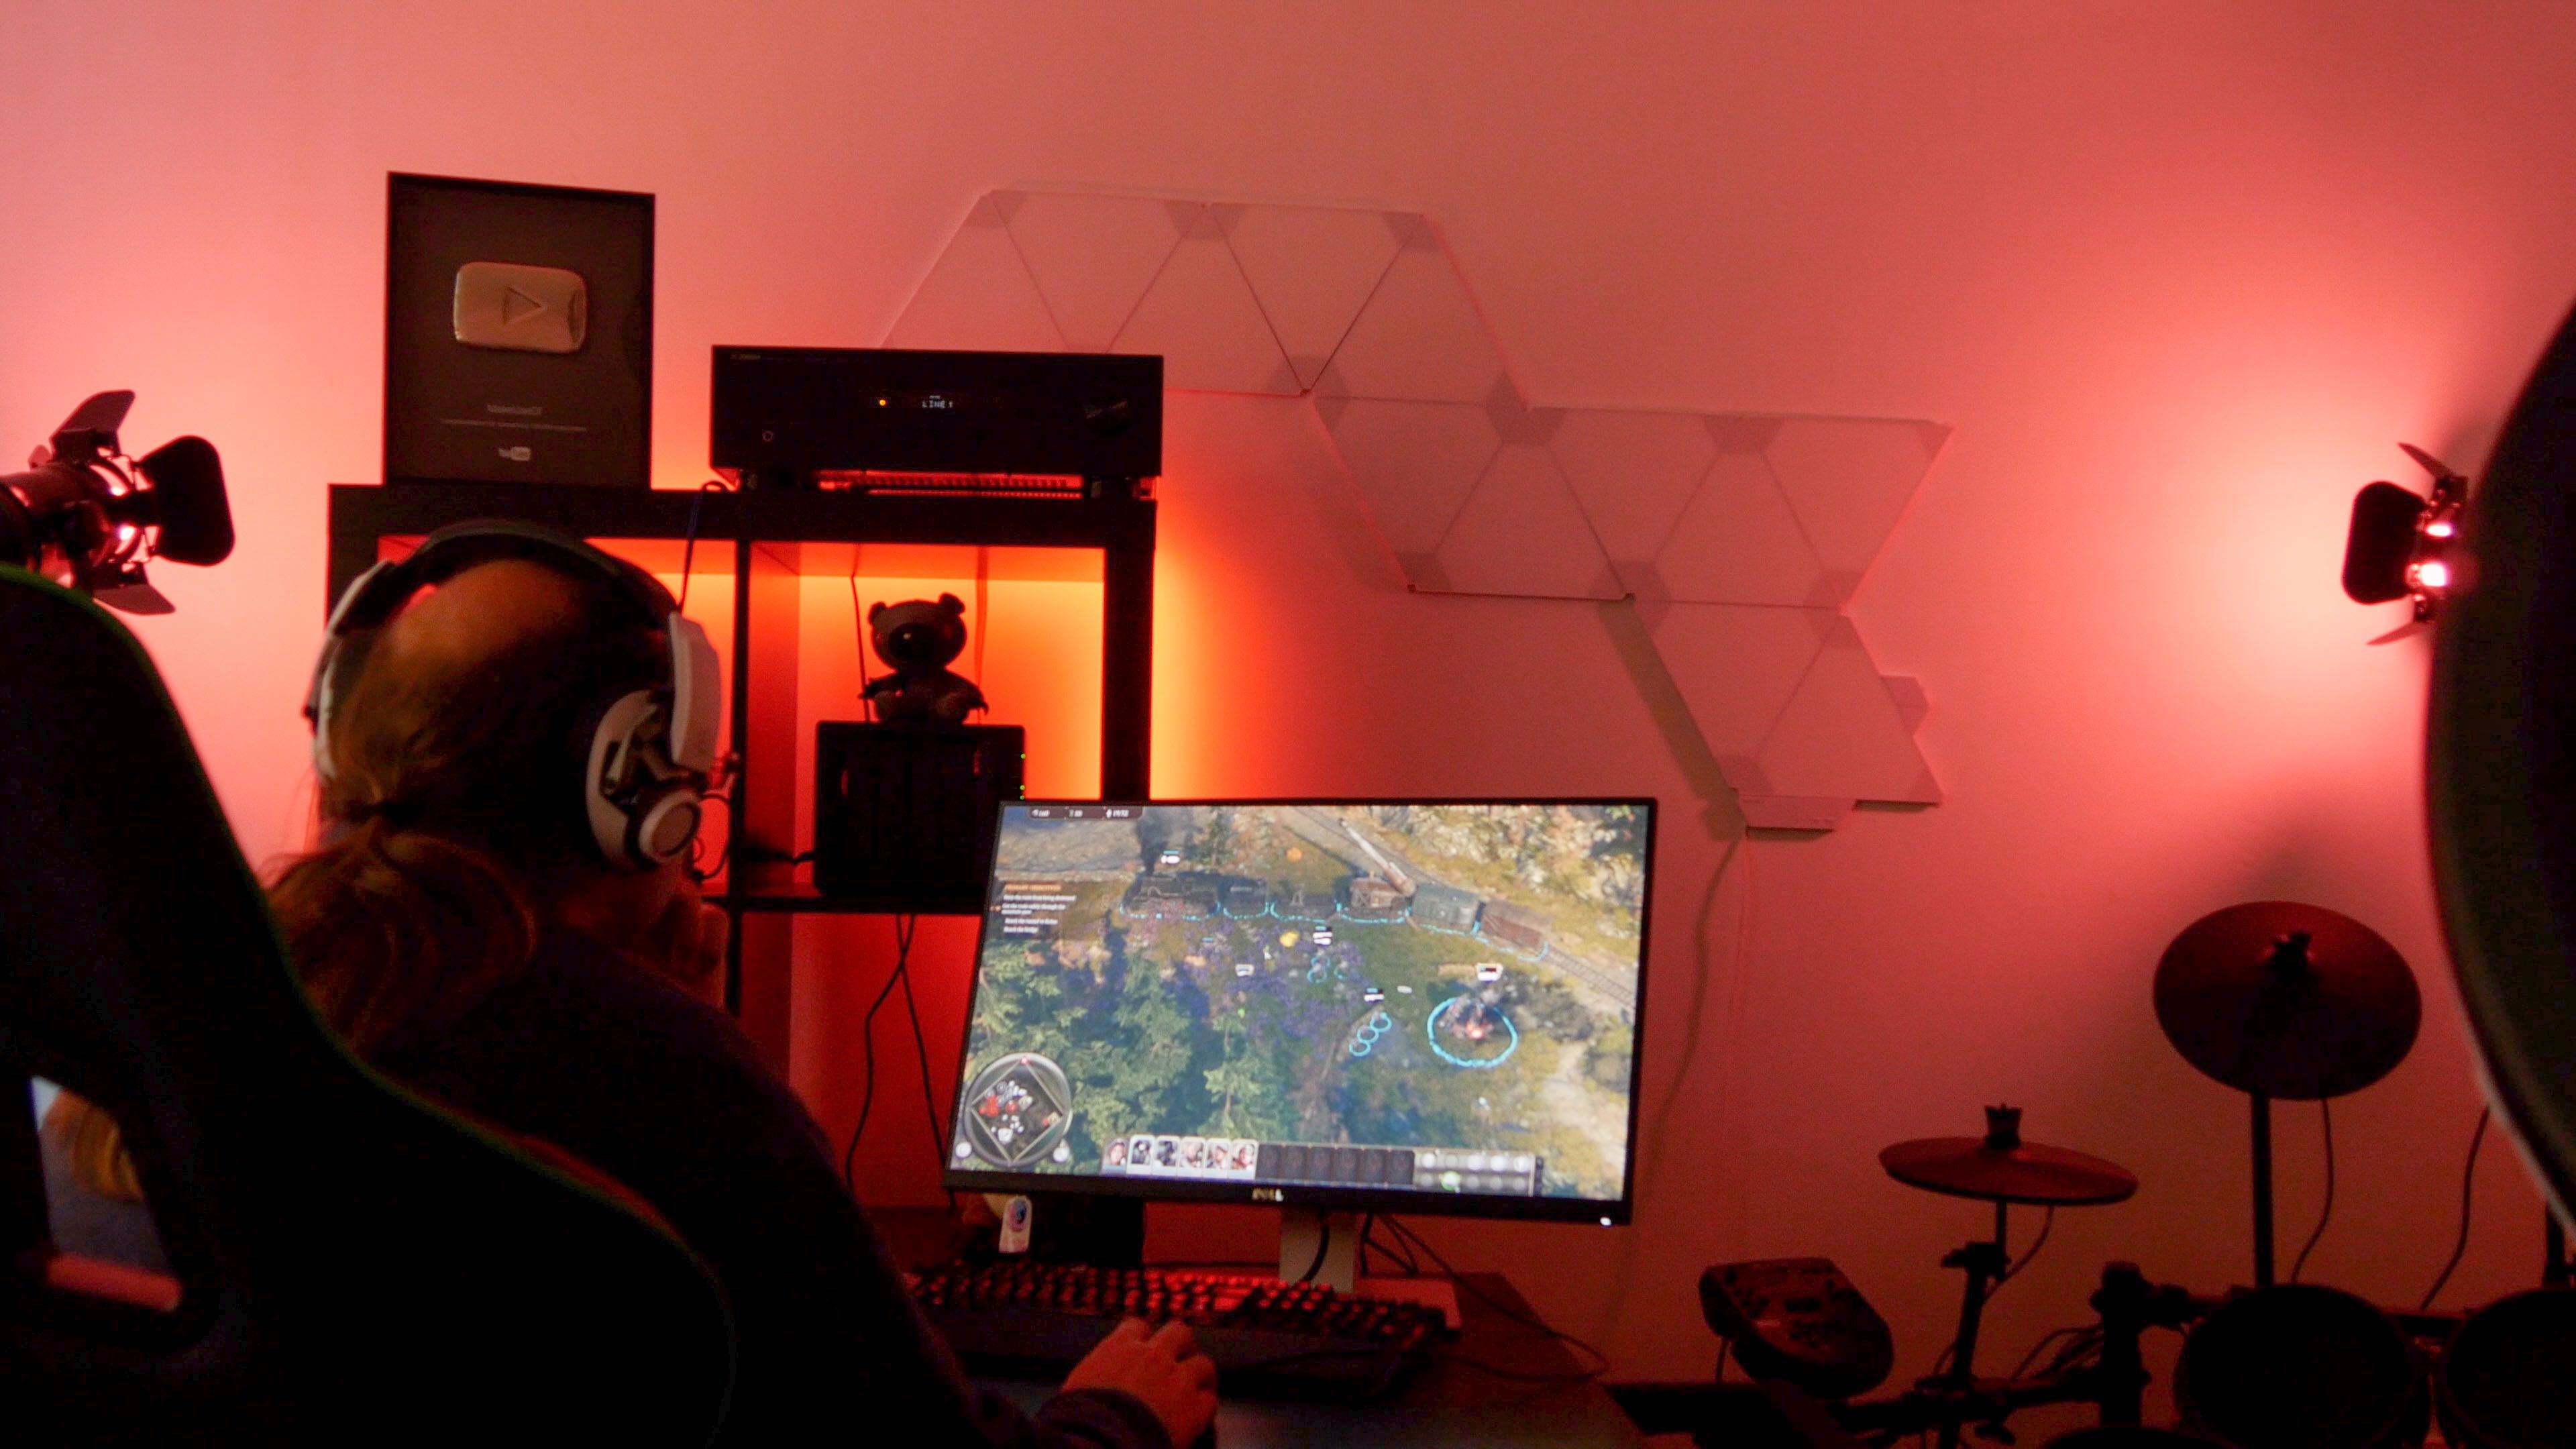
The good news is that once the initial setup is complete, it's a seamless experience in supported Chroma games. The Razer Synapse interface will automatically detect games, and hand over control of your lighting when those games are launched. I found I needed to actually turn the lights on first though, Synapse itself would only affect the colors (but this might be a bug, since the Nanoleaf panels do come on by themselves).
Precisely what those games will do with the lighting really depends upon the individual title. At the deepest level of integration, in-game status effects will be replicated, such as pulsating red when your health is low, or you spot enemy units; or flashing white when your special power is charged up. I tried it mostly in Overwatch and Iron Harvest, and found the effects to be quite subtle, which is probably a good thing. Do they add to the gameplay experience or give a competitive advantage? Not at all. But if you're a fan of Ambilight-style technology anyway, it's an added dimension to that.
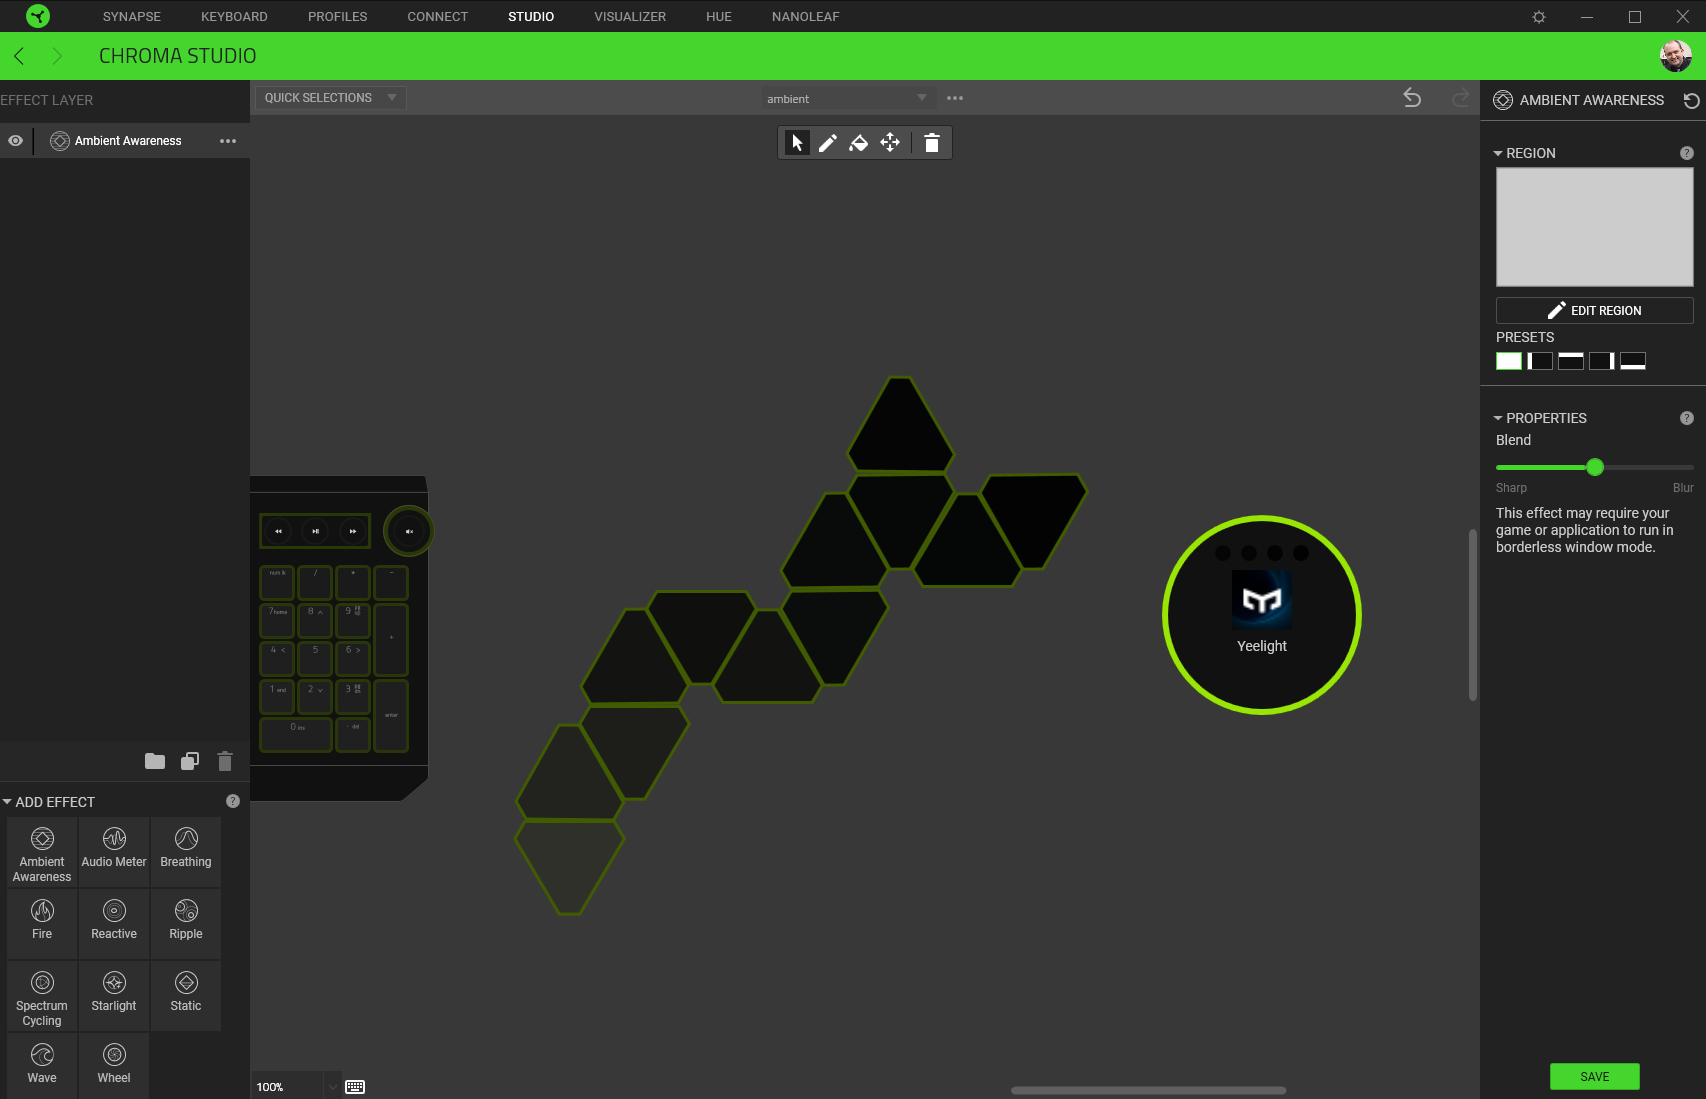
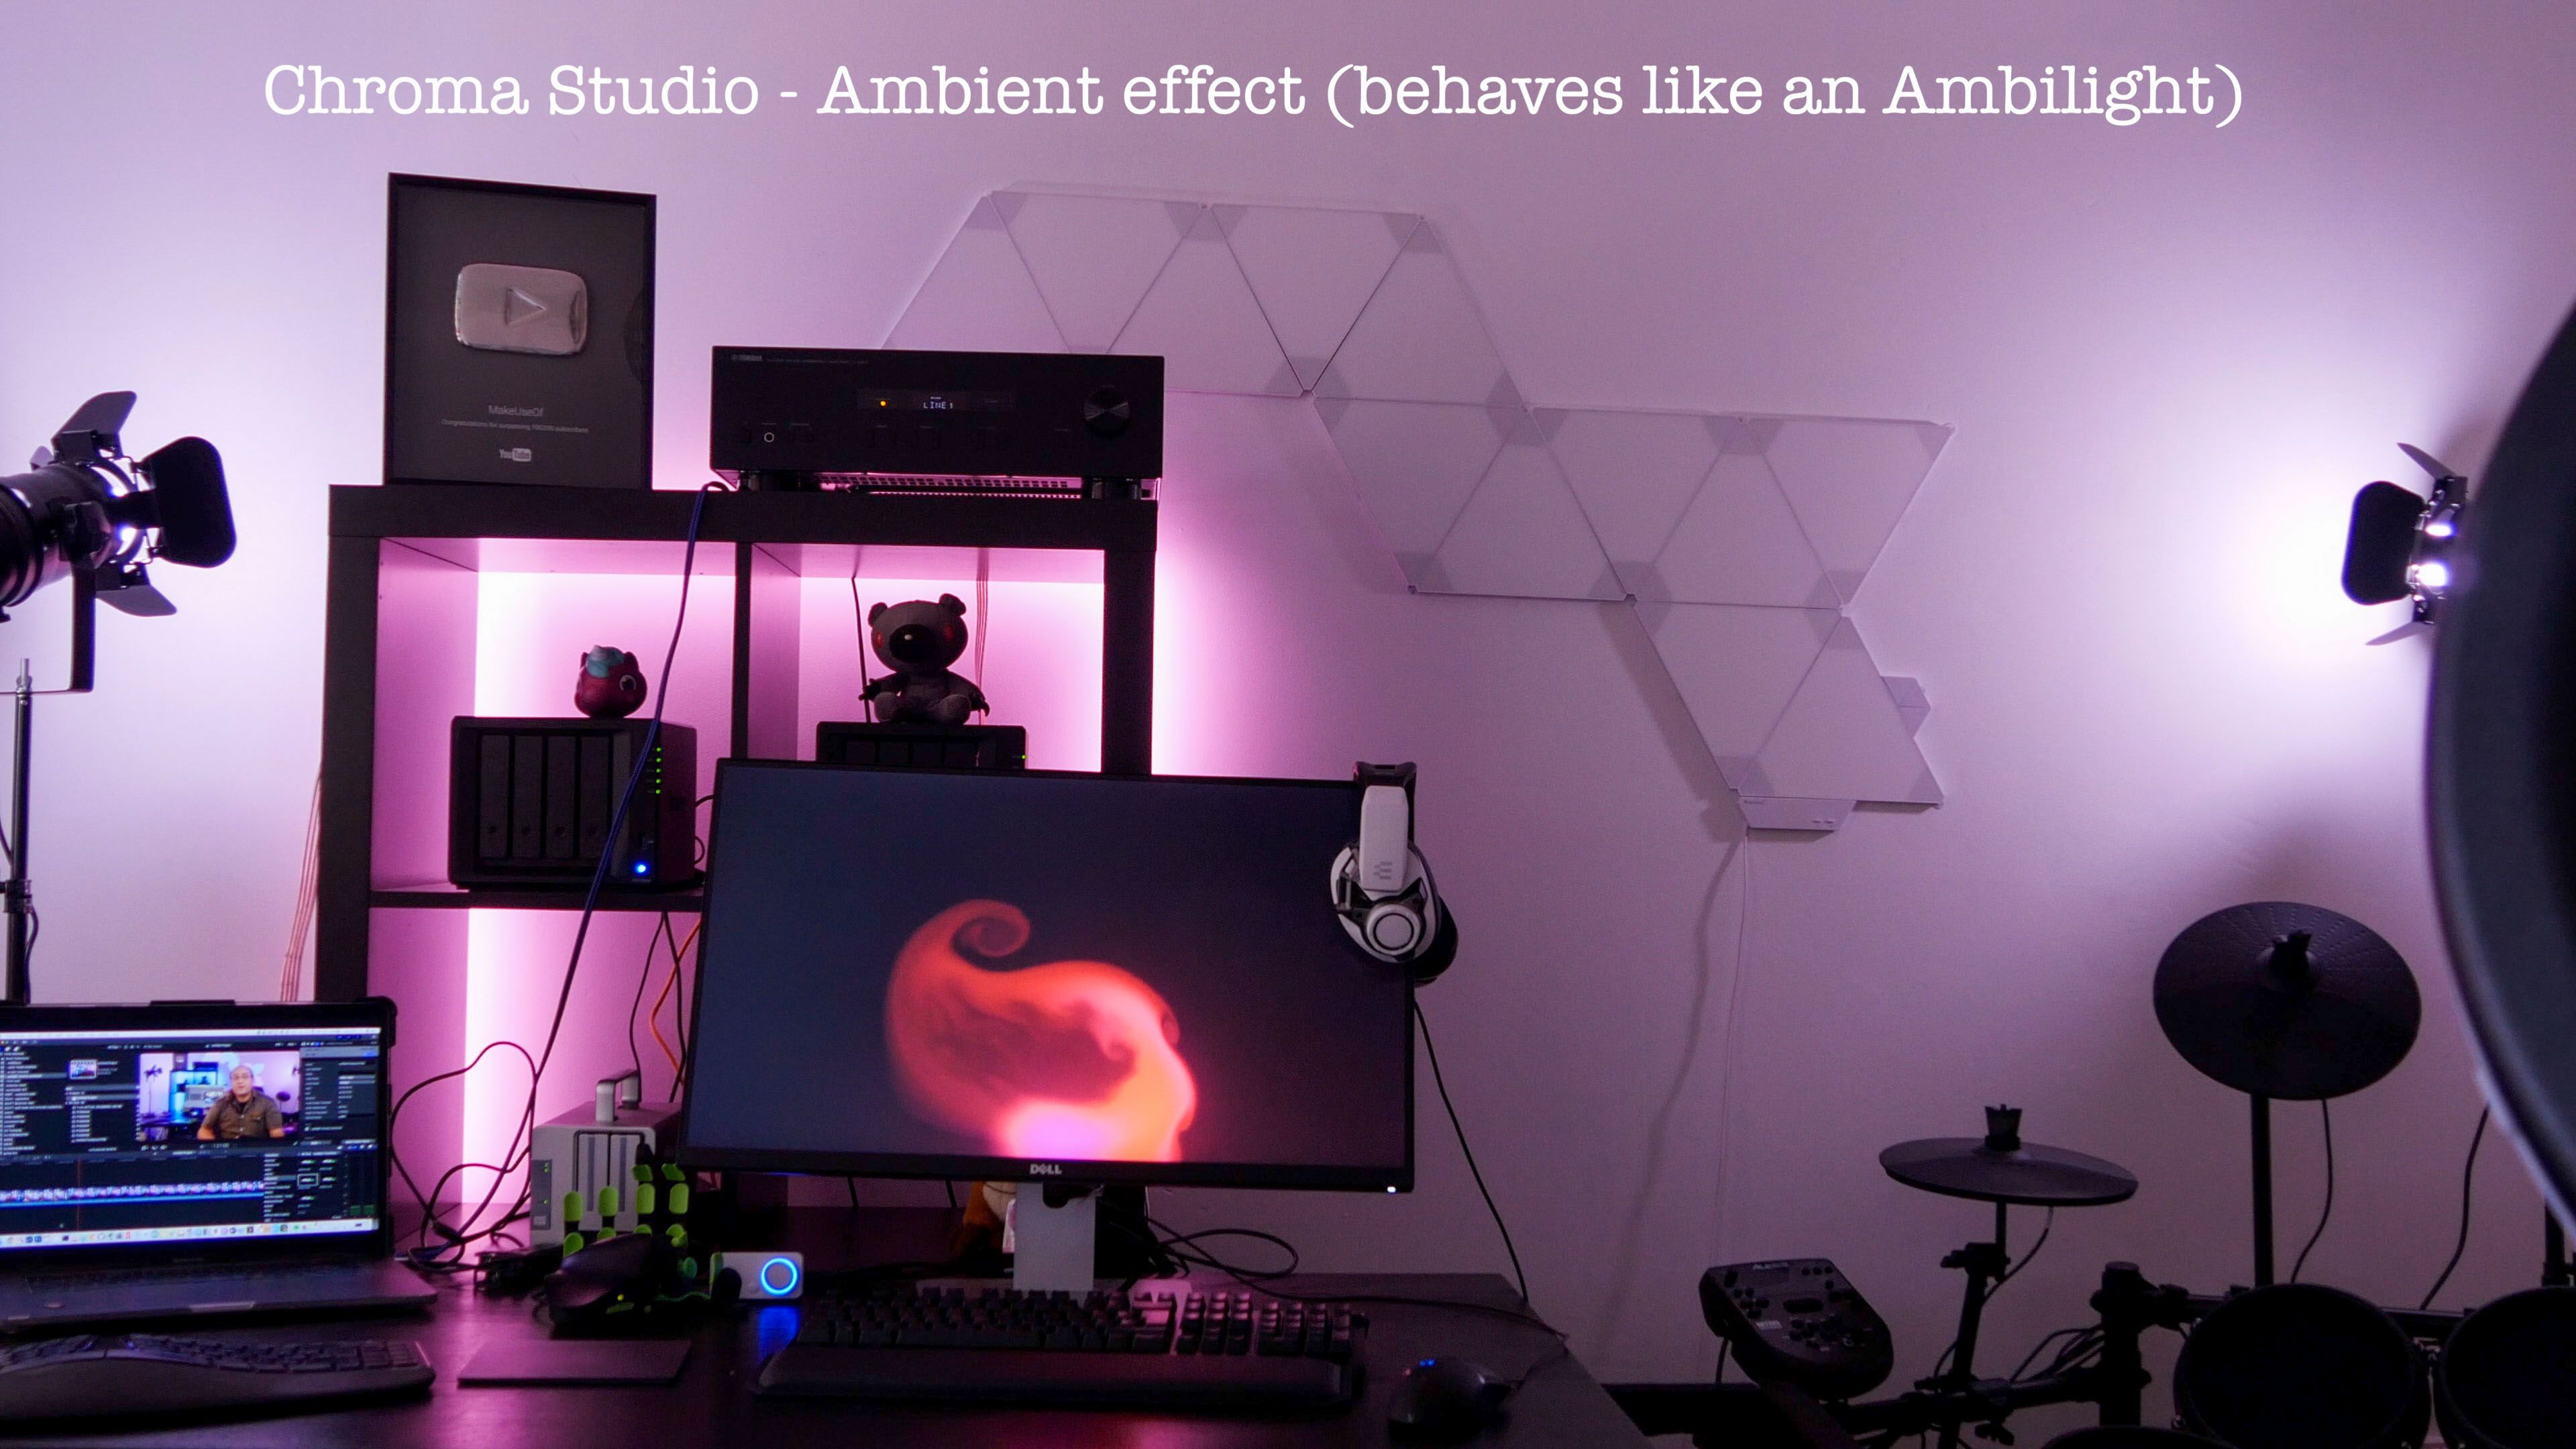
Of course, not all games have a Chroma Profile. In unsupported games, I found the best option was to use Chroma Workshop to create a layer of reactive ambient light–the classic Ambilight style–and attach the Yeelight object to the whole screen. Chroma Workshop is a complex beast, but this effect is relatively easy to apply. Simply add an Ambient Awareness layer, select the round Yeelight icon (the outline will go lime green), then select the whole screen preset from the right, then hit save. If you've assigned different groups then your lighting will reflect different areas of the screen, but it's not clear to me which group represents which area.
Of course, that's not even a fraction of everything Razer Synapse offers for lighting effects. The Visualizer mode requires little configuration to create a dynamic sound-reactive light show across all your devices (though Yeelight offers this mode independently in their app too). This is great fun for jamming, so I just had to fetch my smoke machine and laser too, as I rocked out to 80s power ballads.
Yeelight vs Hue
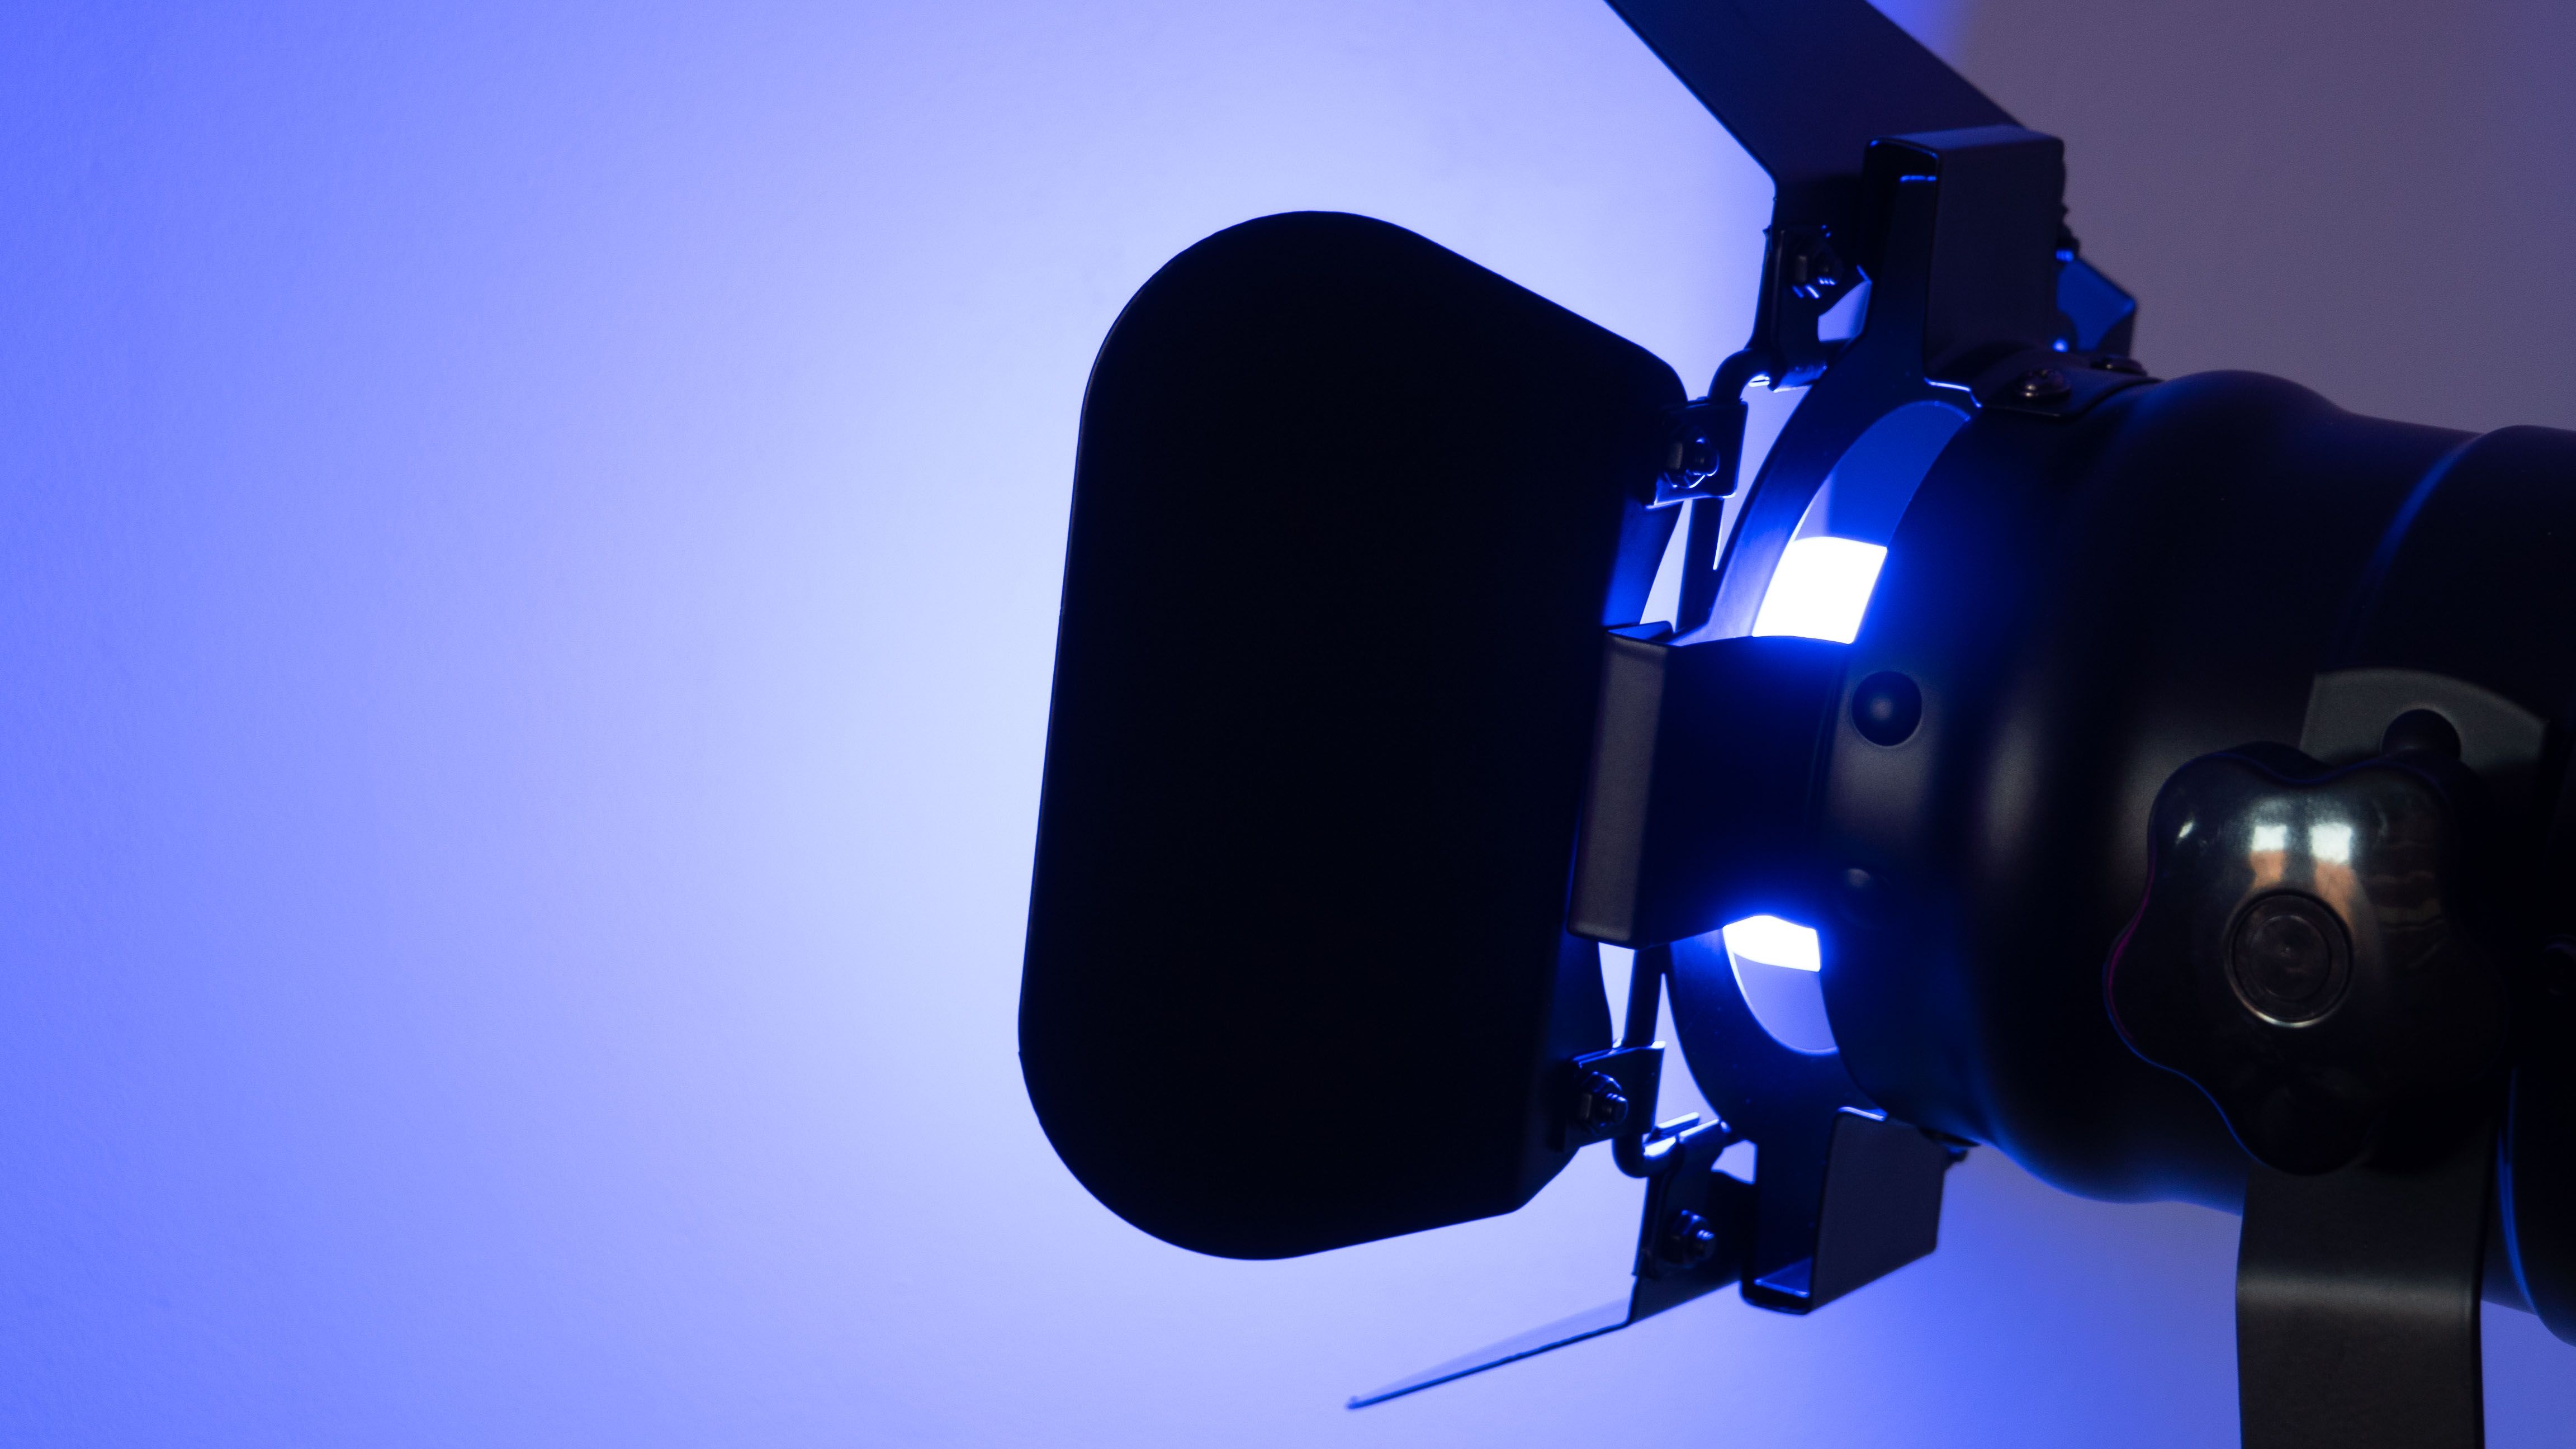
In terms of technical performance, the Yeelight Color 1S and Hue bulbs offerings are on par, with both offering similar brightness and full range of colors they can accurately depict. The Lightstrip 1S is not as bright, but designed to give a glowing outline to furniture rather than provide ambient lighting for a whole room.
The main difference is that Yeelight operates over regular old 2.4GHz Wi-Fi, and doesn't require yet another smart hub. Philips Hue does require a hub, and operates on a separate Zigbee mesh network. It's not as simple as saying one system is better than the other, however, as they both have their advantages and disadvantages.
If you know your house has issues with Wi-Fi, or if you've previously had problems with IoT devices on the 2.4Ghz band, then shifting lighting off to a separate mesh network and its own hub is probably your only choice. If you're planning extensive coverage throughout your whole home, it would also be best if those weren't cluttering up your Wi-Fi.
For most people though, setting up a few Wi-Fi bulbs is significantly easier than running a network cable to a Hue hub, or trying to place bulbs in a meshed chain to provide optimal coverage. If you just want dynamic lighting in a room or two, Yeelight bulbs are ideal.
Oh, and there's the cost of course. The Yeelight Color 1S bulbs cost around $25. The equivalent Hue bulb costs $50. The Lightstrip 1S is also significantly cheaper at $40 vs $65. And that doesn't include the cost of a Hue hub, at around $50. It's worth noting that local pricing can vary though, so do shop around. The Yeelight Color bulb appears to cost $40 from NewEgg, but $25 at GeekBuying.
That said, nothing else can compete with the sheer volume of third-party software integrations and apps available for Philips Hue lights. Whether or not you care about those is another question: there is only so many Halloween party light apps that you can download before you get bored of them. I speak from experience.
Limitations of the Yeelight Razer Connector
Despite setting each bulb to a different group, the Yeelight fixtures are presented as a single device inside of Chroma Studio. This is in contrast to Hue bulbs which are each presented as individual bulbs, or the Nanoleaf panels which can each be addressed individually. This is something I expect will be fixed in a future update, but right now it makes it difficult to set up the bulbs in a true Ambilight mode, whereby you can map individual bulbs to different sections of the screen. This isn't going to be a big issue for most people, but if you love Chroma Studio and being able to intricately design your own custom lighting effects, this limitation might frustrate you.
I also found the lighting signal updates to the bulbs were a little jerky at times, such that a color flow set from Razer Synapse would be more like a flash; but I expect this is down to network performance on my part. I'll be setting up a 2.4GHz-only IoT device network to investigate that further. Right now the bulbs seem to ignore the access point in my office, and prefer the one down the hall, for which they can barely catch the signal, likely because the closest access point tries to force them onto 5GHz.
Love Dynamic Smart Lighting? You'll Love Yeelight
Featuring a simple setup and bright, vibrant colors, there's no easier way to deck out your gaming room with gorgeous RGB lighting–and without spending much at all.
Still not sure if you'll enjoy the lighting effects or just find them distracting? The bulbs are cheap enough to buy one and have a go–and you don't even need any Razer hardware to use the Razer Synapse software.

