
Word clouds are visual representations of textual data. It’s a cluster of words that makes it easy to identify the most used words in a piece of text based on the size, weight, and the number of appearances of various words in the cloud. Also known as tag clouds, they make it easy to identify the main themes of a text, blog, website, or business.
You can easily create word clouds with the help of Word Art, a free online word cloud generator. Let's show you how.
Word Cloud Applications

Word clouds can be used in many interesting ways besides identifying the most used words or themes in a text. Here are a few applications of word clouds:
- As a visualization tool in the form of tag clouds, to help users search content easily.
- To compare and contrast two pieces of work and bring out their similarities and differences.
- As a data visualization method to identify recurring issues in complaints, requests, and user feedback and address them.
- To prevent overuse of words in writing.
- Commercial purposes like printing on merchandise, speech clouds, and memes for marketing.
How to Use Word Art to Create Word Clouds
Word Art is a free online tool that helps you create word clouds in various shapes, sizes, and colors, and you don't even have to sign up. The free version gives you standard-quality images, and you can pay for high-quality downloads.
Here’s how you can use the Word Art tool to create your own word clouds.
Step 1: Getting Started
To get started, simply click the green Create button to access the Word Art Edit window.

Step 2: Input a List of Words
In the Words section, you can input your list of words for the word cloud in five ways:
-
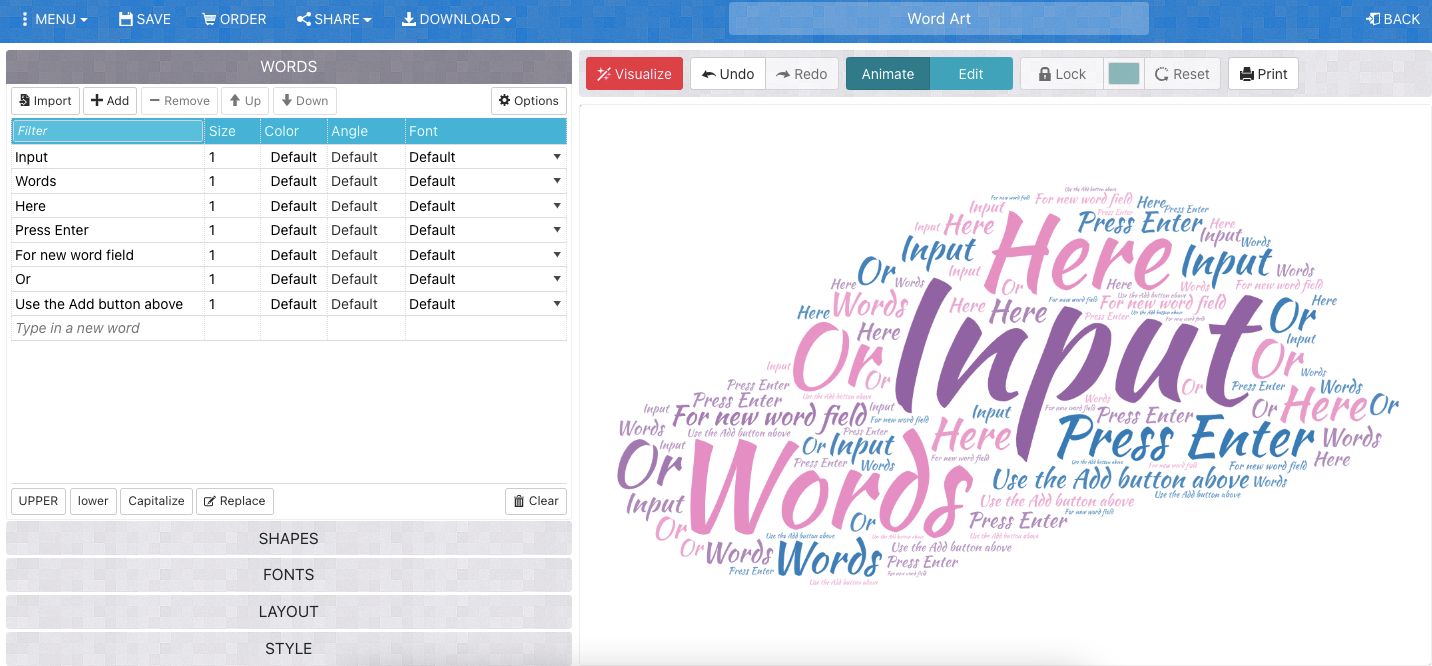
Type Manually: Type in your list manually beneath the Filter column. You can press Return to go to the next line or use the Add button beside Import to keep adding new words.
-
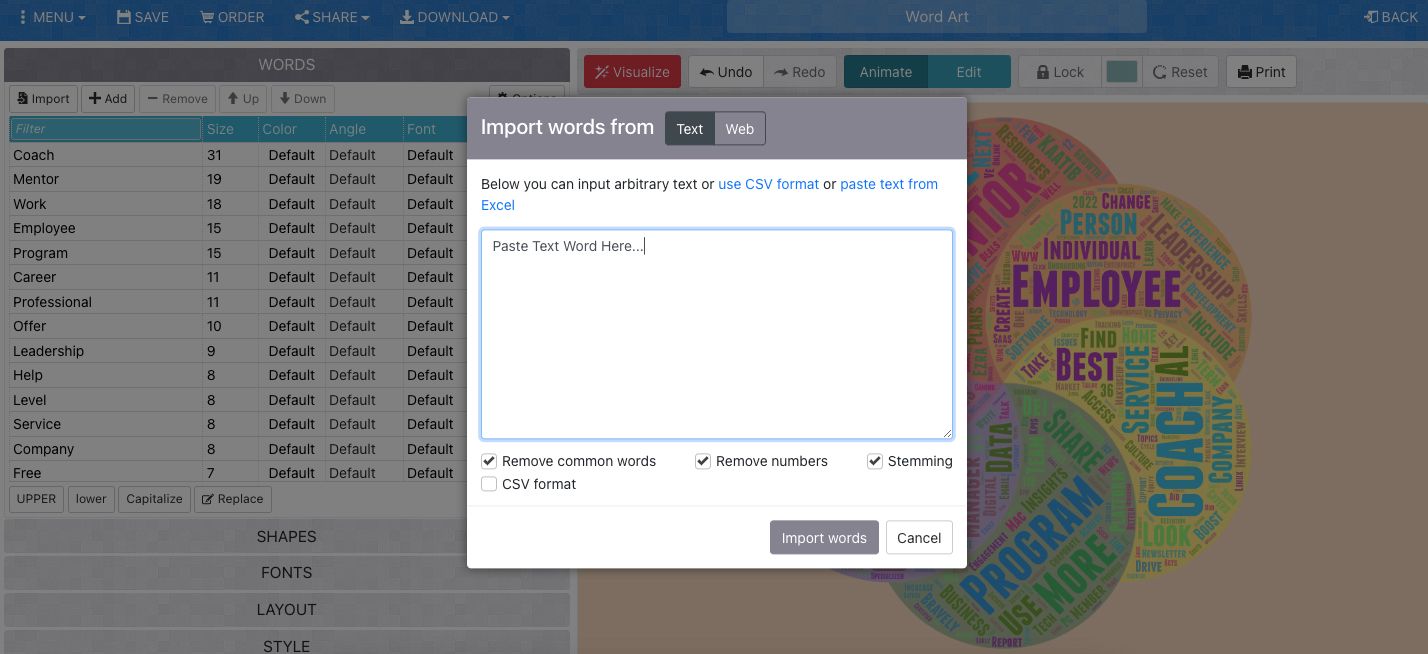
Copy a Text Block: Click the Import button to get a dialogue box with a text field to paste your word list.
-
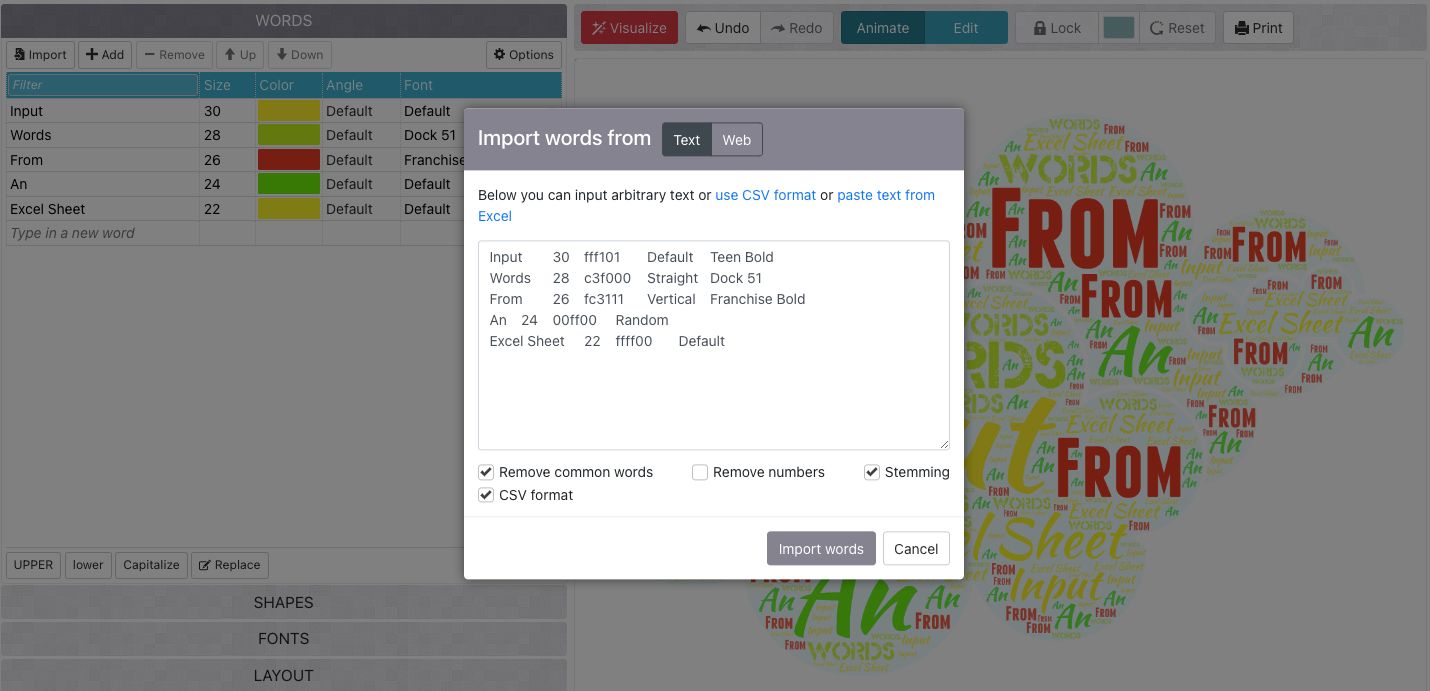
Import Data From a Spreadsheet: Use the text box to paste data from an Excel sheet or its alternatives without formatting. Just check the CSV format box so the tool can import the correct values for all the fields.
-
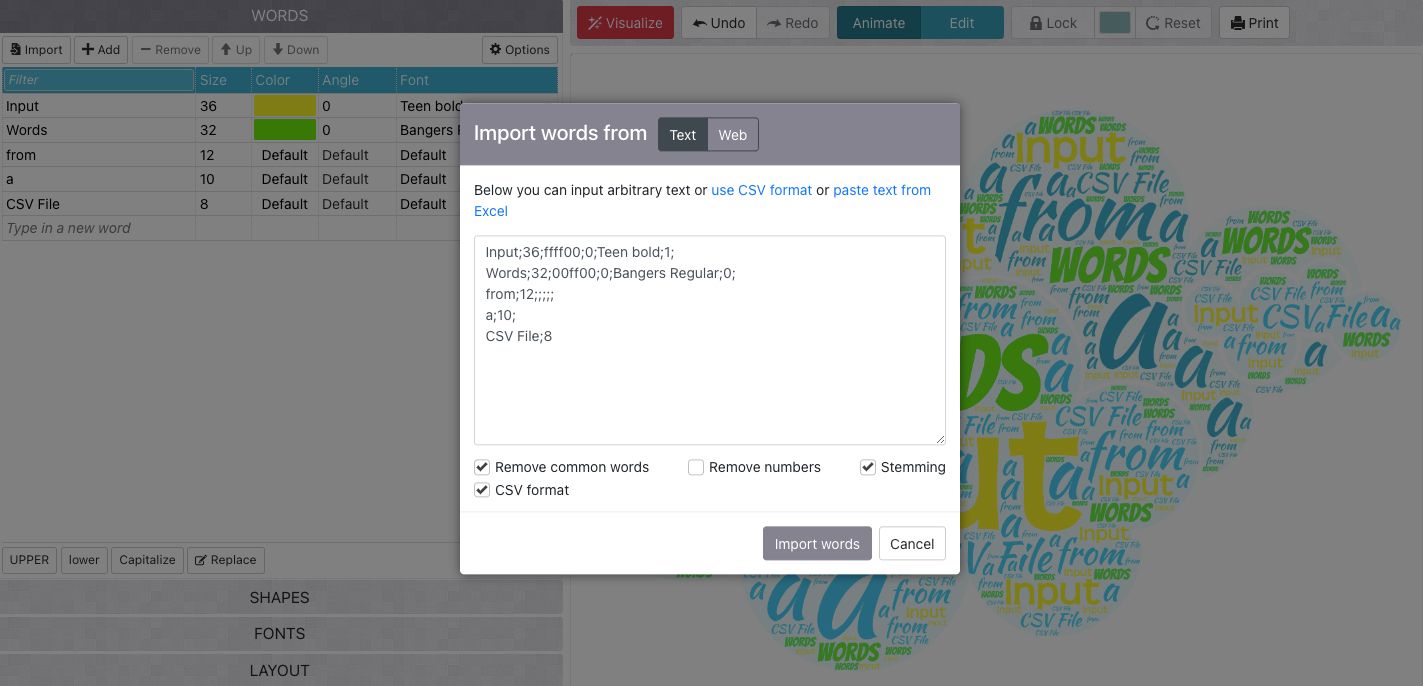
Copy Data From a CSV File: Create a CSV file with all the words and their filter values like size, color, angle, etc., as shown below, and paste it into the text box.
-
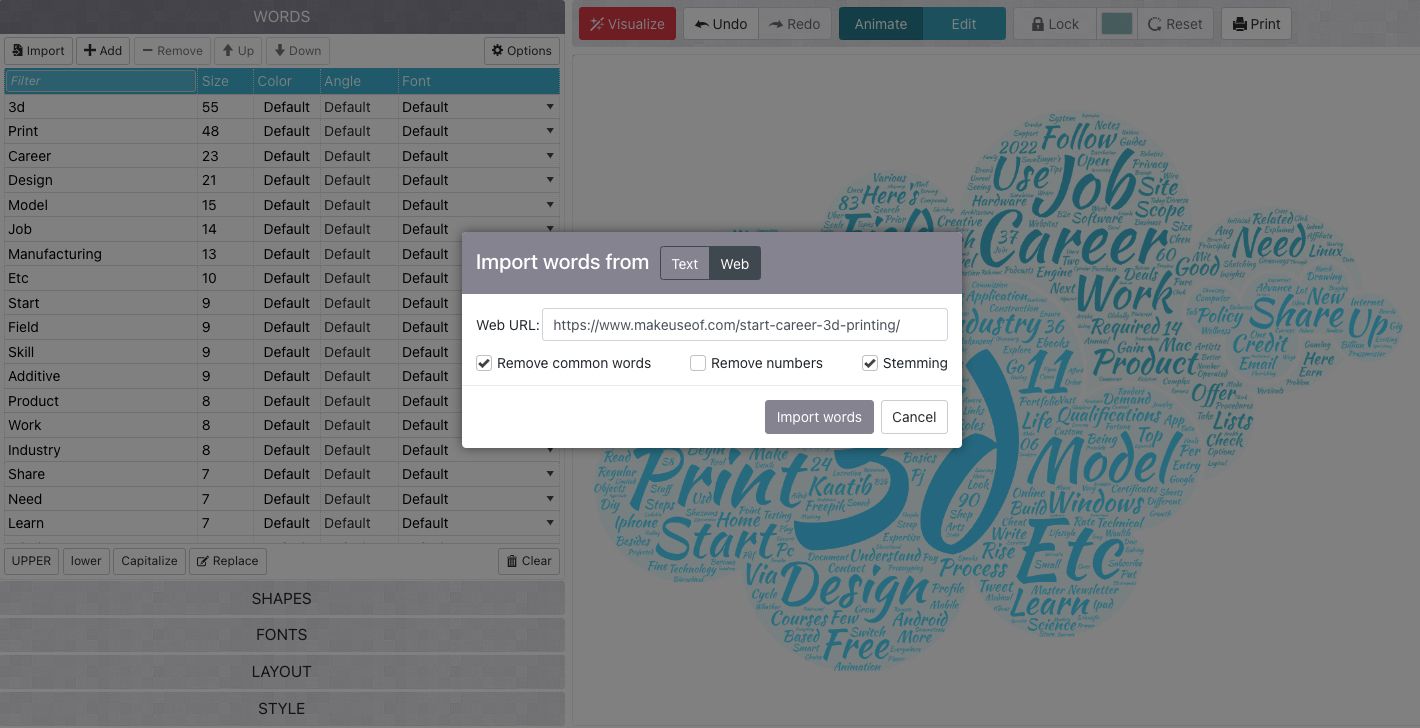
Import From URL: Click on the Web button. Paste the URL in the Web URL field, then click on Import Words.


Step 3: Set the Filter Values
If you’re using a spreadsheet or a CSV file to import data, this step will already be taken care of. If not, you can set the values manually by clicking on individual values for each filter. Here’s a quick look at the various filters provided by Word Art via the top panel and the Options button:
- Size: A number value that determines the size of the words. Words should appear in order of priority if you want to input the size manually. The first word in the list will be the biggest, and subsequent words will get successively smaller. If you’re importing words from a URL, the word list is sorted in order of the number of times a word appears in the text.
- Color: You can select the default color scheme to let Word Art choose the colors of the cloud. Or you can assign a color to each word with an RGB value, a Hex code, or by selecting a color value from the color box.
- Font: You can assign a different font to each word or choose the default value to let Word Art select the fonts.
- Repeat: You can manually set the number of times each word appears in the cloud.
- Links: You can hyperlink the words in the cloud to a web URL of your choice. Click on the Options button, then select either Pattern or Manual. If you choose Pattern, you’ll need to specify a URL pattern to hyperlink the words to. If you select Manual, a column for Links will appear in the main editor; input your links manually in this field.

Use the Upper, Lower, Capitalize, Replace, and Clear buttons at the bottom panel to change your word fields with a single click or clear all the data.
Step 4: Choose the Shape of the Word Cloud
Word Art allows you to create word clouds in various shapes and diverse themes in the Shapes section. You can choose from Animals, Hearts, Christmas, Music, Toys, Sports, Zodiac, and miscellaneous themes to create your word cloud.


Step 5: Select a Font and Font Weight
The Fonts section lets you see the font you’re choosing. It also allows you to select a font weight, with Regular, Medium, or Bold being the three options. Check out the best font-pairing strategies for the perfect combination.

Step 6: Choose an Appearance Layout
The Layout section helps you select the density of words in the word cloud, the spacing of the words, and the appearance of small words inside big letters. Play around with this until you're happy with the result.

Step 7: Apply Style Elements
You can manipulate the following elements in the Style section:
- Word Colors: You can choose to keep the colors of the original Shape or use custom colors. Keep clicking on Custom to generate different colors, or click on one of the colors to access the color selection box.
- Color Emphasis: This will increase or decrease the intensity of the color.
- Background Color: Set the background color, let it remain white, or make it transparent.
- Background Image: This slider will help you increase or decrease the transparency of the cloud shape’s background.

Step 8: Visualize Your Word Cloud
Click on the Visualize button to create your word cloud. Once you’ve visualized your word cloud, you can save it or re-edit every detail, from the word list to the fonts, colors, shapes, and style.

Step 9: Download Your Free Word Cloud File
You can download the word cloud from Word Art in one of the three ways:
-
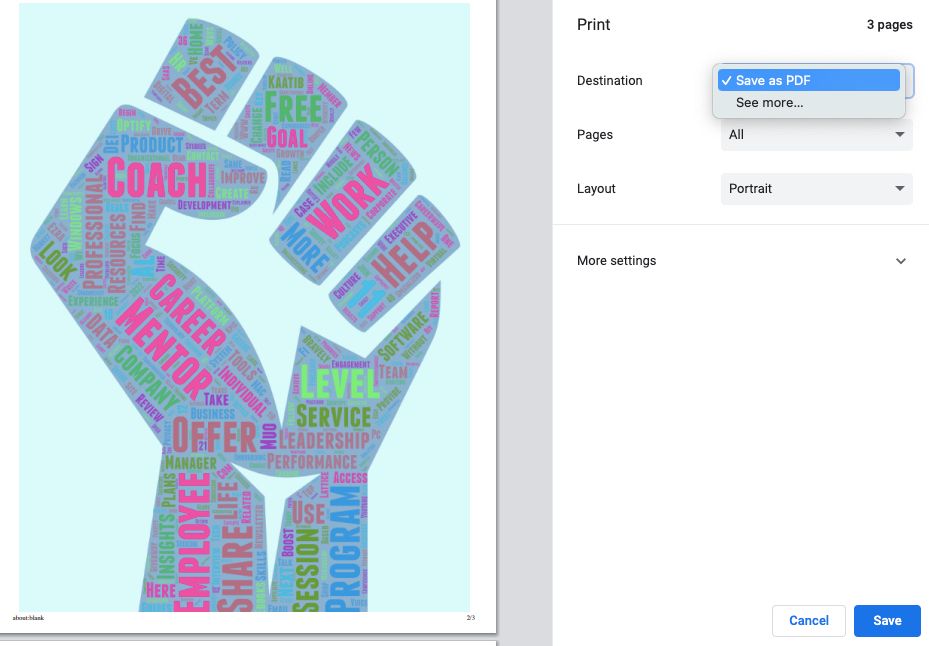
If you haven’t signed up, click on Print in the top right corner, set the Destination to Save as PDF, and hit Save.
-
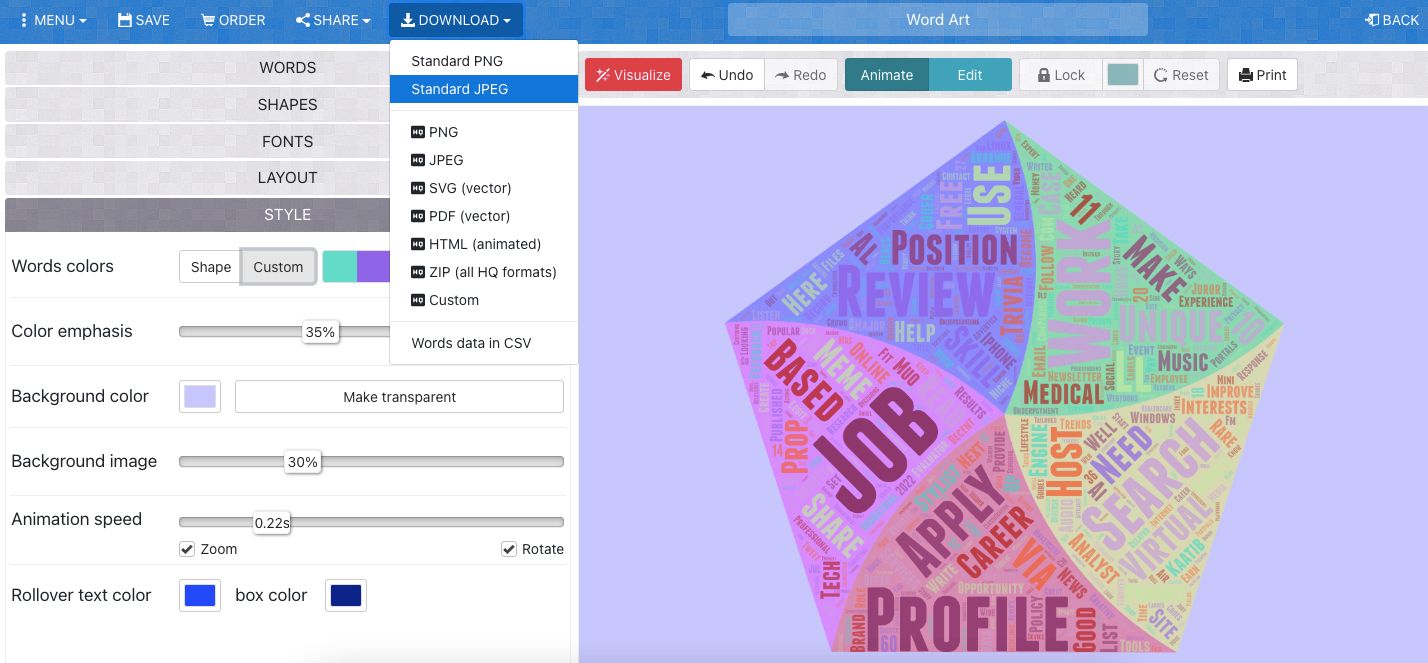
You can also save your word cloud in standard JPG and PNG formats from the Download dropdown at the top panel.
- If you want HD files and prints, you’ll need to buy a High-Quality data pack.


Make a Creative Word Cloud in No Time
Word Art is a straightforward tool that doesn’t require any graphic design skills to master. It’s perfect for users who have trouble creating professional-looking images and handy for writers to keep a tab on their word usage. If your interest is piqued, give it a try.