
Many modern applications operate on files that a user can upload to their system. Image editors, code IDEs, and word processors are all examples. If you’re building a Windows Form application, you can easily add this functionality as part of your user interface.
Windows Form applications allow you to drag and drop UI elements such as panels or list boxes. You can use these UI elements to create your drag and drop functionality. When the user drags a file onto a panel, you can display feedback based on that file.
How to Create the UI for the Drag and Drop Container
You can use a panel element to create the UI for the drag and drop functionality. You can then use a ListBox UI element to display the names of any files a user drags onto the panel.
- Create a new Windows Forms application.
-
In the toolbox, search for a panel UI element, and drag it onto the canvas.
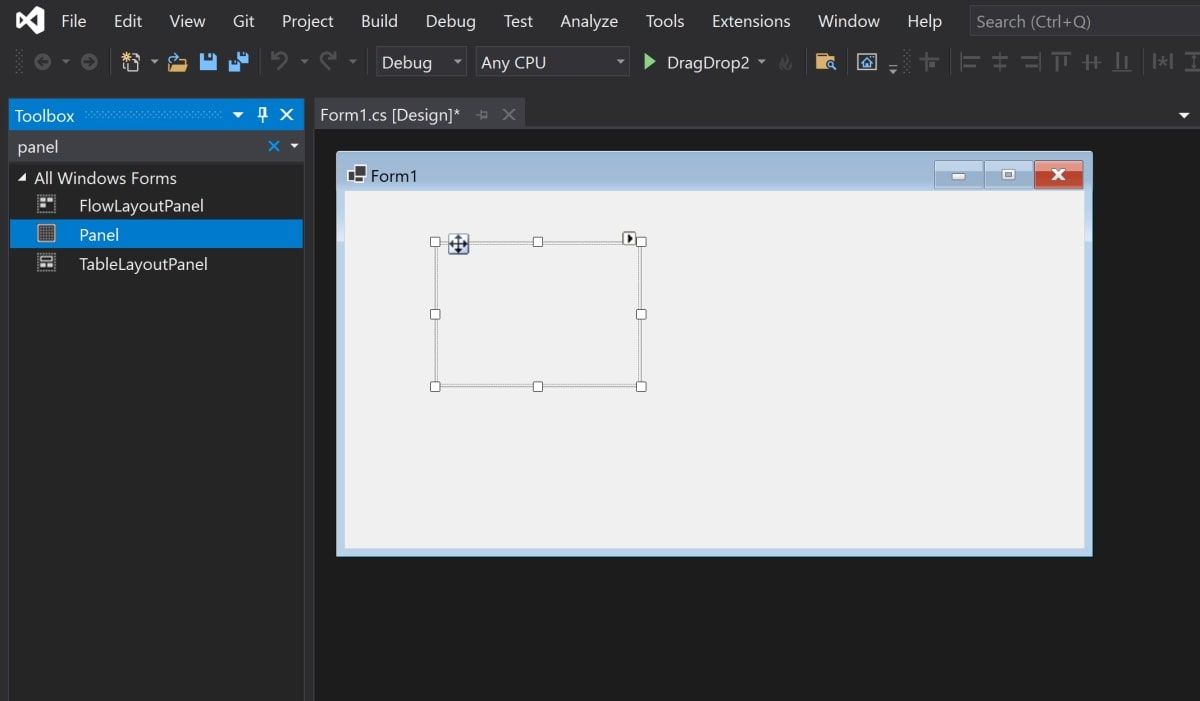
-
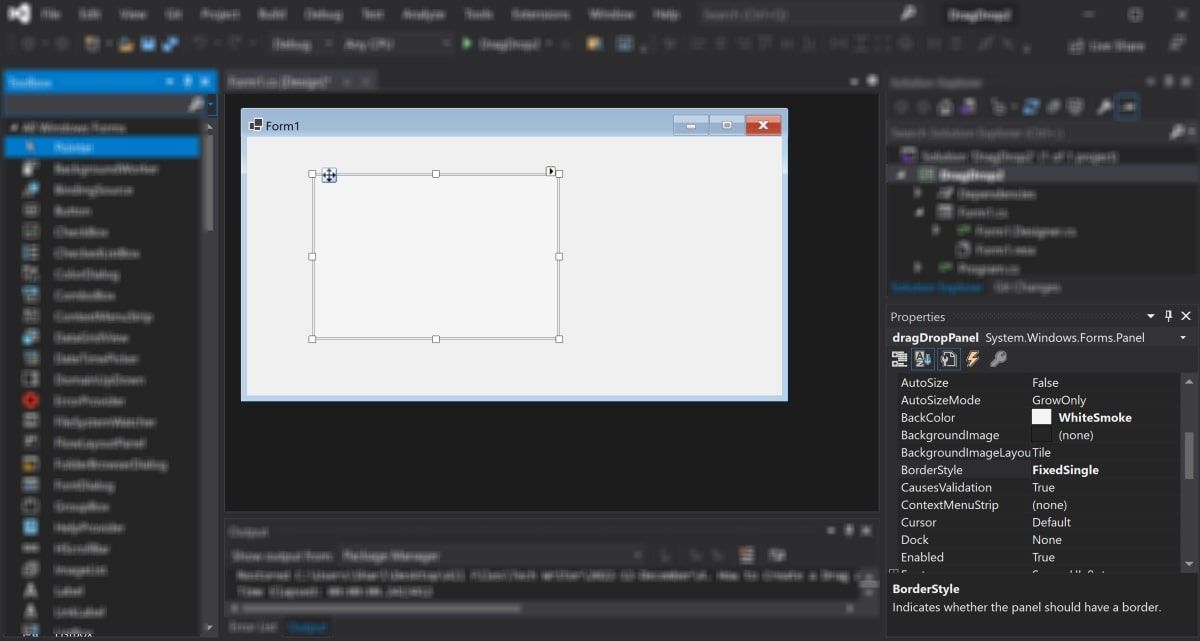
Highlight the new panel. In the properties window, change the values of the following properties:
Property
New Value
Name
dragDropPanel
BackColor
WhiteSmoke
BorderStyle
FixedSingle
Size
600, 400
Visible
True
-
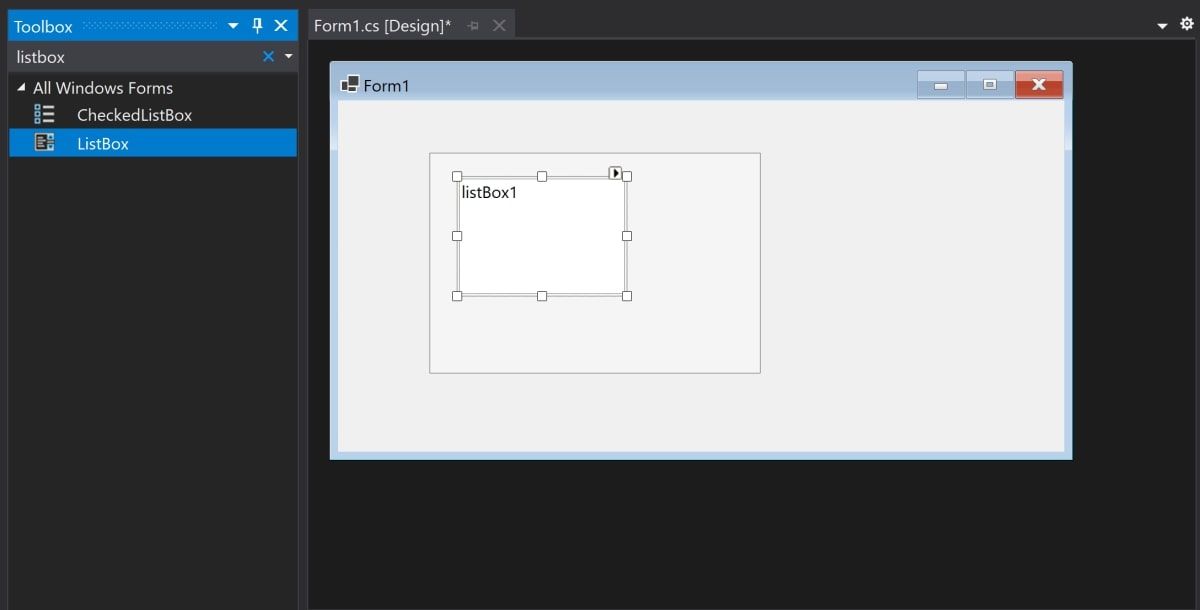
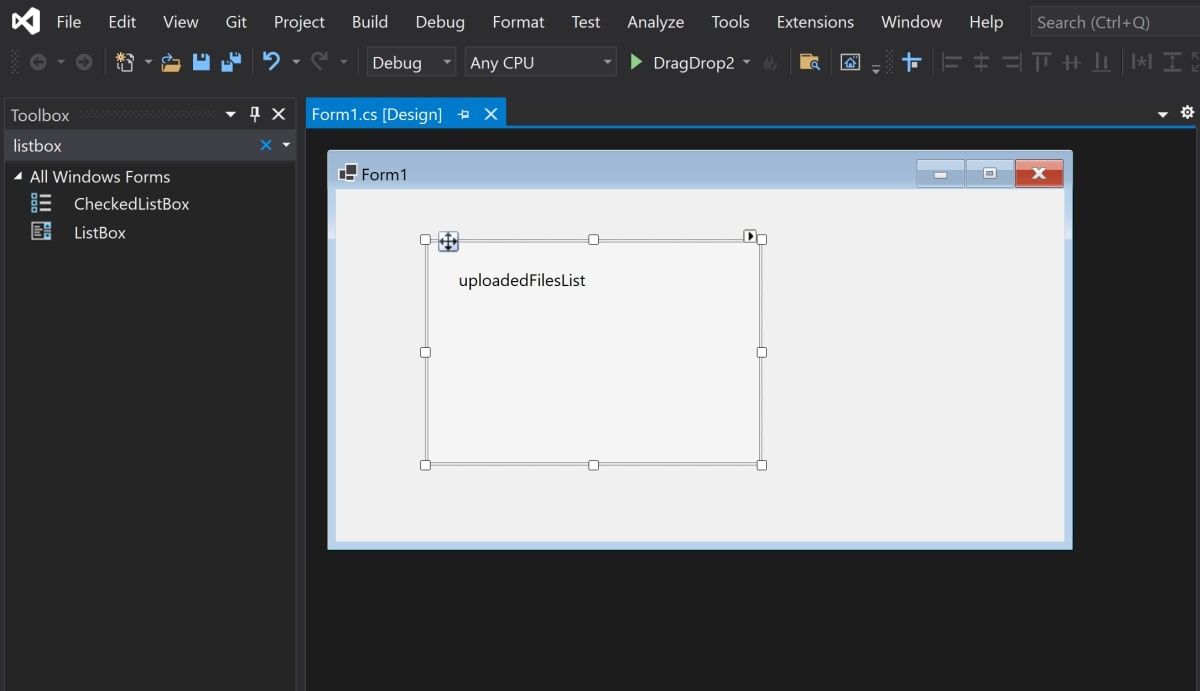
In the toolbox, search for a ListBox UI element, and drag it onto the canvas. Position it so that it is inside the panel, and ensure that there is some spacing between the ListBox and the panel.
-
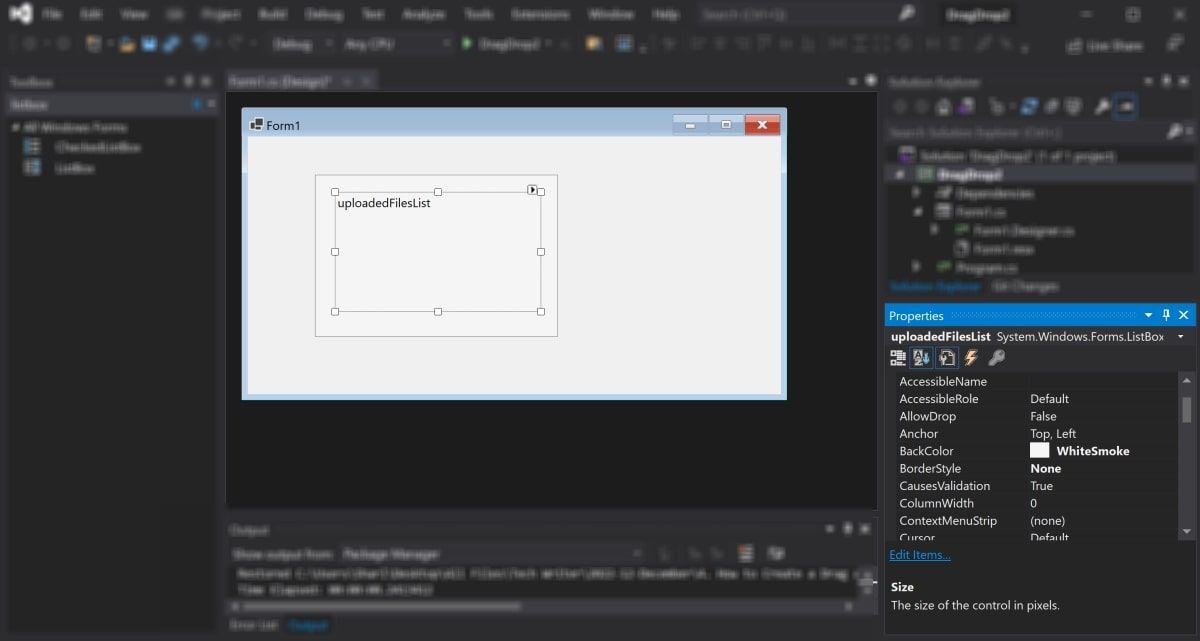
Highlight the new ListBox, and change the values of the following properties:
Property
New Value
Name
uploadedFilesList
BackColor
WhiteSmoke
BorderStyle
None
Size
500, 300
Visible
False


How to Add the Drag and Drop Event
You can use events in a Windows Form application to execute certain functions only when certain events occur.
To add functionality to the drag and drop panel, you will need to add two events. The "DragEnter" event will occur when you drag files over the panel. The "DragDrop" event will occur when you let go of the mouse to drop the files into the panel.
-
Highlight the outer panel UI element.
-
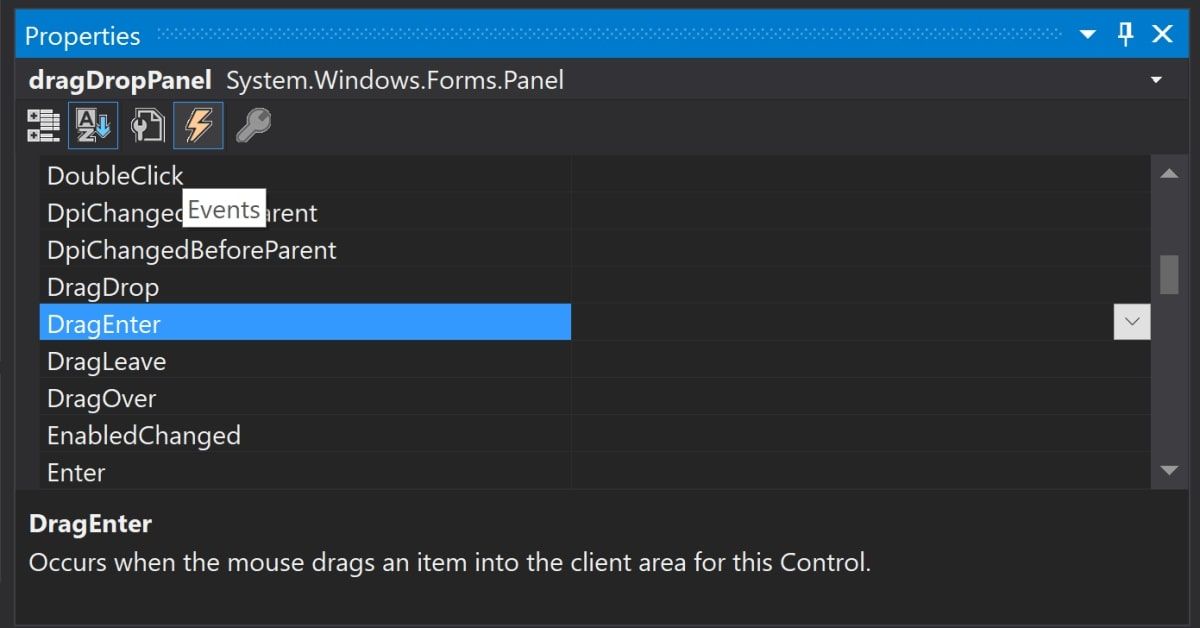
In the properties window, click on the Lightening icon to open the events list.
-
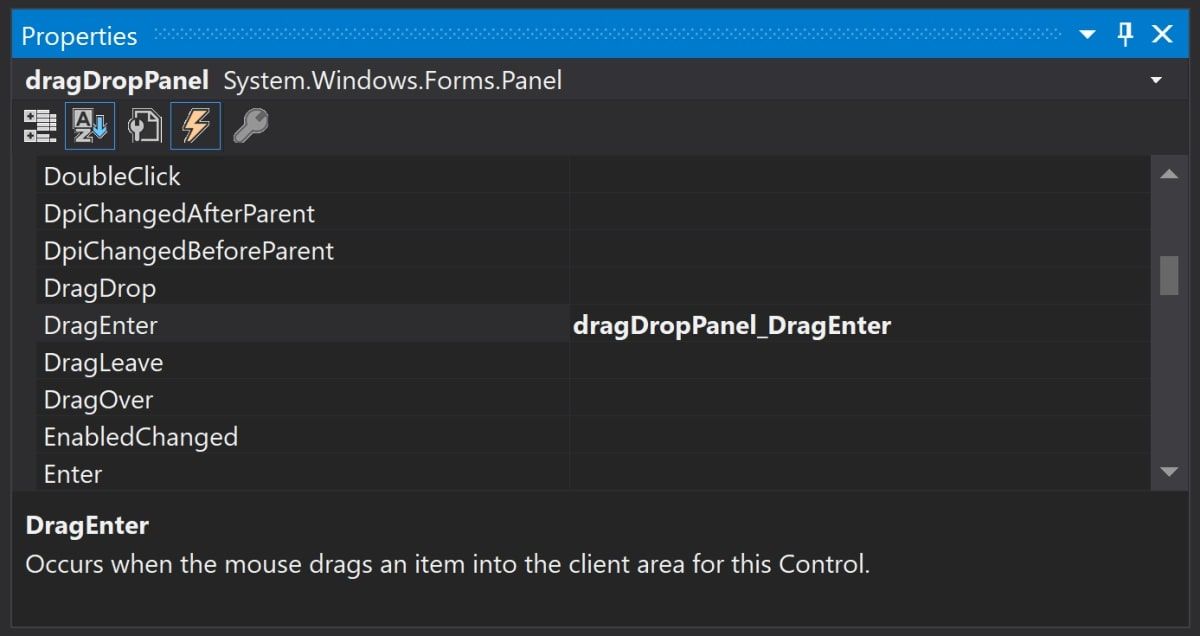
Double-click on the DragEnter event to generate a new function. This function will execute when you drag files over the panel.
-
Inside the new function, change the icon of the mouse to indicate the drag/drop action:
        private void dragDropPanel_DragEnter(object sender, DragEventArgs e)
{
    // Changes the icon of the mouse
    e.Effect = DragDropEffects.All;
} -
Click on the Form 1.cs [Design] tab at the top of the Visual Studio window, to go back to the canvas view. Highlight the panel UI element.

-
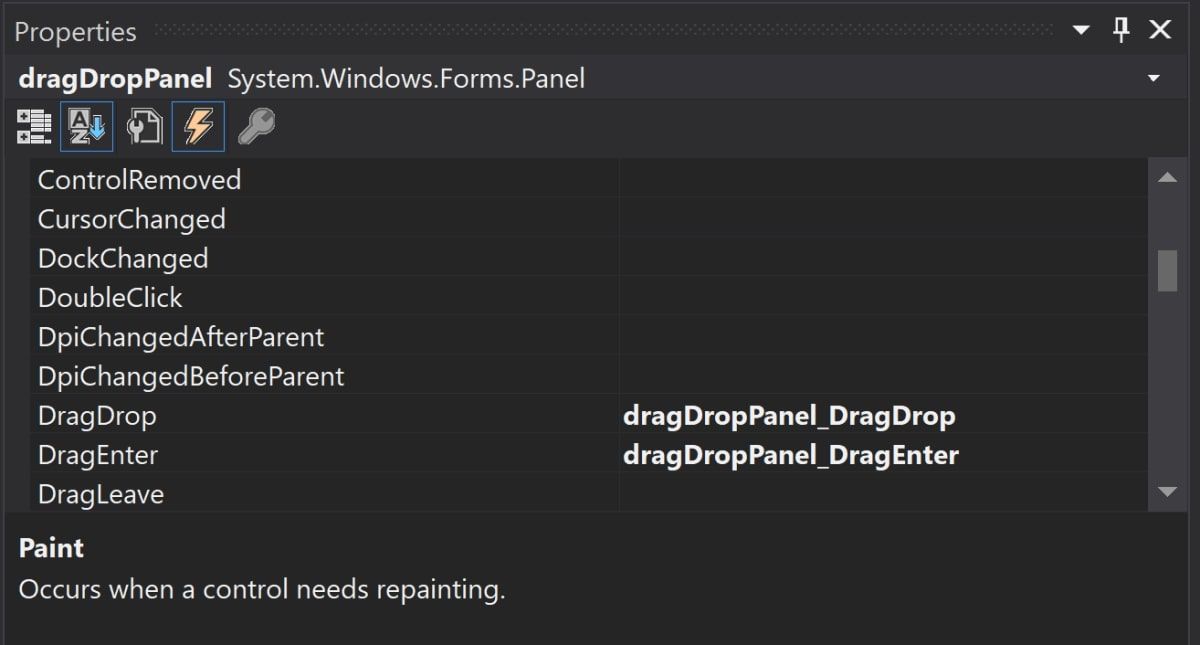
In the properties window, click on the Lightening icon to go back to the events list. This time, double-click on the DragDrop event. This will generate another function that will execute when you let go of the mouse to drop the files into the panel.
-
Inside the new DragDrop function, get the list of files that the user is dragging into the panel. You can find this in the event details that are automatically passed into the function.
        private void dragDropPanel_DragDrop(object sender, DragEventArgs e)
{
    string[] files = (string[])e.Data.GetData(DataFormats.FileDrop, false);
}


How to Display the List of Dragged Files
Now that you have added the functionality for the user to drag and drop files, you can display the names of the files using the ListBox UI element.
-
Inside the dragDropPanel_DragDrop() function, after getting the list of files, use a for-loop to loop through each file.
        foreach (var file in files)
{

} -
Inside the for-loop, only get the name of the file. Separate the name of the file from the file path, and store it in a separate variable. If you are using a Mac, you may need to modify the code to take into account forward slashes instead of backslashes.
string fileName = file.Substring(file.LastIndexOf("\\") + 1, file.Length - (file.LastIndexOf("\\") + 1)); -
Add the name of the file to the ListBox UI element.
        try
{
    uploadedFilesList.Items.Add(fileName);
}
catch (Exception exception)
{
    Console.WriteLine(exception);
} -
The ListBox is not visible by default. After the for-loop, change the visibility of the ListBox to true:
uploadedFilesList.Visible = true; -
Modify the constructor at the top of the file. Set the AllowDrop and AutoScroll properties of the drag and drop panel to true.
        public Form1()
{
    InitializeComponent();
    dragDropPanel.AllowDrop = true;
    dragDropPanel.AutoScroll = true;
}
How to Clear the List
After the user has dragged items into the panel, they may want to clear the list and start again. You can add a button to clear the list when the user clicks on it.
-
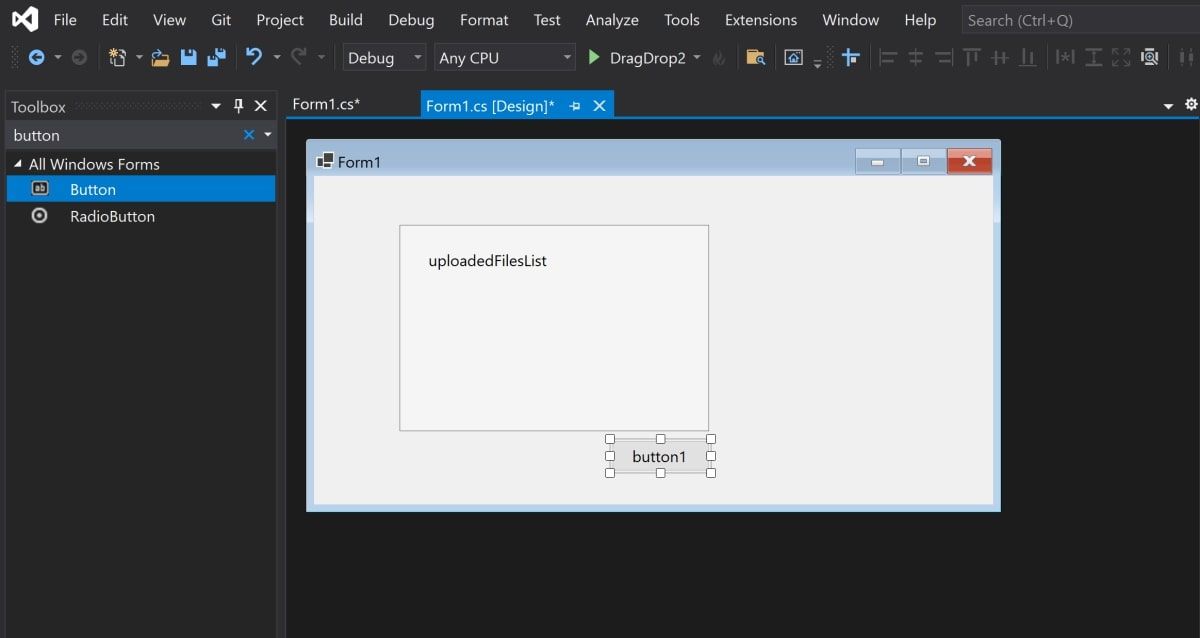
Using the toolbox, drag a button onto the canvas.
-
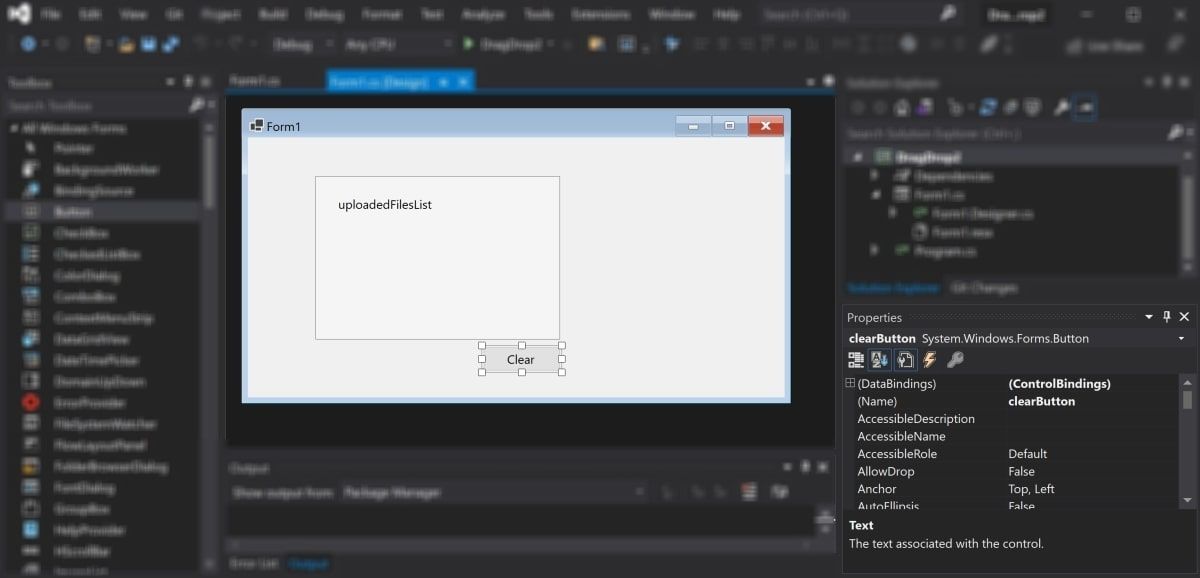
Highlight the button. Use the properties window the change the following properties to the new values:
Property
New Value
Name
clearButton
Text
Clear
-
Double-click on the button to generate a new function. This function will execute when you click on the button at runtime:
        private void clearButton_Click(object sender, EventArgs e)
{

} -
Inside the function, clear the contents of the ListBox UI element and hide it:
        private void clearButton_Click(object sender, EventArgs e)
{
    uploadedFilesList.Items.Clear();
    uploadedFilesList.Visible = false;
}


How to Test the Drag and Drop Panel
To test the drag and drop functionality, run the application and drag some files into the panel. If needed, you can also debug your Winforms application in Visual Studio at runtime. This will help you understand what is happening in each line of code.
-
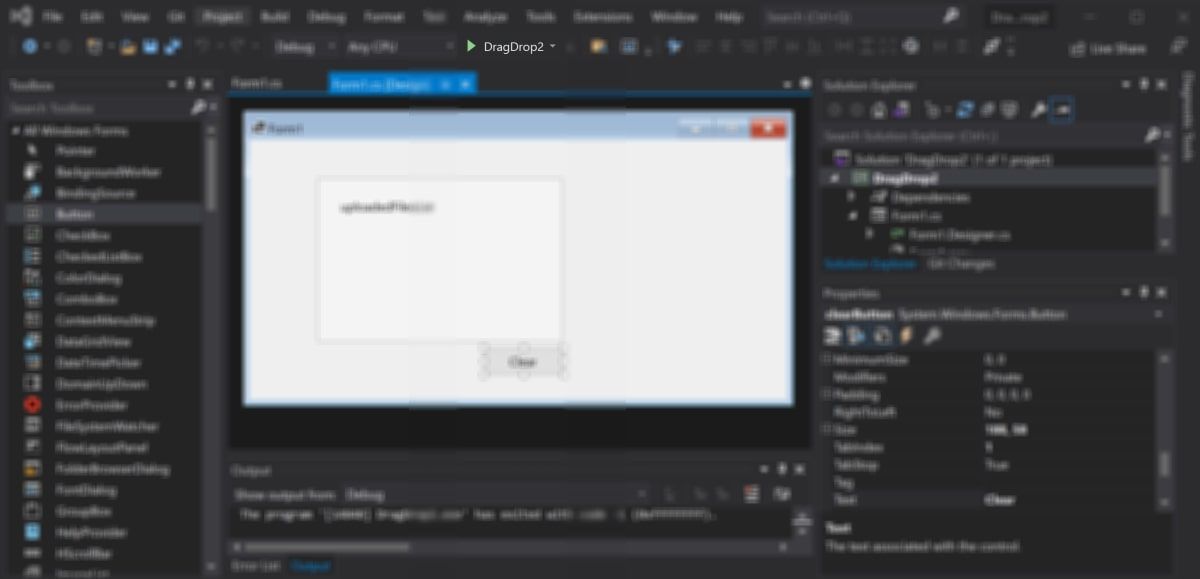
Press the green play button at the top of the Visual Studio window to run the application.
-
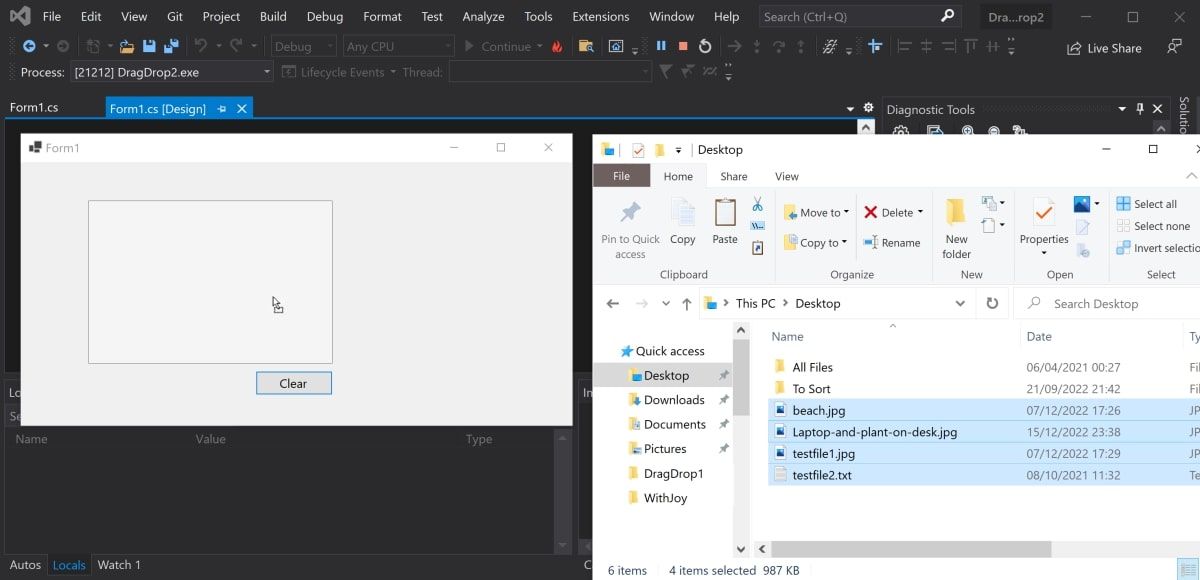
Drag some files from your file explorer, and drop them into the panel. Make sure you are not running Visual Studio in administrator mode. You will need to configure extra security permissions for drag and drop to work in administrator mode.
-
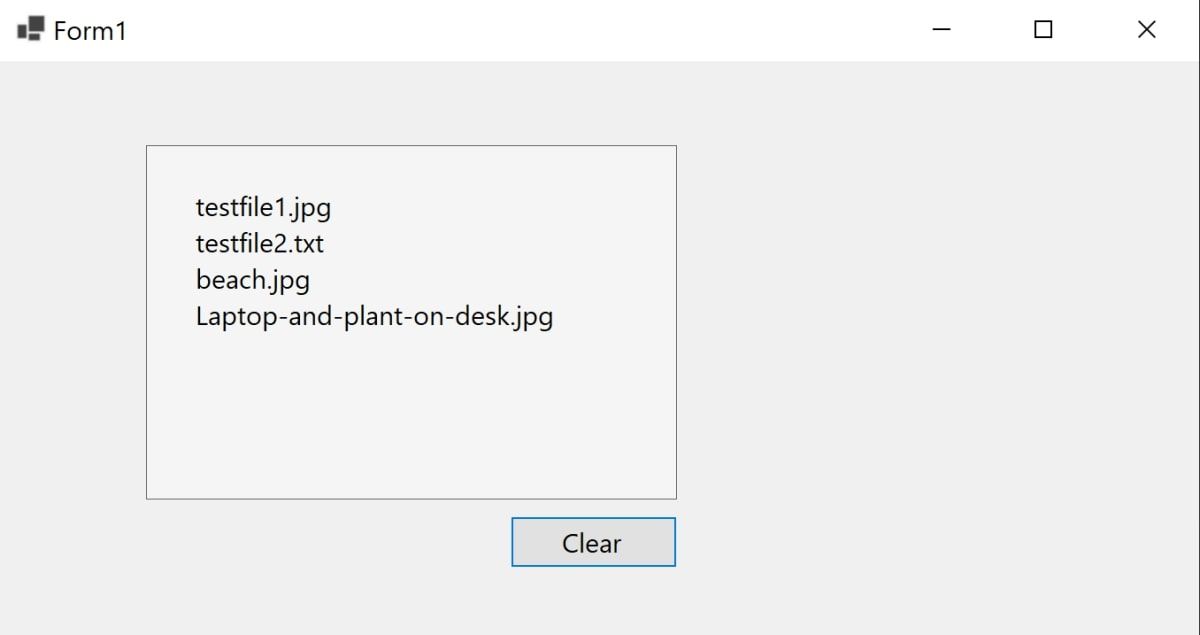
The panel will update to show you the names of the files you dragged into the panel.
-
Drag enough files and you’ll see the drag and drop panel displays a scrollbar on its right side automatically.

-
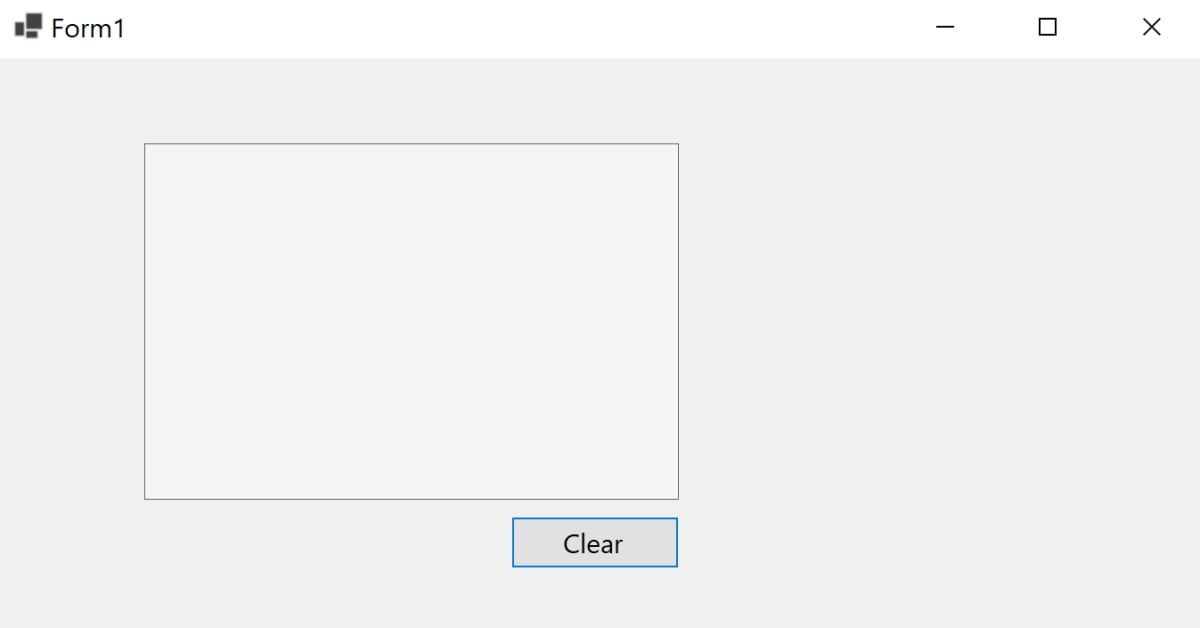
Click on the Clear button to empty the list.


Using Drag and Drop Functionality in Windows Form Apps
Now you hopefully understand how to add drag and drop functionality to your Windows Form application. There are many other features you can explore to do interesting things with Windows Forms.