You're trying to connect your Windows PC to Wi-Fi, but your device keeps failing you. How do you tackle this issue and finally get connected to the internet?
In this article, we’ll show you how to connect your device to Wi-Fi via the Control Panel, Taskbar, system settings, and the Command Prompt.
1. How to Connect to Wi-Fi Using the Control Panel
The Control Panel can help you configure various Windows system settings. Interestingly, this tool can also help you easily connect to Wi-Fi.
Here’s how to connect to a Wi-Fi network using the Control Panel:
- Press Win + R to open the Run command dialog box.
- Type Control Panel and press Enter.
- Click the View by drop-down menu and select Small icons.
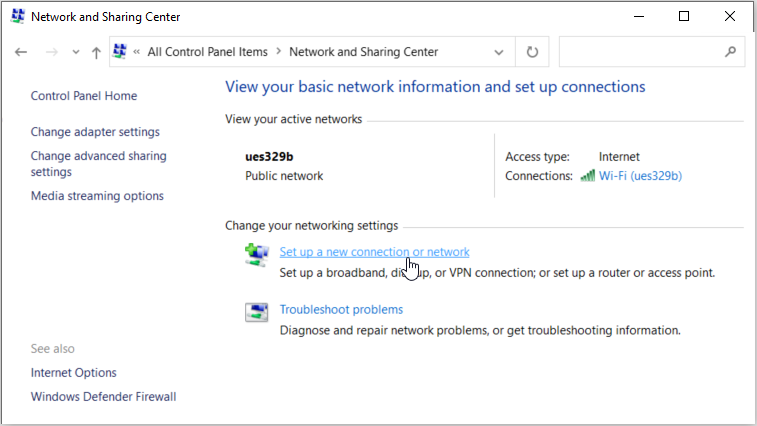
- Click the Network and Sharing Center option.
- Select the Set up a new connection or network option under the Change your networking settings section.
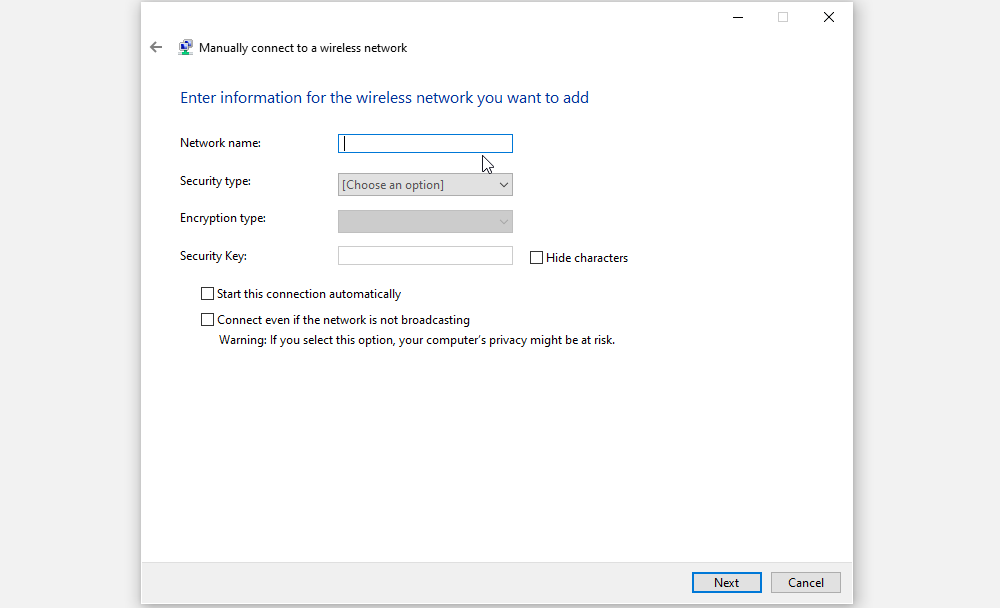
In the next window, select the Manually connect to a wireless network option and click the Next button. Now, type the name of the Wi-Fi network in the Network name box.
From there, here are the final steps for completing the process:
- Click the Security type drop-down menu and select WPA2-Personal.
- Type the Wi-Fi password in the Security Key box.
- Check the Start this connection automatically box.
- Click the Next button to save these changes. Finally, click the Close button.
2. How to Connect to Wi-Fi via the Taskbar
The taskbar makes it easy for you to quickly access the apps on your device. But did you know that you can also connect to a Wi-Fi network via the taskbar?
Here are the simple steps for connecting to Wi-Fi via the taskbar:
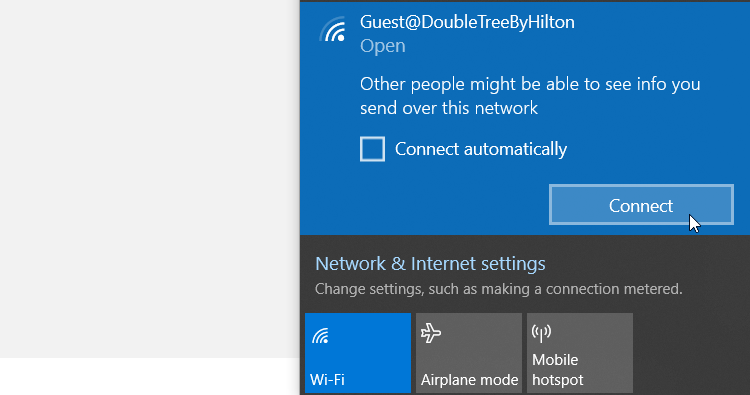
- Click the Wi-Fi icon towards the bottom-right corner of the taskbar. Alternatively, press Win + A to open the Action Center and then click the Wi-Fi widget.
- Select the Wi-Fi network you want to connect to. Next, check the Connect automatically box if you want your device to always connect automatically to the selected Wi-Fi network.
- Click the Connect button and then enter the password.
- Finally, click the Next button and follow the on-screen instructions to finalize the process.
In addition to this, the network icon on the taskbar allows you to connect to Wi-Fi after a predetermined period. Here's how:
- Click the Wi-Fi icon on the taskbar.
- Turn off the Wi-Fi by pressing the network widget at the bottom.
- Click the Turn Wi-Fi back on drop-down menu and select a suitable option from the list.
3. Connect to Wi-Fi Via the System Settings
The system settings are part of Windows’ critical features. You can use them to tweak your display, sound, keyboard, and various other settings.
Now, here’s how you can connect to Wi-Fi via the system settings:
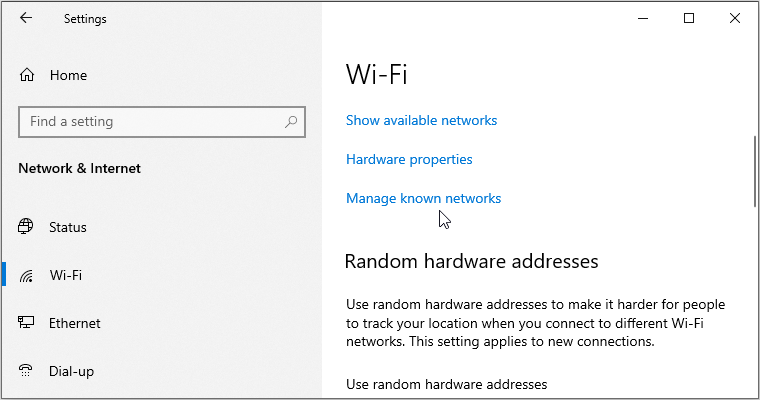
- Type Settings in the Windows search bar and select the Best match.
- Select Network & Internet from the options.
- Click the Wi-Fi option in the left-hand side pane.
- Click the Manage known networks option on the right-hand side pane.
In the next window, click the Add a new network button. Next, type the name of the network in the Network name box.
- Click the Security type drop-down menu and select WPA2-Personal AES.
- Enter the password in the Security key box.
- Check the Connect automatically box.
- Click the Save button and follow the on-screen instructions to complete the process.
4. Connect to Wi-Fi Using the Command Prompt
The Command Prompt is another incredible tool that can help you connect to a Wi-Fi network. Here’s how you can use this tool:
- Press Win + R to open the Run command dialog box.
- Type CMD and press Ctrl + Shift + Enter to open an elevated Command Prompt.
- To view a list of available networks, type the following command and press Enter:
netsh wlan show profile
To connect to a Wi-Fi network, type the following command:
netsh wlan connect ssid=YOUR-WIFI-SSID name=PROFILE-NAME
In the command, replace the YOUR-WIFI-SSID command with the name (SSID) of the network. You’ll usually find the SSID on the bottom or side of the Wi-Fi router. Finally, replace the PROFILE-NAME command with the name of the Wi-Fi you want to connect to.
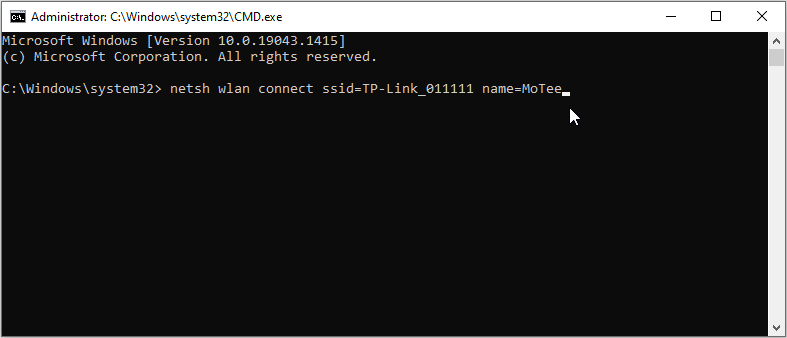
For example, if your SSID is TP-Link_011111 and the Wi-Fi name is MoTee, your command should be:
netsh wlan connect ssid=TP-Link_011111 name=MoTee
Press Enter to run this command. Your device should then connect to the Wi-Fi network when the process is complete.
The only drawback with this method is that it only allows you to manage the Wi-Fi connections you’ve previously connected to. So, this method isn't the best option if you want to connect to a new Wi-Fi network.
However, the method makes it easy to connect your other Windows devices to a known network. To do this, you'd need to export and import a Wi-Fi profile.
How to Export a Wi-Fi Profile
If you want to connect your other Windows devices to a previously saved Wi-Fi network, you can export the network profile via the Command Prompt.
Here’s how you can export a Wi-Fi profile from your Windows device:
- Press Win + R to open the Run command dialog box.
- Type CMD and press Ctrl + Shift + Enter to open an elevated Command Prompt.
- To view a list of available networks, type the following command and press Enter:
netsh wlan show profile
Next, type the following command to export a profile:
netsh wlan export profile name=“PROFILE-NAME” key=clear folder=FILE_PATH
Replace the PROFILE-NAME command with the name of your Wi-Fi network and the FILE_PATH command with your preferred file path location.
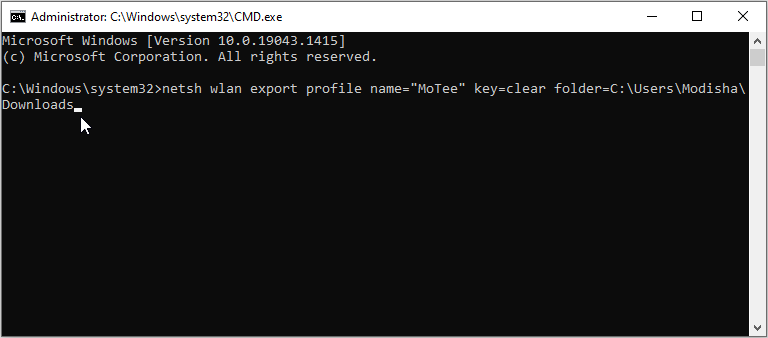
For example, here’s a command that exports the MoTee Wi-Fi profile to the Downloads folder:
netsh wlan export profile name=“MoTee” key=clear folder=C:\Users\Modisha\Downloads
Once you complete the steps, this will save a Wi-Fi profile as an XML file. For example, the file will be named as something like Wi-Fi-MoTee.xml in the target folder.
Save your XML file on an external storage device. From there, you can export the file to your other devices.
How to Import a Wi-Fi Profile
Once you’ve saved your Wi-Fi profile, you can now import it on your other Windows device. Here’s how:
- Copy the Wi-Fi profile contents from your main Windows device.
- Paste the Wi-Fi profile in your desired folder on the other Windows device.
- Press Win + R to open the Run command dialog box.
- Type CMD and press Ctrl + Shift + Enter to open an elevated Command Prompt.
- Type the following command to import the Wi-Fi profile:
netsh wlan add profile name="Profile_Name" file path="FILE_PATH" user=current
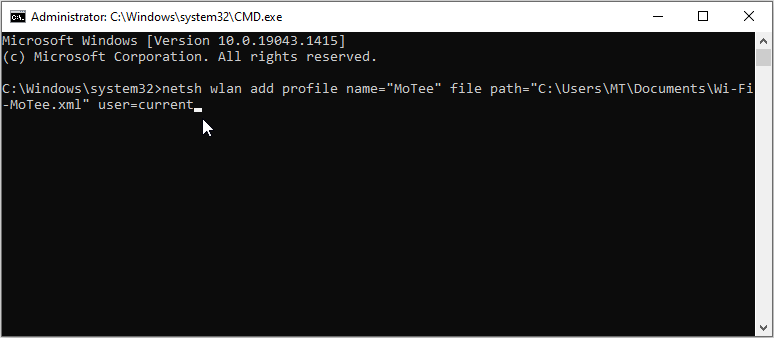
Replace the Profile_Name and FILE_PATH commands with the relevant commands. For example, if your Wi-Fi profile name is MoTee, and it’s saved in the Documents folder, here’s the command you should enter:
netsh wlan add profile name="MoTee" file path="C:\Users\MT\Documents\Wi-Fi-MoTee.xml" user=current
Press Enter and wait for the process to complete. From there, your device should automatically connect to Wi-Fi.
Connecting Your Device to Wi-Fi Without Any Hassle
Windows allows you to connect to a Wi-Fi network in multiple ways. If one method doesn’t work out, then you can always try a different approach. To make things easier for you, we’ve covered the four different ways to connect your Windows device to Wi-Fi.

