Update errors are nothing new for Windows users. In some cases, the updates simply do not start, while in others, they start fine, but become stuck at some point.
There have been reports by users that the system updates get stuck at 100% and prevent the PC from restarting automatically. This issue can be caused by a number of reasons such as unexpected hardware changes, malware, interference of a third-party program, and corruption errors.
Below, we have listed the most effective troubleshooting methods you can try to fix this issue for good.
1. Wait for the Process to Complete
It may take longer for some Windows updates to install, so before you begin troubleshooting, ensure that the update is stuck and not in between operations.
The best way to do this is by waiting for the process to complete on its own. You should give the update process at least 3-4 hours before proceeding with the troubleshooting methods if you can. Some users left their computers overnight for the updates to be installed.
We understand that waiting this long might not be possible for everyone and if it does not suit you as well, go ahead with the methods below. It is also important to note that before proceeding with the methods in this guide that require you to access your system, you will need to break the update loop that is causing the issue. To do this, reboot your PC to perform the steps listed.
2. Remove Any USB Peripherals and Restart Your PC
Start by removing any USB peripherals that may be connected to your PC. When you have extra external devices connected, your PC thinks of it as a change in the default hardware settings, leading to issues like the one at hand.
Once you have removed all peripherals, wait for a few minutes and see if it makes any difference. If not, you can try force restarting the PC. However, this method involves removing the battery from your laptop, so we recommend you only proceed if you have some experience doing so.
Here is how you can force restart your PC:
- Press and hold the power button of your PC to shut it down.
- Once it shuts down, remove the power supply and battery.
- Then, wait for a few minutes before inserting it back.
- Now, boot your PC and see if the issue is resolved.
3. Restart the Windows Update Service
The Windows Update service handles the download, installation, and removal of updates on your system. If this service is disabled or not working as it is supposed to, you are likely to encounter issues while updating your operating system and its applications.
If removing the external peripherals did not help, then you can try restarting the Windows Update service.
Here is how you can make sure that the update service is running properly:
- Press Win + R to open Run.
- Type "services.msc" in Run and press Enter.
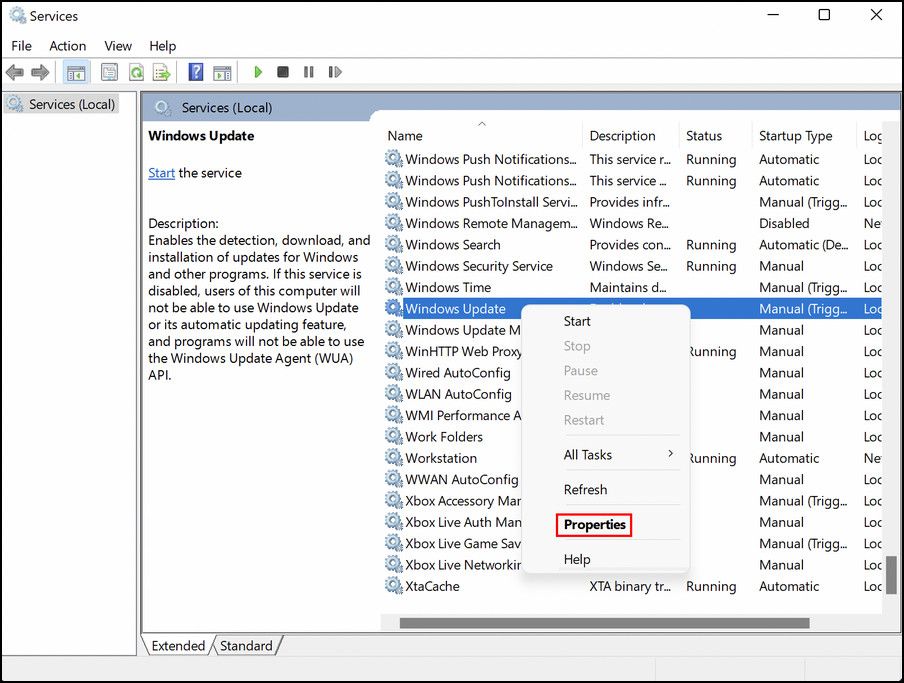
- In the following window, look for the Windows Update service and right-click on it.
-
Choose Properties from the context menu.
-
In the Properties dialog, click on the Stop button.
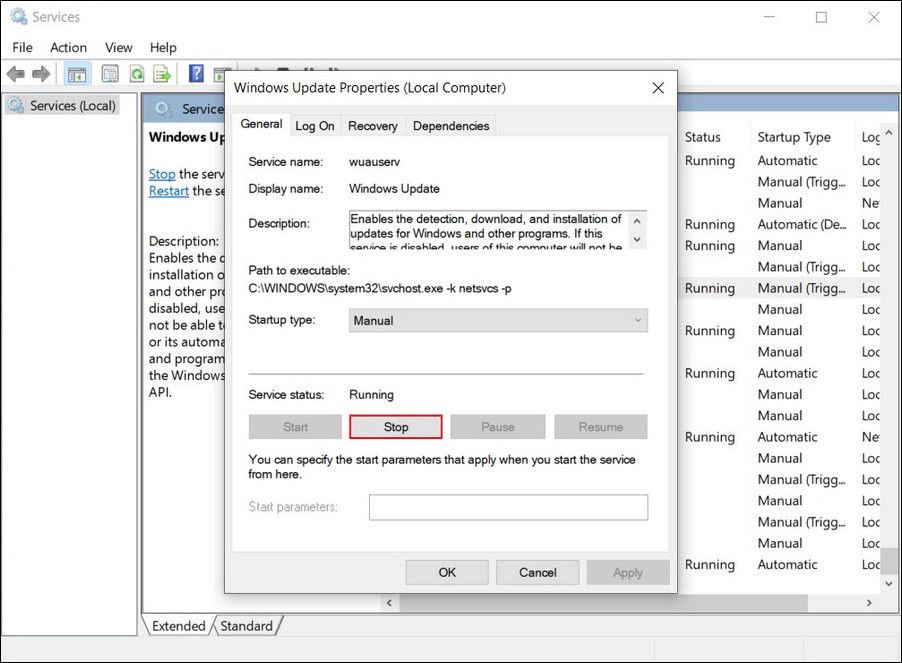
- Wait for a few seconds before hitting the Start button again.
-
Expand the dropdown for Startup type and choose Automatic from the list.
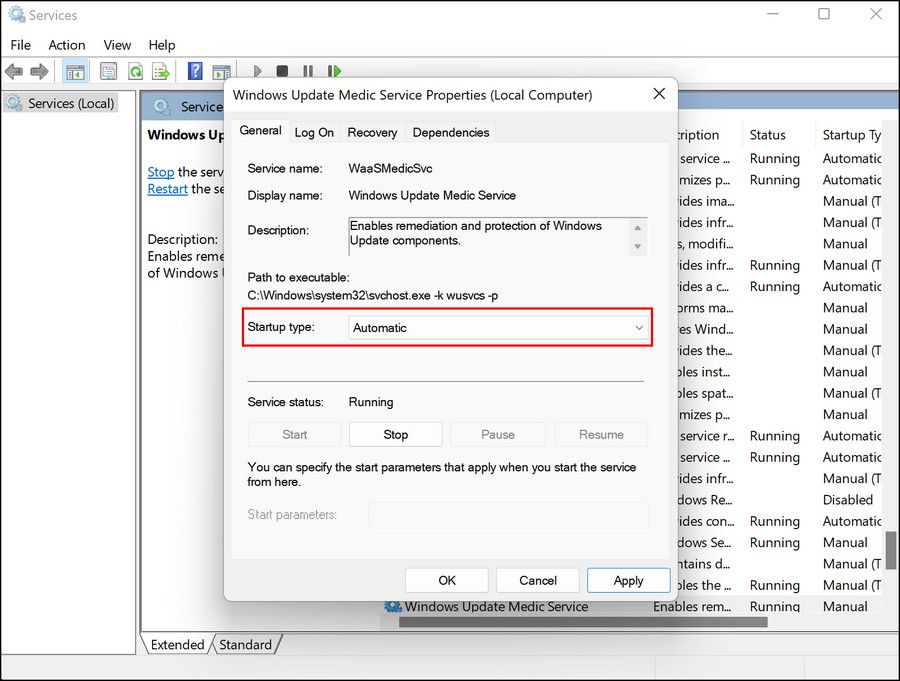
- Click Apply > OK to save the changes.


4. Scan for Viruses
Your operating system might also be infected with a virus or corruption error that is preventing you from installing the latest updates.
To check if this is the case, try running a system scan using the security program you have installed on your PC. If you do not have a third-party security program, you can run built-in troubleshooting utilities like SFC, DISM, and CHKDSK via Command Prompt.
However, if you are unable to use the basic Windows features and applications installed, then you must first boot into Repair Mode. Once you are in the Repair Mode, head over to Troubleshoot > Advanced options. Then, choose Command Prompt from the list of options and run the scans.

If these utilities find any issues, they will attempt to resolve them without requiring your input. After the scans, check if the issue is resolved.
5. Run the Windows Update Troubleshooter
Another troubleshooting method that has helped users fix the issue is running the Windows Update troubleshooter. This is a built-in utility that is specifically designed by Microsoft to fix issues regarding Windows updates.
Here is how you can run it:
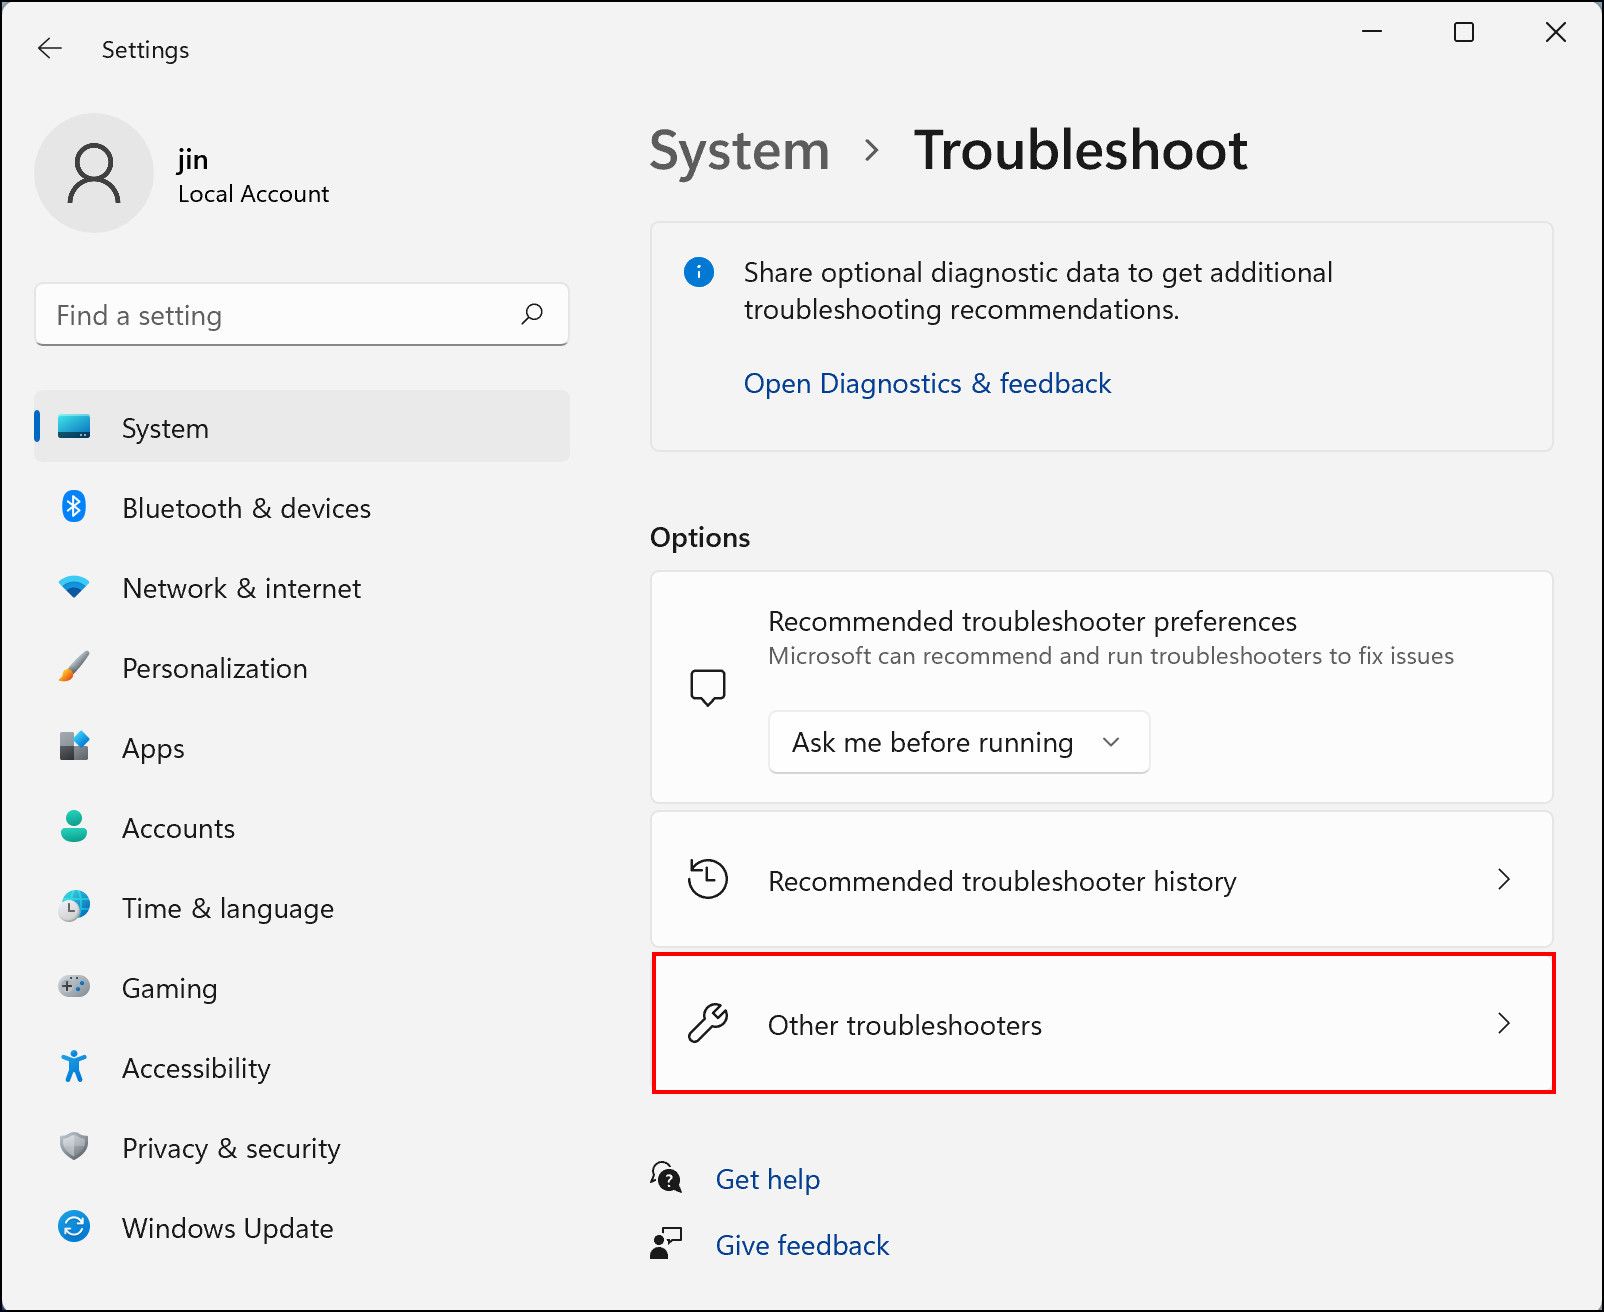
- Press Win + I to open Windows Settings.
-
Choose Troubleshoot from the left pane and click on Other troubleshooters on the right side of the window.
-
In the following window, look for Windows Update troubleshooter and click on the Run button associated with it.
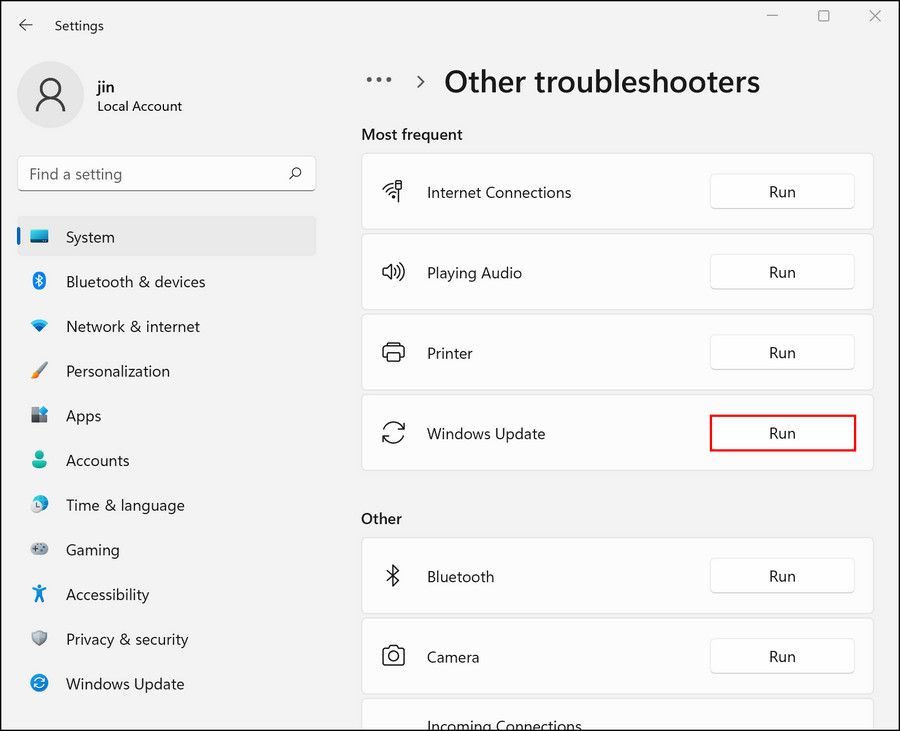
- The troubleshooter will now begin scanning the system for potential errors. If it finds issues, it will recommend fixes. In that case, click on Apply this fix.
- If not, click Close the troubleshooter and move to the next method below.


6. Boot Into Safe Mode
Safe Mode is a Windows mode that launches Windows with only the basic drivers and programs. This troubleshooting mode helps users determine if a background process is causing issues within the system.
In this method, we will first boot into Safe Mode using the Repair Mode and then restart the PC normally. Hopefully, this will fix the problem at hand.
Here is what you need to do:
- Boot Windows and during the process, press the F11 key repeatedly till Windows displays the Advanced Startup screen.
-
Head over to navigate to Troubleshoot > Advanced options > Startup settings.

-
Click on the Restart button in the following window.

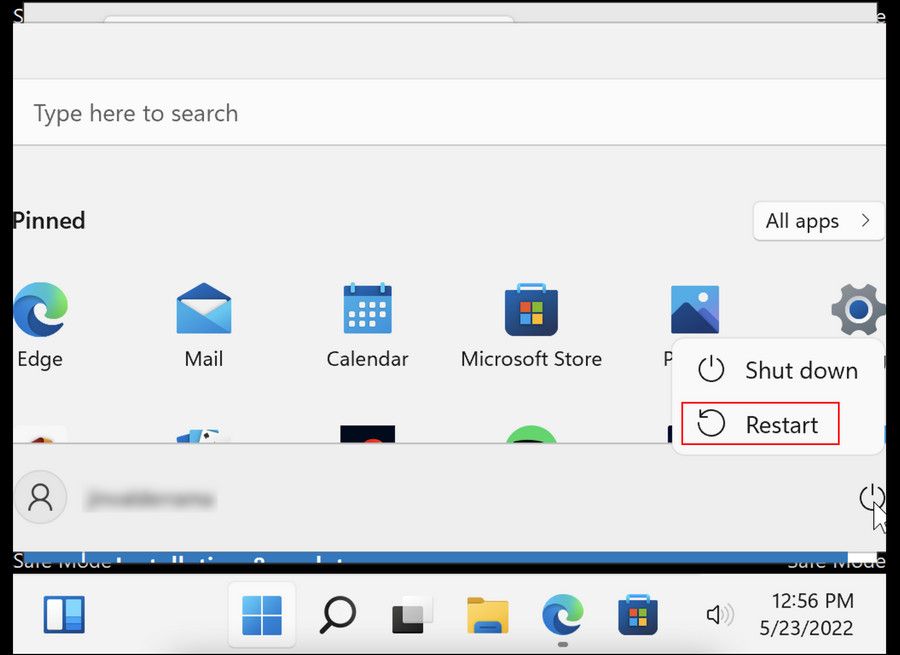
- Hit the F5 key on the keyboard to proceed. This will launch the Safe Mode successfully.
-
In Safe Mode, restart your PC the normal way (Start menu > Sign out > Restart).


Upon reboot, the issue should no longer appear. You can now check if the updates are successfully installed. If not, you can try any one of the different methods to update Windows manually.
Resume the Update Process on Windows 11
We hope that at least one of the methods listed above was able to help you. Nevertheless, if you have come this far without finding a solution, you should consider performing a complete system reset since the issue is likely caused by a component that conventional troubleshooting methods cannot fix.