
Microsoft releases new updates for Windows at regular intervals. But some updates don't install easily, and users can end up with an error code as a result. The 0x80246001 is such a code that Windows users come across during the update process.
As such, here are effective solutions to fix Windows Update error 0x80246001.
What Causes the Windows Update 0x80246001 Error?
Each update error code has a different meaning and culprits behind its occurrence. The Windows Update error 0x80246001 means that the data is available for your system, but there's some issue fetching the download URL from the Microsoft server.
It's very easy to troubleshoot this update error. Let's check out all the solutions you can try in the situation in detail.
1. Run the Windows Update Troubleshooter
The first thing you can try to fix any Windows update error is to run the Windows Update troubleshooter. It is a built-in utility that detects and resolves issues related to Windows updates. You can run the Windows Update troubleshooter by following the below steps.
- Open Settings using its Win + I hotkey.
- Click on Troubleshoot under the System tab.
- Choose Other troubleshooters.
-
Click on Run next Windows Update.
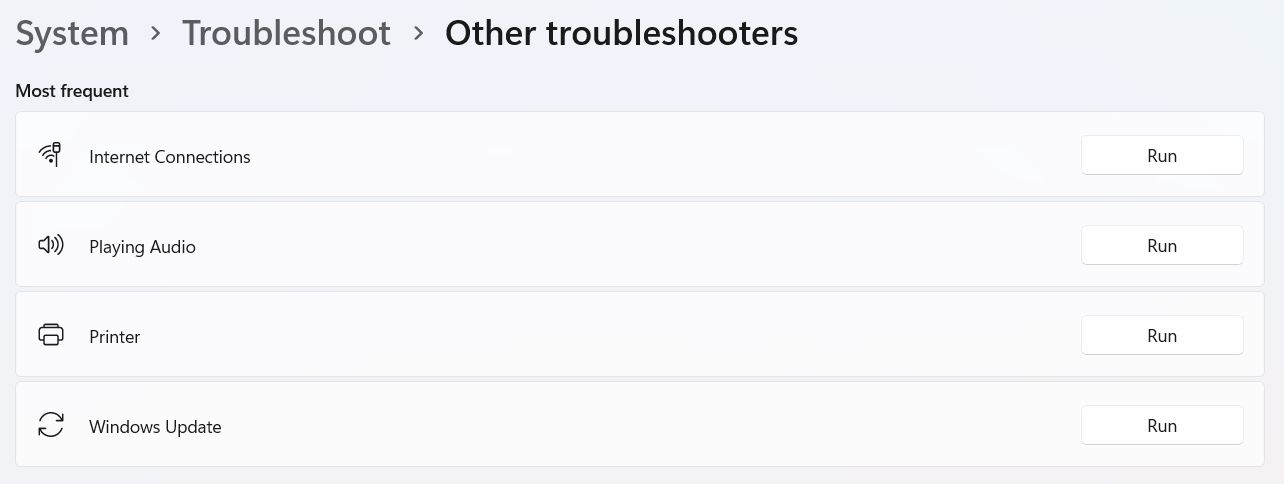

The troubleshooting window will pop up and look for the culprit affecting the Windows Update services. Follow the on-screen instructions to apply the fixes.
2. Disable Your Antivirus Program
Antivirus programs have a history of interfering with Windows updates. Thus, it will be best to temporarily disable the antivirus program while updating Windows.
The disabling process is different for different antivirus programs. But most can be disabled using the application icon on the System Tray. Just right-click on the program icon, and choose Disable from the context menu.
If you are using Windows Defender, follow the below steps to disable it.
- Open Start Menu, type Windows Security, and press Enter.
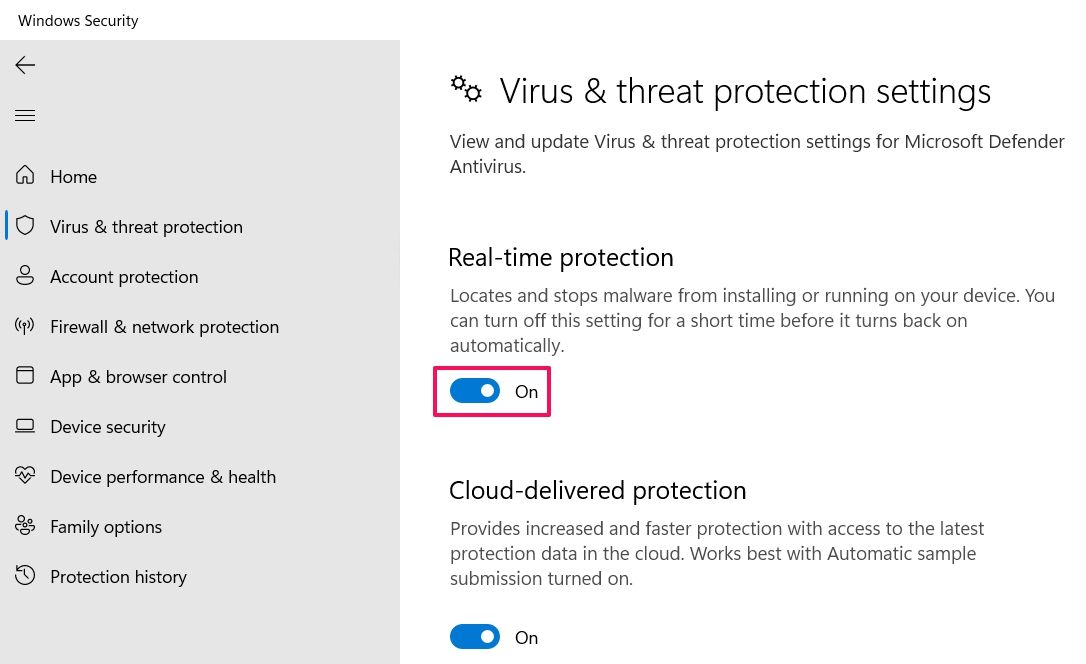
- Choose the Virus & threat protection option.
- Click on Manage settings under Virus & threat protection settings.
-
Disable the toggle present under Real-time protection.
- If UAC pops up, click on Yes.

After installing the update, you can enable the antivirus program back on.
3. Restart Windows Update Services

The Windows Update service needs to be enabled to install any updates from Microsoft servers. If this isn't the case, you will always face different update errors. You will have to manually enable the Windows Update service to fix the problem. Here's how.
- Open the Run dialogue box by pressing Win + R.
- Type services.msc and press Enter.
- Locate Windows Update, right-click on it, and choose Properties.
- Change the Startup type to Automatic.
- Click on Start under Service status.
- Click on Apply > OK to save the changes.
Now, repeat the above steps with Background Intelligent Transfer Service, Cryptographic Service, and Windows Update Medic Service.
4. Clear the SoftwareDistribution Folder Content
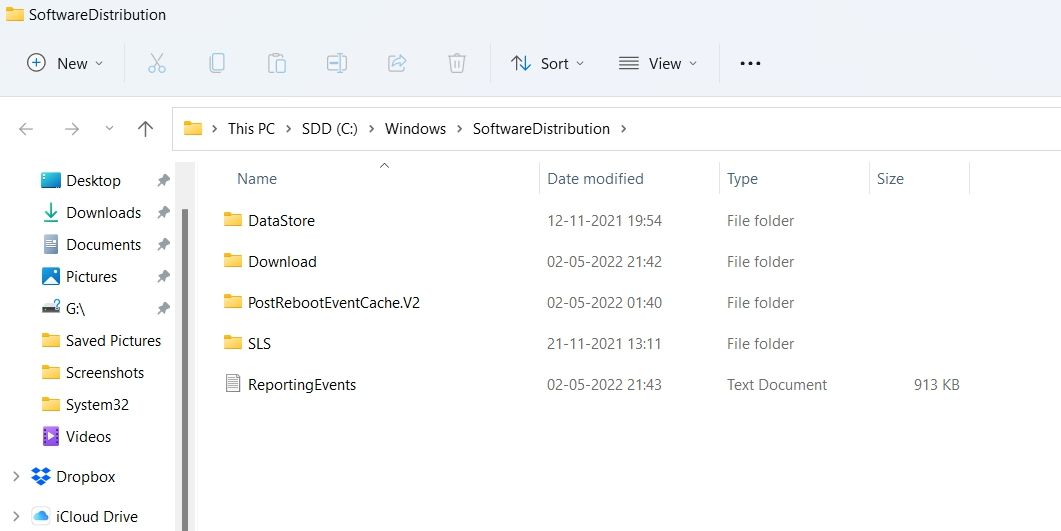
SoftwareDistribution is a folder situated in the Windows directory, and it temporarily stores files associated with Windows Updates. If the folder gets corrupted for some reason, you will struggle to update Windows. You will have to clear the SoftwareDistribution folder to fix the issue. Here's how.
- Open Command Prompt in administrator mode.
-
Type the following commands and press Enter.
        net stop wuauserv
net stop bits - Press Win + E to open the File Explorer.
-
Navigate to the below location.
C:\Windows\SoftwareDistribution -
Delete everything inside the SoftwareDistribution folder.
- If a prompt pops-up saying, The file is currently in use, reboot the system and delete the folder content.
- Open the Command Prompt again in administrator mode.
-
Type the following command and press Enter.
        net start wuauserv
net start bits

Reboot the system, and check if it fixed the issue.
5. Reset Windows Update Components
The Windows Update error 0x80246001 can result from misconfigured Windows Update components. If this is the case, you will have to reset Windows Update components to fix the issue. You can get the work done manually or by using a batch script. Here's how to reset using a batch script.
- Open Notepad on your system.
-
Copy-paste the following command in the Notepad window.
        net stop bits
net stop wuauserv
net stop appidsvc
net stop cryptsvc
Del "%ALLUSERSPROFILE%\Application Data\Microsoft\Network\Downloader\*.*"
rmdir %systemroot%\SoftwareDistribution /S /Q
rmdir %systemroot%
system32\catroot2 /S /Q
sc.exe sdset bits D:(A;;CCLCSWRPWPDTLOCRRC;;;SY)(A;;CCDCLCSWRPWPDTLOCRSDRCWDWO;;;BA)(A;;CCLCSWLOCRRC;;;AU)(A;;CCLCSWRPWPDTLOCRRC;;;PU)
sc.exe sdset wuauserv D:(A;;CCLCSWRPWPDTLOCRRC;;;SY)(A;;CCDCLCSWRPWPDTLOCRSDRCWDWO;;;BA)(A;;CCLCSWLOCRRC;;;AU)(A;;CCLCSWRPWPDTLOCRRC;;;PU)
cd /d %windir%
system32
regsvr32.exe /s atl.dll
regsvr32.exe /s urlmon.dll
regsvr32.exe /s mshtml.dll
regsvr32.exe /s shdocvw.dll
regsvr32.exe /s browseui.dll
regsvr32.exe /s jscript.dll
regsvr32.exe /s vbscript.dll
regsvr32.exe /s scrrun.dll
regsvr32.exe /s msxml.dll
regsvr32.exe /s msxml3.dll
regsvr32.exe /s msxml6.dll
regsvr32.exe /s actxprxy.dll
regsvr32.exe /s softpub.dll
regsvr32.exe /s wintrust.dll
regsvr32.exe /s dssenh.dll
regsvr32.exe /s rsaenh.dll
regsvr32.exe /s gpkcsp.dll
regsvr32.exe /s sccbase.dll
regsvr32.exe /s slbcsp.dll
regsvr32.exe /s cryptdlg.dll
regsvr32.exe /s oleaut32.dll
regsvr32.exe /s ole32.dll
regsvr32.exe /s shell32.dll
regsvr32.exe /s initpki.dll
regsvr32.exe /s wuapi.dll
regsvr32.exe /s wuaueng.dll
regsvr32.exe /s wuaueng1.dll
regsvr32.exe /s wucltui.dll
regsvr32.exe /s wups.dll
regsvr32.exe /s wups2.dll
regsvr32.exe /s wuweb.dll
regsvr32.exe /s qmgr.dll
regsvr32.exe /s qmgrprxy.dll
regsvr32.exe /s wucltux.dll
regsvr32.exe /s muweb.dll
regsvr32.exe /s wuwebv.dll
netsh winsock reset
netsh winsock reset proxy
net start bits
net start wuauserv
net start appidsvc
net start cryptsvc - Click on File, and choose Save as to save the file.
-
Name the file Windows.bat.
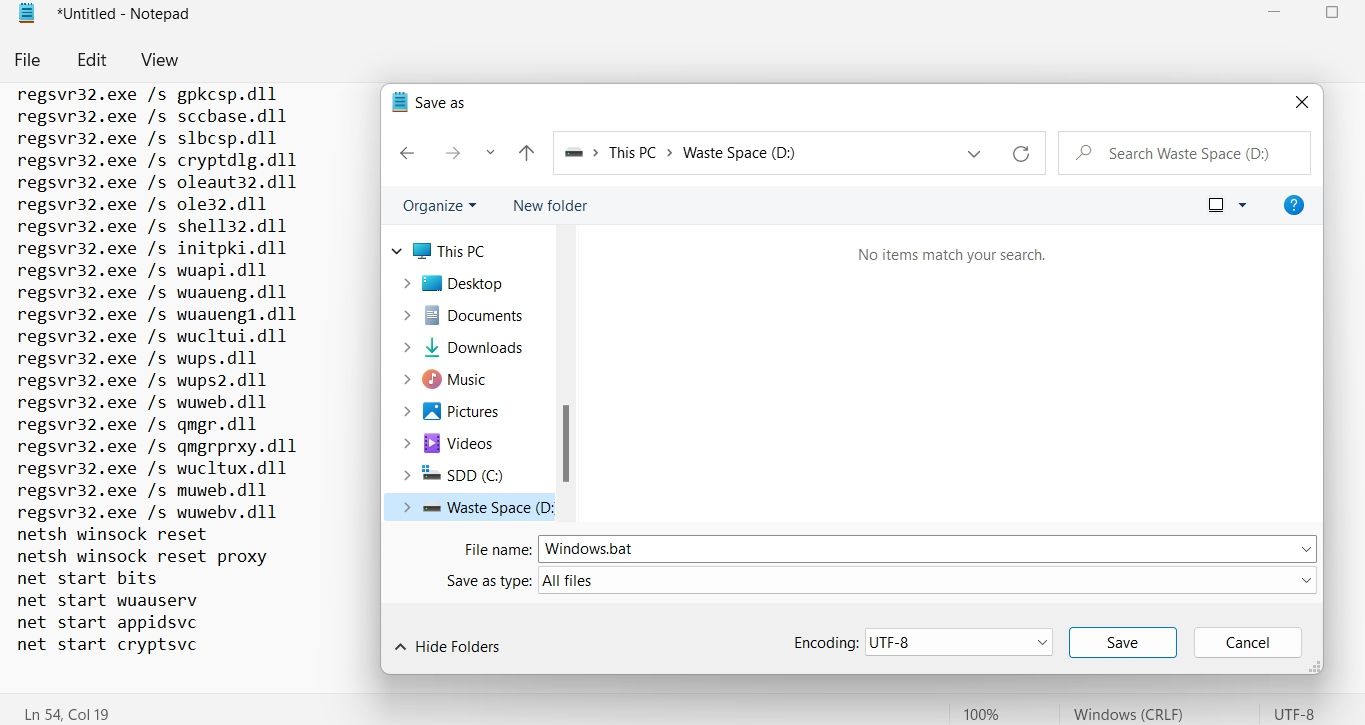
- Change the Save as type to All Files.
- Click on Save.
- Right-click on the saved file, and choose Run as administrator from the context menu.
- If UAC pops up, click on Yes.

Now, wait until the script is successfully executed. Once done, reboot the system.
6. Perform an SFC scan
One of the primary reasons for the problem is missing or corrupt system files. Fortunately, you can use an SFC scan to detect and resolve corrupt system files. Here's how.
- Open Command Prompt in administrator mode.
- Type sfc /scannow, and press Enter.
Wait until the command is executed, and then reboot the system.
7. Manually Download the Update From the Microsoft Update Catalog
If none of the above steps were helpful, you can manually download the update from Microsoft Update Catalog. You can do it by following the below steps.
- Visit Microsoft Update Catalog.
- In this search box, type KB version of the update, and click on Search.
- Click on the Download option next to the update.
- A new window will pop up. Click on the link to begin the download.
After downloading the update, right-click on it and choose Run as administrator to install it.
Download Window Updates With Ease
You can quickly fix Windows Update error 0x80246001 using the above fixes. As the problem is associated with Windows Update, network connection and Windows Update service is the primary source of the problem. However, if the issue persists, you will have to factory reset the device.