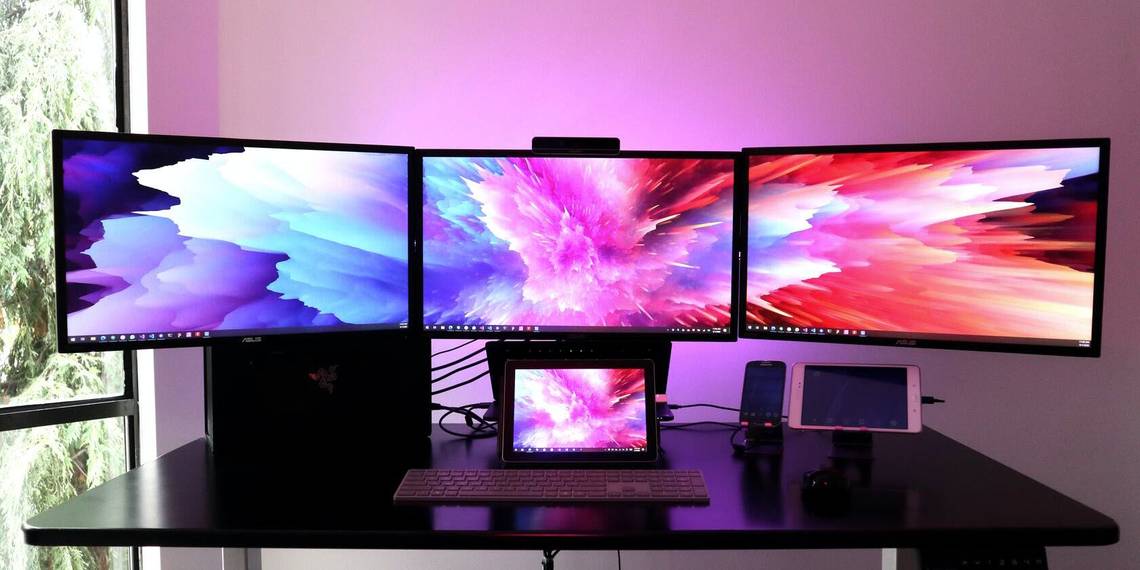
Adding more than one screen to your computer is pretty straightforward with Windows, but there are times when the system fails to recognize the additional monitors, which can result in frustration.
Sometimes, Windows fails to recognize a third monitor. And while this is by no means a Windows-exclusive issue, Microsoft's operating system does have ways to fix the issue, be it hardware or software-related.
Below, we have discussed five effective troubleshooting methods that worked for other affected users.
1. Reconnect the Monitors
If any one of your monitors in a multiple monitor setup is not working, the first thing you should do is to reconnect all of them one by one. More often than not, the issue is caused by a temporary glitch within the system, and reconnecting the monitors from scratch can resolve the issue.
To get started, unplug the cables and then set up the monitors one by one.
2. Update Your Graphic Drivers
An outdated or corrupt graphic driver may also prevent your PC from detecting the third monitor. Drivers allow Widows to detect and use the hardware components, so you are likely to run into issues when the drivers themselves are not working properly.
The solution in this case is simple: all that you need to do is update the graphics drivers. In this method, we will first install an updated version of the graphics driver on your system.
If that does not do the trick, we will then proceed with disabling the Intel Integrated GPU driver.
To install the latest updates, here is how to proceed:
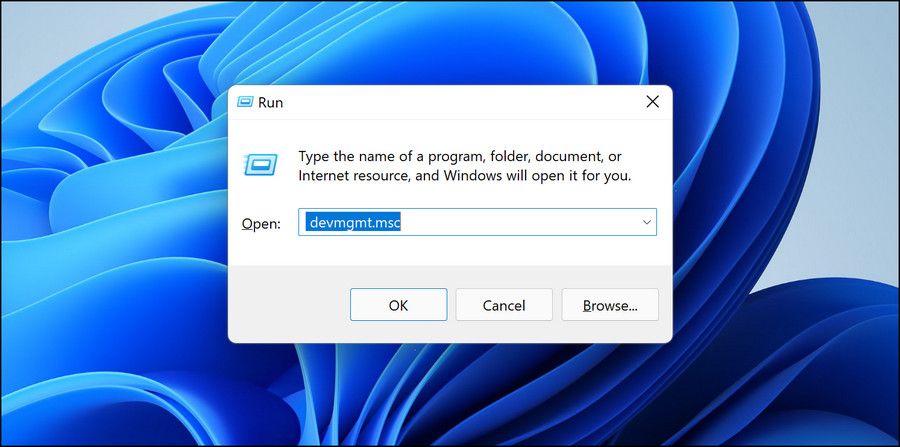
- Press Win + R together to open Run.
-
Type devmgmt.msc in Run and click Enter.
- In the following window, expand the Display adapters section and right-click on your graphics driver.
-
Choose Update driver from the context menu.

-
Choose Search automatically for drivers in the next dialog.
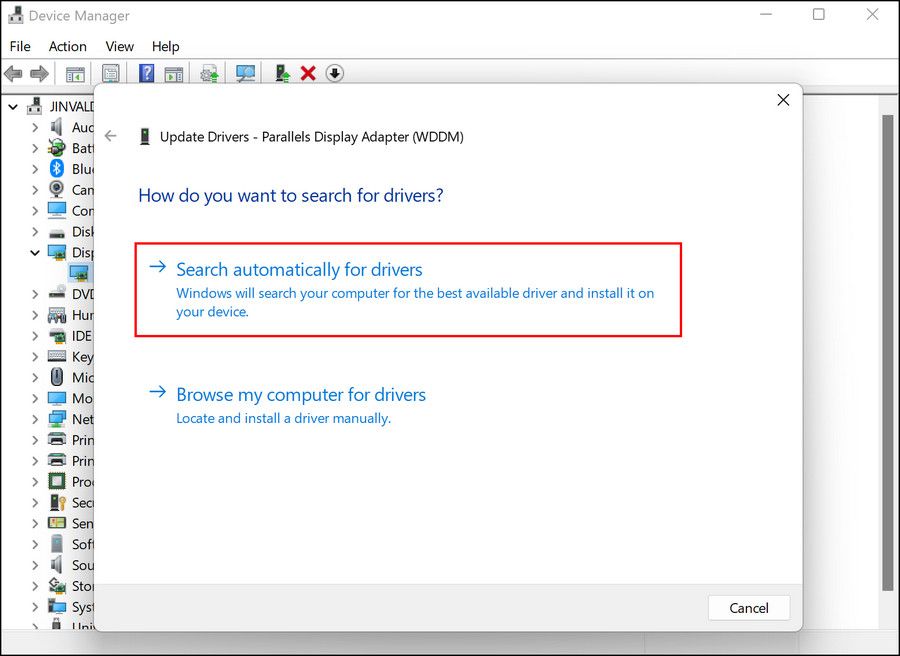
- Now, wait for the computer to scan for an updated version of the driver. If one is found, install it by following the on-screen instructions.
- If the Device Manager method does not work, there are other ways of updating the graphics driver in Windows you can try instead.


You can now check if the issue is resolved. If not, try disabling the Intel Integrated GPU driver in the Device Manager. There are times when this driver interferes with the process of the default graphics driver of Windows, causing issues like the one at hand.
Follow the steps below to do so:
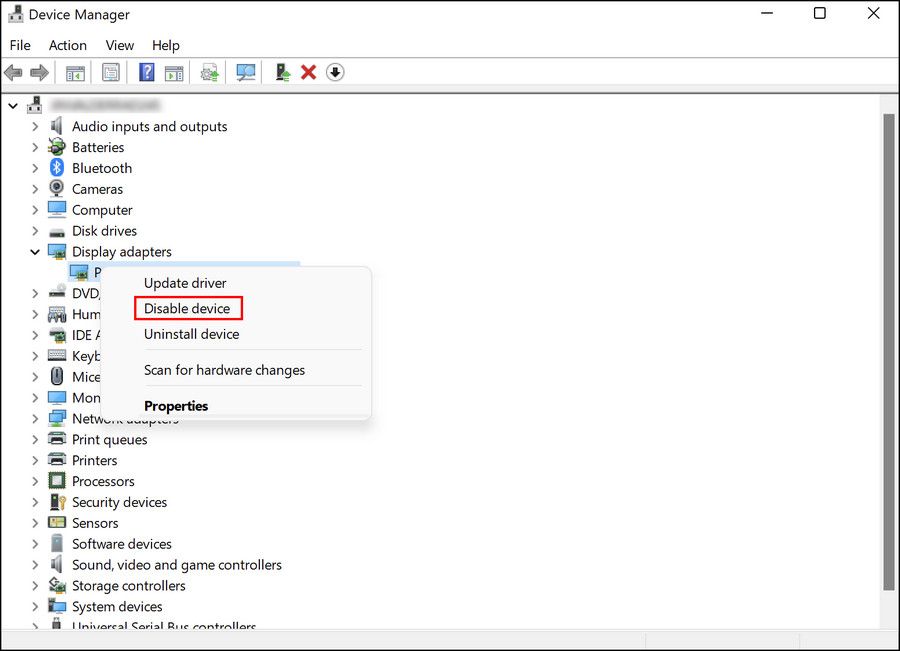
- Open Device Manager and expand the Display adapters section.
-
Right-click on the Intel Integrated GPU driver and choose Disable device from the context menu.

You can now try reconnecting the third monitor and check if it works now.
3. Run the Hardware and Devices Troubleshooter
Another way to resolve issues with hardware is by using the built-in relevant troubleshooting utilities within Windows. The most appropriate tool, in this case, will be the Hardware and Devices troubleshooter.
This troubleshooter scans the system for hardware-related problems. If any issues are found, it will either fix them automatically or recommend effective fixes that you can apply.
Here is how to run this utility:
- Press Win + R to open Run.
- Type cmd in Run and click Ctrl + Shift + Enter to open Command Prompt with administrative privileges.
- Alternatively, you can type cmd in Windows search and choose Run as administrator from the displayed results.
-
Once you are inside the Command Prompt, type the command mentioned below and click Enter.
msdt.exe -id DeviceDiagnostic
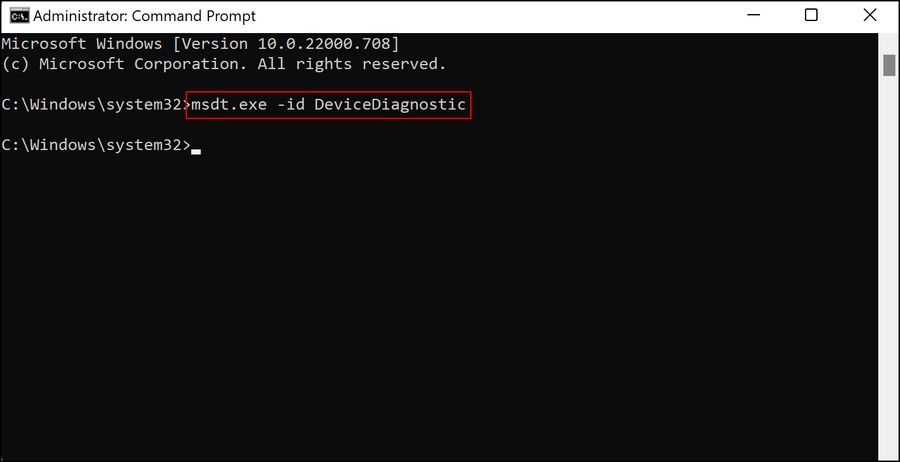
- You should now see the Hardware and Devices troubleshooter dialog on your screen. Click Next on it to begin the initial scan.
- If the troubleshooter identifies a problem and suggests a fix, click on Apply this fix.
- In case no issues are found, click on Close the troubleshooter and jump to the next method below.

4. Modify the Settings in the Manufacturer’s Control Panel
There is also a chance that the display settings in the Control Panel of the graphics card are not configured correctly. To ensure that the settings are correct in your case, you need to access the multiple display settings in the Control Panel of your graphic’s card.
The steps of doing so will vary depending on the graphics card you are using. However, you can typically access these settings by expanding the Display section on the right pane of the Control Panel.
Once you are able to access these settings, make sure the boxes for all the monitors you want to use are check-marked. Hopefully, adjusting these settings will fix the issue for you once and for all.
5. Choose the Extended Projection Mode
Typically, the display is automatically extended to the second and third monitors when you connect them to your computer. If this has not happened automatically for you, you'll get no signal on the third monitor. It may look like something is wrong with it, but in truth, Windows knows it's there; it just hasn't been told to use it yet.
Fortunately, you can tell Windows to use it yourself. Here is how:
-
Press Win + P to launch Project settings and choose PC screen only from the options.

- Now, carefully disconnect the extra monitors and reconnect them.
-
Launch Project settings again and this time, choose Extend.


Another way of doing it is via Windows Settings. If the steps above do not work for you for some reason, follow these:
-
Press Win + I to open the Settings app.
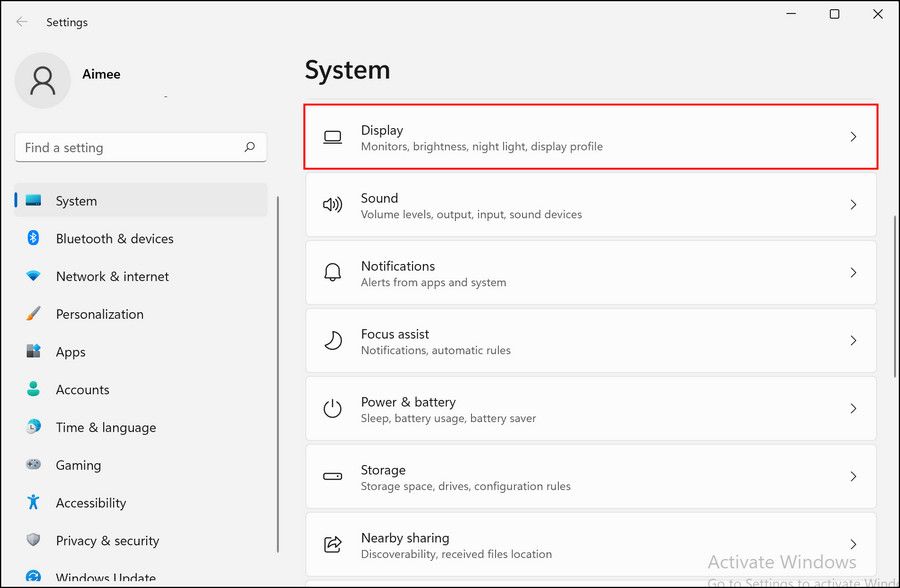
- Choose System > Display.
-
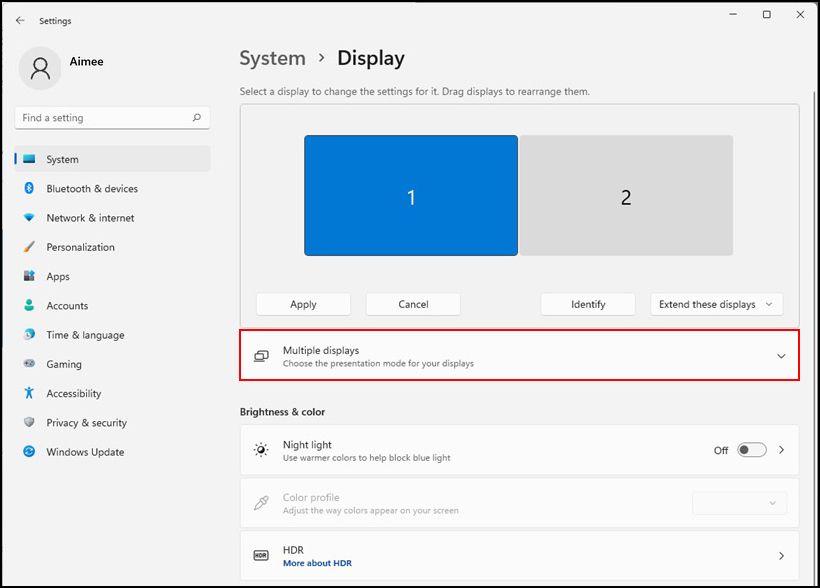
In the following window, click on the problematic display and click Multiple displays.
-
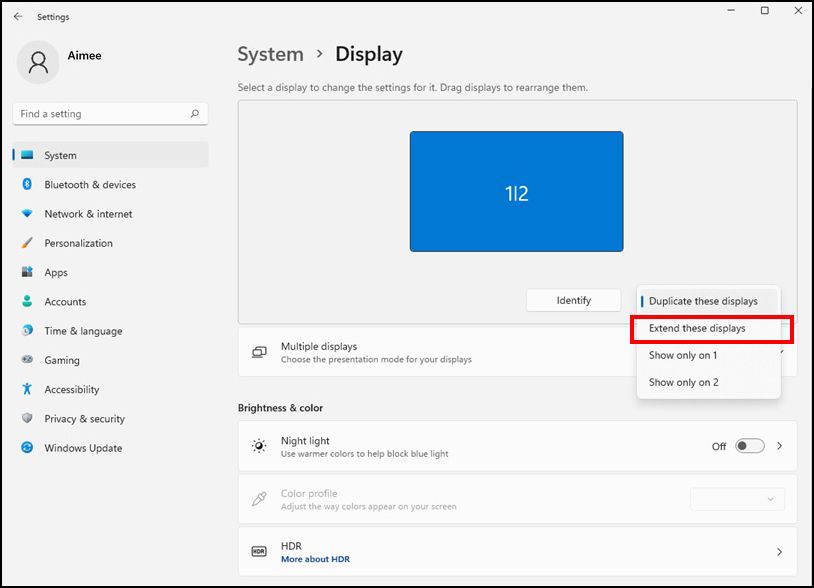
Choose Extend these displays.


Use Multiple Monitors Smoothly
There are many benefits to using multiple monitors; they optimize your work performance and reduce downtime greatly. Adding a third monitor to your computer is usually quite straightforward, but you may encounter problems at times. By now, you should have fixed the problem with one of the methods listed in this guide.