Compared to Command Prompt and PowerShell, Windows Terminal is highly customizable. You can change it in many ways to make working with it easier or just make it look pretty so it matches your tastes. And you can do most of it within the terminal emulator itself, which makes it very user-friendly when it comes to customization.
We'll show you six ways to customize Windows Terminal, so keep on reading.
How to Customize the Windows Terminal in Six Ways
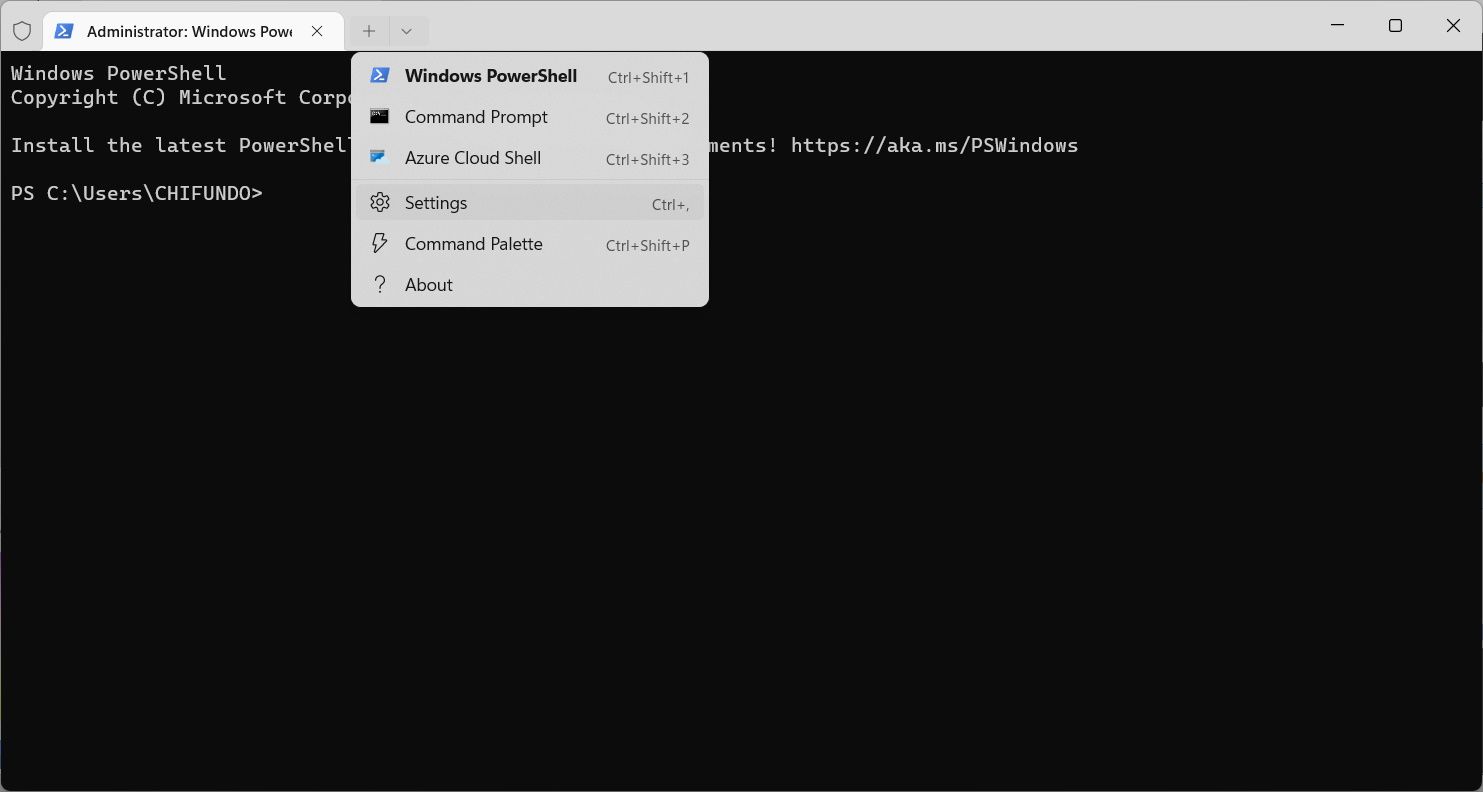
All the actions you do from now on will take place in the settings of Windows Terminal, and here's how you can access them. Right-click Start and select Windows Terminal (Admin). Then, click the dropdown arrow in the title bar of Windows Terminal and select Settings.
Now, you’re ready to customize Windows Terminal.
1. Change the Starting Profile
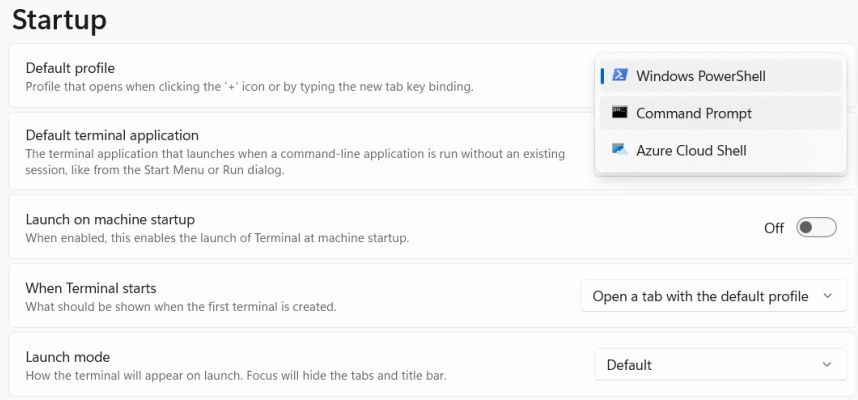
By default, PowerShell is the starting command-line profile for Windows Terminal, but you can change this so it starts with something else, such as Command Prompt or Azure Cloud Shell.
To do that, Open Windows Terminal and head to Settings. On the left side menu, make sure you’ve selected Startup. Expand the dropdown next to Default profile, select another command-line profile from the list, and hit the Save button in the bottom right corner.
Now, whenever you launch Windows Terminal, it will have a different starting profile.
2. Customize the Appearance of a Particular Profile
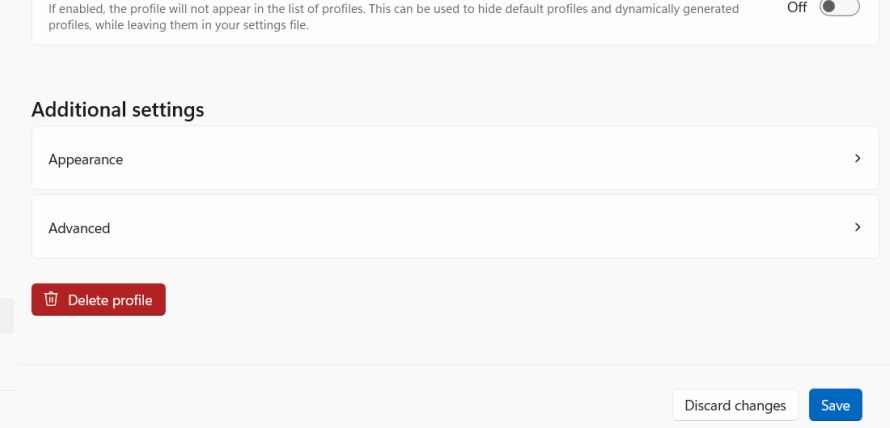
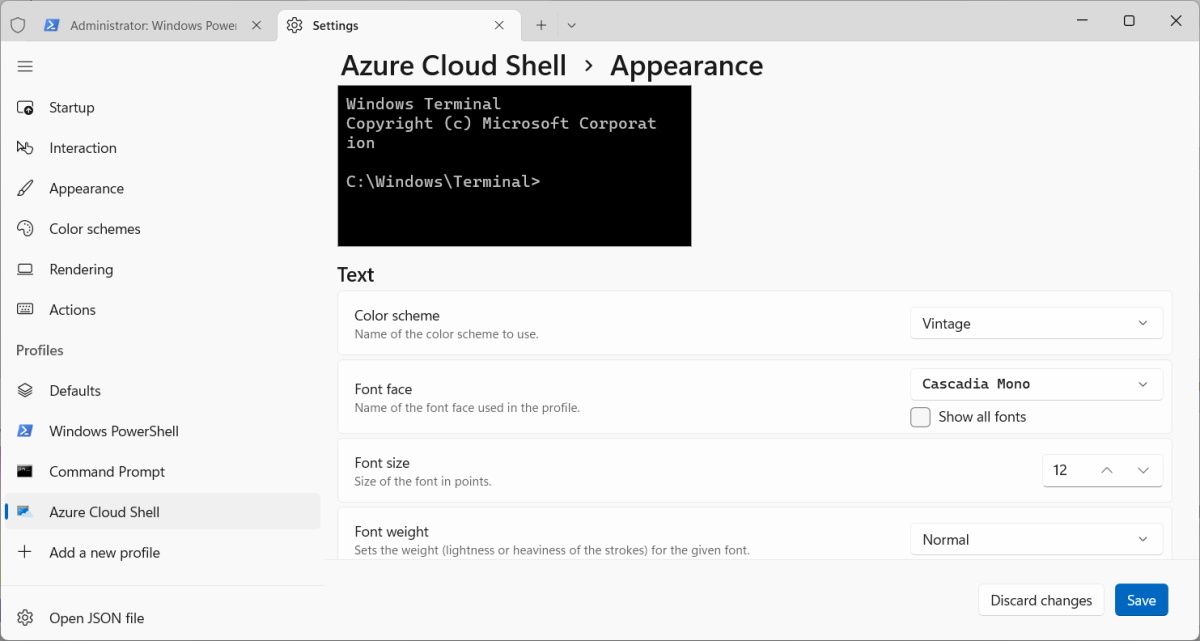
To change the appearance of a profile, open Windows Terminal and go to Settings. On the left side menu, after the heading that says Profile, click the command-line profile you want to change the appearance of. Then, scroll down until you get to Additional settings and click on Appearance.
Here, you can change how the profile looks by tweaking things like the color scheme, font face, font size, cursor shape, and background image.
Don’t forget to hit the Save button in the bottom right corner to save the changes when you’re done customizing the profile.
3. Change the Starting Directory
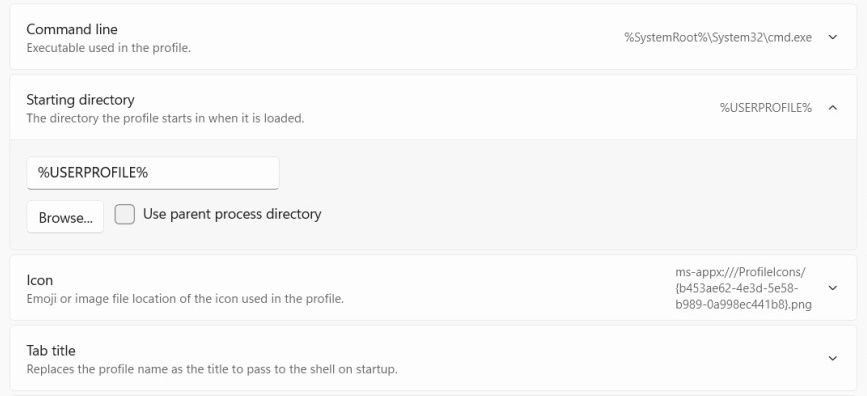
If you want a command-line profile to start in a different directory, launch Windows Terminal, head to Settings, and select the profile on the left side menu. Expand the Starting directory section and click Browse.
Navigate to a different folder from the default one and hit the Select Folder button once you land on the one you want the profile to start from. Click the Save button in the bottom right corner to apply the changes.
Now whenever you open that profile in Windows Terminal, it will open from the folder you just set.
4. Create New Actions and Edit Existing Ones
Actions are essentially another name for shortcuts in Windows Terminal, and they help you quickly navigate around it. You can add a new Action or edit an existing one.
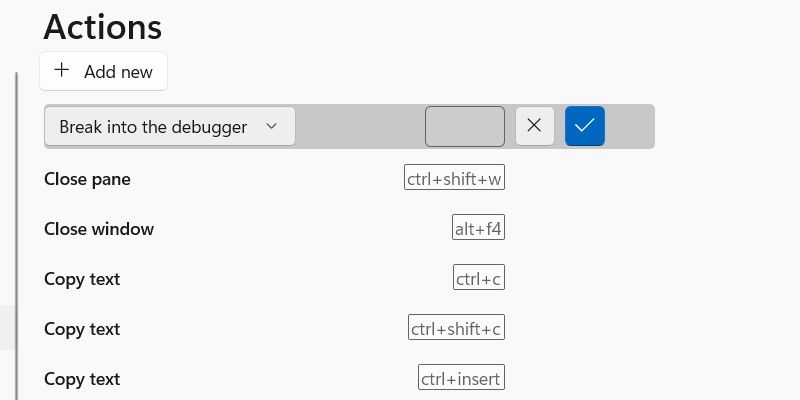
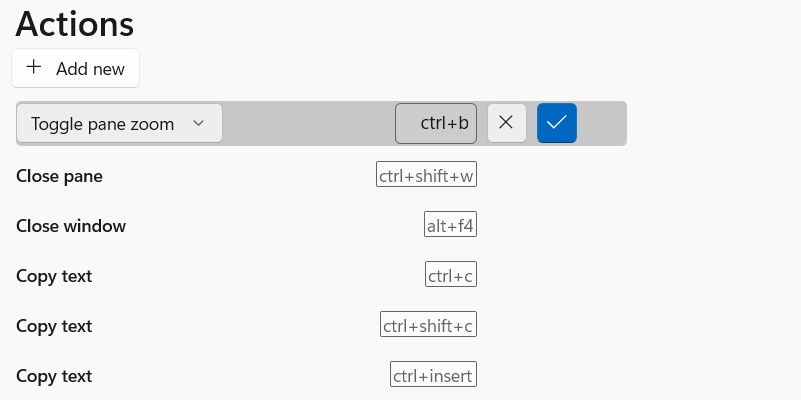
To create a new Action, go to Windows Terminal’s settings and click Action on the left side menu. Then, click the Add new button at the top, and a dropdown will appear below it.
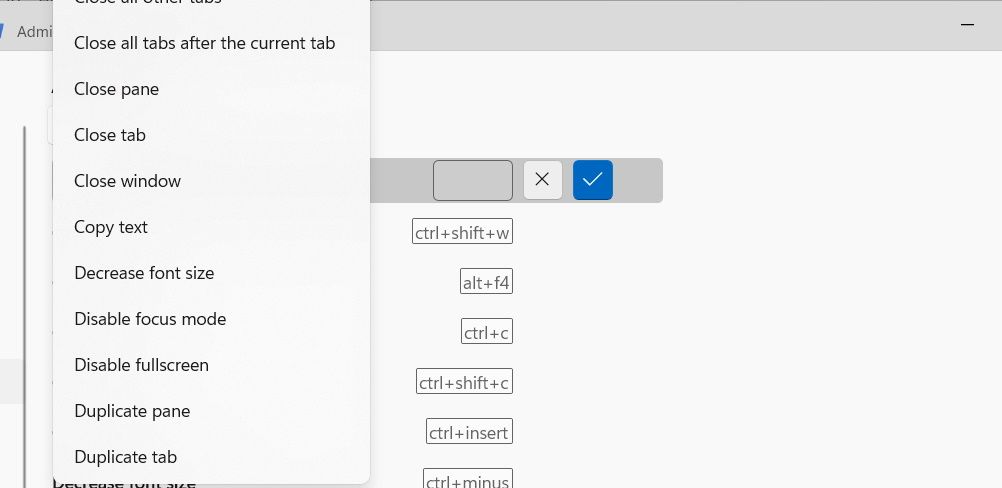
Expand the dropdown and select an Action from the list of available ones.
Then, click on the text box next to the dropdown and press the button combination you want to use for that Action, for example, Ctrl + B. After that, click the blue checkmark button to lock in that Action.
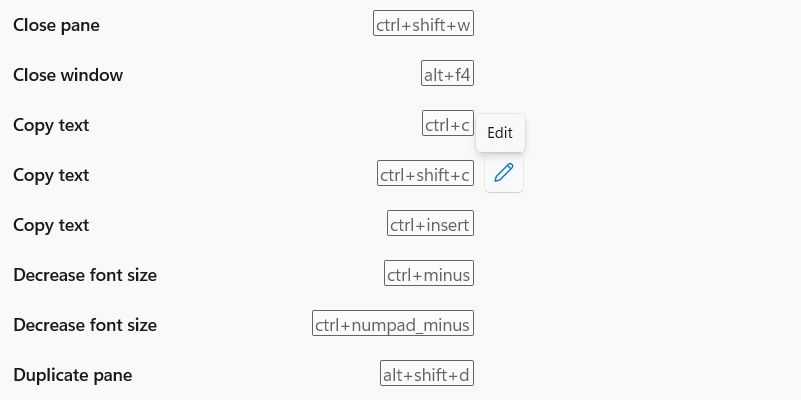
To edit an existing Action, hover over it to reveal the pencil icon on the right, and then click it.
Next, click inside the text box, enter the new button combination, and click the blue checkmark button to lock it in.
Finally, hit the Save button in the bottom left corner to save the changes.
5. Create a Multi-Pane Layout
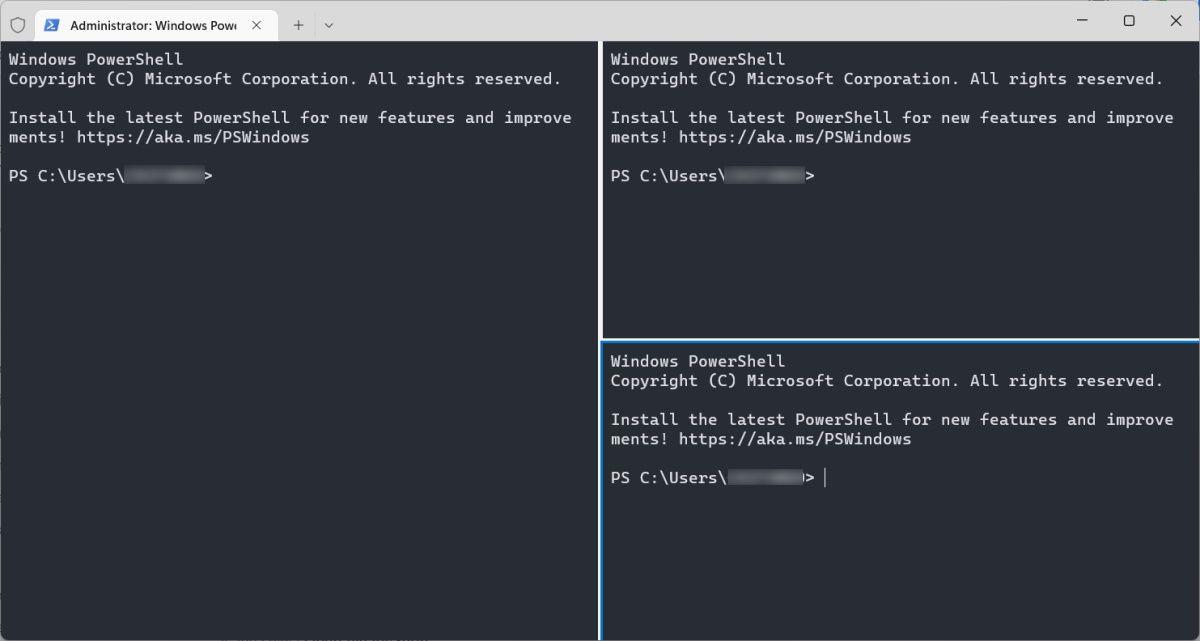
In Windows Terminal, you can split the pane to the right by pressing Alt + Shift + Plus. You can also split it downwards by pressing Alt + Shift + Minus.
Doing this allows you to create multi-pane layouts easily.
6. Add a Git Bash Profile
To add a Git Bash profile to Windows Terminal, you first need to install Git Bash for Windows on your computer.
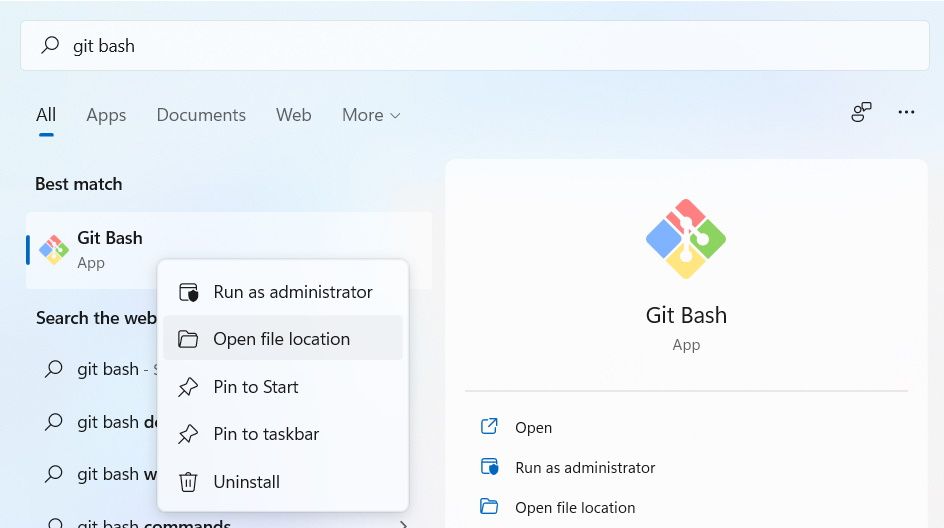
Next, you’ll need the file path to Git Bash’s shortcut. Press Win + S to open Windows Search. Type git bash in the search box, and when the app shows up in the search results, right-click on it and select Open file location.
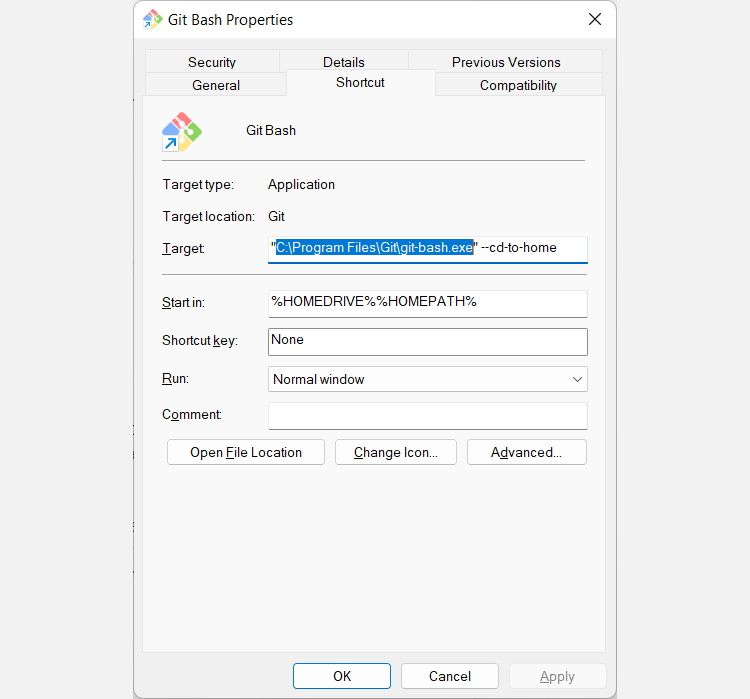
This will open the location where the Git Bash shortcut is, and it will be selected by default. Right-click it and select Properties. In the Shortcut tab, copy the text in the portion highlighted in the screenshot below. For our example, it is C:\Program Files\Git\git-bash.exe (yours might be different).
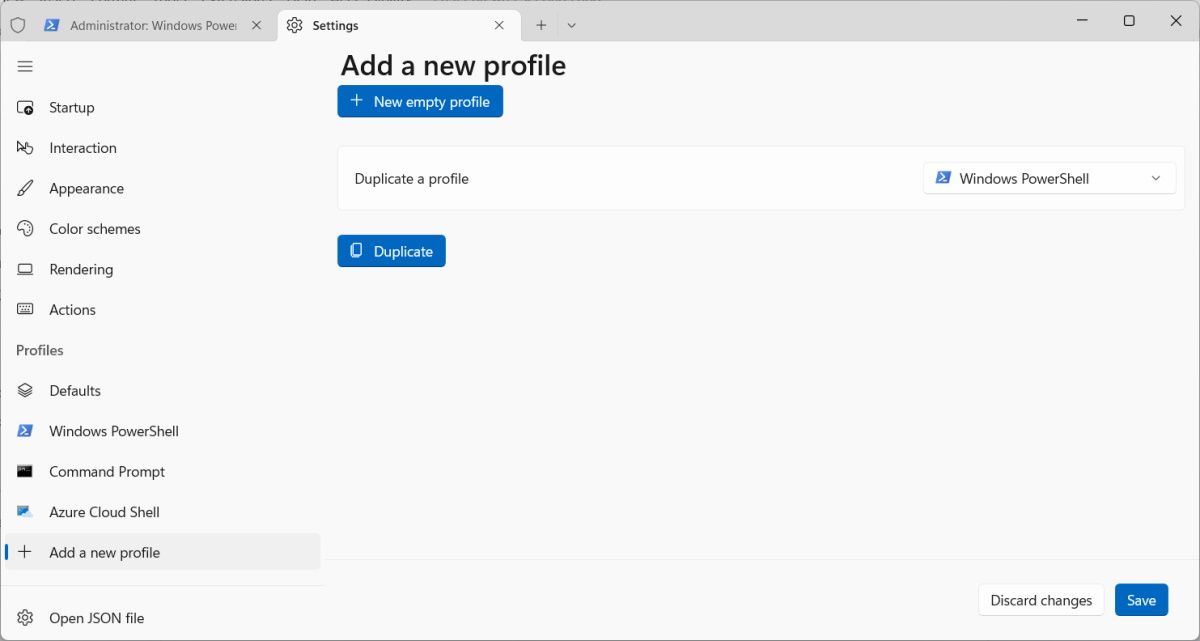
Now, open Windows Terminal and head to the Settings. Next, click Add a new profile on the left side menu towards the bottom. Then, click New empty profile at the top.
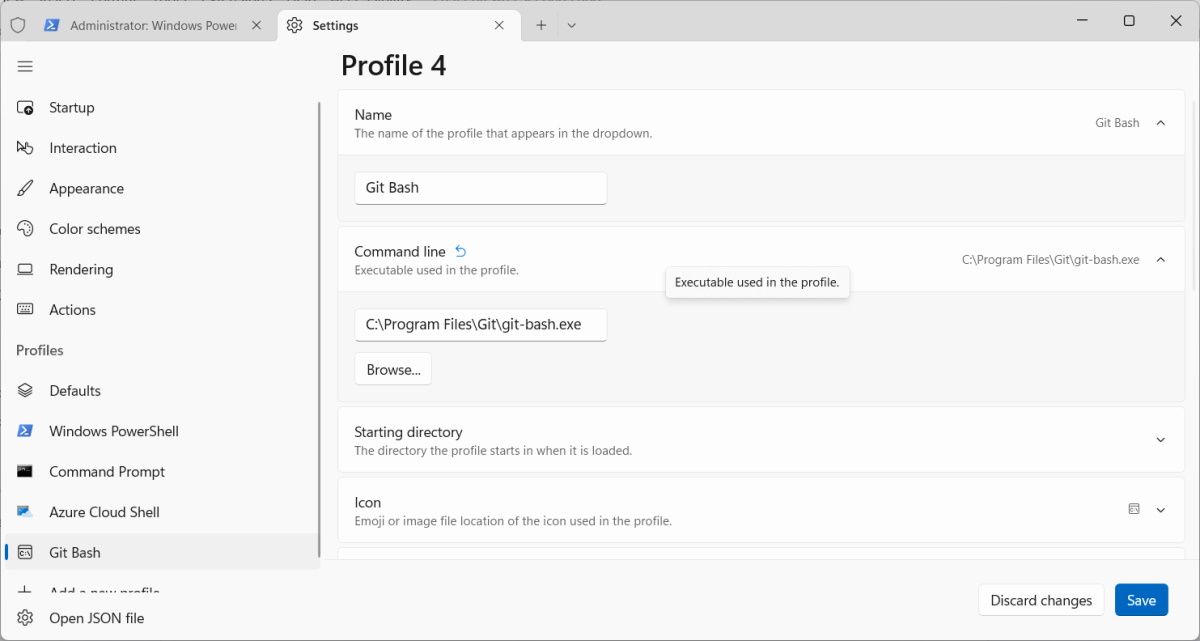
Click the Name section to expand it and enter Git Bash in the text box. Then, expand the Command line section as well and paste the file path for the Git Bash shortcut in there.
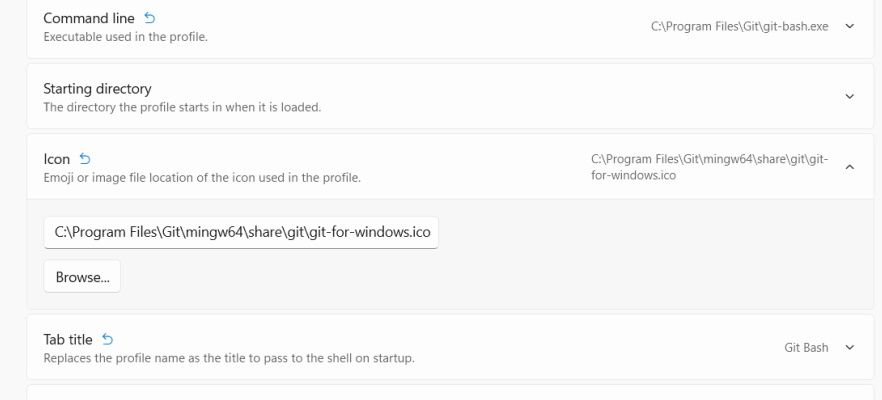
Next, expand the Icon section and click Browse. Usually, you can find the icon for Git Bash by navigating to C: > Program Files > Git > mingw64 > share > git folder (your location might be different). Then, double-click on git-for-windows.ico to add the icon to the Git Bash profile.
Next, scroll down a little, expand Tab title and enter Git Bash in the text box to give the tab a name. Turn on the toggle for Run this profile as administrator as well while you're at it. When you’re done, click the Save button in the bottom right corner.
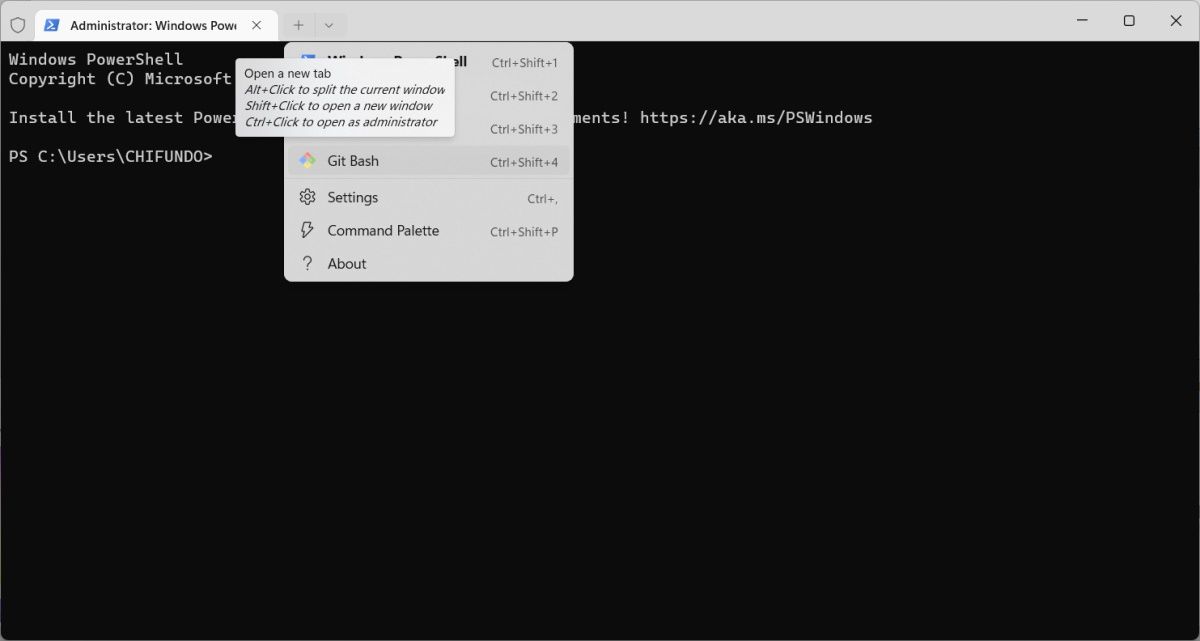
Now, click the dropdown arrow for selecting a new profile.
As you can see, you can now select Git Bash from the list of profiles.
How to Reset Windows Terminal Back to Default Settings
If you ever find yourself in a situation where you’ve customized Windows Terminal too much and want a clean slate, you can just reset the settings back to default.
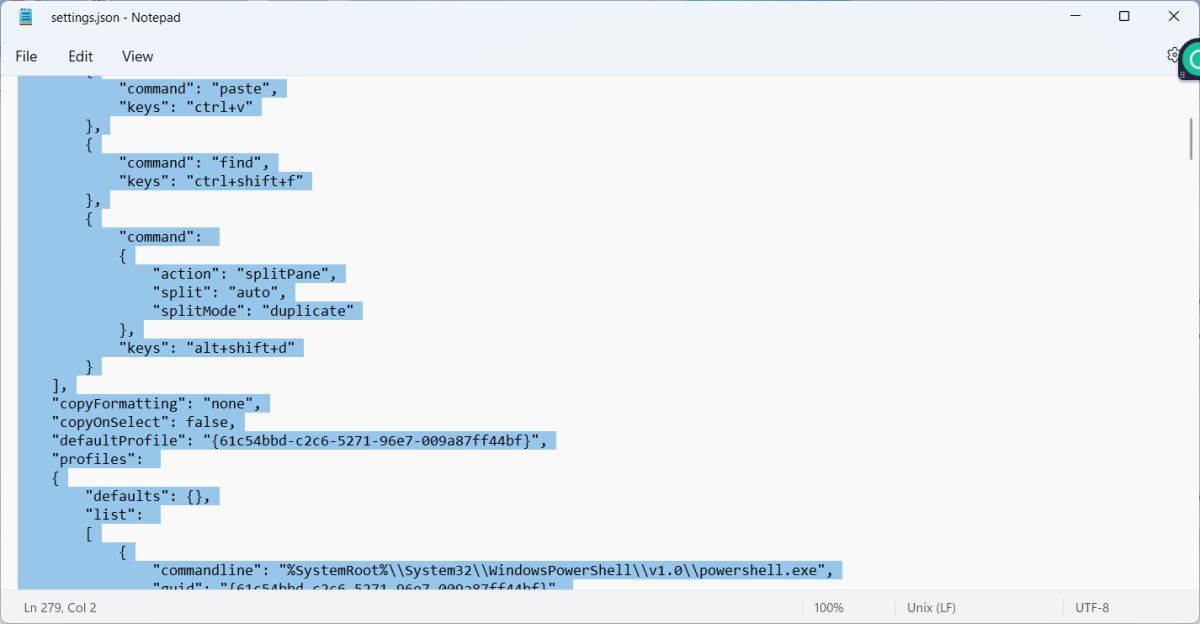
To do that, open Windows Terminal, head to Settings, and click Open JSON file in the bottom left corner of the screen. If you get a prompt asking you to choose a program to open the settings file with, choose Notepad from the list.
In Notepad, select all the text inside it by pressing Ctrl + A, and then delete it by pressing Backspace.
Press Ctrl + S to save the file.
Now close Windows Terminal and reopen it. The app will then realize that the settings file is empty and will fill it with default entries (this file can’t be blank).
Making Windows Terminal Your Own
There are many more ways you can customize Windows Terminal – we've only scratched the surface on how much customization you can do here. So, explore the rest of the settings to see how you can make Windows Terminal your own. And if you make a mistake, just change that setting back to the way it was originally or reset all of them in Notepad.

