
Wireless connectivity strength depends on how close your connected device is to the wireless router. The further you go, the weaker the signal your device receives. If you have multiple network devices at home or office, you can configure Windows to automatically connect to the strongest Wi-Fi network available.
To achieve this, you will need to configure your local network card properties. If not, you can use a third-party Wi-Fi network manager app to set network priorities in Windows.
How to Configure Network Adapter Properties to Set Wi-Fi Network Properties
Roaming aggressiveness is a network card feature. When you change its settings, it changes the threshold at which your Wi-Fi adapter starts looking for another Wi-Fi network device.
Set the value too high, and it will jump even when the signal is good. When set to its lowest, the Wi-Fi adapter may not scan for another network until the signal strength is too weak.
By default, roaming aggressiveness is set to the Medium level on your Windows computer. You can change and set it to its highest to make Windows connect to the strongest Wi-Fi network available in the area.
To change the roaming aggressiveness value:
- Press Win + R to open Run.
- Type control and click OK to open the Control Panel.
- Next, click on Network and Internet and then on Network and Sharing Center.
-
In the left pane, click on Change adapter settings.
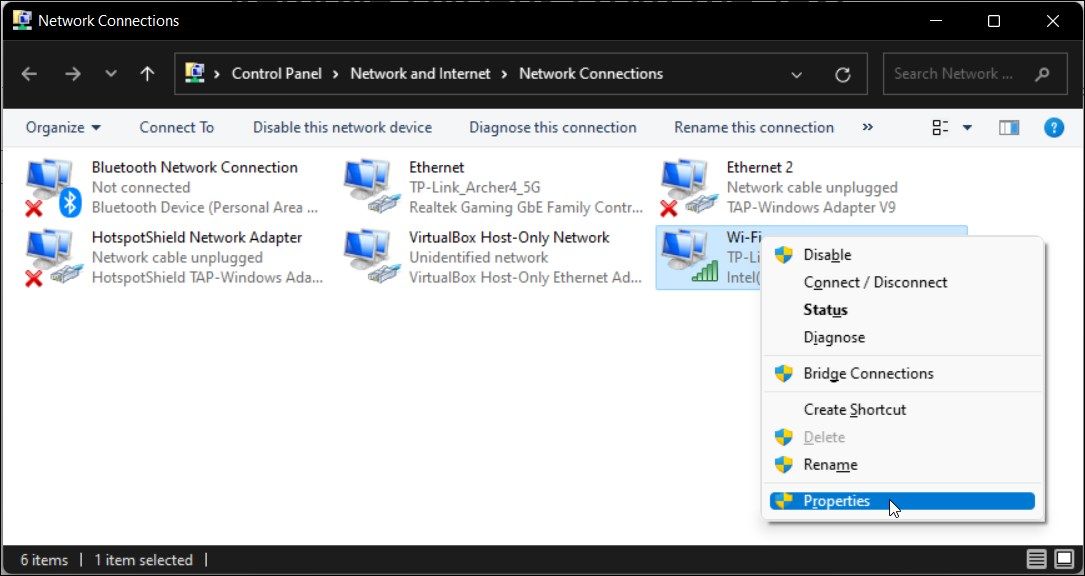
- Here, right-click on your active Wi-Fi adapter and select Properties.
-
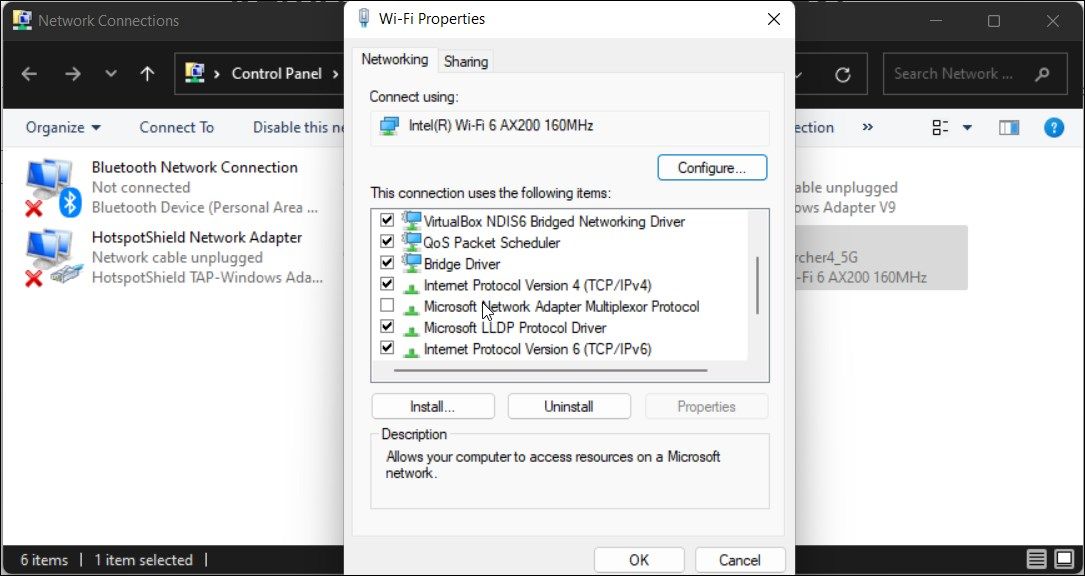
In the Properties window, click the Configure button.
- In the new window, open the Advanced tab.
-
Under the Property section, locate and select Roaming Aggressiveness.
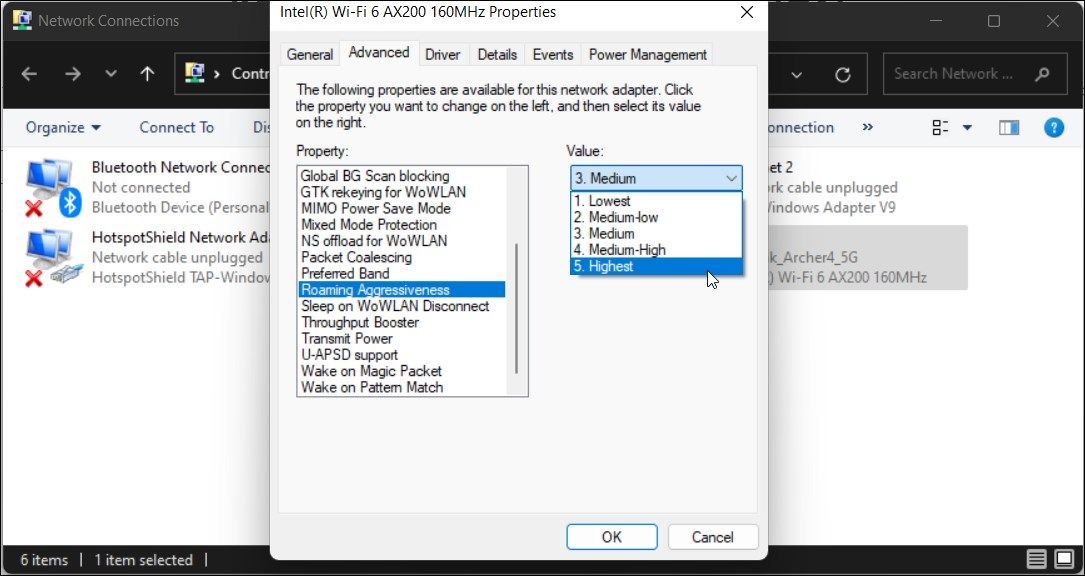
- By default, the Roaming Aggressiveness value is set to Medium. Click the drop-down and select 5. Highest.
- Click OK to save the changes.


Close all the open windows and restart your PC. After the restart, you need to configure your PC to look for other networks when still being connected to the current network. Here’s how to do it.
- Press Win + R to open Run.
- Type ncpa.cpl and click OK to open the Network Connections dialog.
-
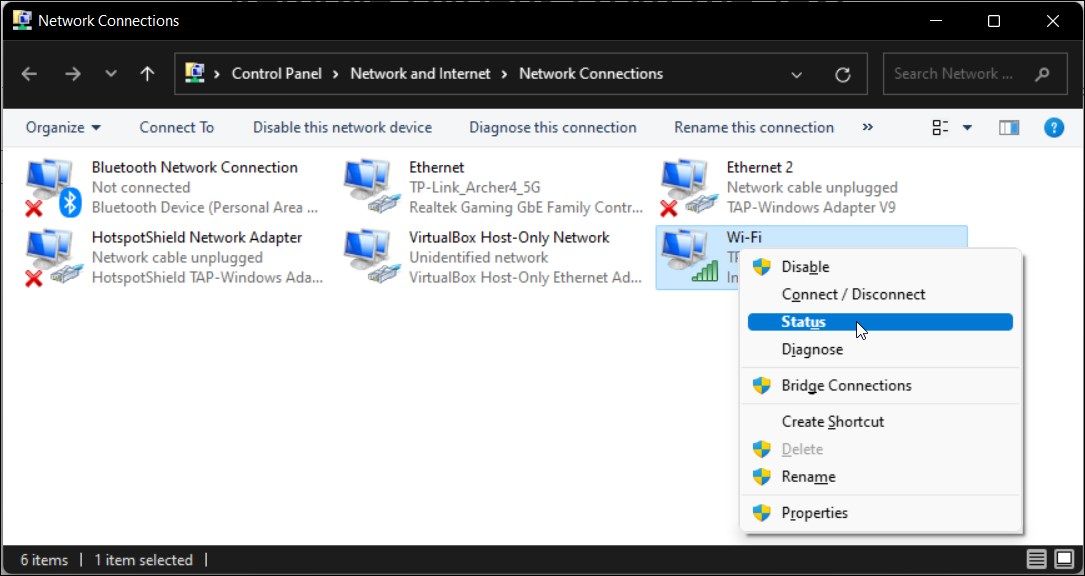
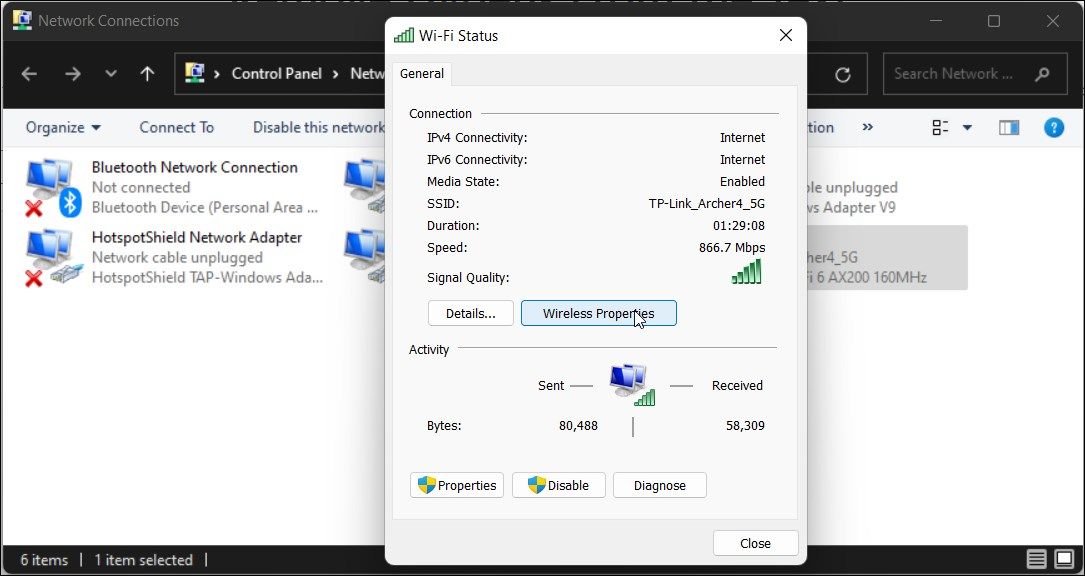
Right-click on your Wi-Fi adapter and select Status.
-
Next, click on Wireless Properties.
-
In the Properties dialog, check the option “Look for other wireless networks while connected to this network.”
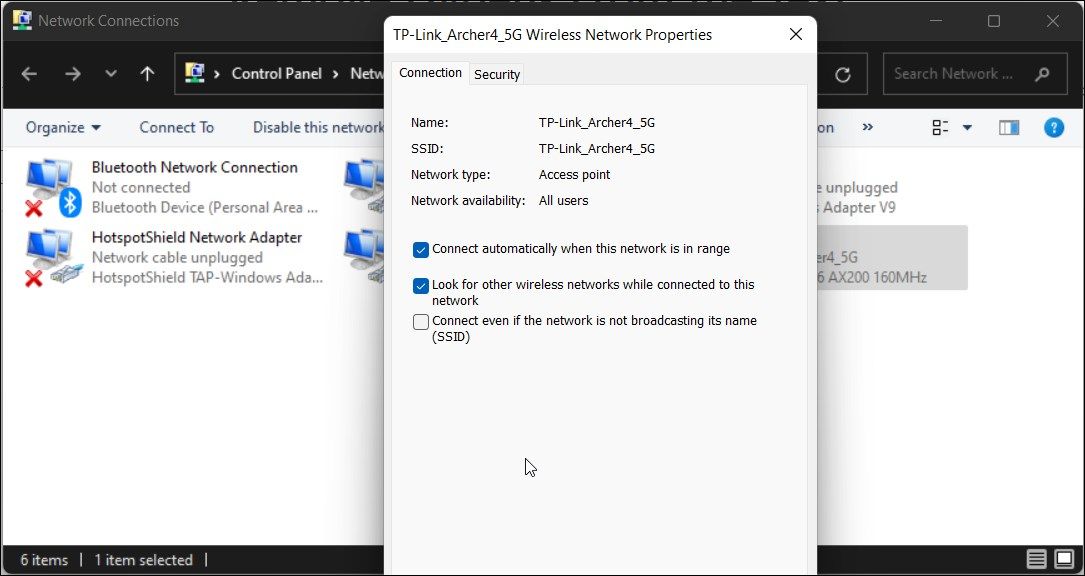
- Click OK to save the changes.


With this, your computer will jump to the next strongest Wi-Fi network when detected.
Since we have set the Roaming aggressiveness to its highest, you may notice frequent jumps between the networks even if you move around a little.
In that case, experiment with other Roaming Aggressiveness levels to find a value that works best for you. To restore the default setting, select the value 3.Medium in the network properties.
How Switch Between the Best Wi-Fi Networks Automatically Using Wifinian
Wifinian is a third-party Windows utility that lets you actively control your Wi-Fi connections. It comes with a basic user interface and features a few handy options.
Using the app, you can configure auto-connection and auto-switch for your Wi-Fi networks. You can also perform a scan, execute an automatic connection depending on the signal strength and organize priority based wireless profile.
To use Wifinian to auto-switch between the best Wi-Fi networks:
- Go to the Wifinian page in Microsoft Store.
- Click Get This App to download and install the app.
- Once installed, it will appear in the taskbar.
-
Click on the Wifinian icon to launch the app.

-
It will automatically scan and show all the Wi-Fi profiles available.
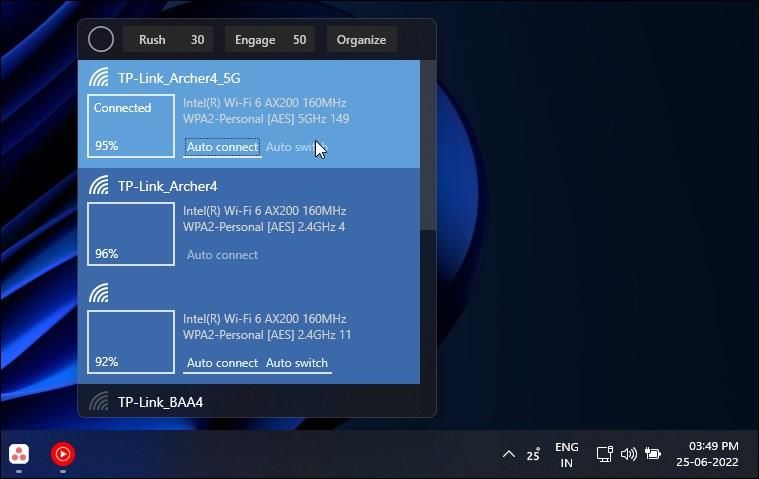
- Click the Auto connect button and then click Auto Switch to let the app automatically choose and connect to the strongest Wi-Fi network when available.

Automatically Connect to the Strongest Wi-Fi Network in Windows
Roaming aggressiveness is an excellent way to connect your Windows device to the most stable wireless network at work and at home. However, If you don’t want to go through the network properties each time to adjust the wireless aggressiveness, you can use the Wifinian app to automate this process, albeit with less control.