When you’re setting up your Windows account, you’ll have the option to link it to your Microsoft account. If you skipped this step initially, maybe because you didn’t have a Microsoft account or an internet connection at the time, or you didn’t see the need, you’ll be using what’s known as a local user account.
If you change your mind and no longer wish to use a local account on Windows, you can easily sign in to your Microsoft account on your PC. Here’s how you can do that on both Windows 10 and 11.
Before You Sign In With Your Microsoft Account on Windows...
You can’t sign in to Windows using your Microsoft account if you don't have one. If you want to create it, please read our guide on what Windows users should know about Microsoft accounts. It contains the instructions you need to create an account with Microsoft and a few more tips to help you use it better.
You also need to know what you’re in for when you use your Microsoft account with Windows. To that end, you can check out our guide on the pros and cons of using a Microsoft account with Windows.
How Do I Sign In to My Microsoft Account on Windows?
Throughout the process, you need to ensure that you’ve connected your Windows computer to the internet. Windows will need the connection when signing in to your Microsoft account.
You’ll find the option to use your Microsoft account with Windows, in the settings. To get to it, start by pressing Win + I to open the Settings app.
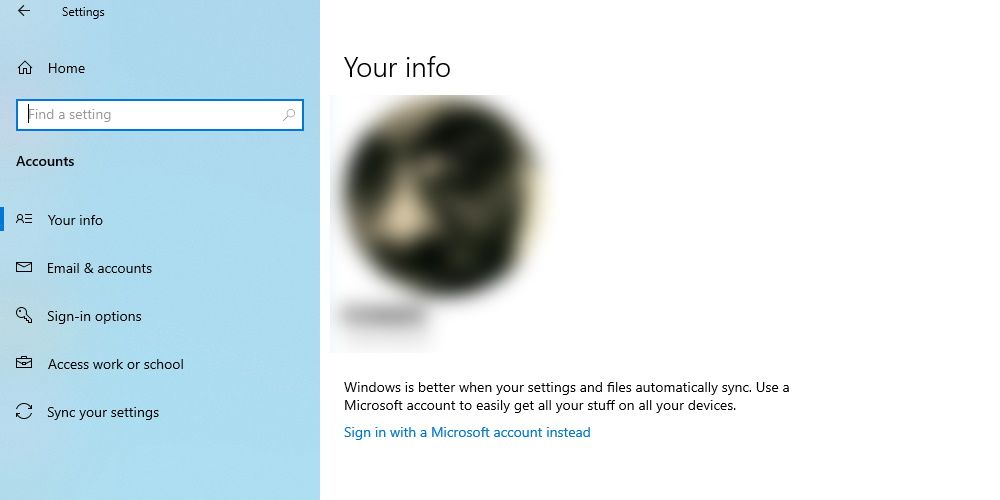
On Windows 10, click on Accounts, and you’ll immediately land on the Your info page, which is where you want to be.
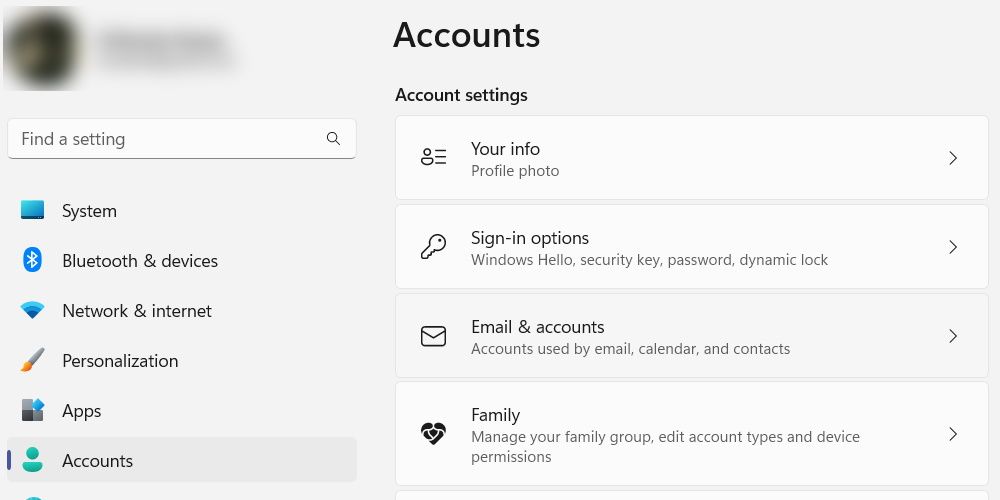
On Windows 11, you can get to the Your info page by clicking Accounts in the menu on the left. Then, click on Your info in the Account settings section on the right.
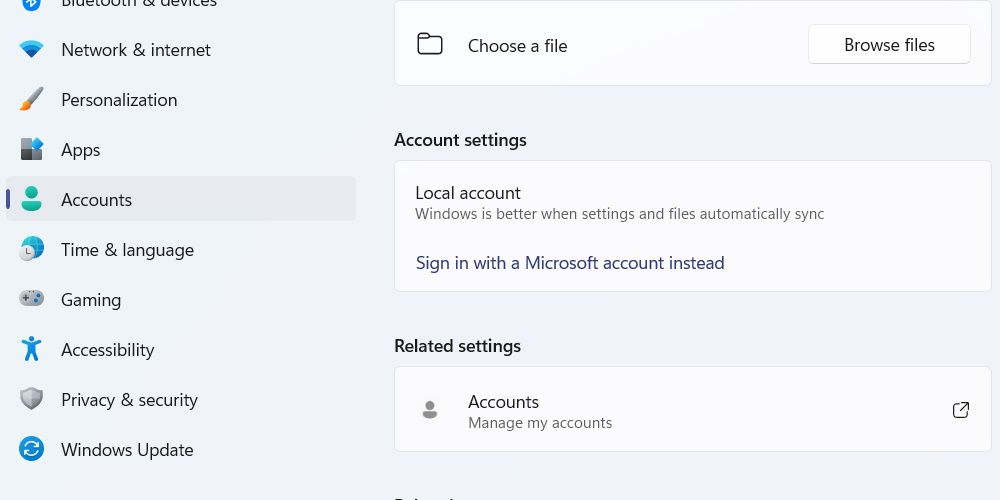
On the Your info page, click on Sign in with a Microsoft account instead. You should easily be able to locate the link on both Windows 10 and 11.
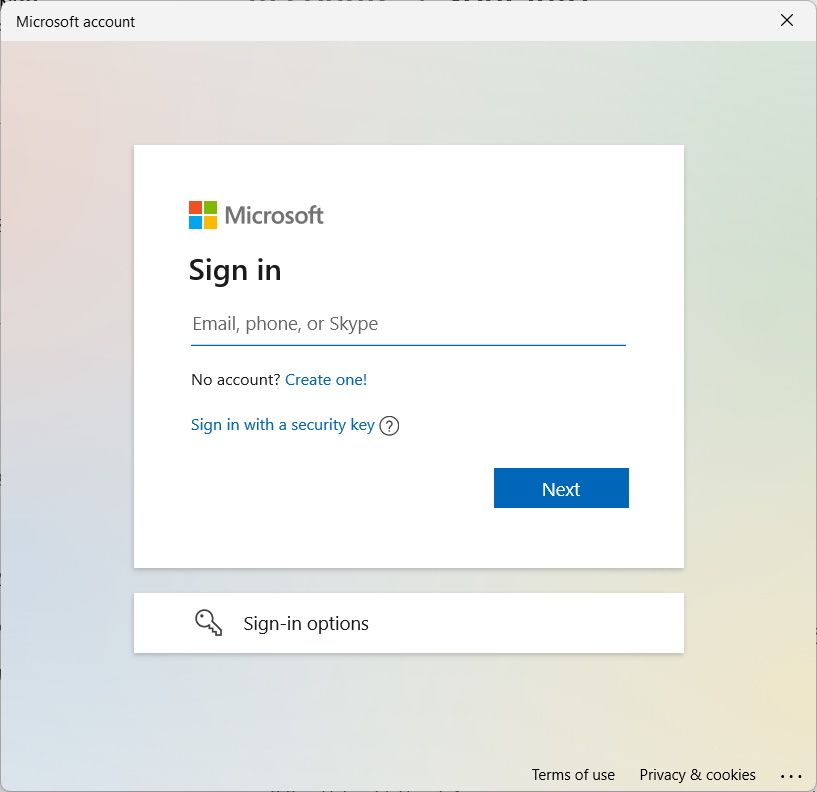
A new window will appear asking for the username to your Microsoft account. Enter it, and then click on Next.
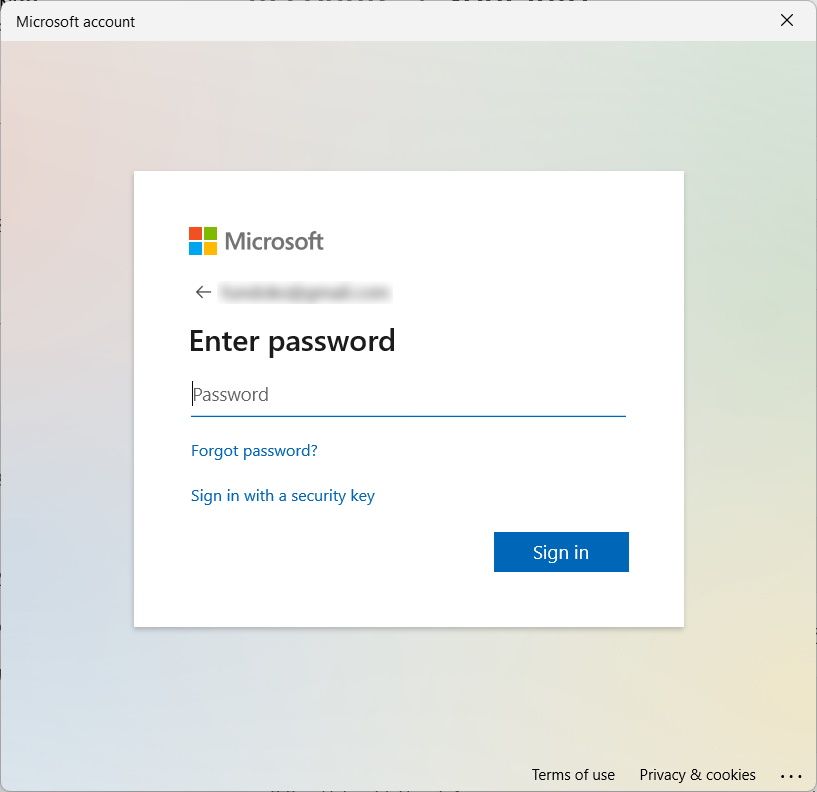
Type in the password to your Windows account and click Sign in afterward.
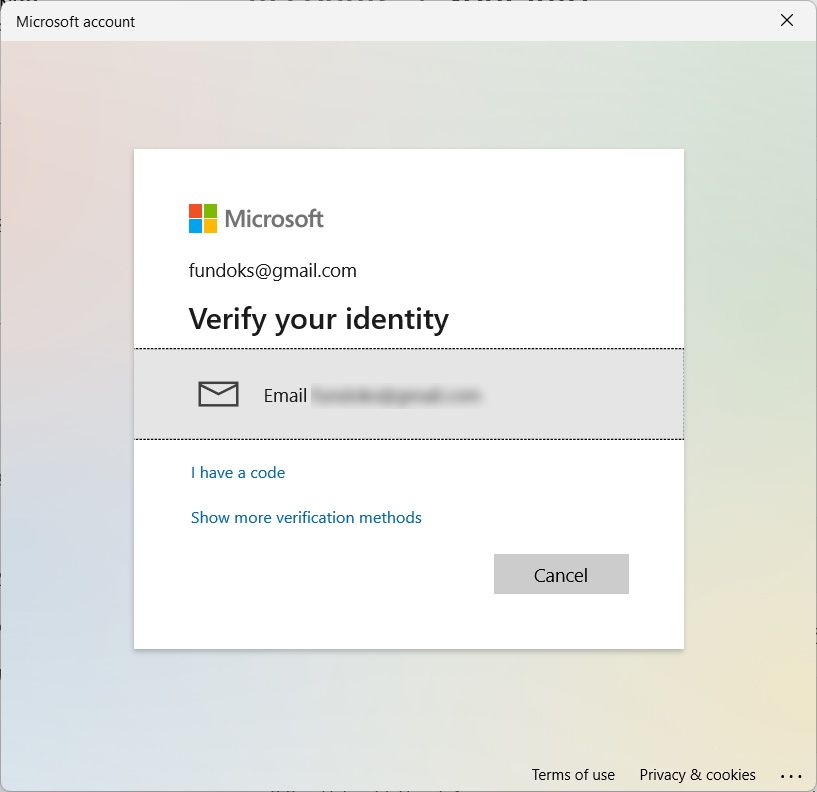
You’ll then need to verify your identity through two-step verification. The easiest way is to send a code to your email by clicking where it says Email [your email address]. The text in between the square brackets (your email address) will have the email address associated with your Microsoft account.
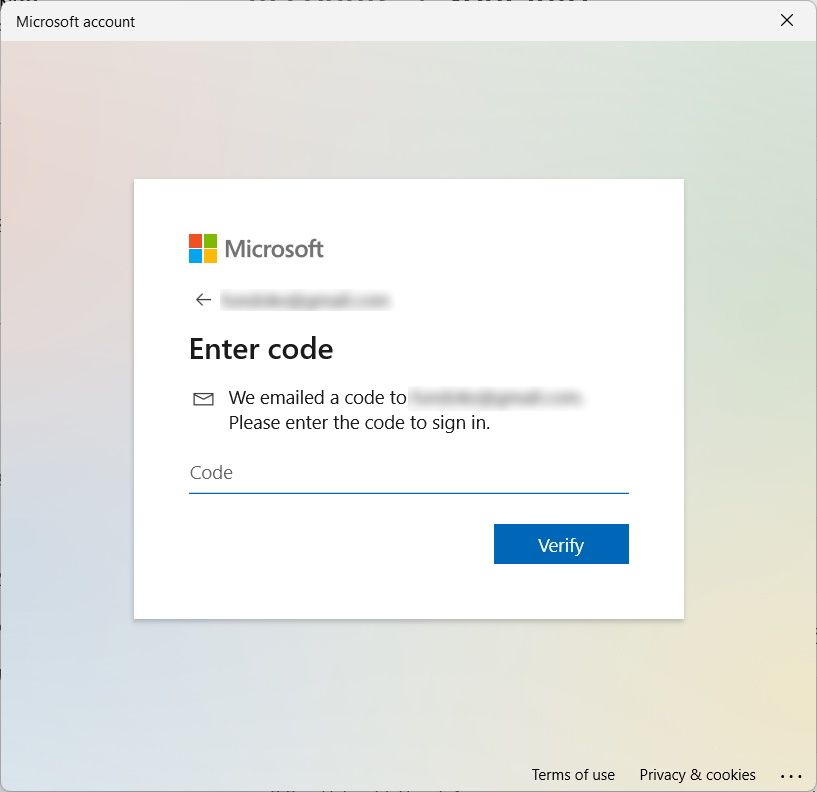
Check the inbox of the email address you use with your Microsoft account for the code. Once you retrieve it, go back to the Settings app, enter the code in the text box, and click Verify.
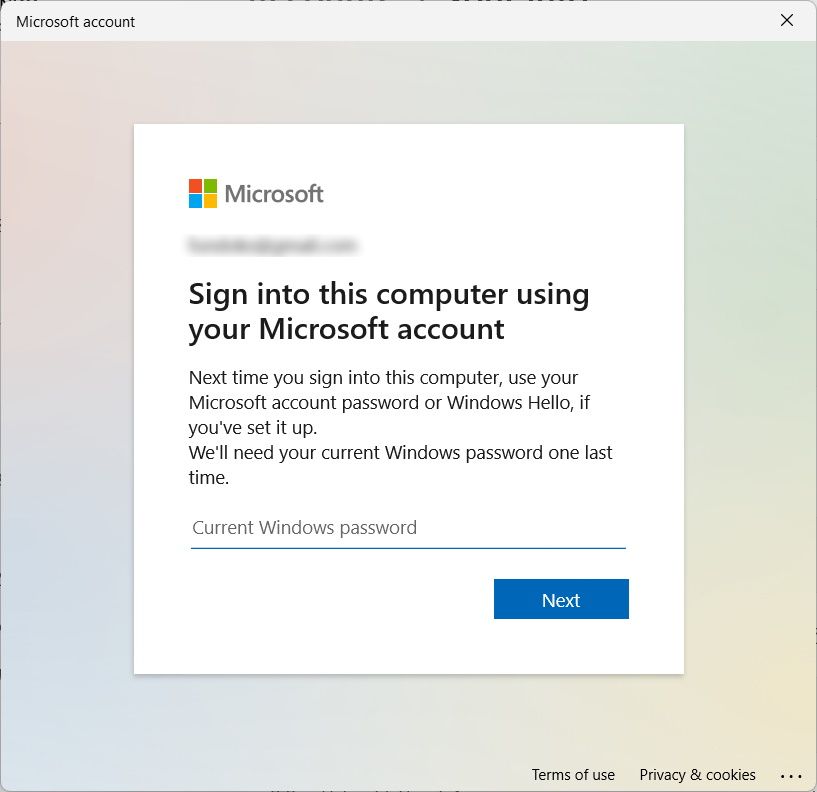
Now, enter the password you use to sign in to your local Windows account and click Next.
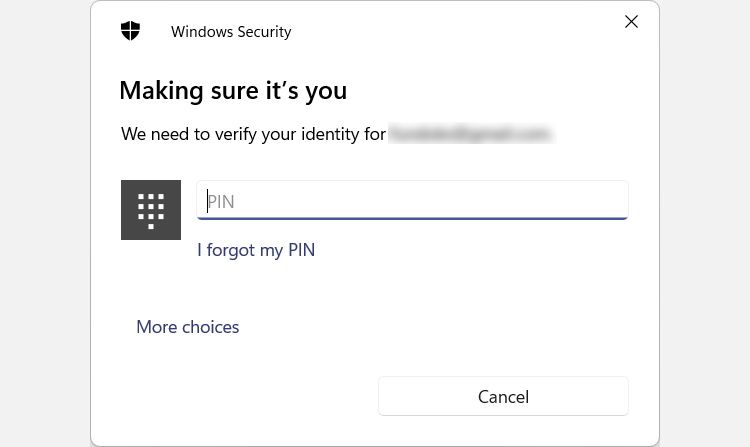
If you set up a Windows Hello PIN, you’ll get a prompt telling you that you need to complete one last step. Click on Next in the prompt. Then, enter the PIN in the Windows security dialog box that pops up.
Once you enter the PIN, you will have completed the process of signing in to your Microsoft account. Windows won’t log you out, meaning you can continue using your computer as normal.
Windows Is Better With Your Microsoft Account
Microsoft encourages you to use Windows with your Microsoft account. By following the steps above you can easily sign in to your Microsoft account on your PC.
We also recommend that you link your Microsoft with Windows to unlock more features on your computer. But if at any point you feel like it’s not worth it, you can always go back to using your local account.

