
The Windows Start menu is like a roadmap to the operating system, providing you with information about all the apps, programs, and files in the system. While the Start menu typically works well silently in the background, there are times when it can act up, causing some features to disappear.
One of the most common bugs with Windows 10 and 11's Start menu is the Settings icon mysteriously disappearing. This can be caused due to a variety of reasons such as an outdated system, a corruption error within the system, and incorrect Start menu settings. The following are four troubleshooting methods you can try if you run into this issue.
1. Uninstall the Latest Update
If the Settings icon has disappeared from your Start menu, then the first thing that should do is to check if that happened after installing a system update. There are times when a system update causes Windows to lose some functionality or cause issues within the system.
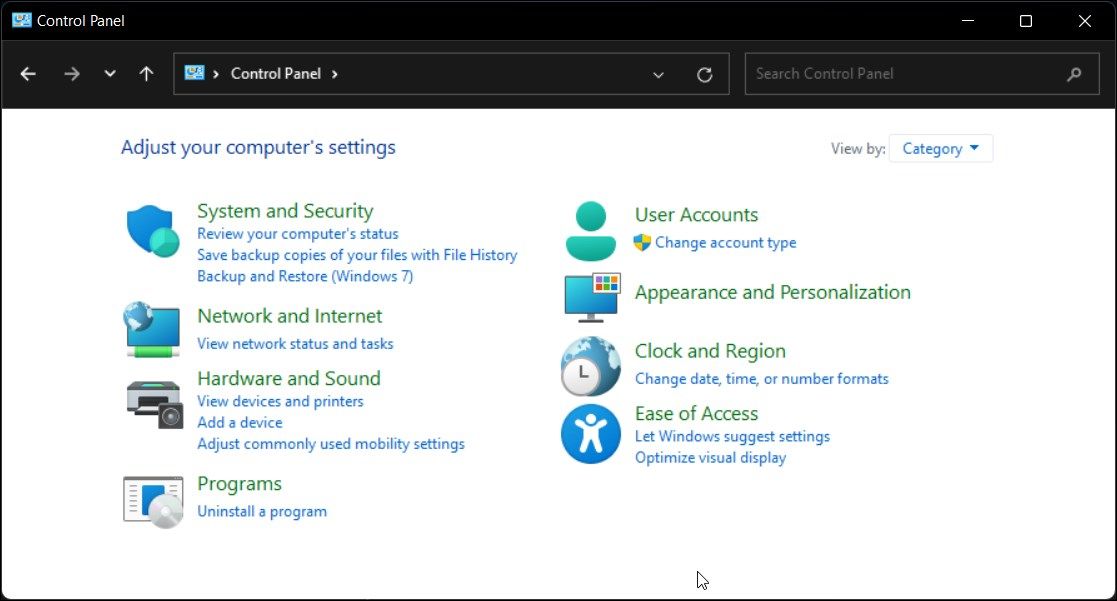
The easiest way to fix the issue is to uninstall the latest installed update and then keep it from installing again. Below, we have listed the steps of uninstalling updates via the Control Panel. If you are not comfortable using the Control Panel, you can also uninstall updates via Windows Settings app.
- Press the Win + R keys together to open Run.
- Type control in Run and hit Enter.
-
In the following window, click on Uninstall a program.
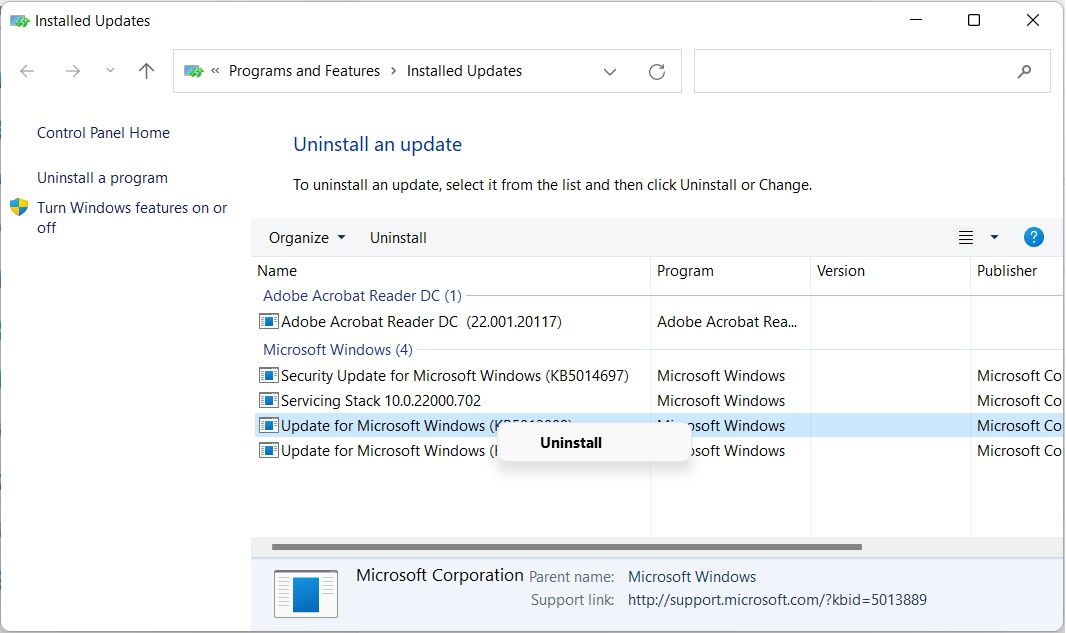
- Now, choose View installed updates in the left pane.
-
You should now see a list of installed updates. Right-click on the most recent update and choose Uninstall.
- Follow the on-screen instructions to complete the process.


Once the update is complete, you can hide it to prevent it from installing using the Show or hide updates tool.
- To begin, download the Show or hide updates tool.
- After it is downloaded, click on the downloaded file to install it.
- Click Next in the following dialog.
-
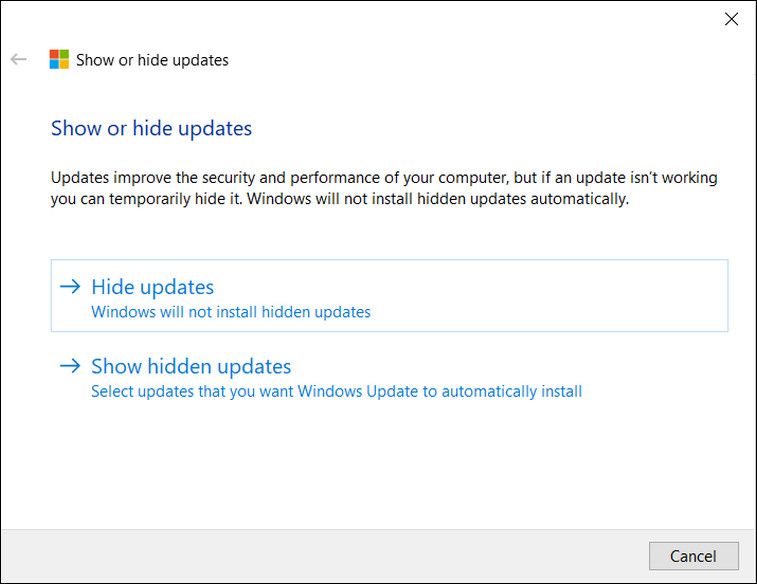
The tool will now scan for the available updates and present you with two options Hide updates and Show hidden updates. Click on Hide updates.
- Now, choose the targeted update in the next window and click Next.
- The tool will complete the process of hiding the update in a few seconds. Once done, click on the Close button.

You can now restart your PC and check if the Settings icon is back in the Start menu.
2. Modify the Start Menu Settings
Another fix that you can try is modifying the settings of the Start menu and enabling the Settings icon from there. This fix helped quite a few users fix the issue, which is why we recommend you give it a shot.
Here is what you need to do:
- Press Win + I together to open Settings.
- Select Personalization in the following window.
- Choose Start from the left pane.
-
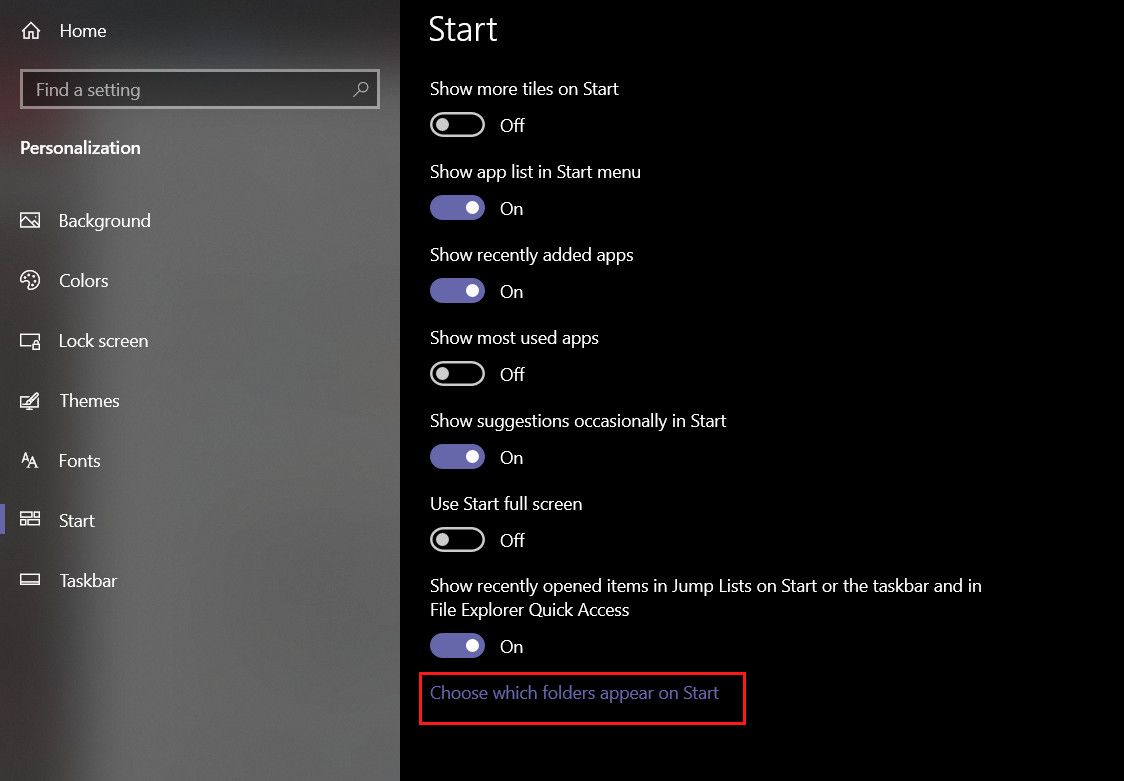
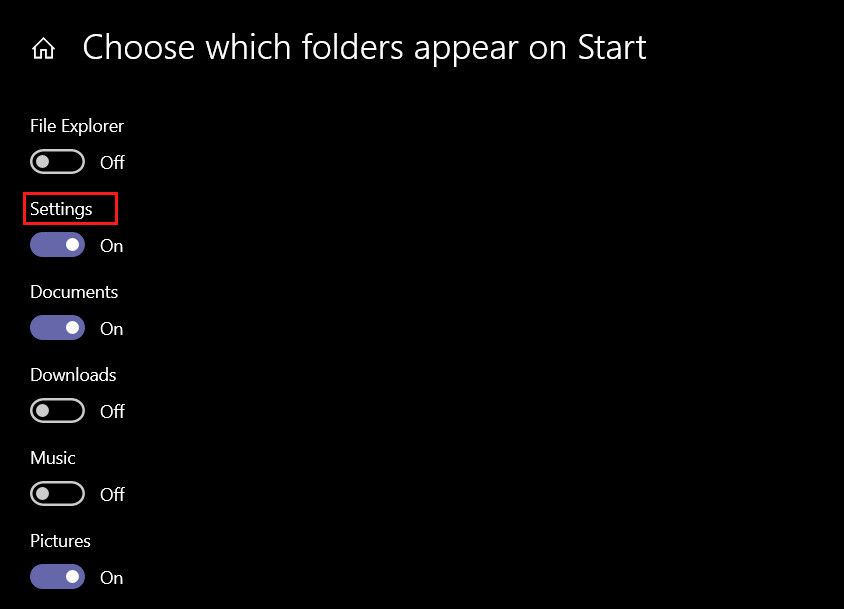
Now, click on Choose which folders appear on Start on the right side of the window.
-
Check if the toggle for Settings is turned on. If not, enable it.
- You can now close the Settings window and check if the problem is fixed.


3. Pin Settings to the Start Menu
Another way to get the Settings icon back on the Start menu is to pin it manually. You can pin the Settings icon on both the Start menu and taskbar for easy access.
Here is what you need to do:
- Type Settings in the search area of the taskbar.
- Right-click on the search result and choose Pin to Start from the context menu.
That’s it! Hopefully, you will now be able to see the Settings icon in the Start menu like before.
4. Restore a Previous Windows State
If the steps mentioned above have not worked for you, then you can try using the System Restore utility to restore Windows to a previous working state.
The System Restore utility works by creating restore points in Windows at different times. These points are typically created before you attempt to perform a critical operation such as installing system updates or making changes within the Registry Editor. You have the option to create restore points manually as well.
This is done so that users can go back to a previous working state to restore the system’s functionality if anything goes wrong during the process.
The restore points are stored in the Restore utility and in this method, we will be using the most recent restore point to go back to a Windows state where the settings icon issue was not present.
Here is how you can proceed:
- Type Control Panel in the search area of the taskbar and click Open.
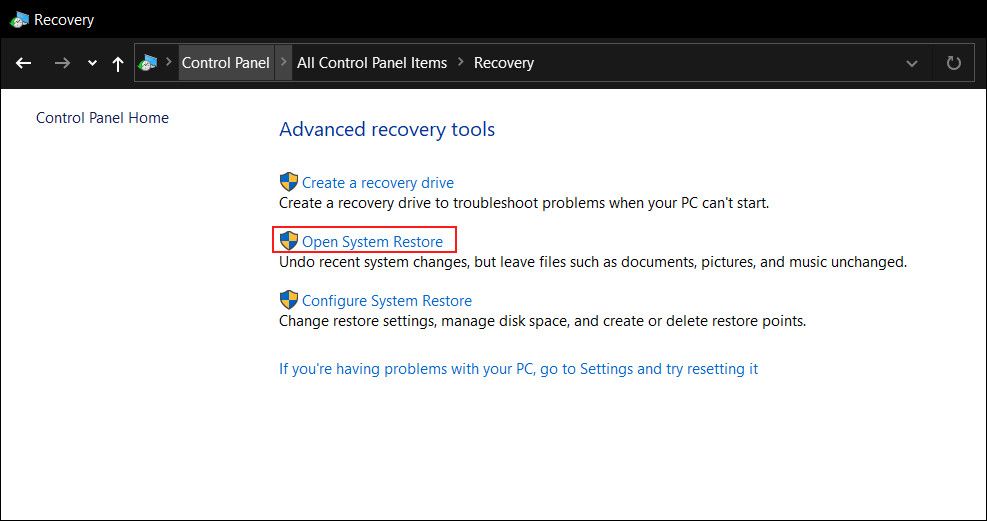
- In the following window, type Recovery in the search bar at the top-right and choose the most appropriate search result.
-
Select Open System Restore.
- Click Next in the Restore system files and settings dialog.
-
You can now choose the restore point you want to choose from the list of options available.
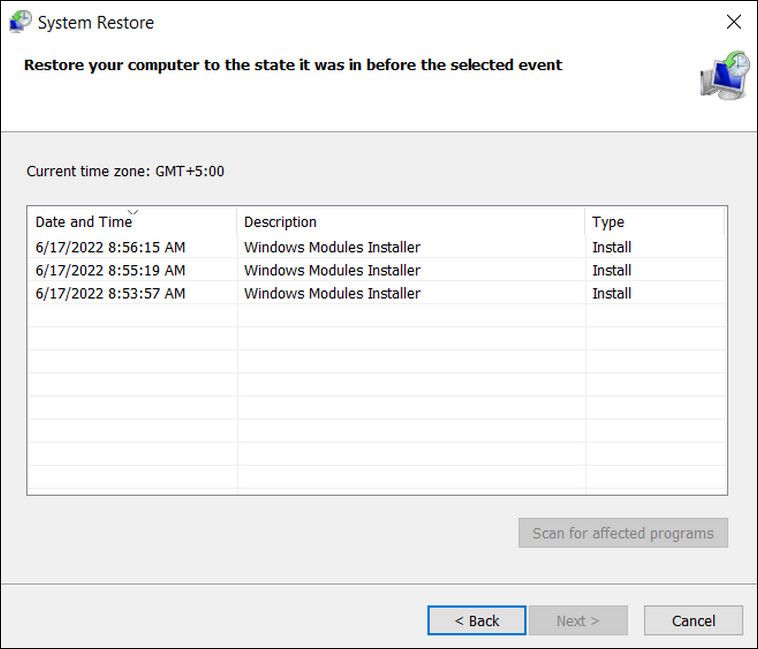
- Choose Scan for affected programs and then click Next.
- Follow the on-screen instructions to complete the process.
- If you cannot view the required restore point, checkmark the box associated with Show more restore points.
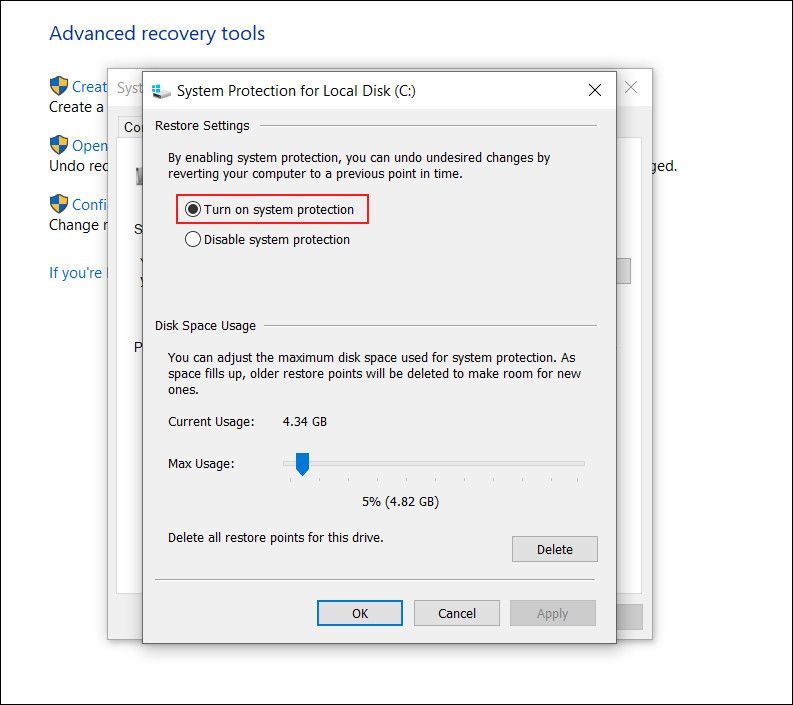
- If you still are unable to view the restored points, head to the Recovery section of the Control Panel again and navigate to Recovery > Configure System Restore > Configure.
-
Check if the Turn on system protection option is enabled. If it is not, it implies that there are no system restore points since the functionality was disabled.


If your system does not have any restore points, then you can try switching to a different user profile and check if the issue is there as well. If not, you can continue using the second profile till Microsoft releases an official fix.
Get the Settings Icon Back
Hopefully, one of the methods above will help you get the Settings icon back successfully. If all fails, you can try resetting the Start menu to its default state and check if doing so helps you with the problem.