Like other desktop applications, Skype is also susceptible to glitches. Some common issues include audio calls failing to function, your calls dropping randomly, communication delays over the audio call, or incoming calls becoming unreachable.
Similarly, you may see Skype audio completely muted. As a result, you will not be able to hear anything on Skype. These issues often stem from an operating system problem, but there are times when the app itself or audio peripherals might also be to blame.
If Skype audio isn't working or you're facing issues with it, we'll discuss several fixes that will restore Skype audio.
1. Ensure the Issue Isn't on the Backend
Before implementing any fixes, it is imperative to ensure that the issue isn't coming from Skype's backend. To confirm this, go to the Skype status page and check the status of all Skype functions.

If any of the features related to audio aren't normal, then there could be a problem with the backend. In this case, the only thing you can do is wait until Microsoft resolves the issue.
In addition, to see real-time problems or outages reported by other users, go to the Down Detector's official website and enter Skype. If the down detector website does not show outages and everything is usually working, the issue lies elsewhere.
2. Ensure the Audio Devices Are Correctly Selected
After verifying that Skype is functioning normally, you should ensure the audio devices you're currently using in Windows are correctly selected.
You might be using one input or output audio device while some other devices are selected in Windows as defaults. It is imperative to rule this possibility out.
Follow these steps to do so:
- Open the Windows Settings app.
- Navigate to the System settings.
- In the left-sidebar, select Sound.
-
Make sure the right input and output sound devices are selected.
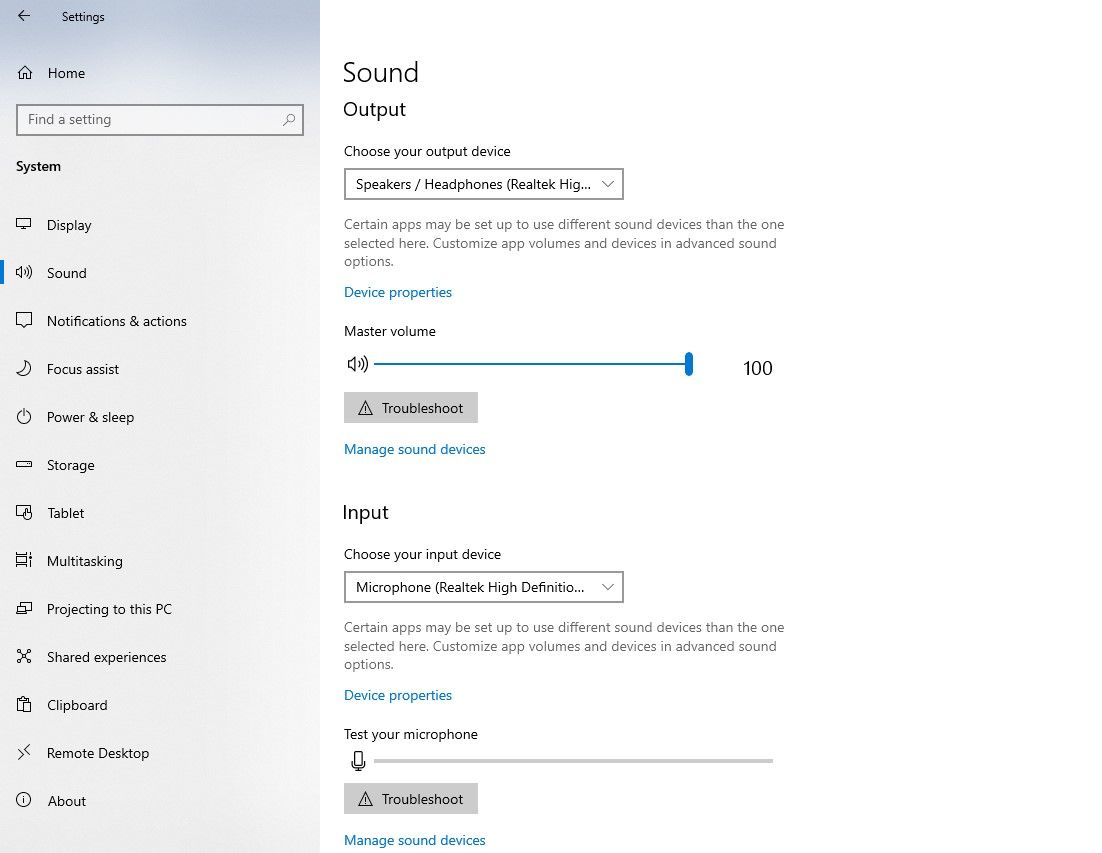

There is no harm in running the troubleshooter (located under each type of device) to diagnose the problem. When troubleshooters raise their hands, make sure your microphone is accessible to the app.
Ensure the Skype App Has Access to Your Microphone
If you're having difficulties using your Skype microphone, make sure the app doesn't have its permissions restricted in Windows settings.
To do that, open the Windows Settings app and go to the Privacy settings. On the left sidebar, select Microphone under App Permissions. To ensure Skype can access your microphone, make sure the toggle for Skype is turned on.

Following selecting correct audio devices in the settings, it is necessary to rule out hardware problems.
3. Rule Out Hardware Issues
Ensure that your audio hardware isn't the problem before troubleshooting other software issues. While troubleshooting hardware issues, do the following things first:
- Reconnect the audio hardware.
- Check for possible physical damage.
- Make sure the hardware cable and ports are intact.
- Connect your devices to the different ports on your computer.
- Try another pair of headphones and play audio through them.
After completing the basic checks, play audio in another app through the same hardware to ensure the issue is not system-level rather than Skype-specific. If the issue pertains to the hardware, troubleshoot the microphone issue and get another pair of headphones to verify it.
In cases where the same audio hardware plays audio for other apps and browsers, it ensures the problem lies exclusively with Skype. If so, you should next adjust Skype's audio settings.
4. Tweak Skype's Audio Settings
To change Skype's audio settings, follow these steps:
- Open Skype.
- Right next to your profile avatar, click on the three horizontal dots.
- Go to Settings.
-
Navigate to Audio and Video settings in the left-sidebar.
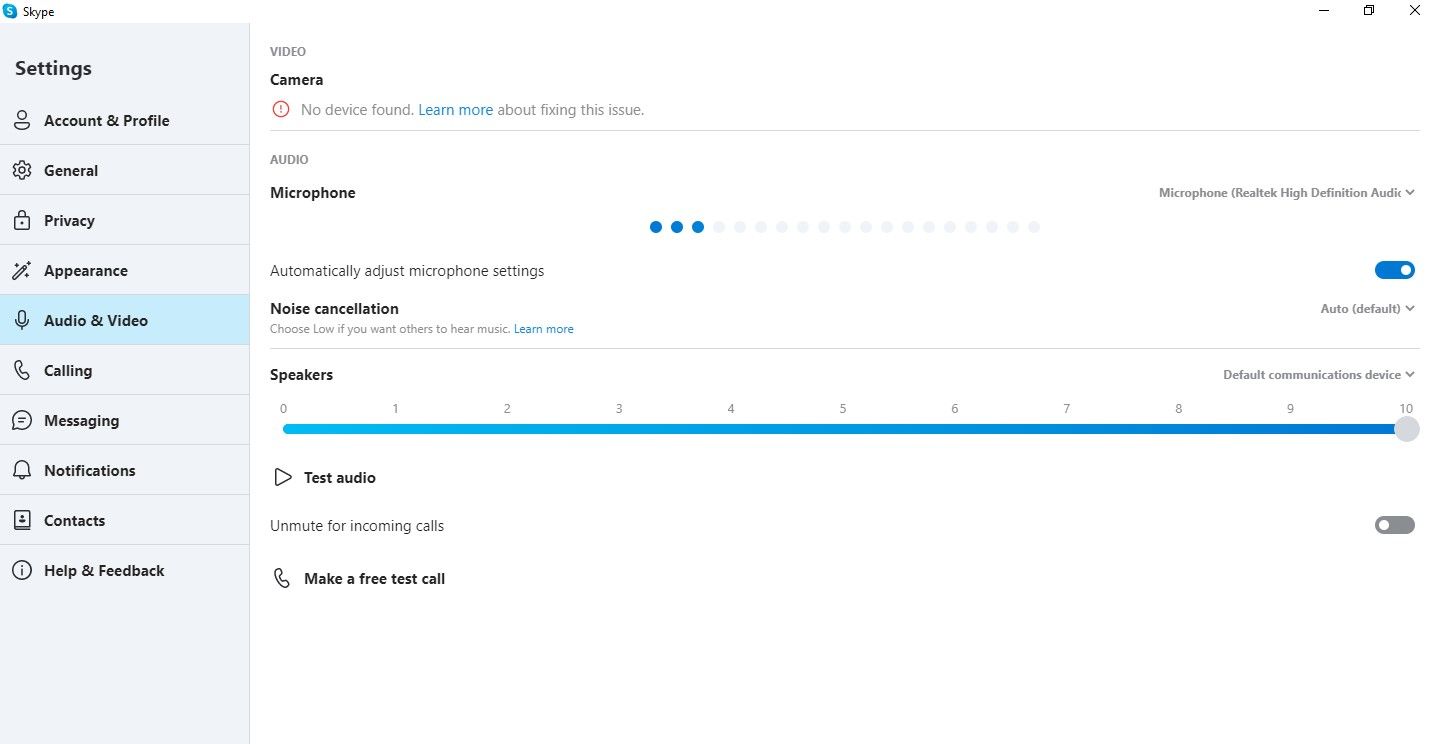

Make sure you select the same input and output devices as in your system settings in Skype's settings. Then, test both devices if nothing appears to be wrong there.
To do that, try speaking anything into your microphone and see if the blue dots move. Also, click on the Test audio button under the Speakers option to see if you can hear anything.
Likely, the issue lies somewhere deep within the operating system if either of these devices does not run as expected, confirming Skype cannot access them properly. Continue with the remaining fixes in that case.
5. Run the Audio Troubleshooters
Run the built-in troubleshooters in Windows first to rule out audio issues stemming from the operating system. The troubleshooter can diagnose and fix the problem on its own, which gives it a good chance of fixing Skype audio issues.
Follow these steps to run the audio troubleshooters:
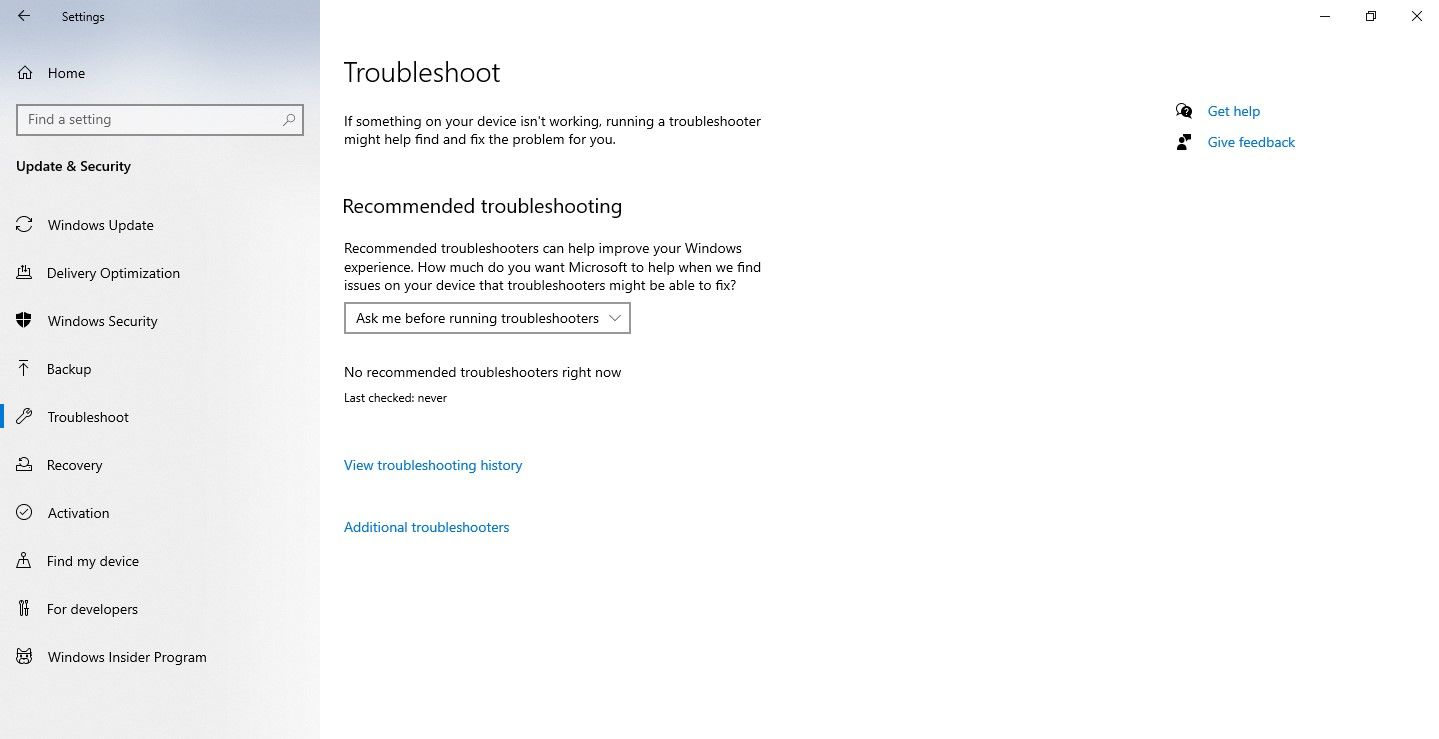
- Open the Windows Settings app.
- Go to Update and Security.
- In the left-sidebar, click Troubleshoot.
-
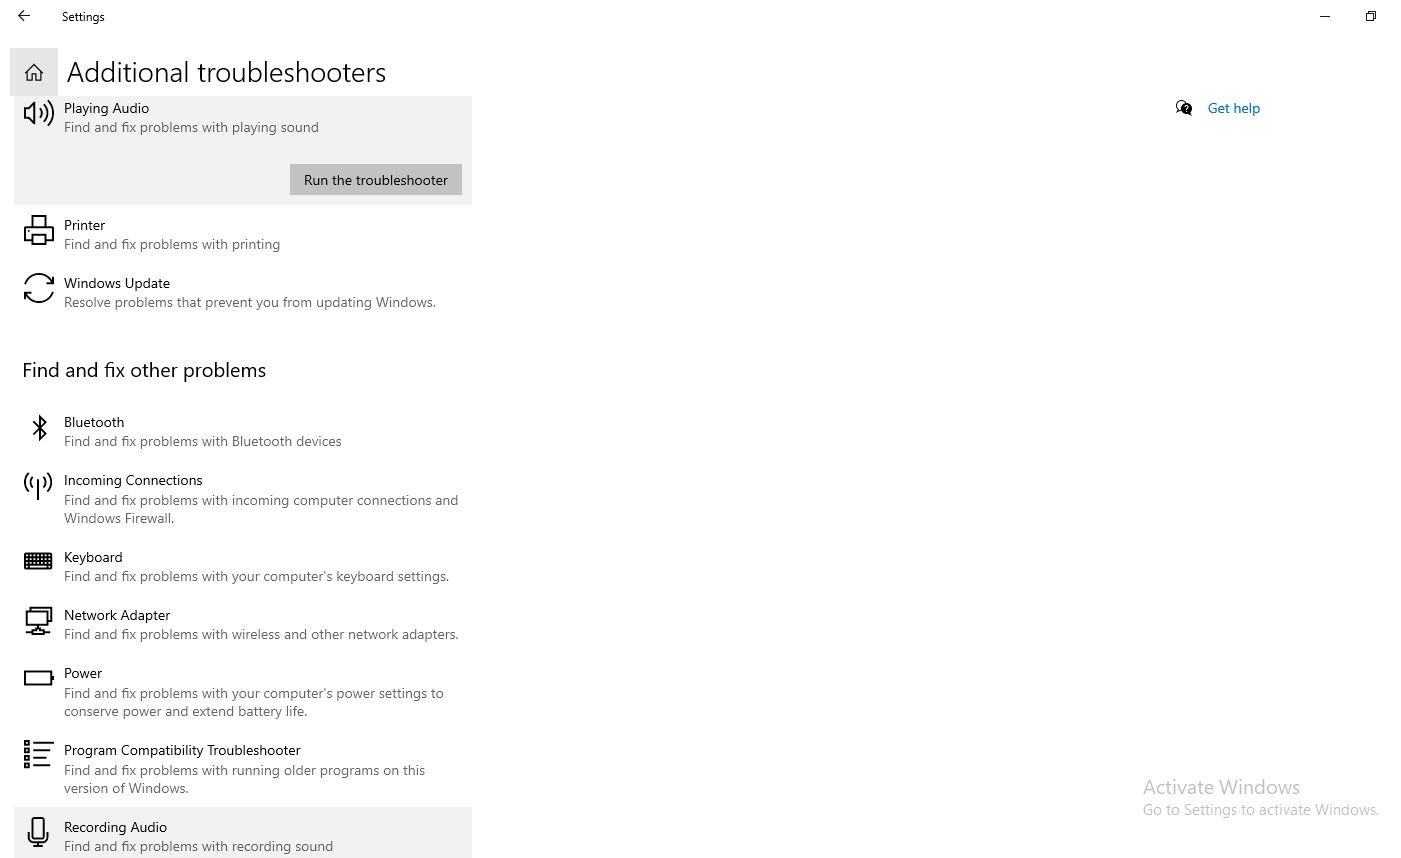
Click on Additional troubleshooters in the right-hand pane.
- Find Playing Audio, click on it, and hit Run the Troubleshooter.
-
Locate Recording Audio, click on it, and hit Run the troubleshooter.


If both troubleshooters do not resolve your issue, you should update your device's sound driver.
6. Update the Sound Driver
Follow these steps to update your device's sound driver:
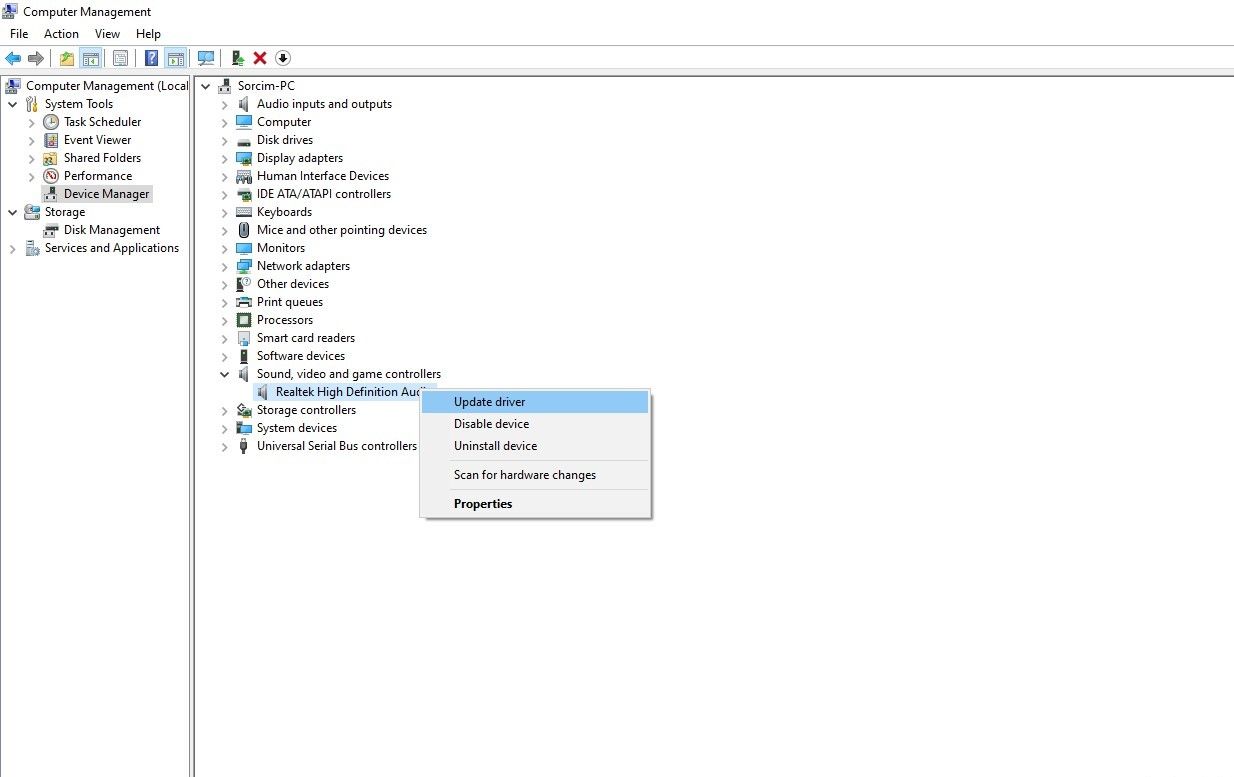
- Left-click on This PC and go to Manage.
- Go to Device Manager in the left sidebar.
- Expand the category for Sound, video, and game controllers.
-
Right-click on the sound driver and select Update driver.

If you are having this issue after a recent Windows update that may have updated the sound driver, it is imperative to roll it back. Here's how to do it:
- Follow the steps from one to three as described above.
- Right-click the sound driver and select Properties.
-
Click on the Roll Back Driver button under the Driver tab.


It is best to reinstall the app if neither updating nor downgrading the driver makes any difference.
7. Reinstall Skype
If none of the above fixes work, it's best to reinstall Skype. However, make sure you properly uninstall it before doing so. Check out this article on how to uninstall Skype on your Windows device.
Afterward, grab a fresh copy of it and reinstall it on your computer. It's likely a fresh installation will resolve the problem. If the problem with the app persists, try using Skype's web client temporarily and report the problem to Skype support.
8. Report the Problem to Skype
You can report a problem to Skype from the app's settings. Here's how:
- Open Skype.
- Click on the three horizontal dots right next to your profile avatar.
- Go to Settings.
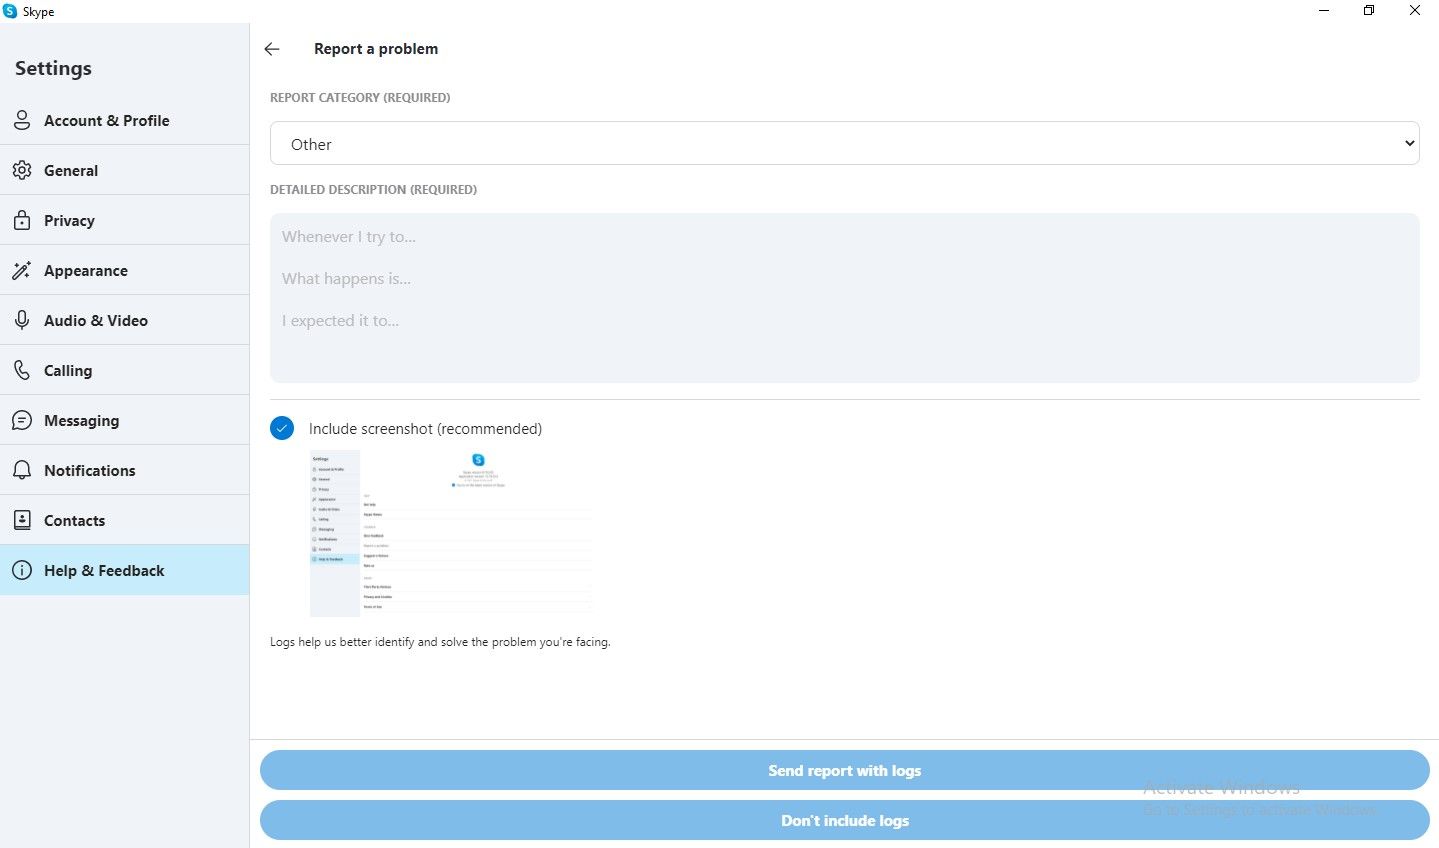
- Click on Help & Feedback in the left-sidebar.
- Under Feedback, click on Report a problem.
-
Choose the relevant category, add a description, add relevant screenshots, and choose the appropriate reporting option.

If you face the same issue with your video, check out our article on how to fix Skype video not working problem.
Skype Audio Still Not Working?
The fixes in the list should enable Skype audio to work again. In case all else fails, run an SFC scan to verify that no corrupt files are causing the issue, run a malware scan to ensure that it isn't interfering with your desktop applications, and, if possible, reset your Windows settings.
Don't forget to report the problem to Skype when you do that. Meanwhile, you can temporarily use Skype alternatives, such as Google Hangouts, Line, Tox, etc.