
Most users probably utilize the Windows 11/10 search tool to find apps and files. However, some users have reported their search tools don’t display any results. Some users see a “No results found” message whenever they search. Or the search tool displays nothing except a blank white screen in other instances.
Either way, users can’t find things with the Windows search tool when it doesn’t display results right. Is your search tool not showing results either? If that’s the case, you can fix your search tool not displaying results in Windows 11/10 with these potential resolutions.
1. Update Windows
Microsoft releases a multitude of patch updates to fix Windows bugs and issues. So, it’s recommended to manually check for and download any available Windows updates for the sake of fixing the search tool. That also includes build updates for new Windows versions. Here’s how you can manually download and install Windows 11/10 updates.
- Press the Windows key, and select the pinned Settings app shortcut on the Start menu that opens.
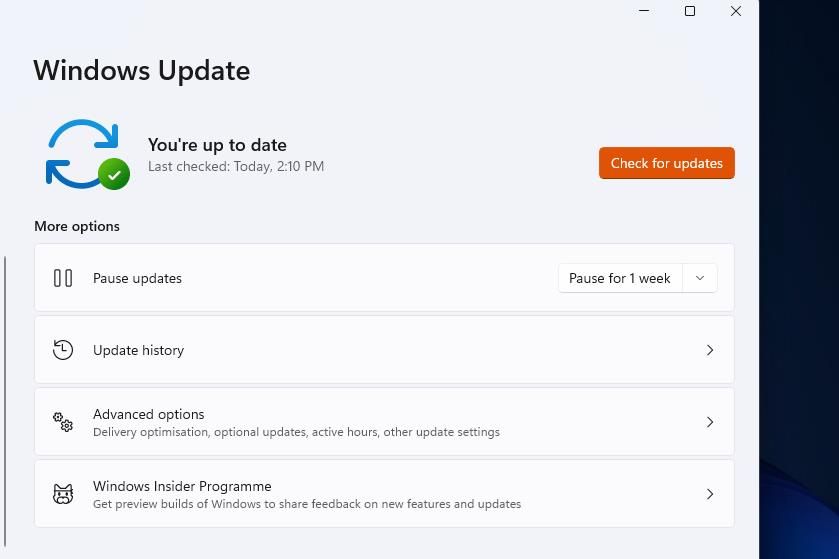
- Select Windows Update along the left of Settings. In Windows 10, click Update & Security on Settings’ home screen.
-
Then press Check for updates to initiate a search. Most available updates will download and install automatically.
- If selecting Check for updates doesn’t automatically install everything available, click the Download and Install buttons for any other updates (including version 22H2).

2. Run the Search Troubleshooting Tool
Windows has troubleshooters that can fix all kinds of errors and issues. The Search and Indexing troubleshooter is the one for resolving search-related issues that occur in Windows. You may be able to fix the search tool not displaying results with that troubleshooter as follows:
- Use one of the many ways to open Settings on Windows, then open the Setting's System tab.
- Click Troubleshoot inside the Settings app’s System tab.
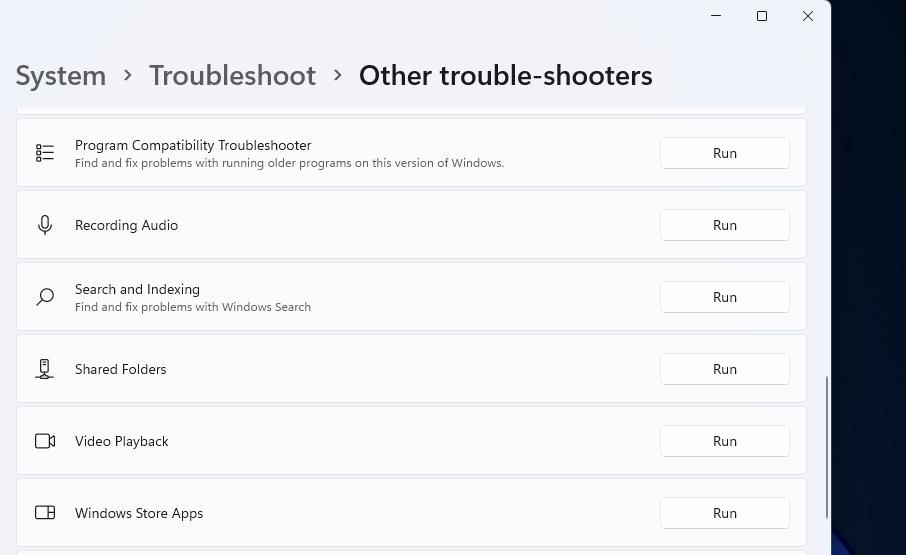
- Select Other trouble-shooters to reach the Windows troubleshooters.
-
Press Run for the Search and Indexing troubleshooter.
-
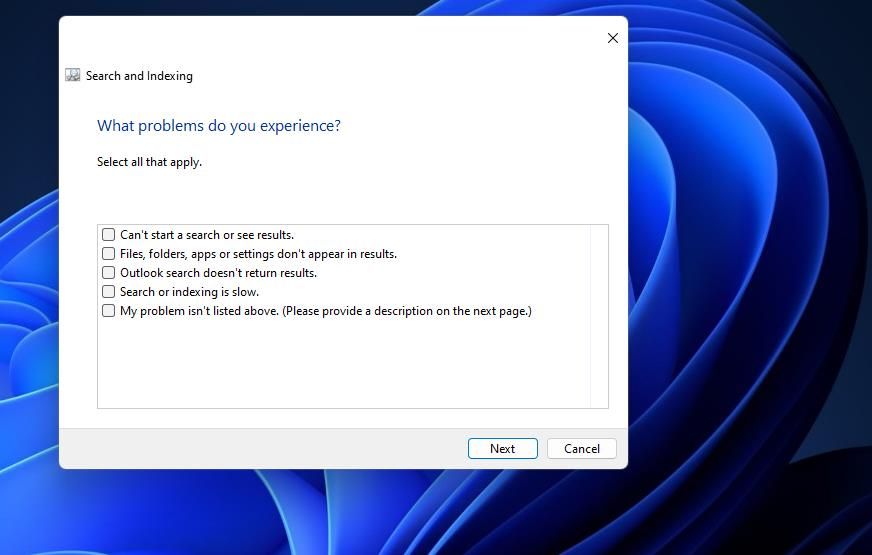
Click the Can't start a search or see results checkbox, and select the troubleshooter’s Next option. The Files, folders, apps, or settings don't appear in results checkbox is also a suitable option to select for troubleshooting this issue.


The steps for opening the Search and Indexing troubleshooter in Windows 10’s Settings app aren’t exactly the same. Click Update & Security > Troubleshoot in Windows 10’s Settings app. Selecting Additional troubleshooters will bring up the list. Then you can click Run the troubleshooter for Search and Indexing to open it from there.
3. Select the Enhanced Search Option
The Settings app has some search options that can affect the effectiveness of the search tool. You can set the search utility to fully search a PC by selecting an Enhanced option. Try selecting that option in the following steps:
- Click Settings on the Start or Power User (Win + X) menu.
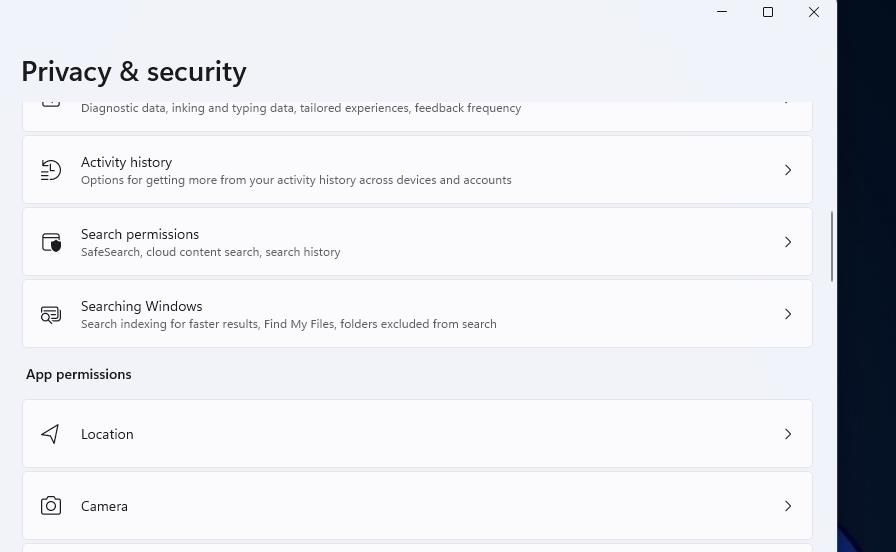
- Select the Privacy & security tab to view navigation options for Windows permissions.
-
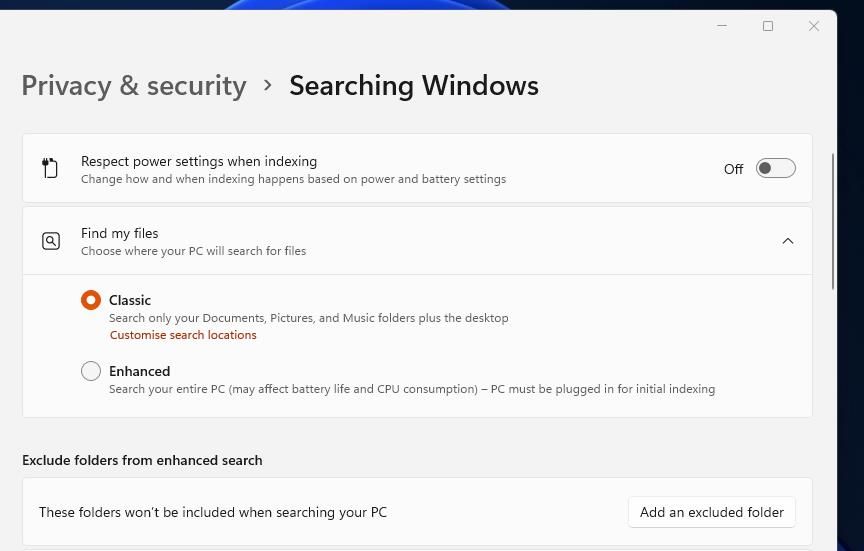
Click the Searching Windows navigation option.
-
Then select the Enhanced radio button.
-
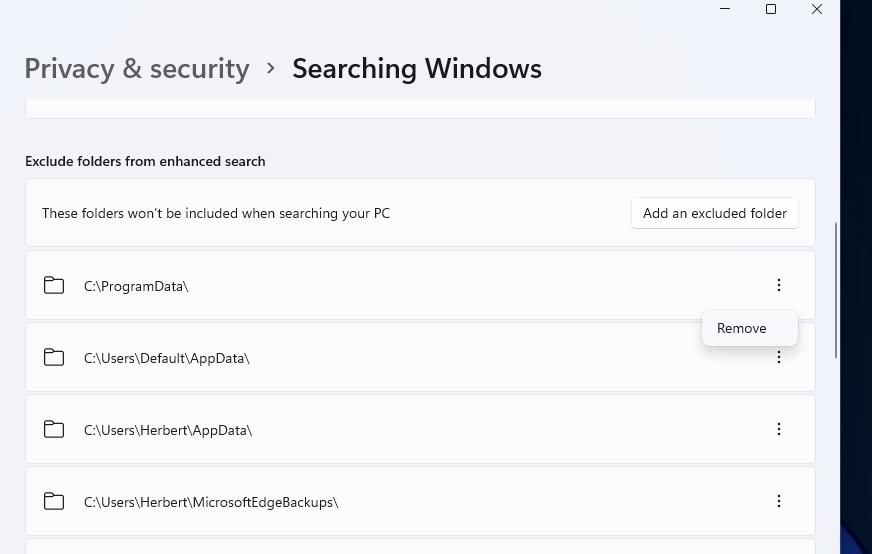
Click the menu buttons for all excluded search folders listed below that option and select Remove.


4. Start the Windows Search Service
The search tool won’t display results if the Windows Search service it’s based on isn’t running. So, check the Windows Search is enabled and running:
- To access Run, press Win + R. You can also use any method in our guide on how to open Run on Windows.
- Then type services.msc inside the Open box, and select Run’s OK option.
-
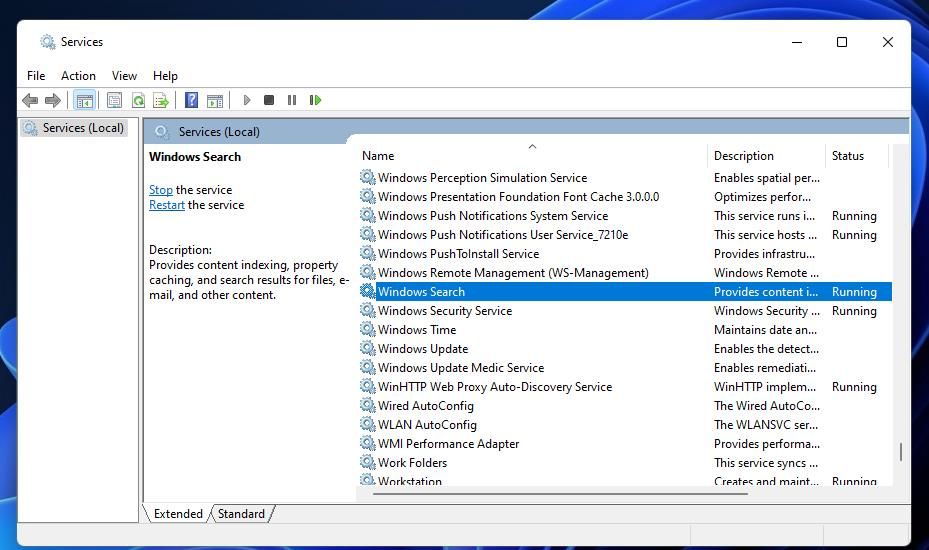
Double-click Windows Search within the Services app.
-
Click the drop-down menu for the Startup type option to select the service’s Automatic option.
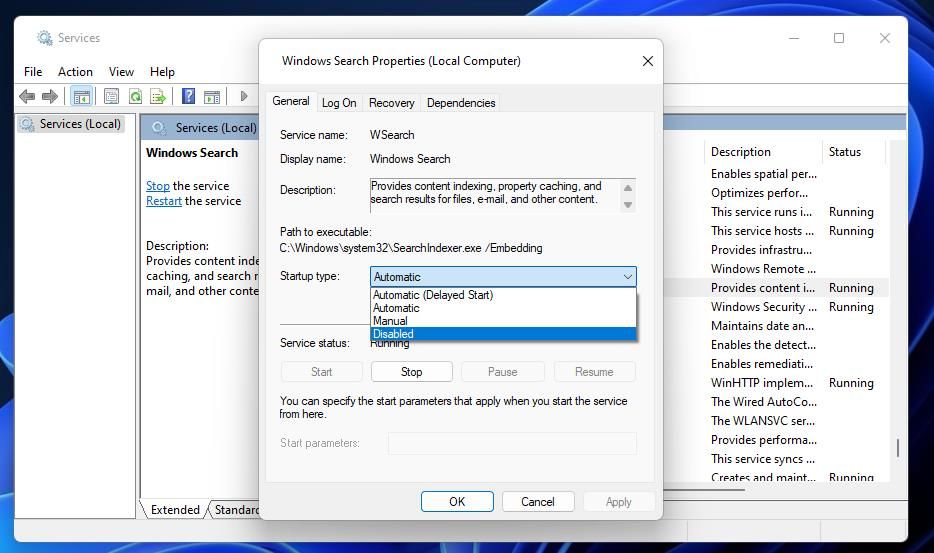
- Press Start in the properties window if the search service isn’t running.
- To save the changed settings, click the Apply option.
- Select OK to close Windows Search Properties.


If the Windows Search service is already running, try restarting it. Select the Stop option for Windows Search. Wait a few minutes, and click the Start button for the service to restart it.
5. Run a Scan With the SFC Tool
Microsoft recommends users run the System File Checker (SFC) tool when Windows functions aren’t working right. In this case, the search function isn’t displaying results, which could be because of corrupted Windows files on your PC. This is how you can start an SFC scan:
- Launch the Run dialogue box as above, and enter cmd inside its Open box.
- Press the Ctrl + Shift + Enter key combination to open Command Prompt with admin permissions.
-
First, run an image scan by entering this command text and pressing Return:
DISM.exe /Online /Cleanup-image /Restorehealth -
Then start the SFC scan by executing the following command:
sfc /scannow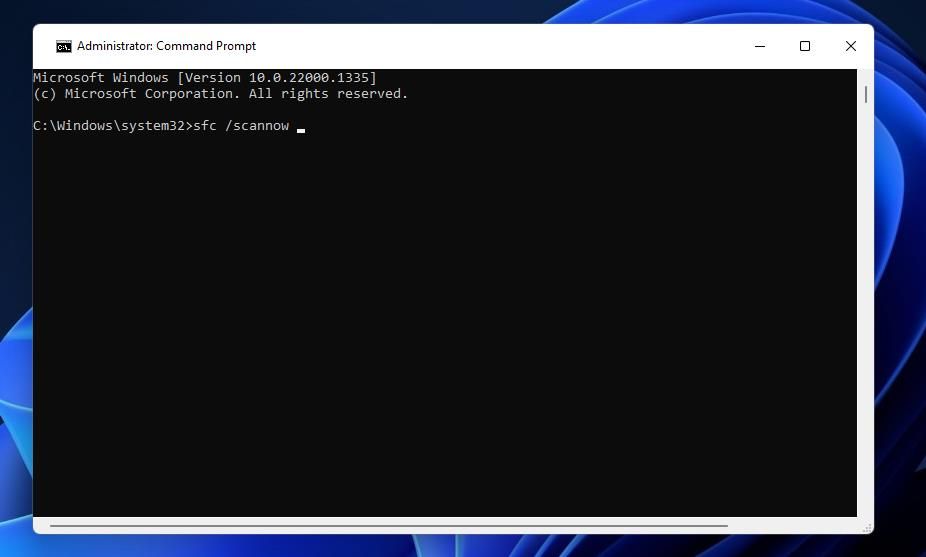
- Wait for the SFC tool to show a Windows Resource Protection scan outcome.

6. Rebuild the Search Tool’s Index
A corrupted or outdated search index database is another potential cause for the search tool not displaying results. In this case, you may need to select to rebuild the search index. Doing so will wipe the current index’s content and restart the indexing. These are the steps for rebuilding the search index in Windows:
- To open Control Panel, bring up Run first. Type Control Panel into Run and click OK. See how to open the Control Panel in Windows 11 for more methods.
-
Select Large icons on Control Panel’s View by menu.
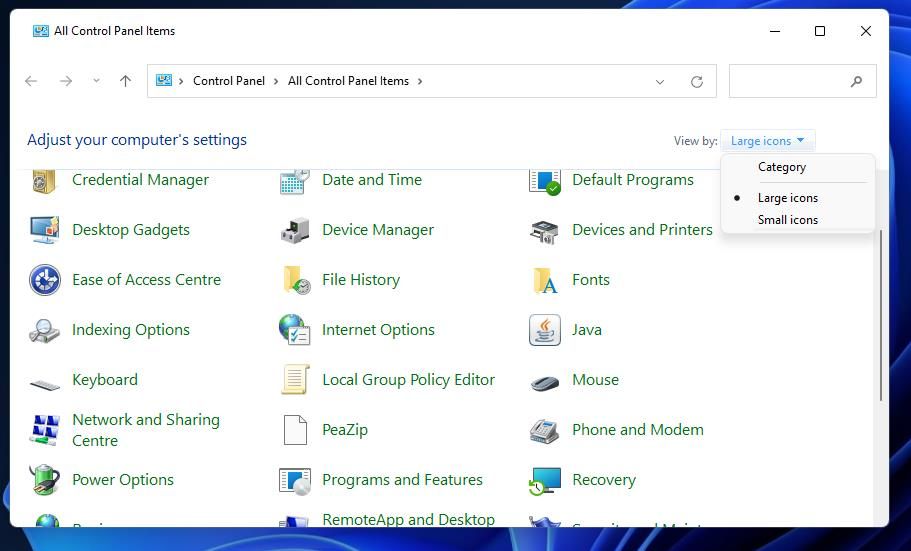
- Click Indexing Options to view that applet.
- Select Advanced in the Indexing Options window.
-
Click Rebuild in the Index Settings tab.
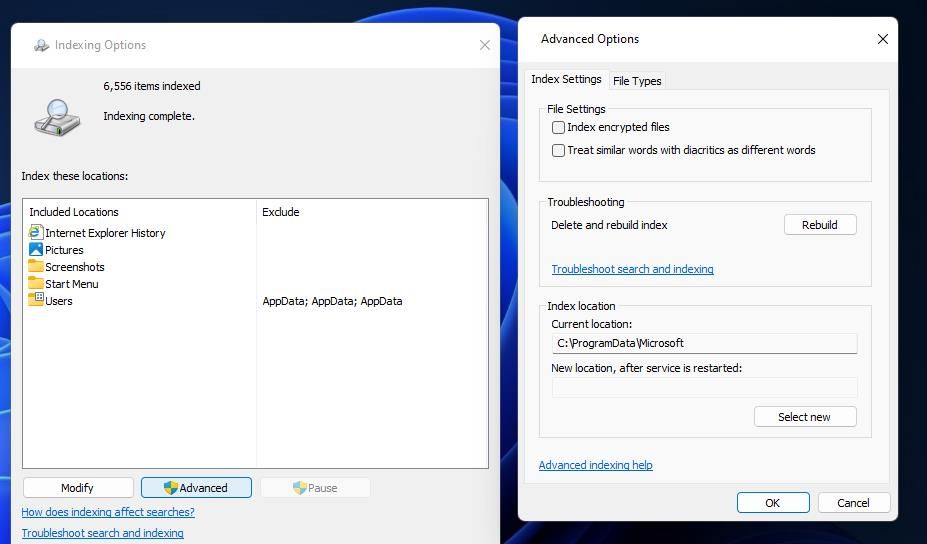
- Wait for the rebuilding to finish.
- Select OK > Close to exit the indexing applet.

7. Reinstall Cortana
Cortana is an app that’s closely connected with the Windows search tool. Some users have been able to fix the search tool not displaying results by reinstalling that app. You can reinstall Cortana in PowerShell like this:
- Press Task Manager’s Ctrl + Shift + Esc keyboard shortcut.
- Click File and the Run new task option.
- Type PowerShell inside the Create new task window’s Open box.
- Select the checkbox for the Create new task with administrative privileges option.
- Then select OK to access PowerShell.
-
Input the following command for reinstalling Cortana:
Get-AppXPackage -Name Microsoft.Windows.Cortana | Foreach {Add-AppxPackage -DisableDevelopmentMode -Register "$($_.InstallLocation)\AppXManifest.xml"}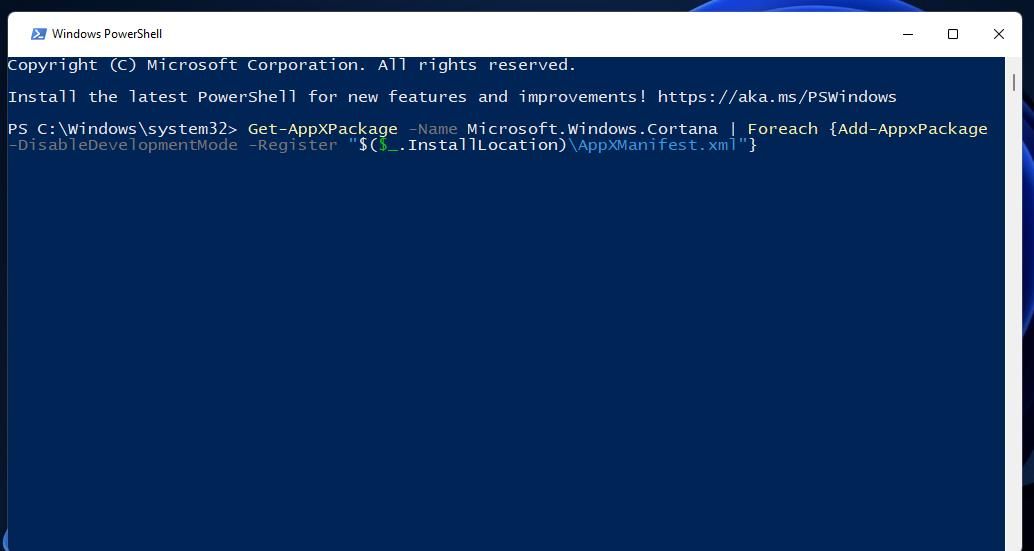
- Press Enter to execute the PowerShell command.

8. Reset Windows
If nothing else fixes the search tool not showing results, this is the last-resort resolution to try. Resetting Windows reinstalls the platform by restoring it to a default configuration, which will most likely be enough to resolve this search issue. However, you’ll need to reinstall any software you previously installed after a reset.

You can perform a reset with the Reset this PC recovery tool. That utility includes an option for preserving user files. Our guide on how to factory reset Windows includes instructions for applying this resolution with that tool.
Find Apps and Files Again With the Windows Search Tool
So, that’s how you can get your Windows search tool fixed when it’s not showing results. We recommend applying the suggested resolutions in the order specified above. There’s a reasonable chance one will sort your search utility out so that you can find the apps and files you’re looking for with it again.