
A fully functional .NET Framework is necessary to run apps built with it on your Windows PC. Any issues with the framework can cause the dependent applications to malfunction. Fortunately, Microsoft provides a dedicated repair tool that you can use to fix any issues with the .NET Framework and get your apps to run again.
If the repair tool doesn’t work, you can use other workarounds to try and fix the framework errors. So, here are a few ways you can repair .NET Framework on your Windows computer.
1. Run the .NET Framework Repair Tool

An easy way to repair your .NET Framework is to use the official .NET Framework Repair Tool provided by Microsoft on its official website. It is a handy utility that can check for common issues affecting the .NET Framework setup or updates and recommend fixes accordingly.
To run the .NET Framework Repair Tool
- Go to the Microsoft .NET Framework Repair Tool page.
- Scroll down to the Download information section.
- Next, click on the Microsoft .NET Framework Repair Tool link to download the executable file.
- Once downloaded, double-click on the Netfxrepairtool.exe to run the repair tool. Click Yes if prompted by User Account Control.
- Accept the conditions and click Next.
- The repair tool will perform a few tests to identify the issues. Once done, it will recommend a few changes. Read the description and click Next to apply the changes.
- Once done, click Next and Finish to close the repair tool.
2. Repair .NET Framework via Optional Features
If the .NET Framework Repair Tool doesn’t work, you can disable and re-enable the feature from Optional Features to repair the framework. This process will disable and re-enable the feature fixing any issue due to temporary glitches and file corruption.
Follow these steps to add and remove optional features in Windows:
- Press Win + R to open Run.
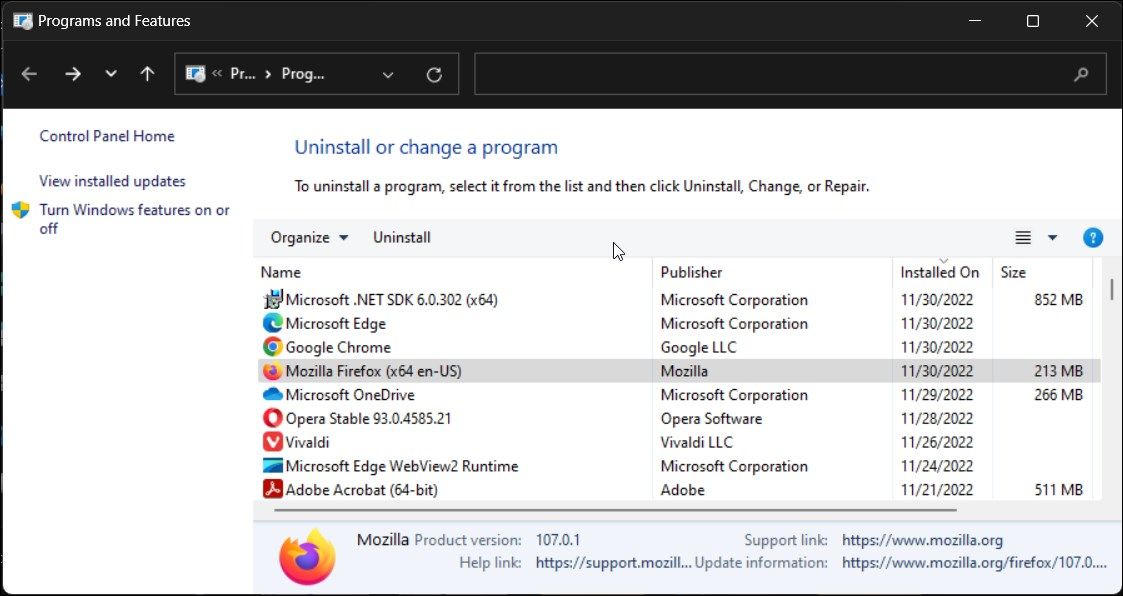
- Type control and click OK to open Control Panel.
- Next, click on Programs and then click on Programs and Features.
-
In the left pane, click on Turn Windows features On or Off.
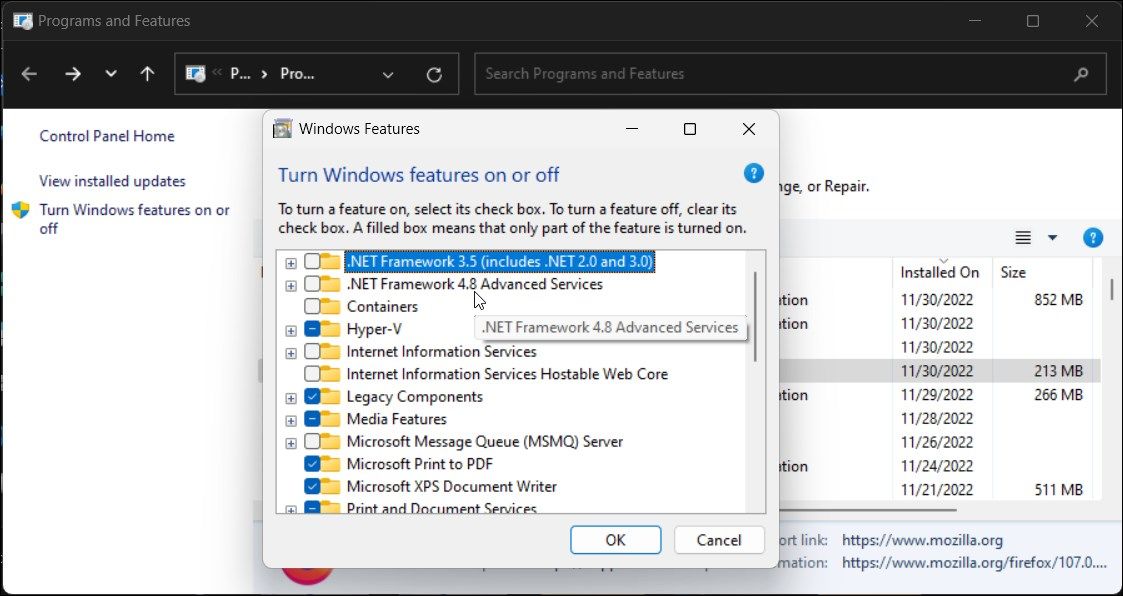
- Here, uncheck .NET Framework 3.5 and .NET Framework 4.8 Advanced Services option.
-
Click OK.


Windows will disable .NET Framework from your PC and show Windows completed the requested changes message. Click Restart Now to apply the changes.
After the restart:
- Open Control Panel and click on Turn Windows Features On or Off.
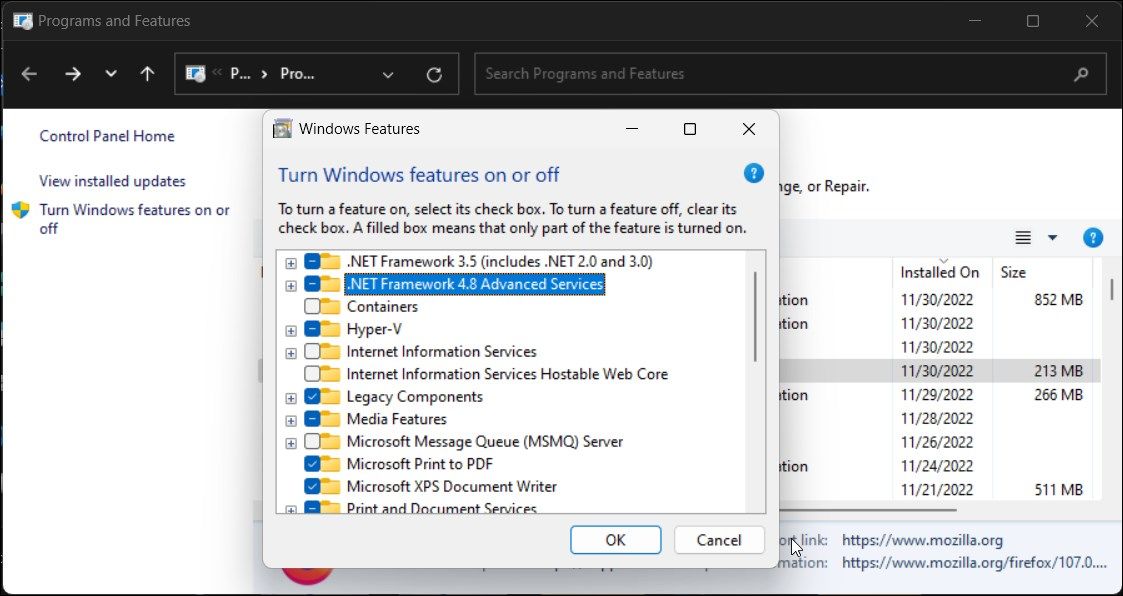
- Select both the .NET Framework 3.5 and .NET Framework 4.8 Advanced Services options.
-
Click OK.
-
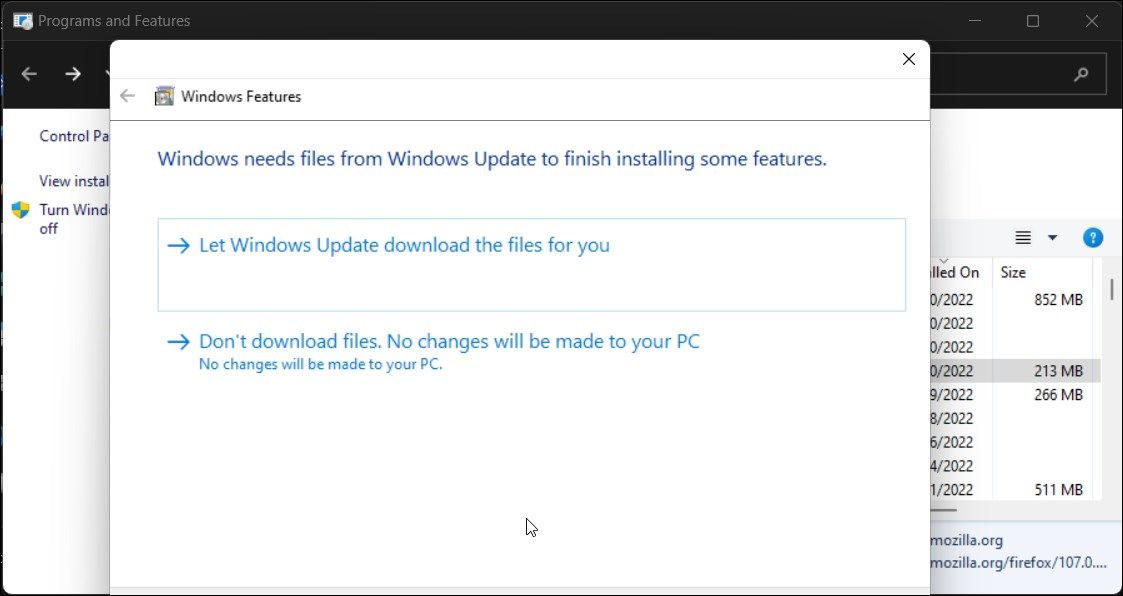
Next, click on Let Windows update download the files for you. This process may take some time, depending on your Internet connection speed.
- Once the feature is enabled, click Restart to apply the changes.


3. How to Repair .NET Framework Using PowerShell
If the issue persists, try reinstalling .NET Framework on your Windows PC using PowerShell. You can use the shell application to perform a clean install of the .NET Framework and other associated tools. Here’s how to do it.
- Press the Win key and type PowerShell.
- Right-click on PowerShell and select Run as administrator.
-
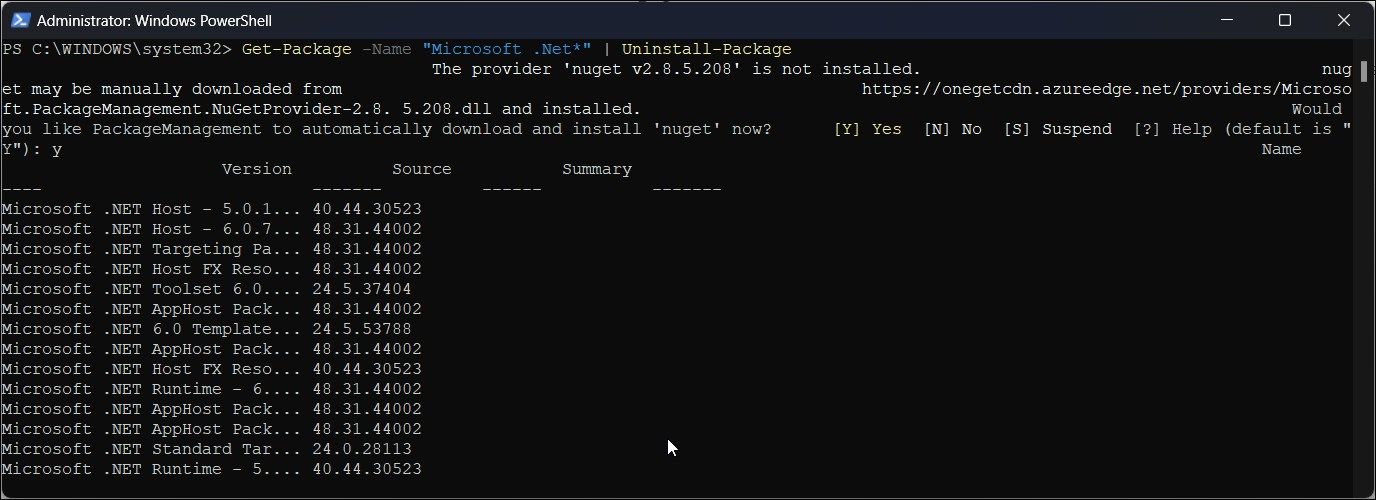
In the PowerShell window, type the following cmdlet and press Enter:
Get-Package -Name “Microsoft .Net*” | Uninstall-Package -
PowerShell may prompt you to install NuGet – a packet manager necessary to perform this action. So, type Y and press Enter.
-
PowerShell will now start to uninstall the .NET Framework from your PC.
-
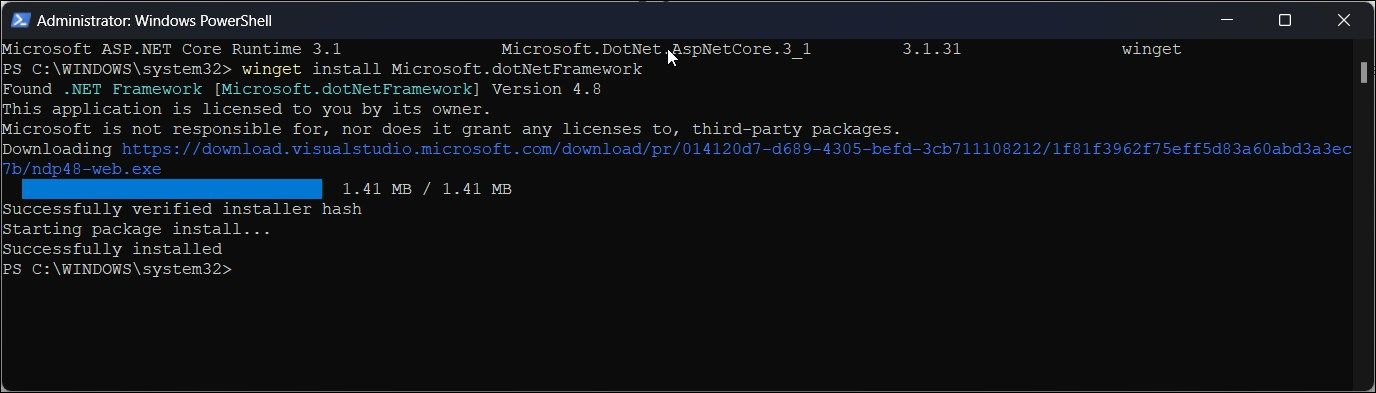
Next, type the following command to install the latest version of Microsoft .NET Framework:
winget install Microsoft.dotNetFramework - PowerShell will download and extract the package. You will see a successfully installed message once the process is complete.
- Restart your PC to apply the changes and check for any improvements.


4. How to Manually Install an Older .NET Framework Version
You can install only the latest version of .NET Framework using PowerShell. However, an app may sometimes require an older version of the .NET Framework to work. If reinstalling from the Optional Features dialog didn't help, you can manually install the framework from the .NET Framework download page.
To manually install older versions of the .NET Framework:
- Go to the .NET Framework download page.
- Under the Supported versions section, click on the .NET Framework version you want to download.
- On the next page, click on Download .NET Framework XX Runtime.
- Once the download is complete, open the download location and run the dotnetfx.exe file to launch the setup. Click Yes, if prompted by UAC.
- Next, follow the on-screen instructions to complete the setup.
- Restart your PC and then try to install the app to see if it works.
5. Run the System File Checker Tool

The System File Checker tool is a built-in system repair utility that finds and fixes missing or corrupted system files. You can use the tool to fix any system issues that may conflict with the .NET Framework.
To run the System File Checker tool:
- Press the Win key and type cmd.
- Right-click on Command Prompt from the search result and select Run as administrator.
-
In the Command Prompt window, type the following command and press Enter:
DISM.exe /Online /Cleanup-image /Restorehealth - The above DISM command is recommended to run before the System File Checker tool as it will provide files required to fix system file corruption.
-
Once the process is complete, run the following command and press Enter:
sfc /scannow
The SFC tool will now scan your system files for issues and replace any corrupted files as necessary. Wait for the verification process to complete.
The Many Ways to Repair .NET Framework on Windows
The .NET framework in the Windows operating system is required to run some critical applications. When it runs into an error, some apps may ask you to install a specific version of .NET Framework to continue using the app. If you think you have the required version of .NET Framework installed, performing a repair can help you fix any .NET framework issues.