
You're grabbing stills from your favorite videos, saving them as standalone images, and then wonder why most of them are blurry?
Why do most of the screenshots you save from your videos look fuzzy? What are you doing wrong compared to the magicians that produce the official crystal-clear stills from your favorite movies?
Isn't there a way to produce similarly detailed images from your videos? The secret is that it's not only about how you're trying to save those images but also about what you're trying to save.
So, let's see how you, too, can grab perfect, clear, and detailed images from your videos by using your favorite media player.
Why Are My Video Screenshots Blurry?
Video capture and compression are vast and complex topics, and both are responsible for why your video stills look blurry. However, since this isn't an in-depth ebook on either of those topics, we'll keep things simple.
- Video captured on film for presentation on cinema screens runs at 24 frames per second.
- In the past, video produced for TV was usually encoded in either 25 (PAL) or 29.97 (NTSC) frames per second. If you want to dive deeper, find out more about both formats (as well as a third one, SECAM) in our article on video formats and their differences.
- To give the impression of smoother motion on old CRT TVs while taking advantage of their full resolution, video was encoded as "interlaced". Each frame was split into two half-frames, one with odd and another with even lines. Presented in rapid succession, they "added up" the detail of a single "full frame" when what was on screen was relatively static. But they also gave the impression of more fluid movement when depicting motion.
- PC monitors aren't restricted by those constraints anymore, but the content presented on them might still be. Even if you have a 144Hz monitor (that can display 144 frames per second), if you're watching on it a movie made for cinema, you'll still be looking at 24 frames per second.
Blurring can be introduced due to how a video is captured by a camera's lens and the framerate used for its encoding target. Our own eyes perceive rapid motion as blurry. So, sometimes such an effect is even introduced artificially into media (like computer-generated effects or games) to give the impression of fast and fluid motion.
We've already covered what is motion blur in video editing (and) why you should use it. However, some people might want to disable it when gaming, for, depending on one's sensitivity, it's known to cause motion sickness when playing video games.
Video compression is another factor that can introduce blurriness. Modern compression algorithms like XviD and H.265 don't encode video frames as individual images. Instead, they split each frame into rectangular areas, known as macroblocks. Then, they analyze the frames' contents and how they move "across" them. The ultra-simplified version is:
- I-frames contain "the full image", and are also referred to as "key frames".
- P-frames and B-frames only encode "the differences between I-frames".
We know all this might sound too technical if all you want is to grab clear screenshots from your videos. Still, as we'll see right next, it's pretty relevant to the task.
How to Take Frame-Perfect Screenshots on Windows
As we saw, there are many possible reasons the screenshots you grab from your video might look blurry.
- A speedy action scene in a cinematic film might demand "more visual data" than what a film's 24 frames per second can hold, resulting in individual blurry images. When watched in sequence, the problem isn't apparent, but individually, each frame may look like washed-out water paint.
- Effects-heavy movies or gaming-related videos might include artificial blur, aiming to offer the perception of smoother motion.
- Old interlaced videos produced for TV might not have been properly "de-interlaced" (a technique that rebuilds whole frames from the half-frames used for the original encoding). The result could look blurry as if looking at the image through smudged glasses.
Thankfully, in most cases, the solution to the problem can be as simple as grabbing "complete" frames - the "key frames" we mentioned earlier. Let's see how, using three of the most popular media players: Media Player Classic Home Cinema, VLC, and MPV.
1. Export Frames With Media Player Classic Home Cinema
Grabbing a specific frame is a ton easier when you export every frame from a specific part of the video. That way, you get all the frames served to you on a platter, allowing you to pick and choose the ones you like most.
- If you don't have the app, visit the Media Player Classic Home Cinema website and download it.
- Run Media Player Classic Home Cinema and open the video from which you want to grab some stills.
-
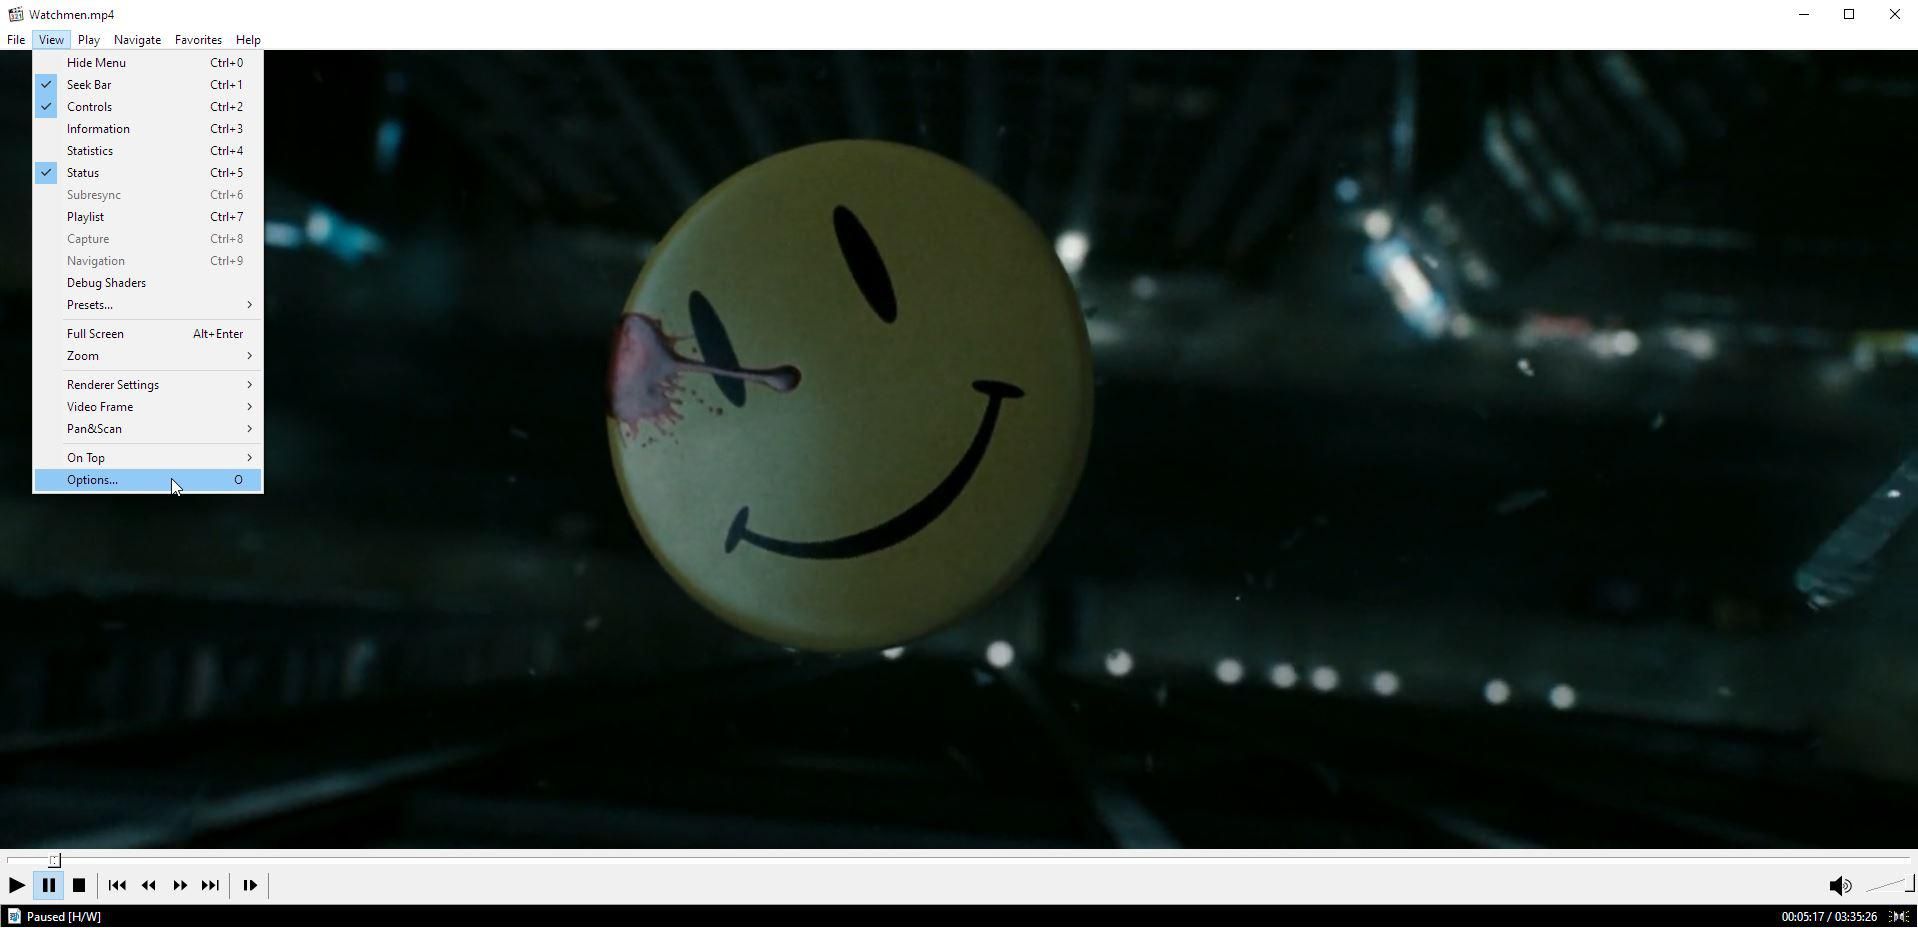
From the View menu, choose Options.
-
Expand the Player category on the left, and select Keys. Find the keys for Frame-step and Frame-step back and either memorize them or remap them as you wish. More important, though, is to do the same with the Jump Forward (keyframe) and Jump Backward (keyframe) keys.
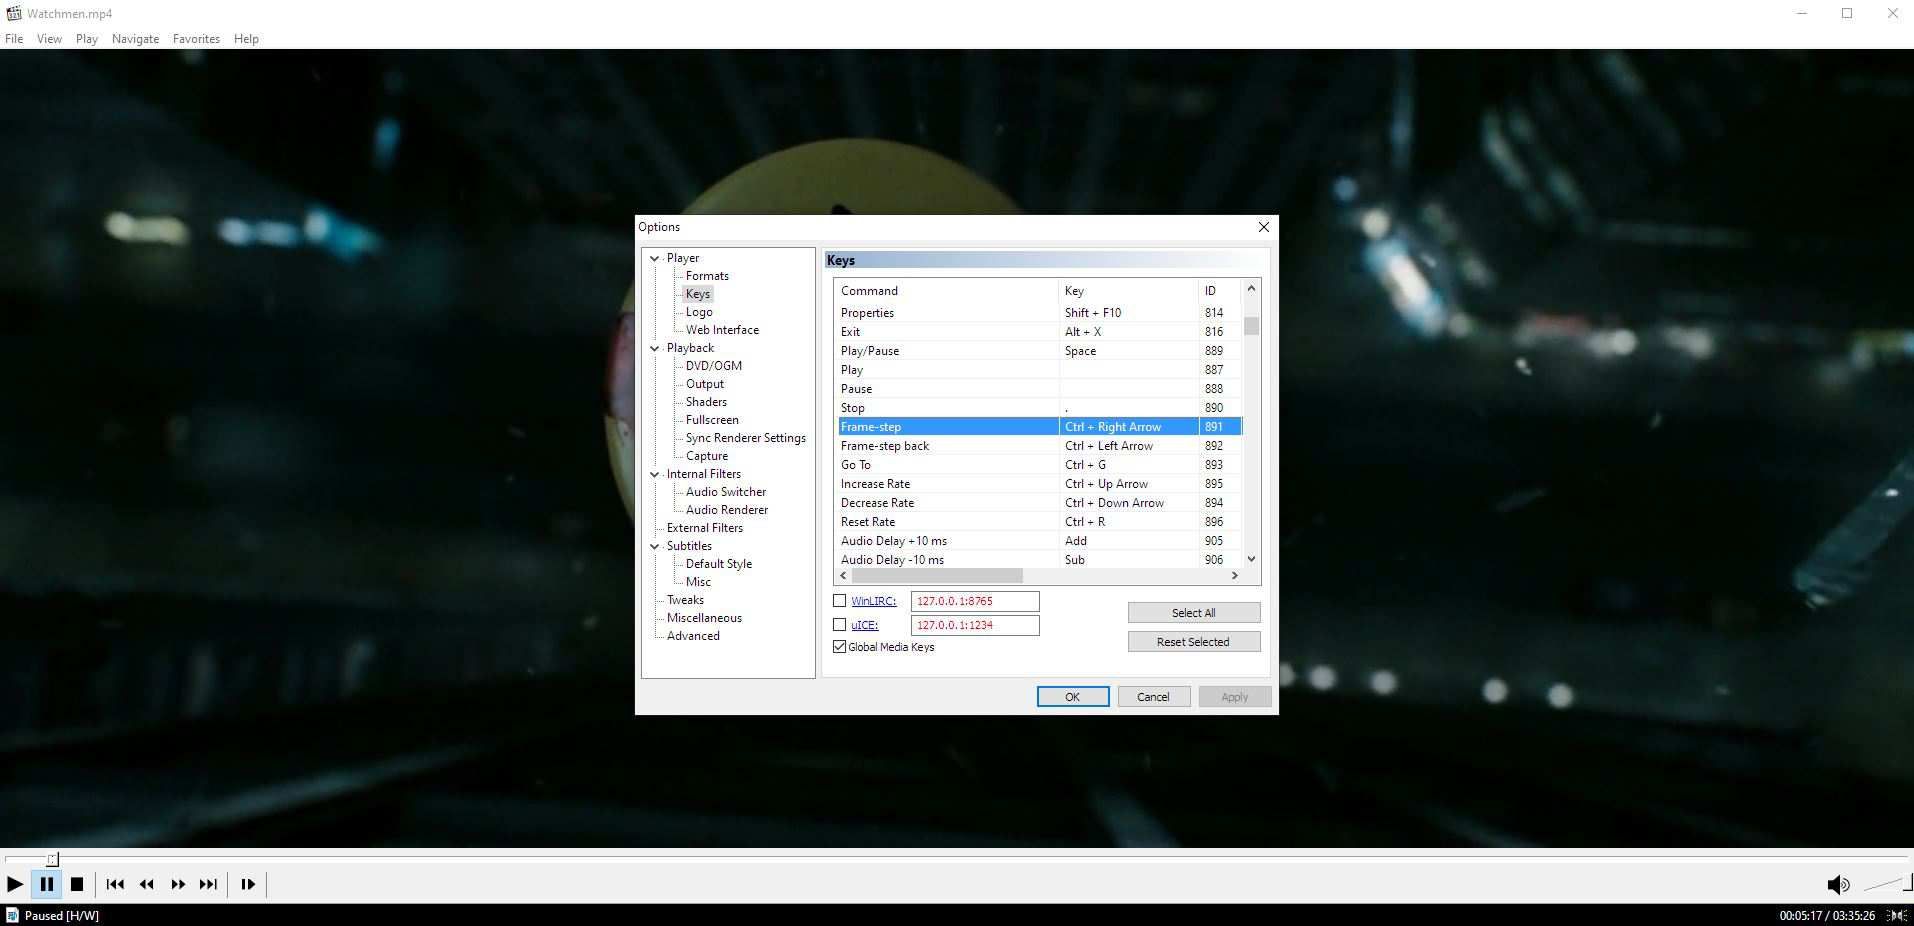
- Use the Jump Forward (keyframe) and Jump Backward (keyframe) keys to locate a frame you want to export as an image. In most cases, you can then use the Frame-step and Frame-step back keys once or twice to select an adjacent frame to export. However, the further you move from a keyframe, the more the chances of blurrier content.
- Use the Alt + I combination, or choose File > Save Image to save the active frame as a screenshot.


How to Grab Stills With VLC
Unfortunately, VLC doesn't support jumping between keyframes. Thus, you'll have to manually seek a frame that looks "clear" to export as a screenshot. To do that:
- If you don't have it yet, download VLC from the official VideoLan Organization website.
-
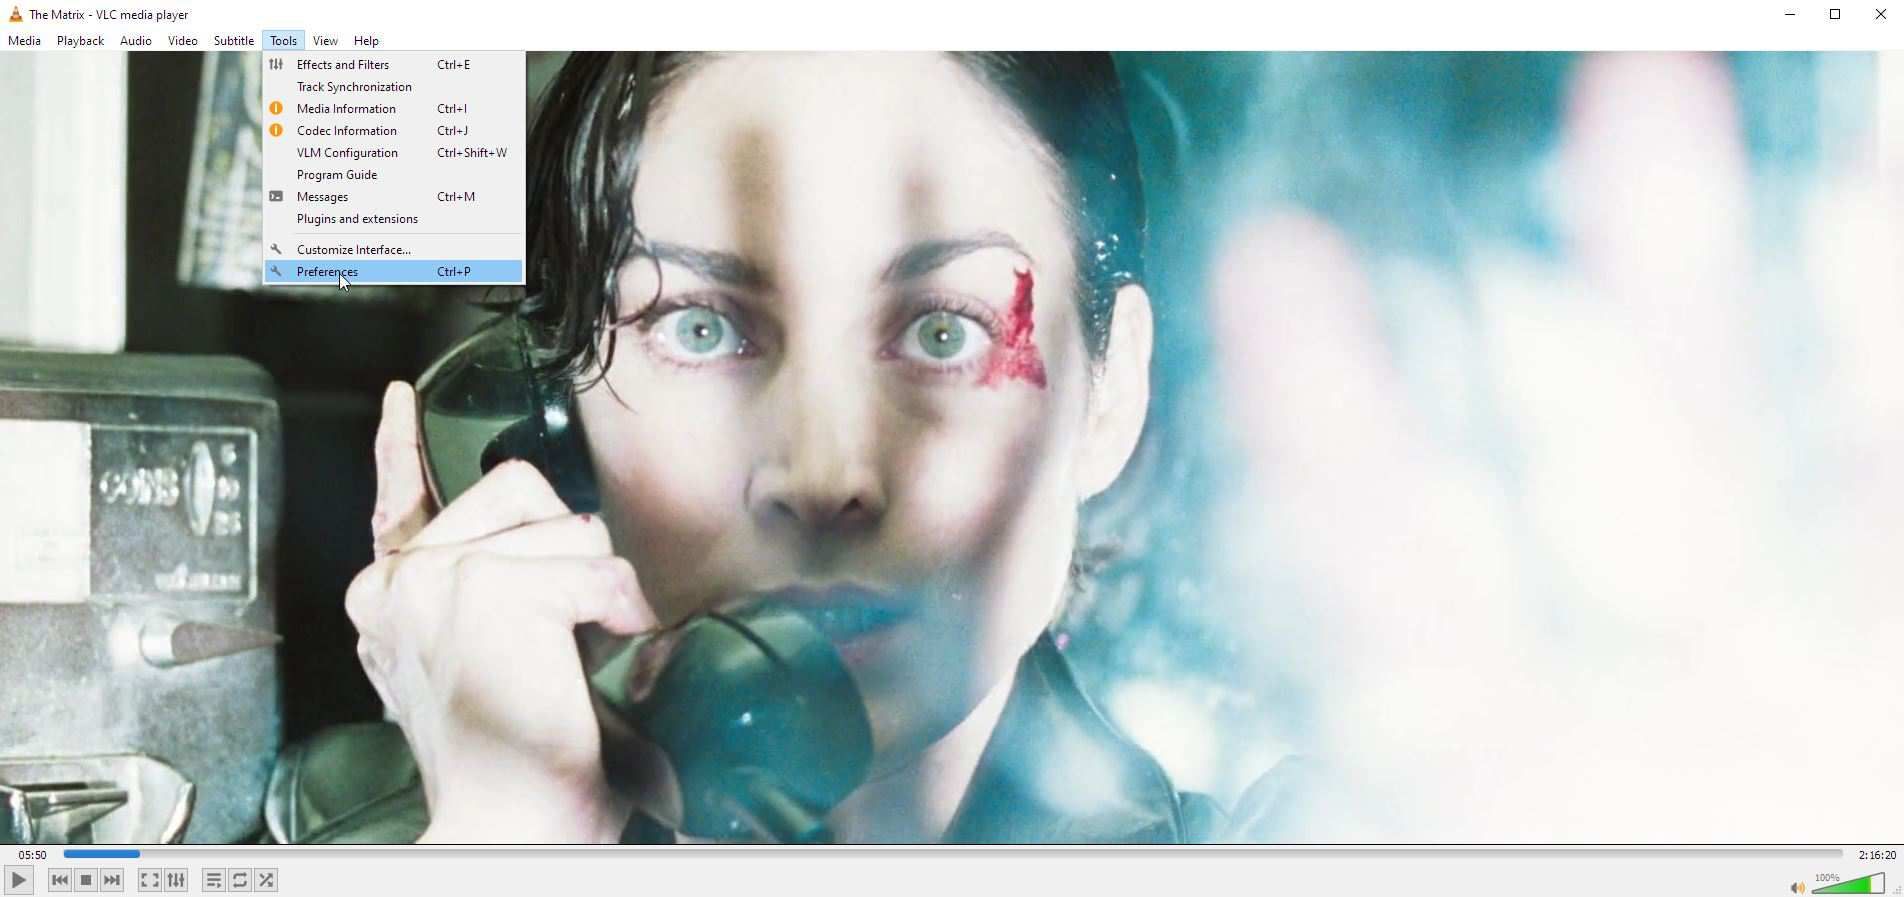
Load the video from which you want to grab some screenshots in VLC. Then, choose Tools > Preferences (or press CTRL + P on your keyboard).
-
Move to the Hotkeys tab. Note all the "jump" buttons, like Short forward jump and Long backwards jump. They're all combinations of modifier keys (CTRL, ALT, and Shift) with the left and right cursor keys. Also note the Next frame key, which by default is mapped to E, and the Take video snapshot key, which should be mapped to Shift + S. Either memorize or remap them.

- Use the "jump" key combinations to locate the scene from where you want to grab a frame, and use the Next frame hotkey (E if you didn't remap it) to advance frame-by-frame until you find one that looks pristine. Press the Take video snapshot key (Shift + S, if left at the default value) to save your screenshot.


How to Save Screenshots From MPV
Since MPV expects you to configure it by editing text files, we won't cover the process here. Check our guide on how to use MPV to find out how to do this.
However, you can go with the defaults since MPV comes preconfigured to "snap to keyframes" when seeking through a video using the left and right cursor keys or when clicking on its "seek bar". Then, press s to capture a screenshot, or Shift + S to save one but exclude any displayed subtitles.

Alternatively, you can use S + s to save a screenshot of everything displayed in MPV's window, including subtitles and any on-screen elements. This option saves the image using MPV's window size instead of the video's actual size.
Crystal-Clear Movie Stills, Every Time
As we saw, it's easy to grab crystal-clear stills and export them as screenshots in most media players. However, you must consider parameters like the video's encoding or a movie's "cinematic origins" if you want to keep your grabbed images from looking blurry.
Still, it sounds more complex than it is. You only have to consider a video's encoding or "content" and locate a scene with less motion that will contain more "clear" frames, free from motion artifacts. Then, find a keyframe, and hit a key combination (or choose a menu entry) to export it as a screenshot.
In all cases, the result will be much better than trying to pause at the exact moment every time.