Is your Logitech G HUB client stuck on the loading screen, preventing you from customizing your gear and acing the game you're eager to play? It usually happens due to a temporary glitch that gets fixed after restarting the client. Other times, it can be more serious.
In this article, we'll discuss what causes the Logitech G HUB client to get stuck on the loading screen and provide solutions that may help you resolve the issue.
Why Does the Logitech G HUB Client Get Stuck on the Loading Screen?
There are several reasons why the Logitech G HUB client gets stuck on the loading screen. It could be a minor glitch, an issue with the client's service, restricted access to system files, an optional update that has not been installed, or a lack of memory that fails to meet the client's processing needs.
To fix the issue, run the client as an administrator, restart the client, halt the update process, install the pending optional updates, or stop memory-hogging processes to allow the client to load correctly. Below we have explained how to apply these solutions to fix the Logitech G HUB client getting stuck on the loading screen issue you may be having.
1. Apply Some Preliminary Fixes
You should first rule out minor glitches preventing the LGHUB client from fully loading. To do that, apply the following fixes:
-
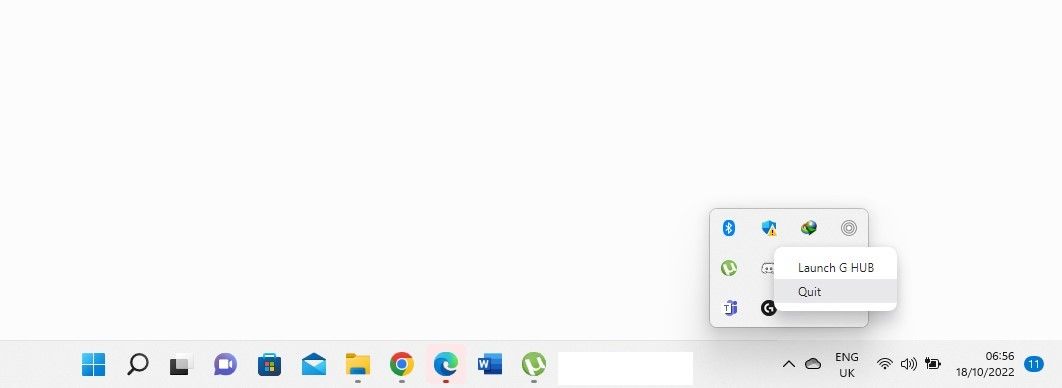
Close the Logitech G HUB client first. Open the system task tray, right-click the client's icon, and click Quit. Restart the application afterward.
- Unplug all gear you intend to optimize using the Logitech G HUB client and restart the client.
- Close any other applications running in parallel with the HUB client, especially those currently using the peripherals you wish to customize in the client.
- Clean boot Windows 10 or Windows 11. This will terminate all third-party services, allowing Windows to run with only the necessary drivers and software.
If the above checks do not resolve the issue, start applying the remaining fixes.
2. Restart the Logitech G HUB Client as an Administrator
Most third-party apps that modify system or hardware settings in the operating system require administrative rights to function correctly. It is thus imperative that they are run as administrators, with the privilege to alter system files. If you aren't running the Logitech G HUB client as an administrator, follow these steps:
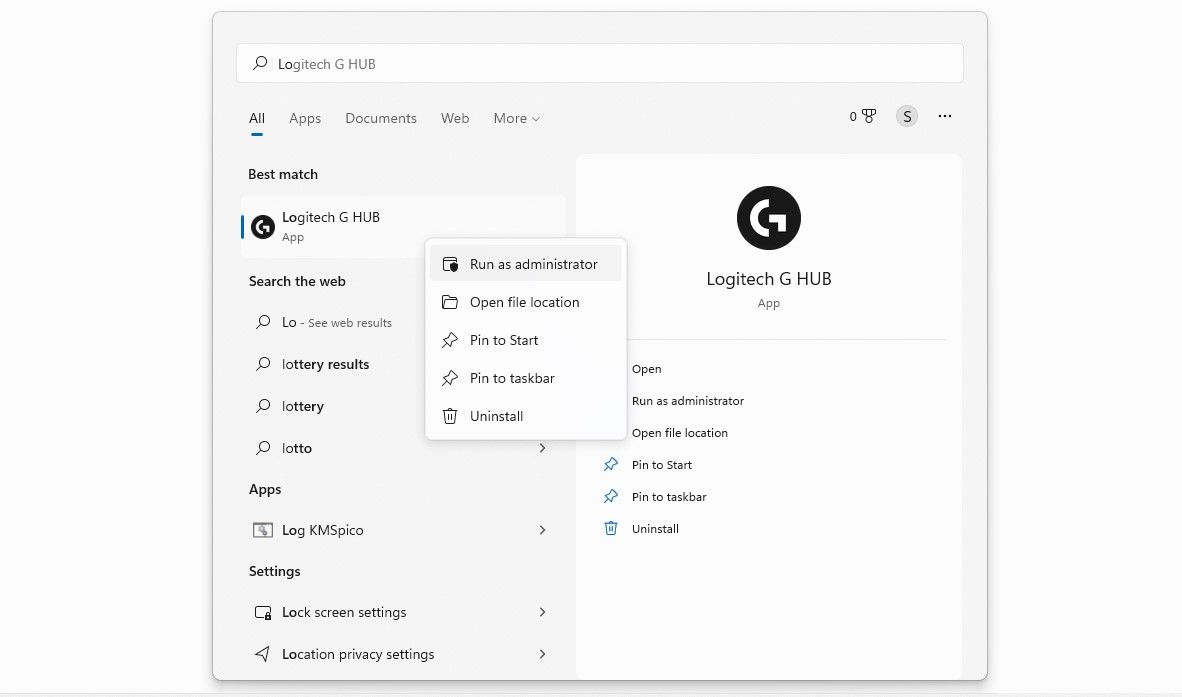
- In Windows Search, type "Logitech G HUB."
-
Right-click on the client icon and click Run as administrator.
- In the User Account Control window, click Yes.
If giving the administrator privileges doesn't work and the client remains stuck on the loading screen, try the next fix.
3. Close the Logitech G HUB Related Processes in Task Manager
Closing the Logitech G HUB client itself often does not terminate the associated processes. Therefore, you must manually close them. To do that, right-click the Windows Start button and select Task Manager. Check the Task Manager for any Logitech G HUB client processes. Locate the processes, right-click on them, and select End task.

Most likely, you'll find three processes there: LGHUB, LGHUB Agent, and LGHUB Updater. Close them, and run the client again as an administrator. This will automatically restart the recently closed processes, which may help you resolve the issue. If the client remains stuck, move on to the next fix.
4. Restart the LGHUB Updater Service
Restarting relevant services also helps fix issues users encounter with apps. Thus, If restarting the processes doesn't fix the issue, restart the LGHUB Updater service. Here's how:
-
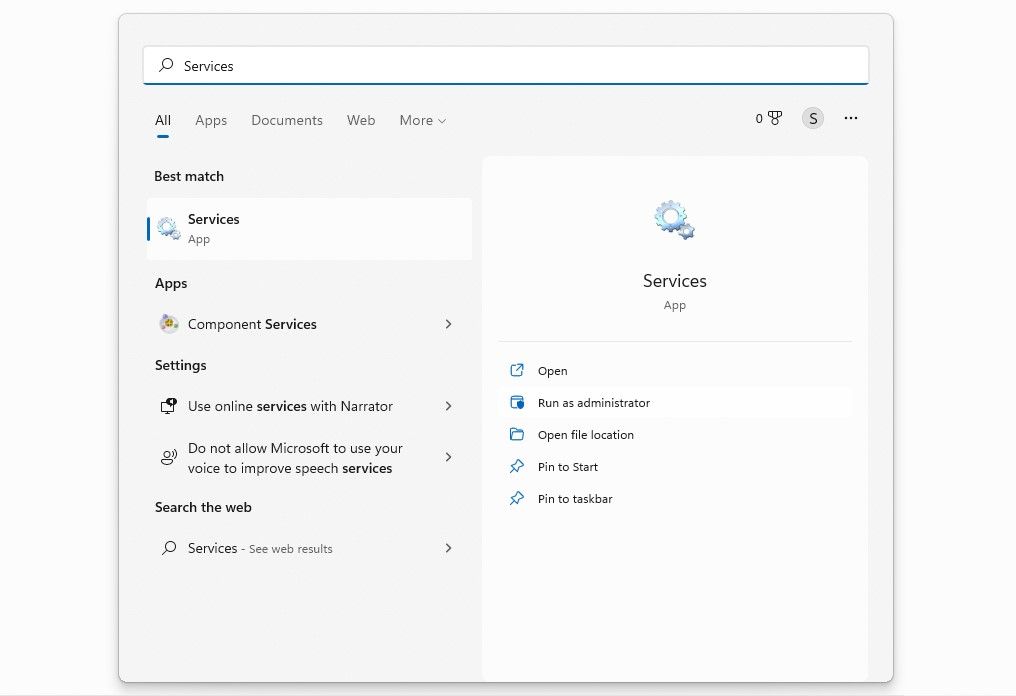
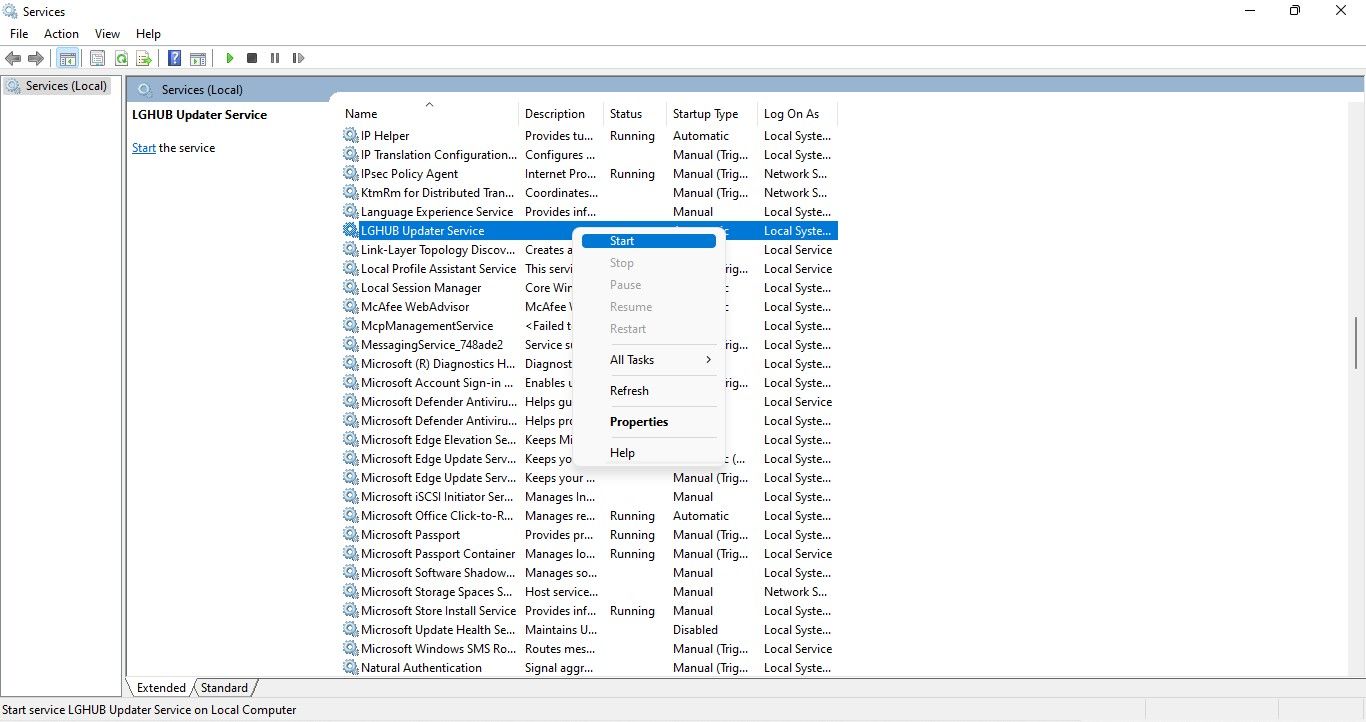
Open the Services app by typing "Services" in the Windows Search box. (If Windows Search doesn't produce any results, try other ways to open the Services app)
- Locate the LGHUB Updater Service.
- Right-click on the service and select Stop from the context menu.
-
Once again, right-click on it and hit Start.


5. Ensure the Client Has Enough Memory to Run
A lack of memory can also cause apps to perform abnormally. Hence, to ensure smooth operation, you must ensure that adequate memory resources are available. To confirm this, check the memory resource consumption in the Task Manager and ensure a specific process is not hogging them.
Right-click on the Windows Start button and select Task Manager. Use the Task Manager to determine how much memory is being used by active processes. If memory consumption exceeds 50% and occasionally touches 100%, your memory resources are being hogged. So, free up some RAM resources so other apps, such as Logitech G HUB client, can function correctly.
Click the Memory column header to align the processes consuming the most resources in descending order (from highest to lowest).

Identify the processes that consume the most resources and close them if they are no longer needed. To close a task, right-click on it and click End task. If you allocate more resources to the Logitech G HUB client, the issue with the client stuck on the screen may be resolved.
If not, continue to implement the remaining fixes.
6. Install the Pending Optional Updates
Logitech often releases updates but marks them as optional, which means that Windows does not automatically install them. Therefore, it's imperative to check whether such an optional update is available. If it is, install it to fix the client's issue. Follow these steps to install optional updates:
- Right-click on the Windows Start button and select Settings.
- In the left sidebar, click Windows Update.
-
In the right pane, click Advanced options.
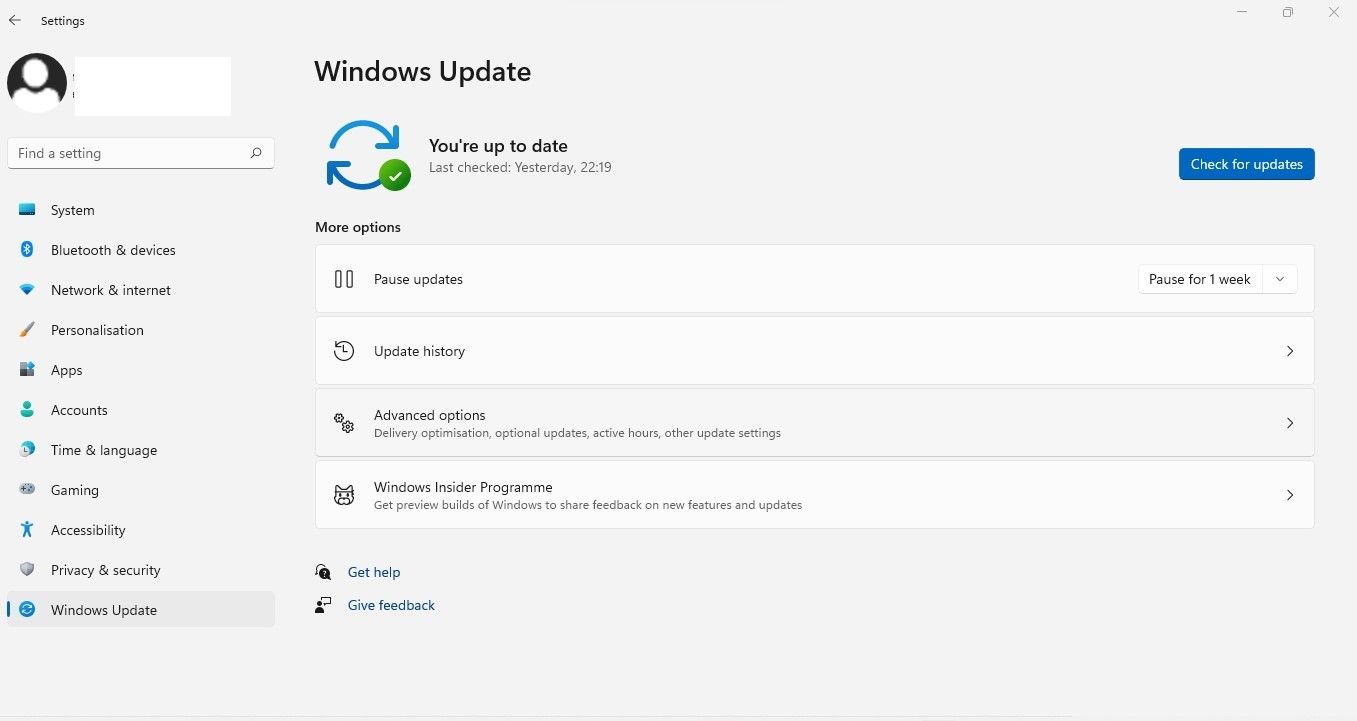
- Click on Optional updates under Additional options.
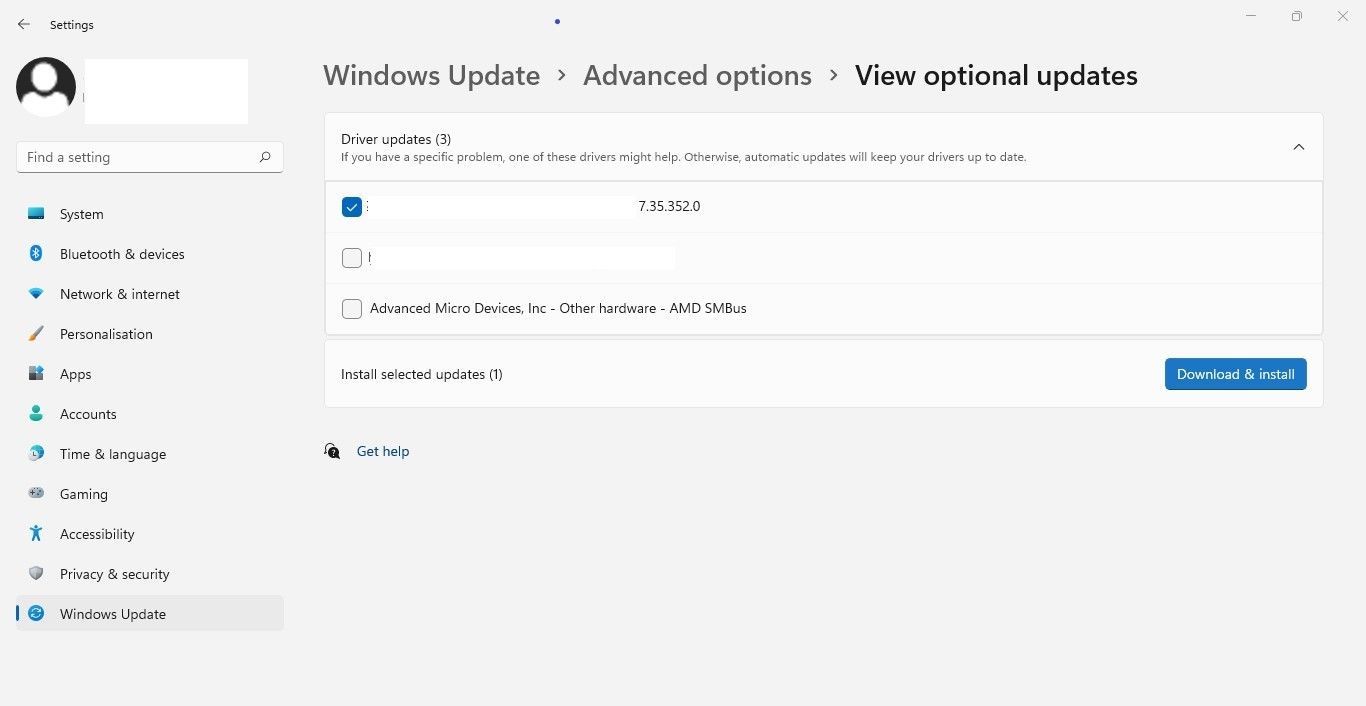
-
Check the box for available optional updates from Logitech, then click Download & Install.


If you're running Windows 10, our guide on installing Windows optional updates will help you find and install the missing Logitech updates.
7. Update or Reinstall Drivers for Logitech Peripherals
Using incompatible drivers or not updating the drivers for Logitech peripherals on time can also contribute to the Logitech G Hub getting stuck on the loading screen issue. The issue is definitely caused by incompatible drivers or a faulty device if it stops occurring after disconnecting a specific Logitech peripheral.
Whether you suspect a specific Logitech peripheral could be causing the problem under discussion or are totally clueless about it, we recommend updating the drivers for all Logitech peripherals. You can do this in several ways, but the recommended method is to download the appropriate drivers from Logitech's official website and manually install them.
8. Reinstall Logitech G HUB Client
If none of the fixes work and the app continues to get stuck on the loading screen, you should reinstall it. Before you begin, delete the app and any files in its directory. Follow these steps to remove the Logitech G HUB client and its files the right way:
- Right-click the Windows Start button and select Apps and Features.
- In the search box, type Logitech G HUB.
-
When you find the client in the search results, click on the three vertical dots next to it and select Uninstall.
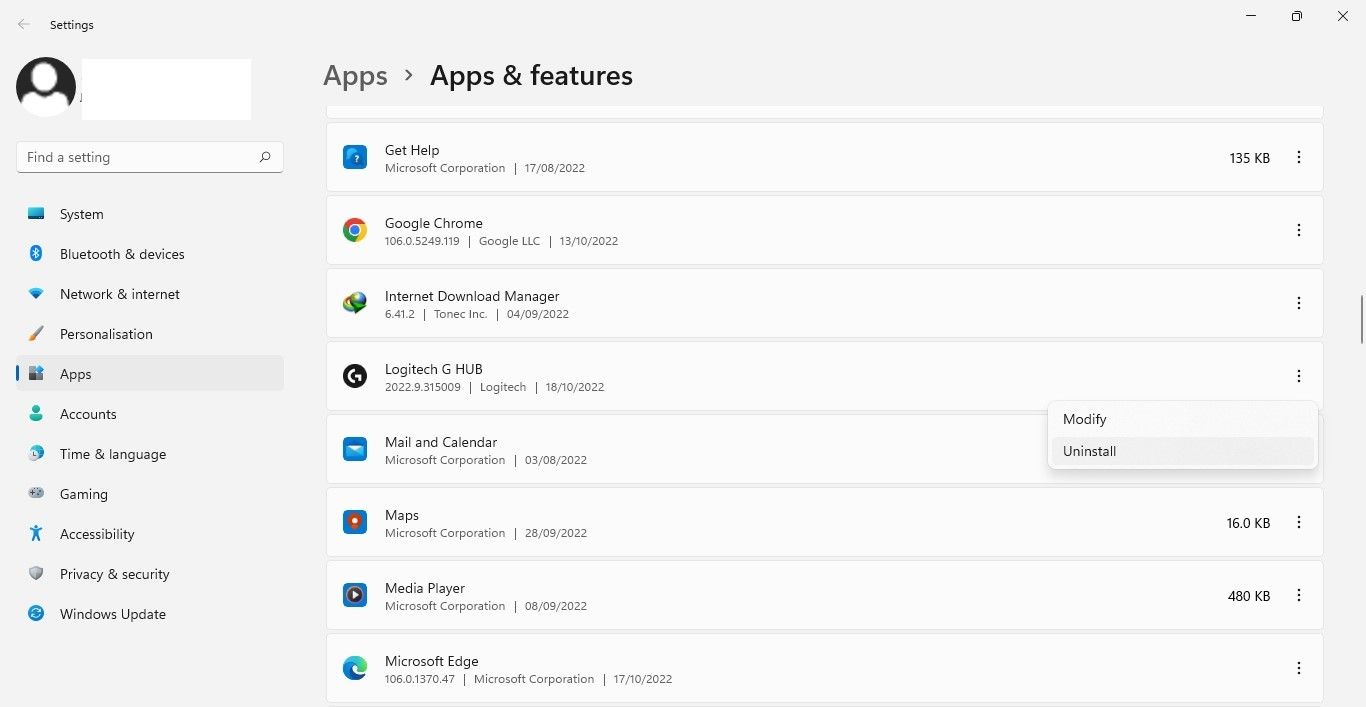
- In the confirmation pop-up, click Uninstall.
-
Then, navigate to the following two paths in File Explorer and delete any folders related to the Logitech G HUB:
        C:\Users\<username>\AppData\Roaming
C:\Program Files - Then, go to Logitech's official website, download the latest version, and install it.

9. Disable Logitech G Hub's Automatic Updates
Users can set the Logitech G Hub client to install new updates when they become available automatically. Although convenient, letting buggy updates install automatically can result in unexpected problems. Some users recommend disabling Logitech G Hub automatic updates after a fresh installation to prevent the aforementioned issue from occurring again.
To turn off the Logitech G Hub's automatic updates, follow these steps:
- Open the Logitech G Hub app.
- Click the menu button in the upper left corner, represented by three horizontal lines.
- Navigate to Settings.
- Uncheck the box beside Enable Automatic Updates.
Fix the Logitech G HUB Client Stuck on the Loading Screen Issue
A stuck Logitech G HUB client ruins our plans to play our favorite game with the most optimized settings. Hopefully, the fixes listed in the article will help you fix the client's stuck loading screen issue, and you'll be able to access the client.
Have you tried Logitech's MX Master mice? If you haven't tried it yet, you should. With its impressive features and fantastic battery life, you can enjoy gaming to the fullest.