
It is not uncommon for the keyboard to malfunction from time to time. And while most of the time a key will go dead, sometimes the keys begin to register on their own as if the keyboard has gone crazy.
Such an issue stems from both the hardware and operating system sides. If you are experiencing a similar issue, we'll cover some fixes you can try to get it back on track.
1. Rule Out Hardware Issues
Hardware issues need to be ruled out first. Before moving on to more major fixes, perform the following checks:
- Disconnect your keyboard and reconnect it again.
- Make sure no keys are stuck while being pressed.
- Inspect the keyboard cable for potential damage.
- Make sure the connecting ports are intact and clean them if possible.
When you have determined that hardware isn't the issue, check if the keys registering aren't being pressed. To check that, go to a keyboard tester website and run a test to see what keys are being pressed.

If some keys are registering despite not being pressed, then there is a problem with those keys' internal mechanism that needs an examination. In that case, try connecting the keyboard to another computer to confirm that the issue lies with the keyboard itself.
If the problem continues, grab another keyboard (if you have one) and connect it to the computer. If the issue goes away, this confirms that the problem lies with your original keyboard. Either continue using the one you've just plugged in, or get a new one.
However, if the issue goes away when you use the keyboard on a different PC, the problem is operating system-related and needs to be investigated further.
2. Update Your Keyboard Driver
If your keyboard is acting abnormally due to OS-relevant issues, the first possible cause could be outdated keyboard drivers. Therefore, update the drivers to eliminate this possibility.
Follow these steps to update your keyboard drivers:
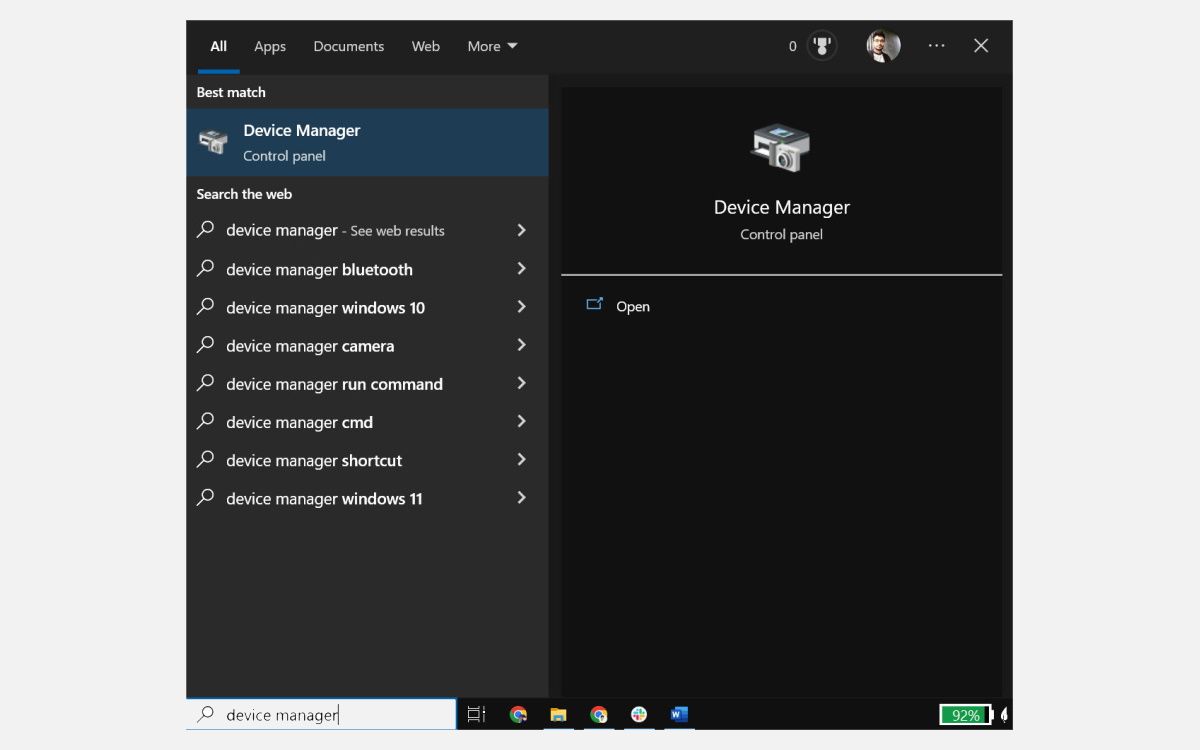
- Type Device Manager in Windows Search.
-
Open Device Manager from the search results by clicking on it.
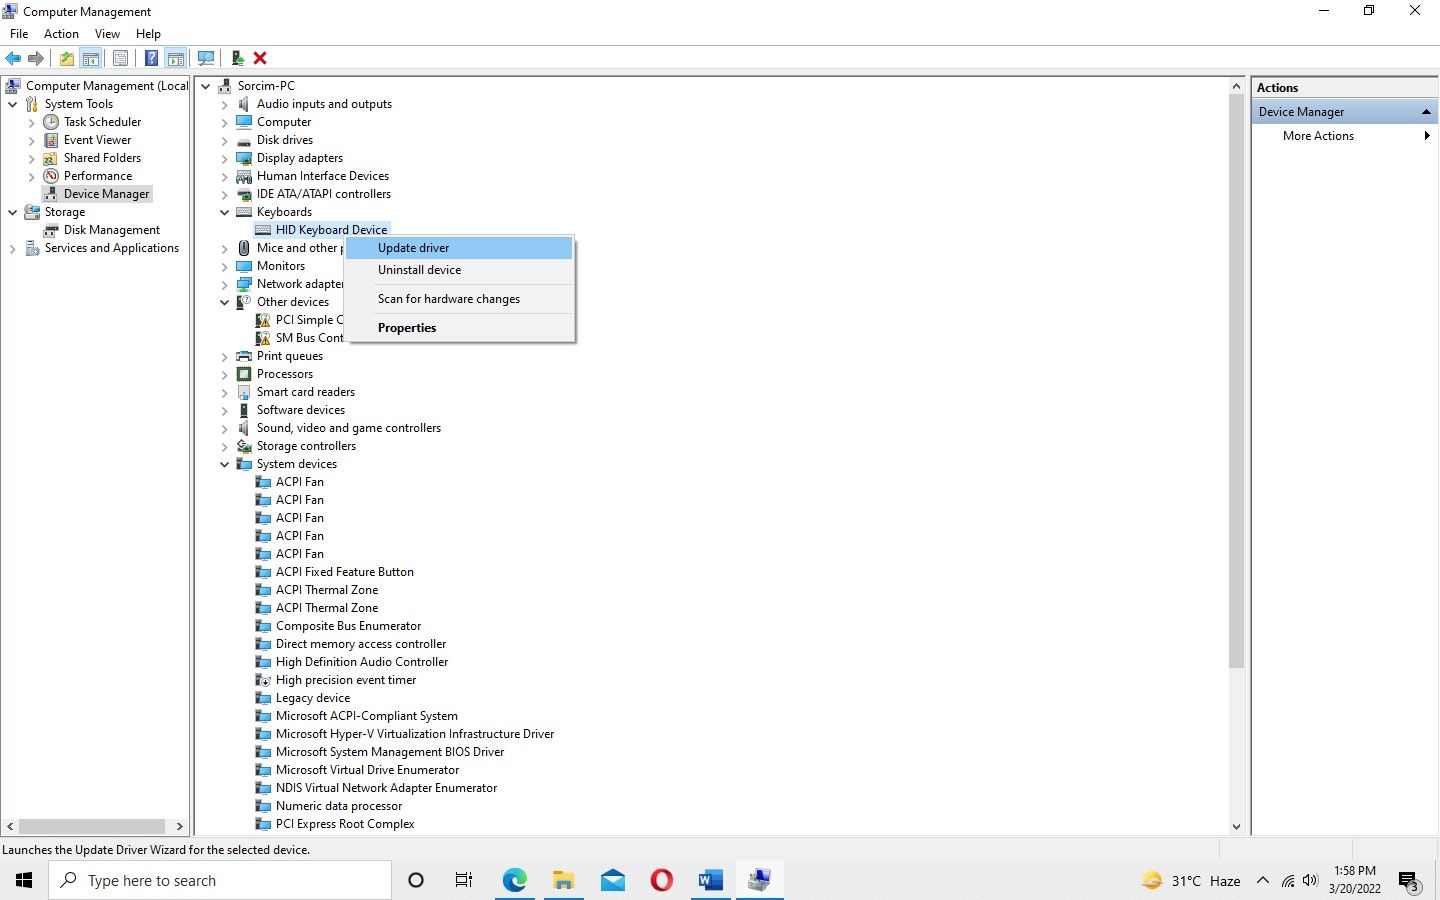
- Expand the Keyboards category in the right-hand pane.
- Right-click on the keyboard driver.
-
Click on Update driver.


Once the drivers are updated, check if the keyboard behaves the same way. If Windows fails to find any drivers, try searching for your keyboard or laptop manufacturer's website for drivers.
3. Run the Windows Keyboard Troubleshooter
Using troubleshooters can assist in automatically resolving the issue occurring on a Windows device. A dedicated keyboard troubleshooter is available to help you fix your keyboard issues.
To run the keyboard troubleshooter on Windows 10, follow these steps:
- Go to Windows Settings app.
- Navigate to Update and Security.
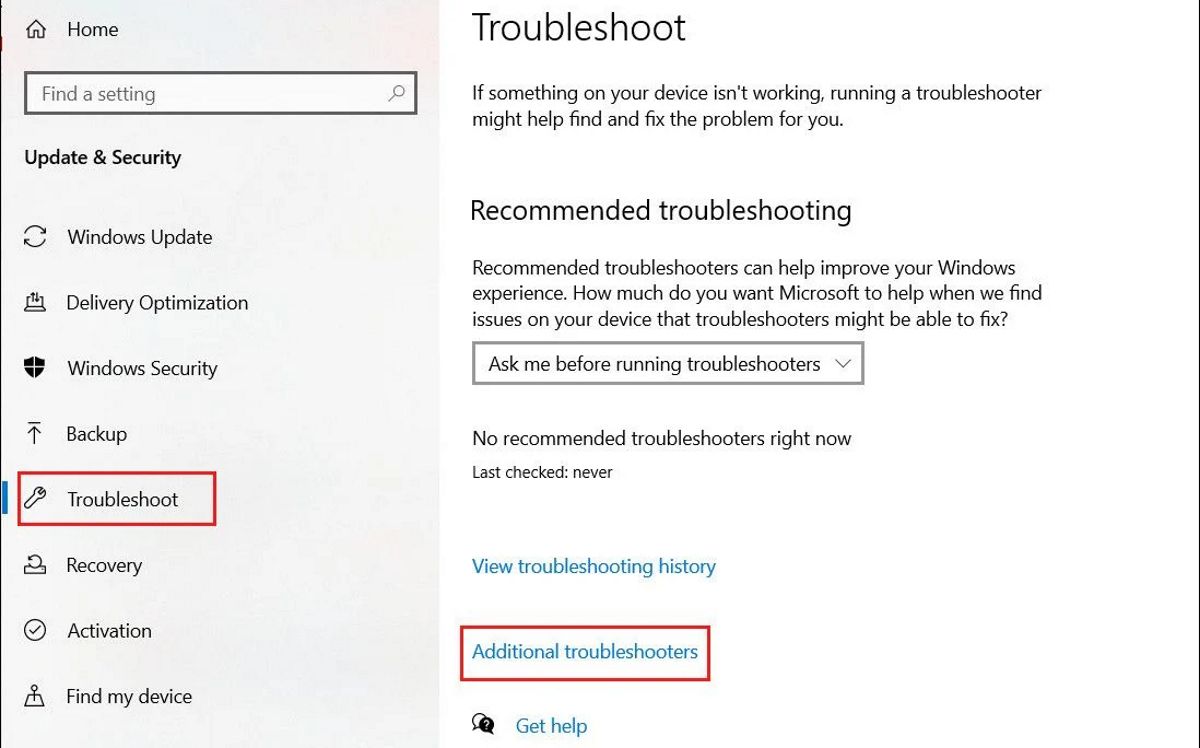
- Go to Troubleshoot in the left sidebar.
-
Click on Additional troubleshooters in the right-hand pane.
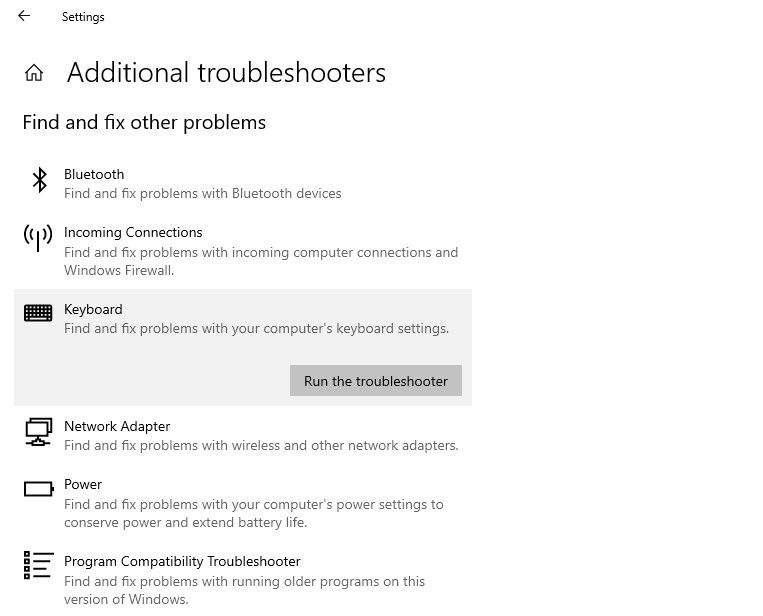
- Locate the Keyboard troubleshooter from the list.
- Click on it and hit Run the troubleshooter.
-
After that, follow the on-screen instructions and give the troubleshooter some time to diagnose the keyboard settings problem.


Follow these steps to run the keyboard troubleshooter on Windows 11:
- Open the Windows Settings app.
- Go to the System tab from the left sidebar.
-
Click Troubleshoot in the right pane.
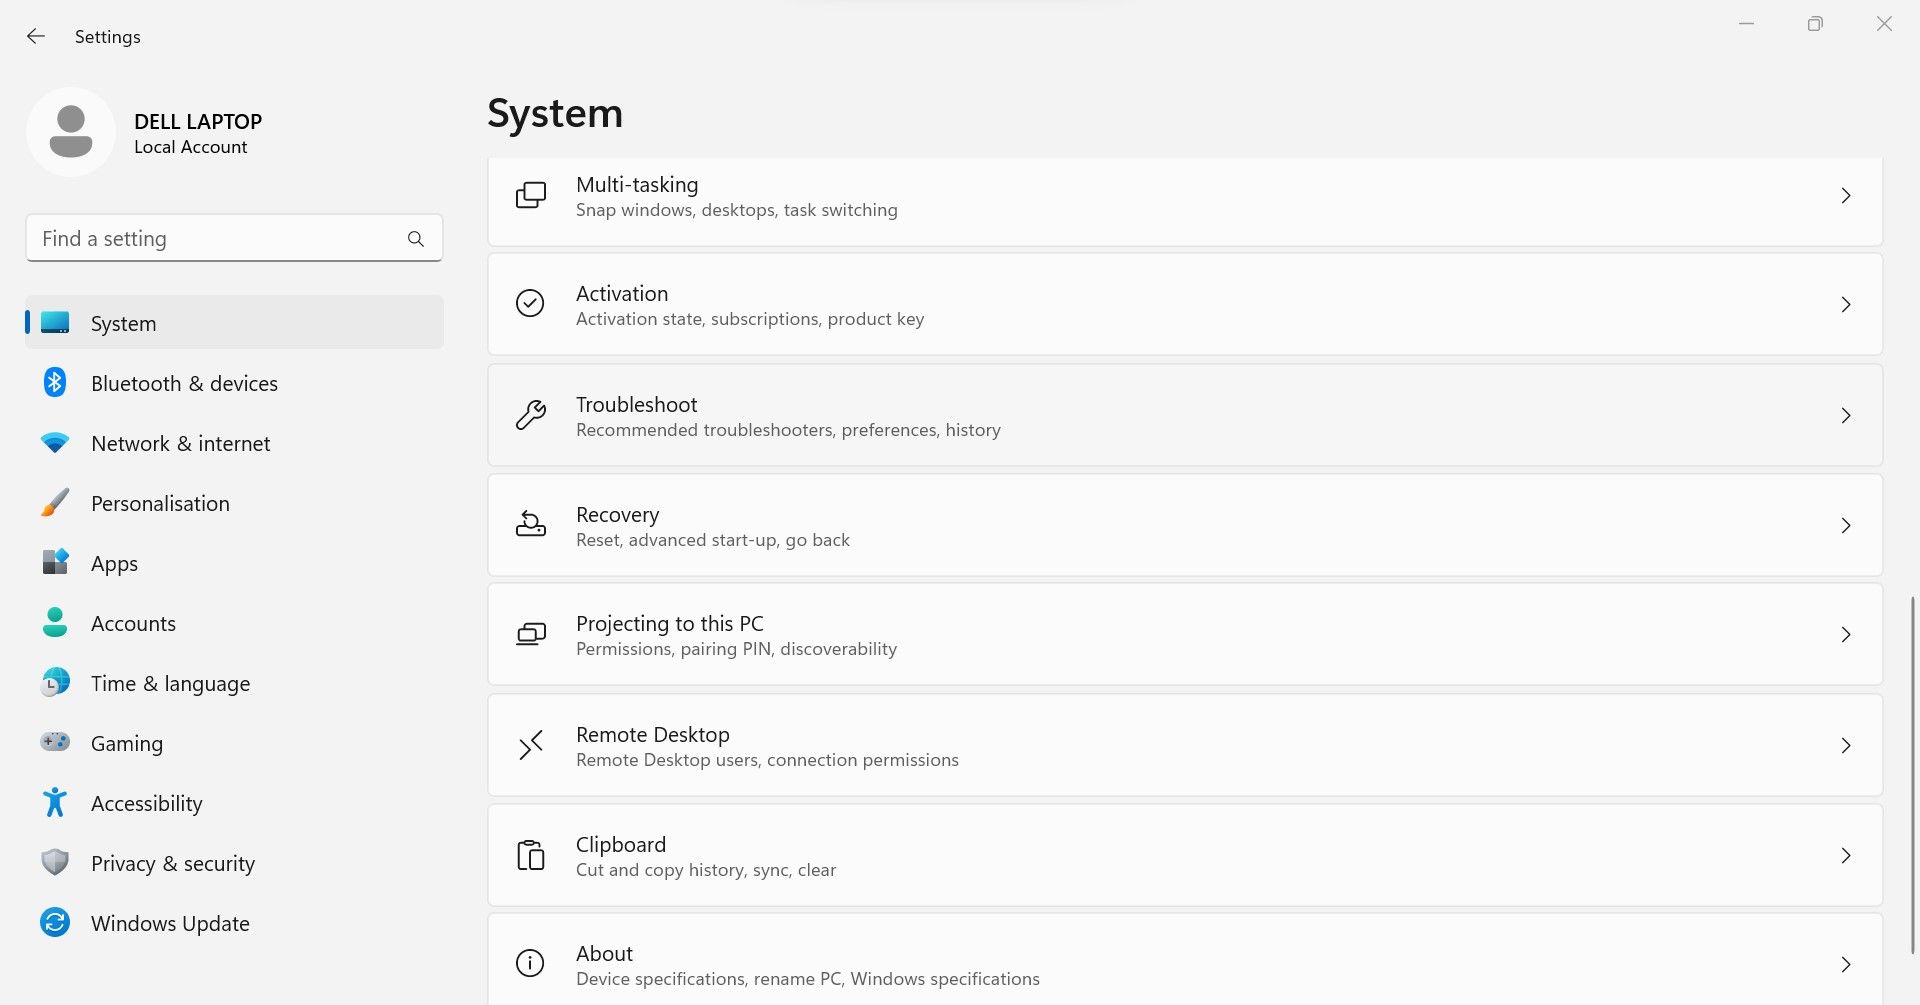
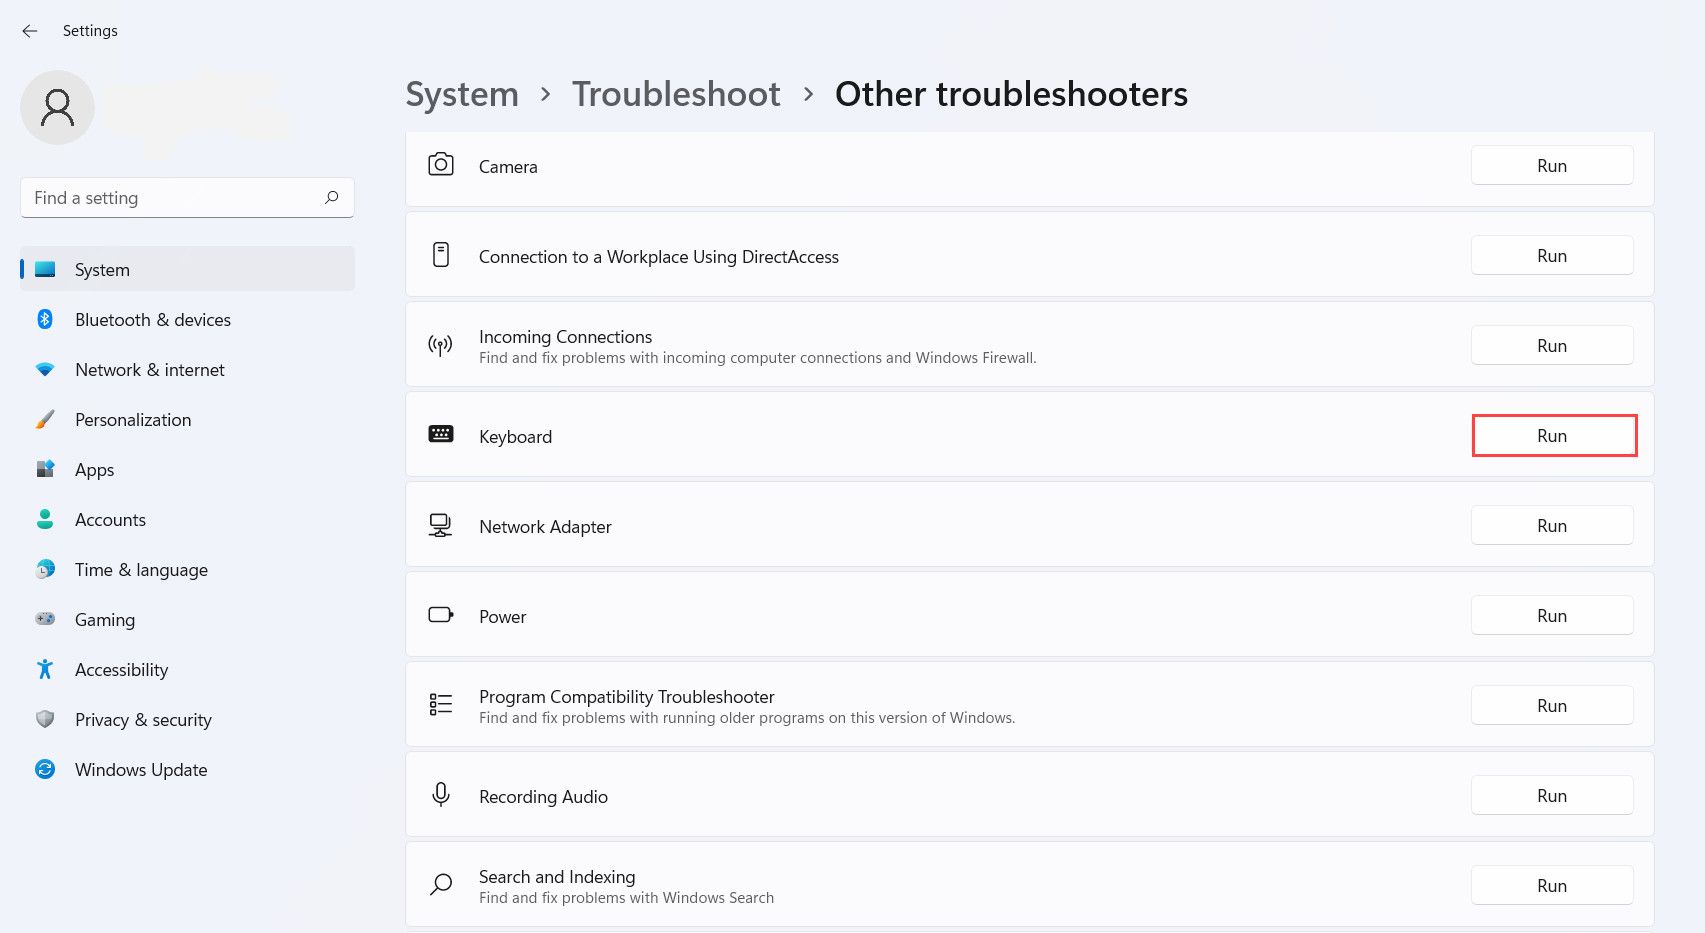
- Then click on Other troubleshooters.
-
Click on the Run button next to the Keyboard troubleshooter.


The troubleshooter will either diagnose and resolves the issue on its own or report that it failed to do so. If it failed, it's time to try something else.
4. Tweak the Keyboard Settings
You might be able to fix the issue by tweaking your keyboard settings. Therefore, temporarily disable any customizations you've made. Among them are disabling the sticky keys, disabling mouse control from the keyboard, and turning off the filter keys.
Follow these steps to manage these settings:
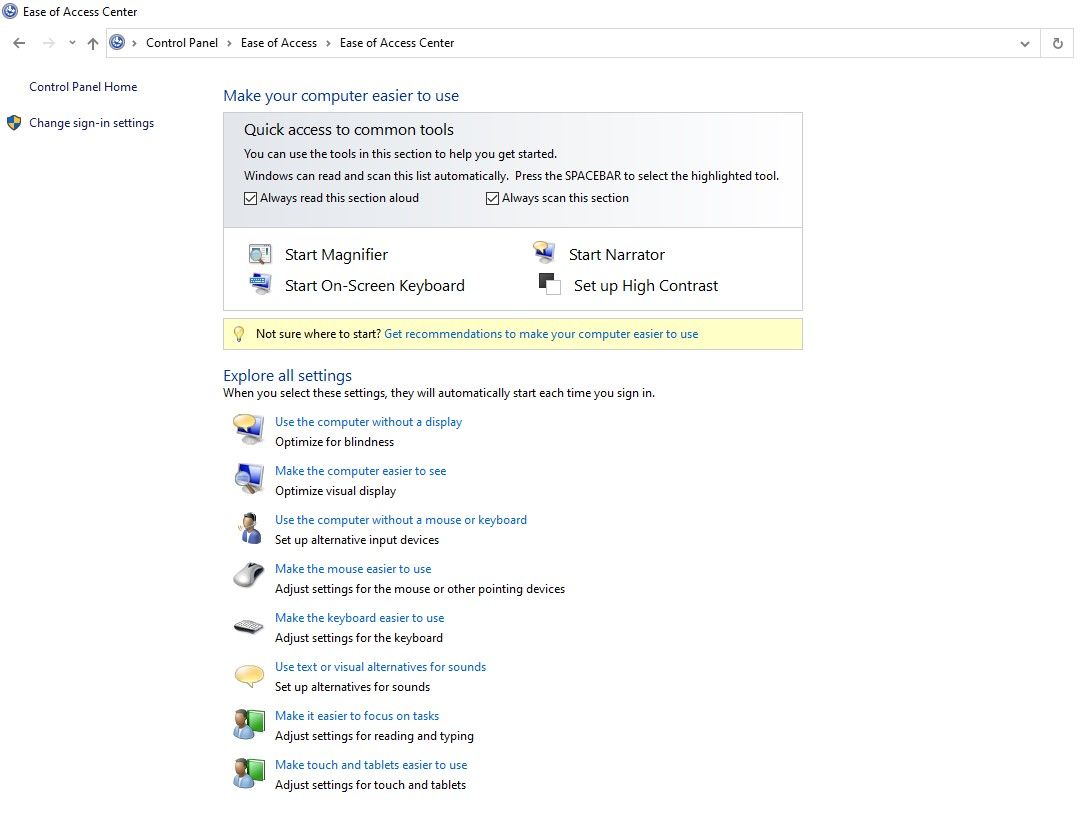
- Go to Windows Control Panel.
- Go to Ease of Access > Ease of Access Center.
-
Click Make the keyboard easier to use in the right-hand pane.
-
Uncheck the boxes for Turn on Mouse Keys, Turn on Sticky Keys, and Turn on Filter Keys.
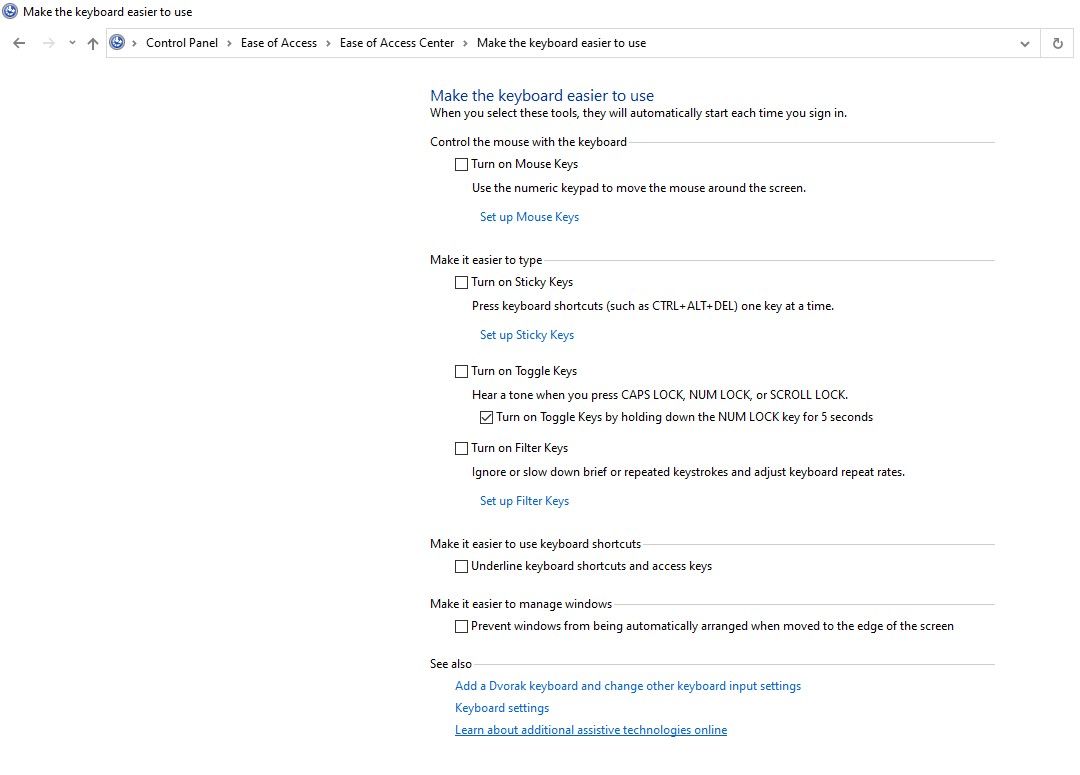


See if reverting these customizations has made a difference.
5. Run a Malware and SFC Scan
Corrupted system files caused by malware can cause hardware devices to malfunction. As such it's imperative to ensure that this isn't happening here.
You can do this by running malware and SFC scans. The malware scan ensures your PC is free of viruses, and the SFC scan will repair corrupt or damaged Windows files to ensure that no damage remains on your computer.
You can use third-party tools to remove malware, but the best free method is to use Microsoft Defender's offline scan. Read our article on how to remove malware using Microsoft Defender's offline scan for further instructions.
To run an SFC scan, follow these steps:
- In the Windows search box, type cmd.
- Right-click on the Command Prompt app and select Run as administrator.
-
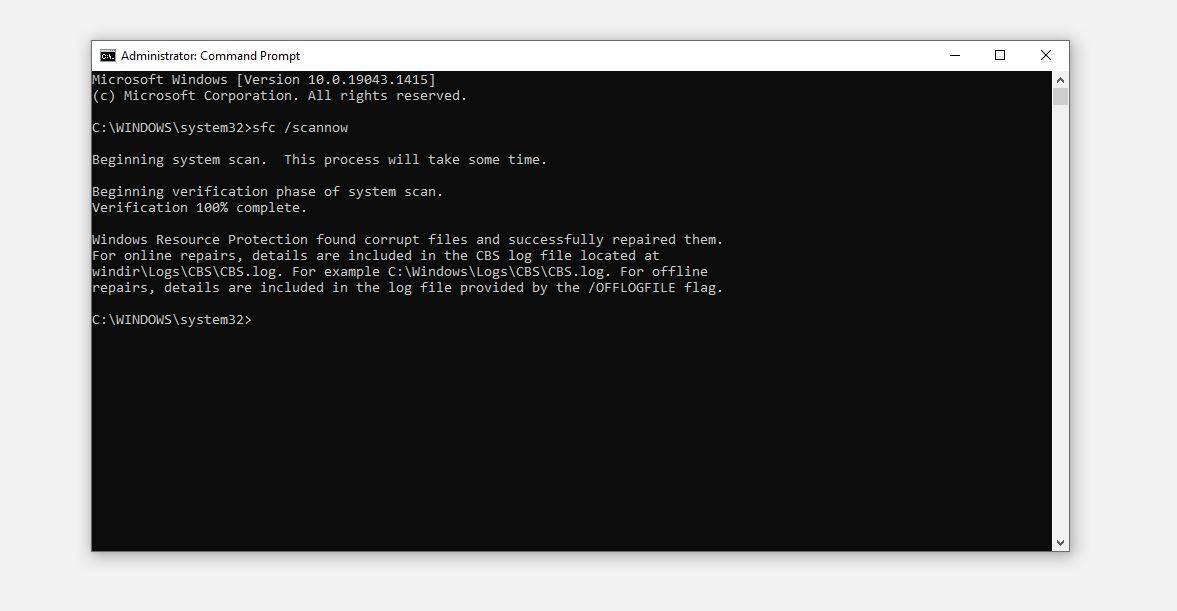
Enter the sfc /scannow command and hit Enter.
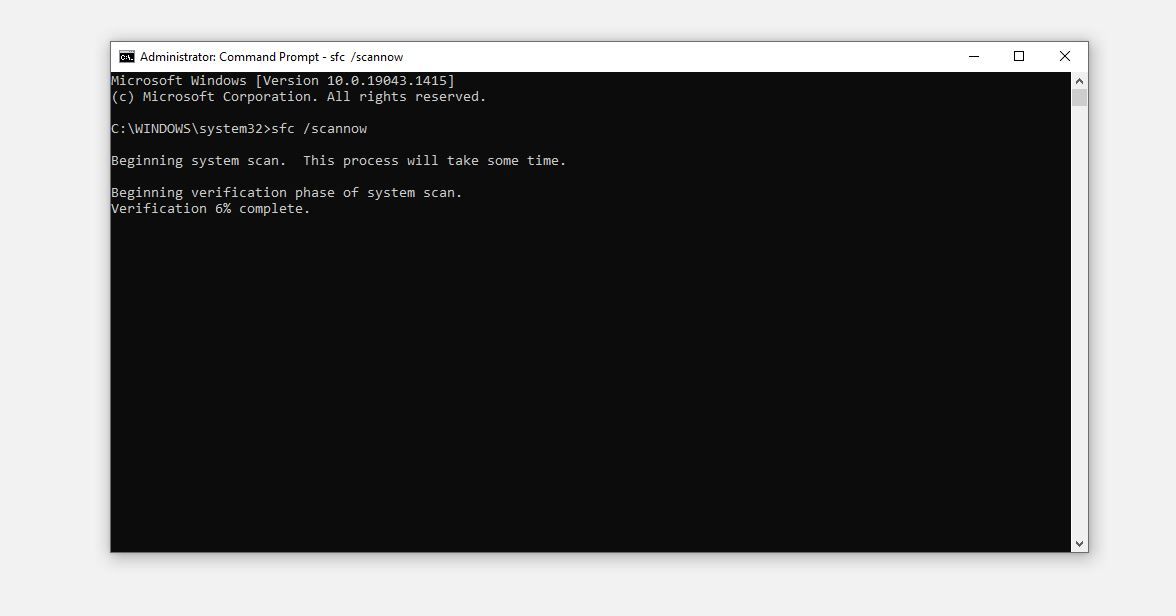

Wait for the Command Prompt to complete the verification process. After it has been completed, you will be informed about any possible issues that have been either automatically removed or you will have to remove manually.
6. Update Your Operating System
Updating your operating system ensures there is no compatibility issue, making your keyboard go crazy. Check out our article on how to manage Windows updates the right way.
If the issue started after you updated Windows, then you may have better luck reverting the upgrade. Check out how to uninstall Windows updates to learn more.
7. Bring Your Keyboard Back to Room Temperature
If you've been outside in extreme weather conditions, or you left the keyboard in a very hot or cold place, the change in temperature may cause the keys to act irrationally. If you're using a laptop that overheats as you use it, the extra heat may cause chaos on your keyboard.
As such, try heating up or cooling down the keyboard so that it reaches room temperature.
8. Drain Out Anty Static Charge
If static charge builds up inside your laptop or computer, it can cause unforeseen problems. Some of the ports on your computer may stop working, the device may restart randomly after small intervals, BSOD errors may occur randomly, the device's sound can stop working, and some of the hardware may refuse to work or behave strangely.
Therefore, if none of the above fixes have worked, the build-up of electricity inside your device could be the culprit. So, you should discharge extra power from your device. The process of draining the build-up charge is called a power drain.
To completely drain the extra power from your laptop, unplug the charger (if it's connected) and disconnect any peripherals attached to it. Next, take out your laptop's battery and press and hold the power button for about twenty seconds. After you release it, it will hopefully drain out all the power left in your device.
Performing a power drain on your desktop computer is also the same. Disconnect all cables, including the HDMI cable that connects your CPU to the monitor. After unplugging it, hold the power button for 20 seconds and release it.
If draining the static charge doesn't solve the problem, there are two possible ways out of the problem: disable specific keyboard keys or use the on-screen keyboard.
Possible Alternatives for Using Your Keyboard
You can try the following two solutions to continue using the keyboard despite the issue not being resolved:
1. Disable the Problematic Keys
The simple way to fix this issue is to disable the keys being pressed automatically. Even though there are different ways to disable keyboard keys, the best way is to use third-party tools.
To disable specific keyboard keys, KeyTweak and AutoHotKey are two easy-to-use tools. Check out our article explaining how to disable specific keys on your keyboard.
2. Use the Windows On-Screen Keyboard
If you can't tame the problem by disabling specific keys, you may want to disable the keyboard entirely and use WIndows' built-in on-screen keyboard instead. Press Win + S to open Windows Search, then search for "on-screen keyboard" to open up this tool.
Your Windows Keyboard, Back on Track
Hopefully, the fixes provided in this list will restore your keyboard's full functionality. If none of the above solutions work, you might consider replacing the keyboard. When that does not work either, you may consider reinstalling the OS or doing a full reset.