
An IPv4 or IPv6 address helps identify and connect other devices on a network. However, if you encounter the "No Internet Access" error while using IPv4 or IPv6, it's likely that your internet connection is not working properly.
In this guide, we'll explore a few troubleshooting steps to help you fix the "IPv4/IPv6 No Internet Access" error and restore your internet connection again.
What Causes the "IPv4/IPv6 No Network Access" Error?
If your PC only receives an IPv4 or IPv6 address when it connects to a network, it will show the "No Network Access" error. This can happen due to several reasons, but some common factors include issues with your router configuration, faulty network drivers, incorrect DNS server address, and IPv6 compatibility issues.
While it can be difficult to pinpoint the exact reason, there are a few general fixes you can try to see if they solve the problem. As such, here are a few troubleshooting methods help you to fix the "No Internet Access" error on your Windows computer.
1. Forget and Reconnect to Your Wireless Network
You can fix the "IPv4/IPv6 No Internet Access" error by removing your wireless network settings from your Windows PC. Once done, reconnect to the same network and check for any improvements.
To forget and reconnect to your wireless network:
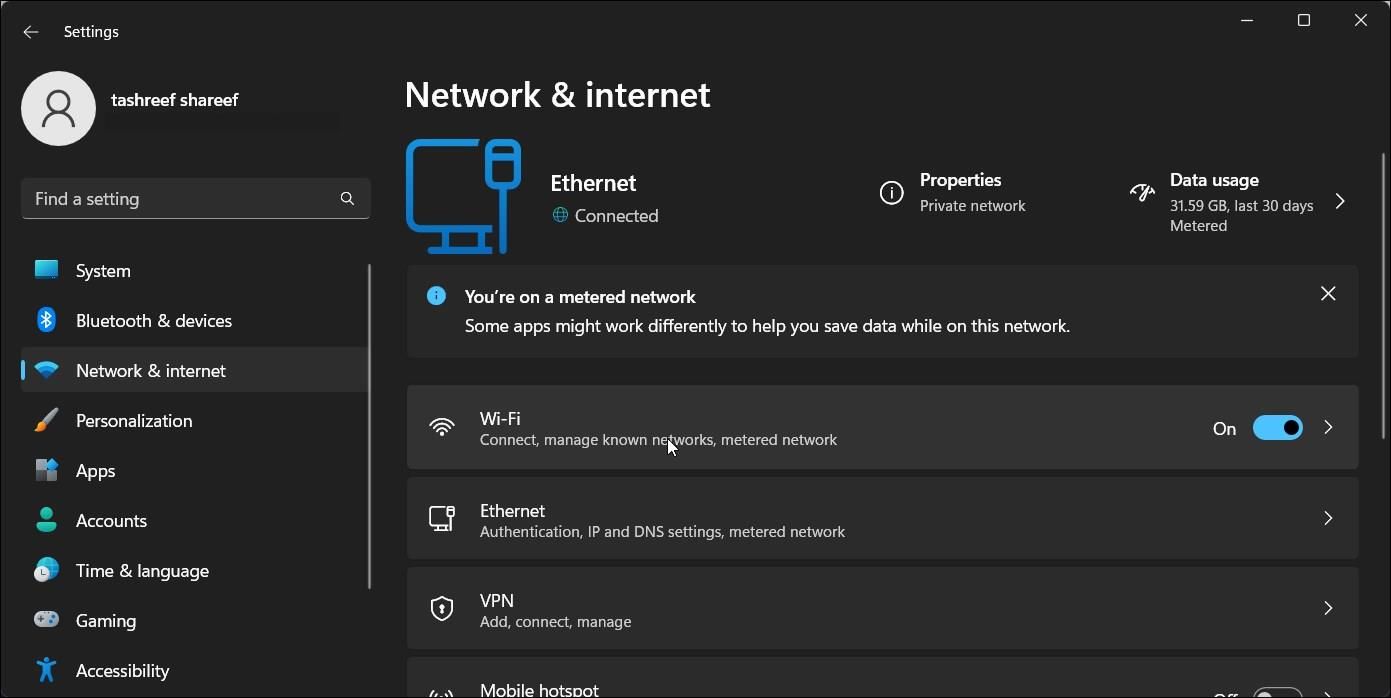
- Press Win + I to open Settings.
- Next, open the Network & Internet tab in the left pane.
-
Click on Wi-Fi.
-
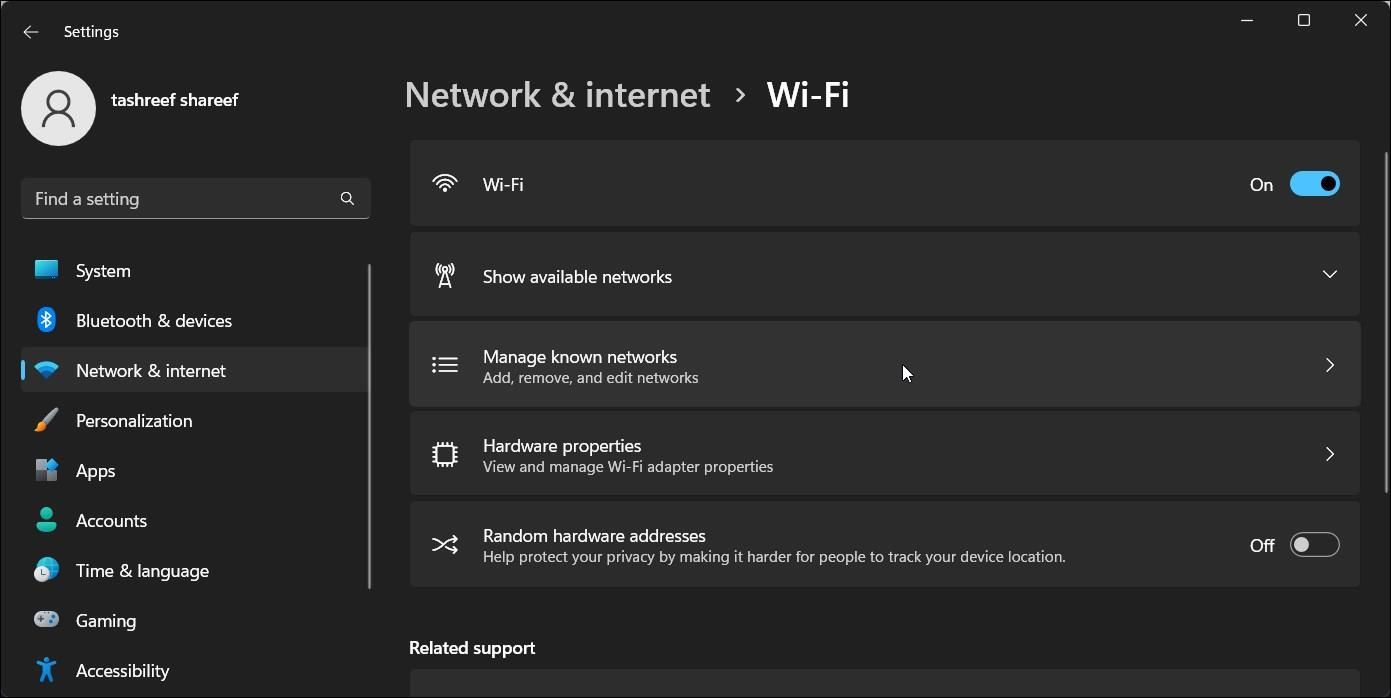
Next, click on Manage known networks.
-
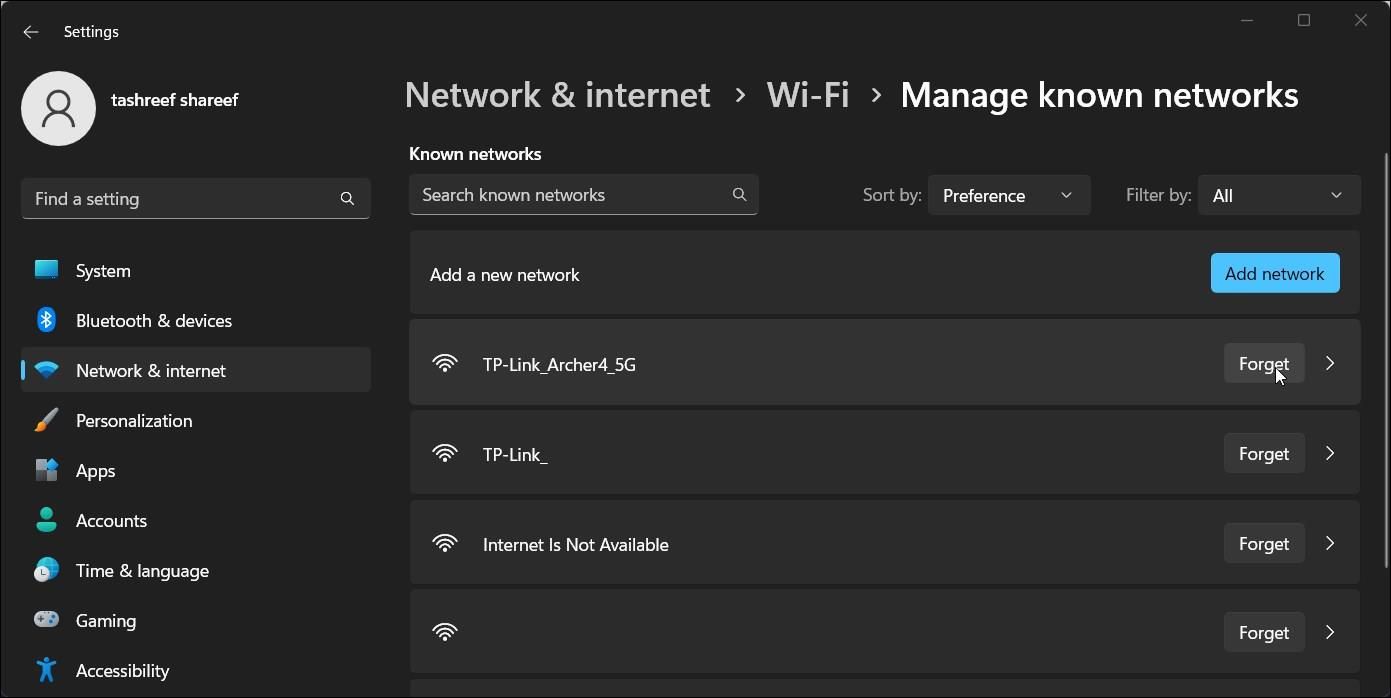
Click the Forget button next to the troubling Wi-Fi network connection name.
- Next, press Win + A to open Action Center.
- Click the Caret (>) button next to Wi-Fi to manage Wi-Fi networks. Windows will search for available Wi-Fi networks and list them here.
- Click on the Wi-Fi network and enter the password to connect to see if the error is fixed.


Be sure to check out how to manage your wireless network profiles on Windows for more information.
2. Manually Reset the Winsock Catalog

Another variant of the "IPv4/IPv6 No Network Access" error only affects a select few applications. For example, you may be able to access the Internet on your web browser, but not on your email client or software.
This can happen due to a corrupt network configuration. Fortunately, you can quickly fix it with a Winsock catalog reset. It is achieved via a sequence of Command Prompt commands to reset important network settings to their default.
To reset the Winsock catalog:
- Press Win + S to open Windows Search.
- Type cmd. Then, right-click on Command Prompt and select Run as administrator.
-
In the Command Prompt window, type the following command and press Enter:
netsh winsock reset catalog -
Once successfully executed, type the following command and press Enter:
netsh int ipv6 reset reset.log - When successful, close the Command Prompt and restart your PC. After the restart, check if the IPv4/IPv6 error is resolved.
3. Disable Internet Protocol Version 6 (IPv6)
If the "No Internet Access" error only occurs for IPv6, you can disable the affected IP in the network properties to fix the issue. Unless you have to use IPv6, the IPv4 protocol can handle your connection without any issues.
To disable the IPv6 protocol:
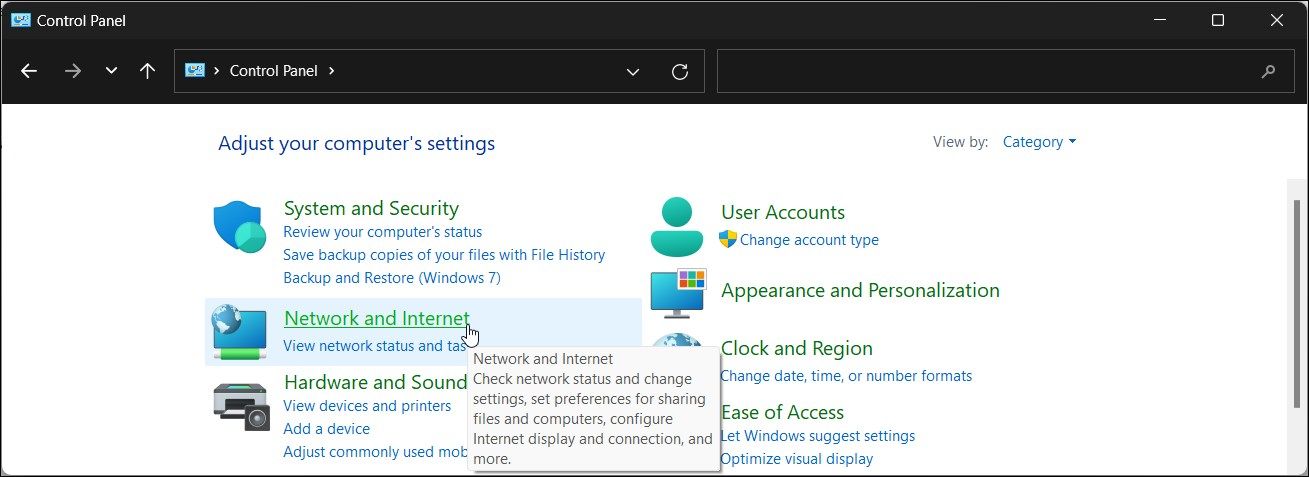
- Press Win + R to open Run.
- Type control and click OK to open the Control Panel.
-
Next, click on Network and Internet.
-
Click on Network and Sharing Center.
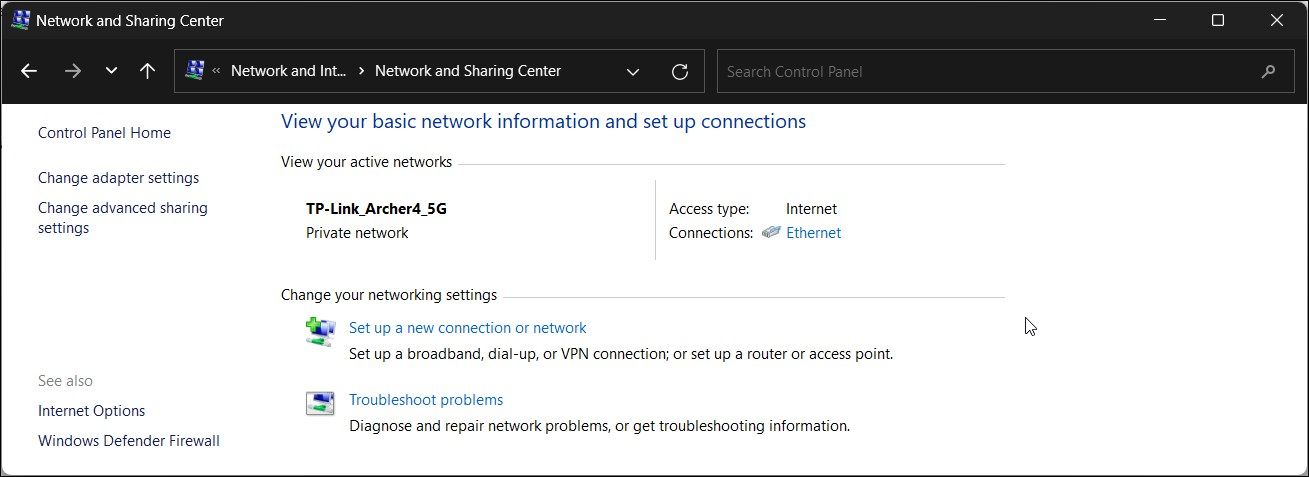
- Click on Change Adapter Settings in the left pane to view all your network adapters.
-
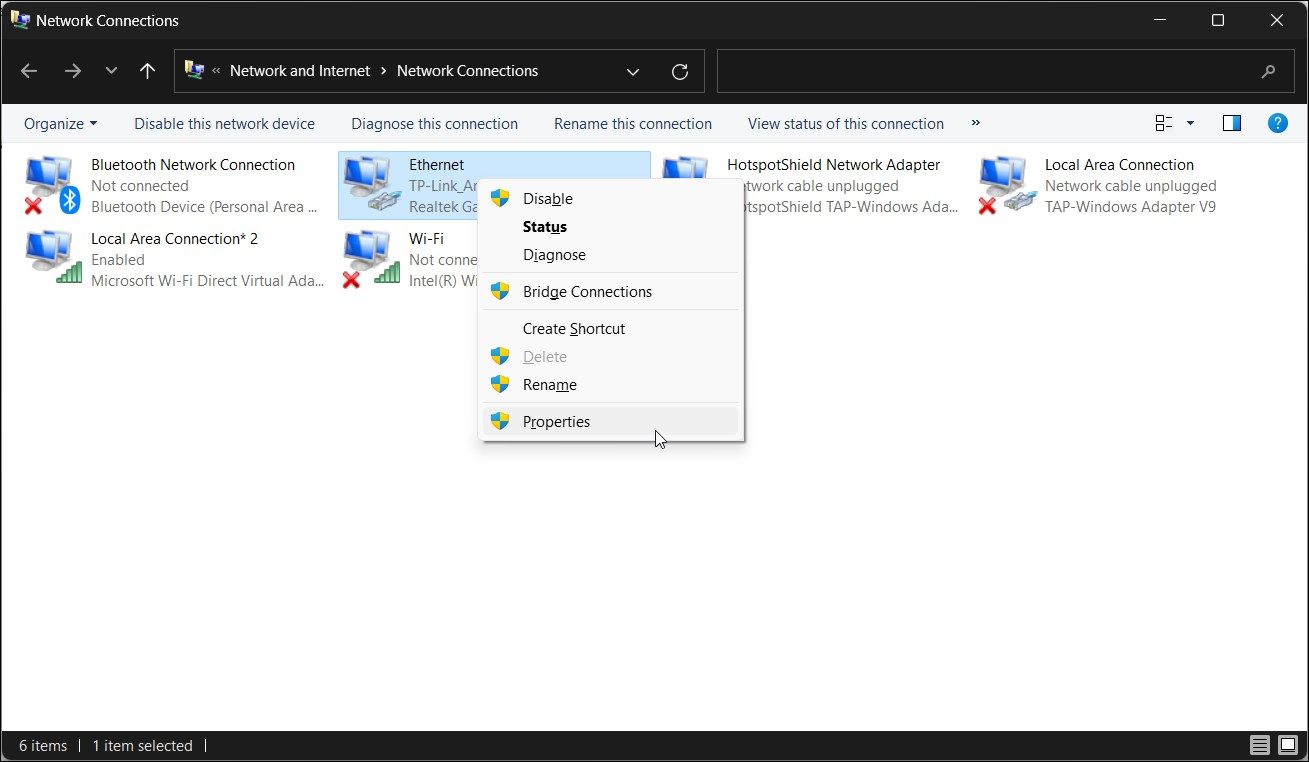
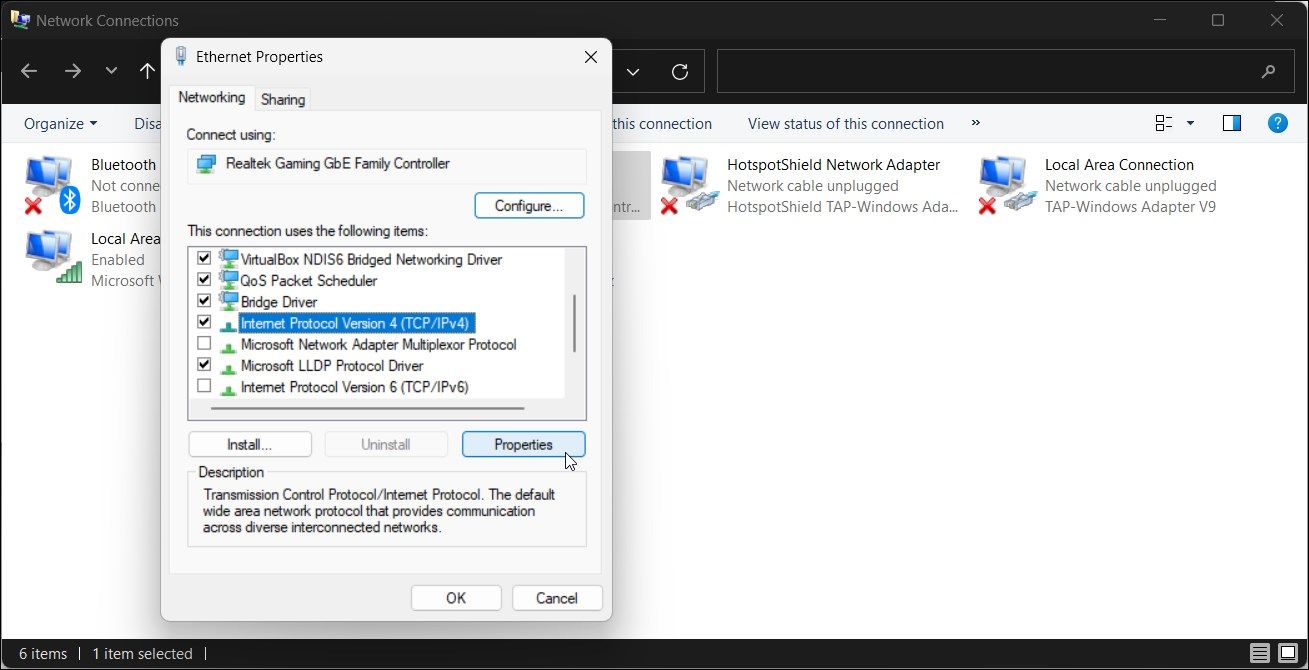
Right-click on your network connection and select Properties.
-
In the Properties dialog, locate and uncheck the Internet Protocol Version 6 (TCP/IPv6) option.
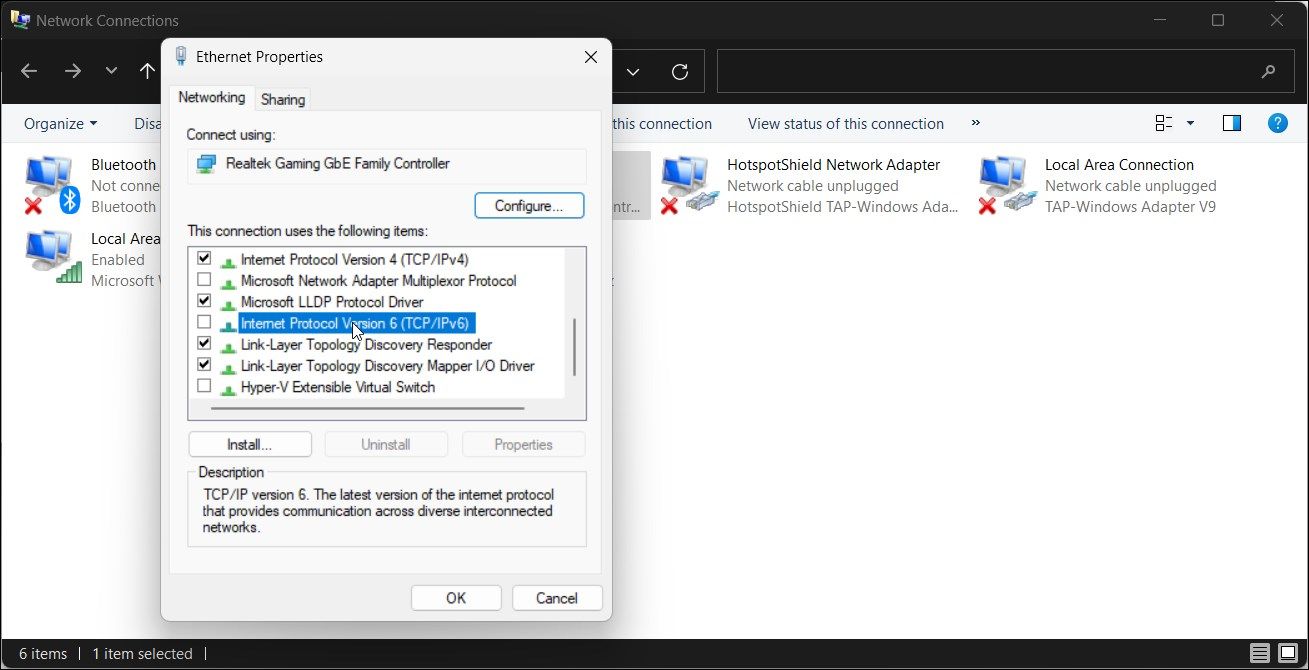
-
Next, uncheck the Internet Protocol Version 4 (TCP/IPv4) option.
- Click OK to save the changes.
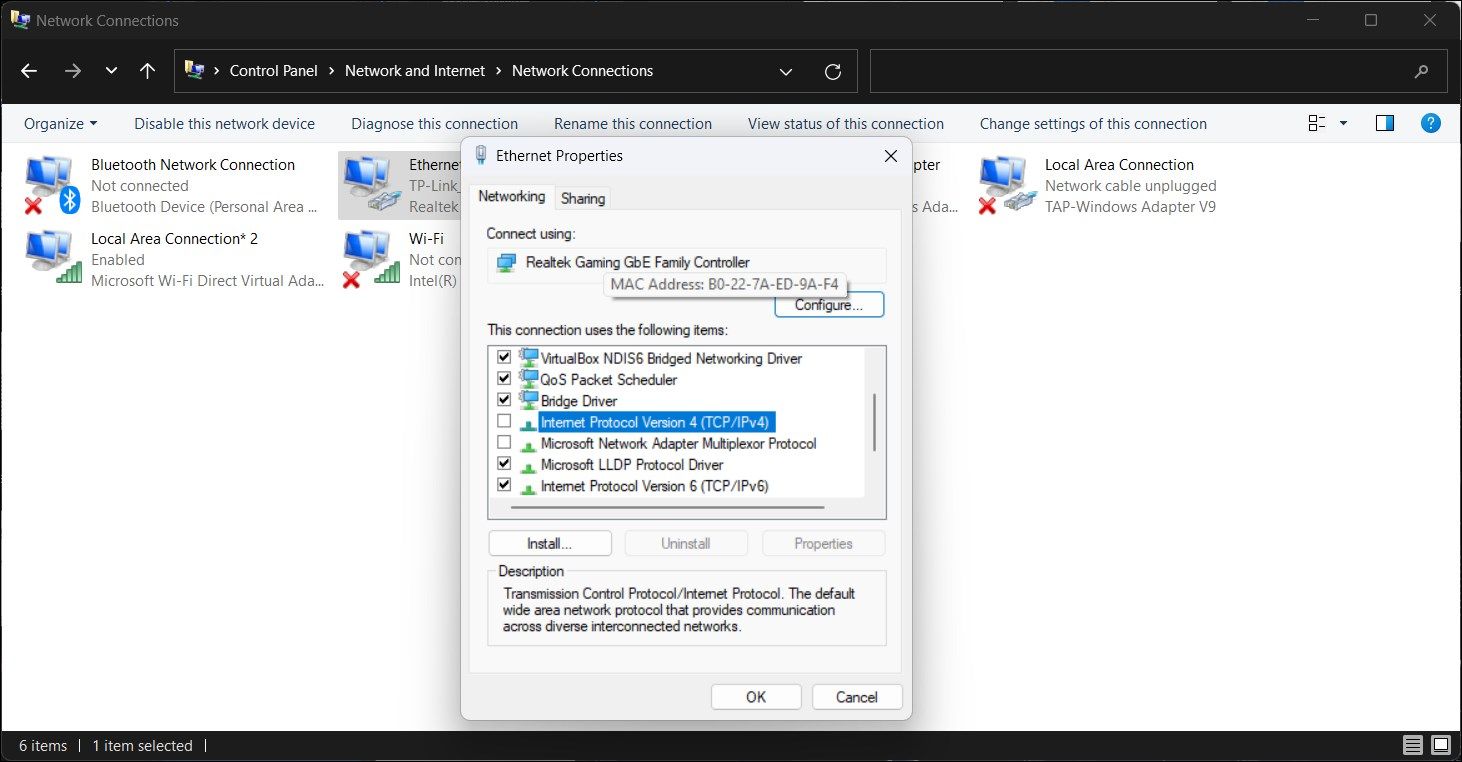
- Right-click on the network connection again and select Properties.
- Next, check the Internet Protocol Version 4 (TCP/IPv4) option. Leave the IPv6 option unselected.
- Click OK to save the changes and restart your PC.


4. Configure Your Network Adapter to Obtain the DNS Server Address Automatically
The Windows operating system lets you set and use third-party DNS server addresses for security reasons. However, an incorrect configuration for your DNS server address may cause the "No Internet Access" error.
To fix this, ensure the network connection is set to obtain the IPv4/IPv6 and DNS server address automatically. Here’s how to do it.
- Press Win + R to open Run.
- Type ncpa.cpl and click OK to open Network Connection in Control Panel.
-
Right-click on your network connection and select Properties.
-
In the Properties dialog, select Internet Protocol Version 4 (TCP/IP) and click on the Properties button. You can also double-click on IPv4 to access its Properties.
-
Next, select the Obtain an IP address automatically and Obtain DNS server address automatically options.
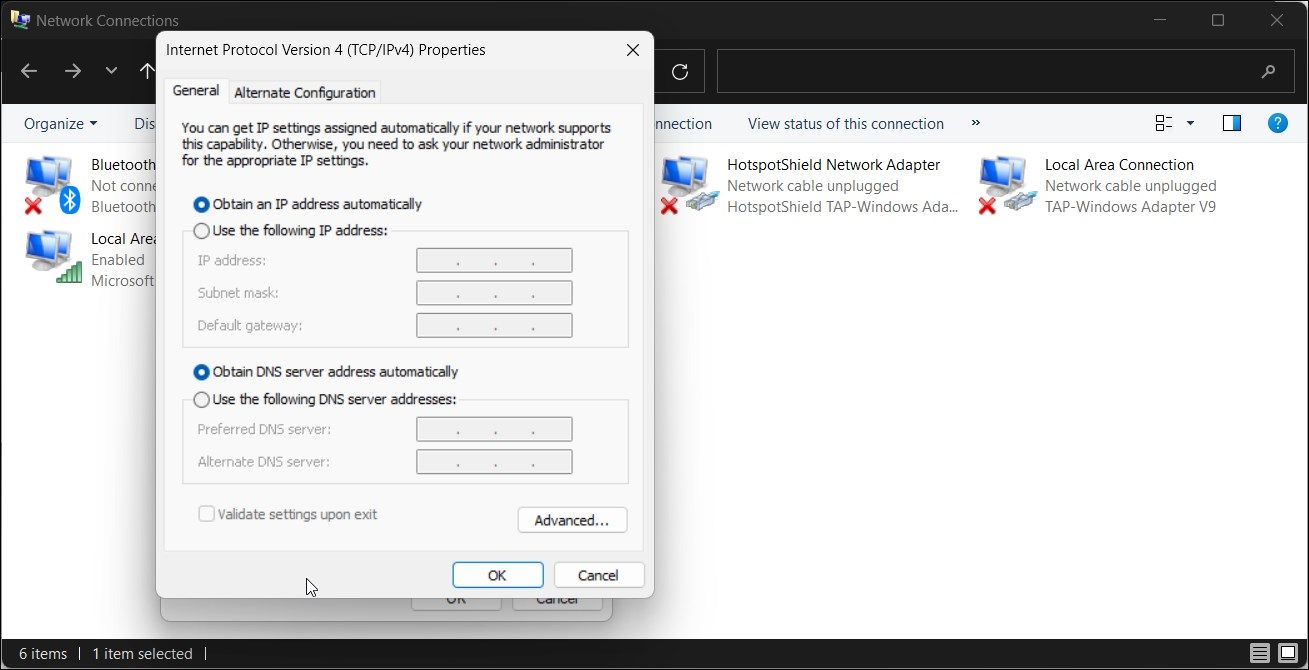
- Next, select Validate settings upon exit and click OK to save the changes.


5. Power Reset Your Router and Modem
Temporary issues with your router can also cause issues with your Internet connection. To fix the problem, perform a power reset. This involves momentarily turning off your router and modem and then turning them on again.
To perform a power reset:
- Disconnect your modem’s power brick from your power outlet.
- Next, disconnect your router's power adapter.
- Leave the devices idle for a few minutes.
- Once done, connect the power brick and turn on your modem and the router.
- Wait for all the lights on your router to stop blinking, then check if the error is fixed.
6. Update Your Network Adapter Drivers
Corrupt or outdated network adapter drivers may act up, leaving you with no network connectivity. New drivers often come with performance improvements and bug fixes. That said, a fresh installation can also help resolve issues triggered due to driver corruption.
To update the network adapter driver:
- Press Win + R to open Run.
- Type devmgmt.msc and click OK to open Device Manager.
-
Next, expand the Network adapters section.

- Right-click on the problematic network adapter (wireless or Ethernet) and select Update Driver.
-
Click on Search automatically for drivers and follow on-screen instructions.
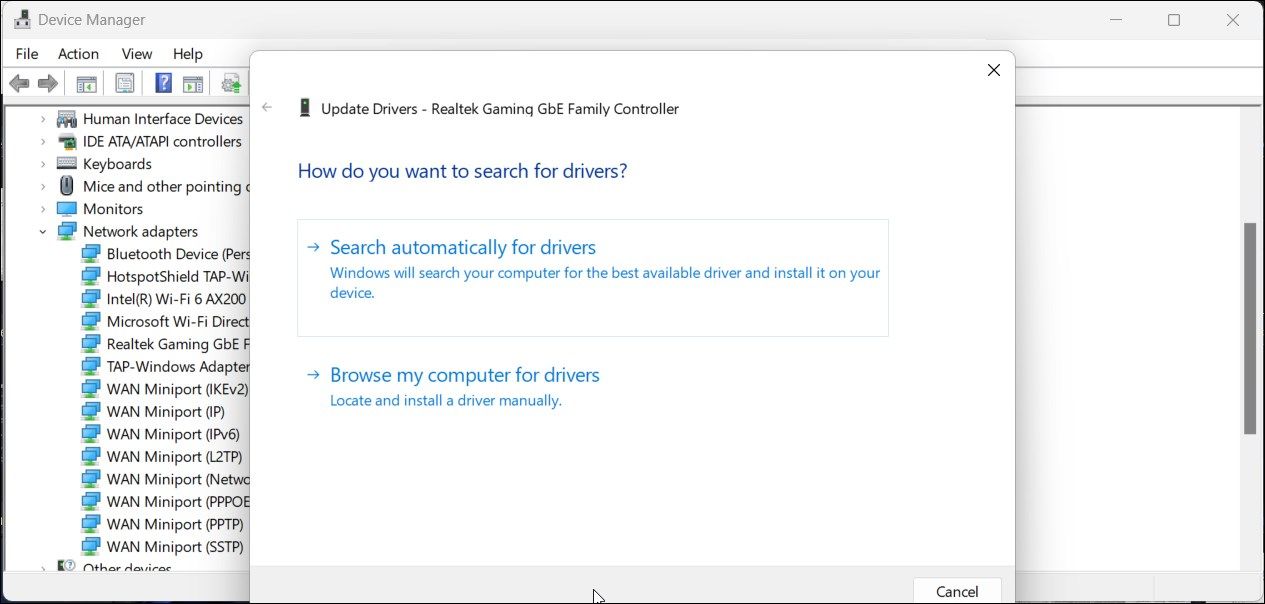
- If you don’t have a working Internet, then click on Browse my computer for drivers.
-
Next, click on Let me pick from a list of available drivers on my computer.
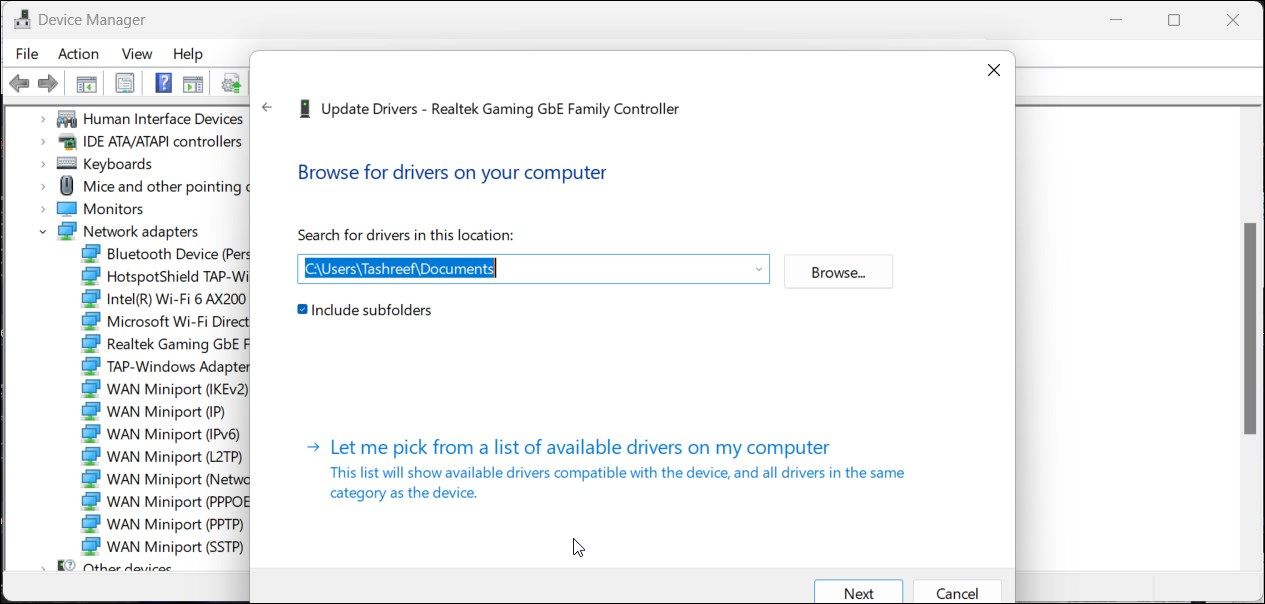
- Select the most recent driver update and click Next.
- Once the driver is installed, close Device Manager and restart your PC.


Some laptop manufacturers provide their own apps to manage system drivers. For example, HP, Lenovo, and Asus laptops come with the HP Support Assistant, Lenovo Vantage, and MyASUS apps, respectively. Launch the app and check if new updates are available for the computer.
Alternatively, you can also visit your PC manufacturer’s website to download the latest update for your network drivers.
7. Check Your Third-Party Antivirus and Firewall
Third-party antivirus comes with a built-in firewall. Sometimes, the firewall may block legitimate connections creating issues with your network connectivity.
Try to temporarily disable your third-party firewall or antivirus to see if the issue persists with the security program off. At times, you may need to uninstall the security program completely to disable its firewall.
Fix the "IPv4/IPv6 No Internet Access" Error
Since this error can occur due to several reasons, you may have to try all the troubleshooting steps until you find a working solution. In most cases, a Winsock catalog and IPv6/IPv4 settings reset can fix the issue. If not, look for third-party security program conflicts, bad driver issues, or glitches with your modem and router.