
Want to relive your awesome gaming moments over and over again or share them with your friends? While you can use the Xbox Game Bar on Windows to record gameplay, you can also use the Intel Graphics Command Center if you like. It’s quite easy to do, and we’re going to show you how.
How Do I Record Gameplay With the Intel Graphics Command Center on Windows?
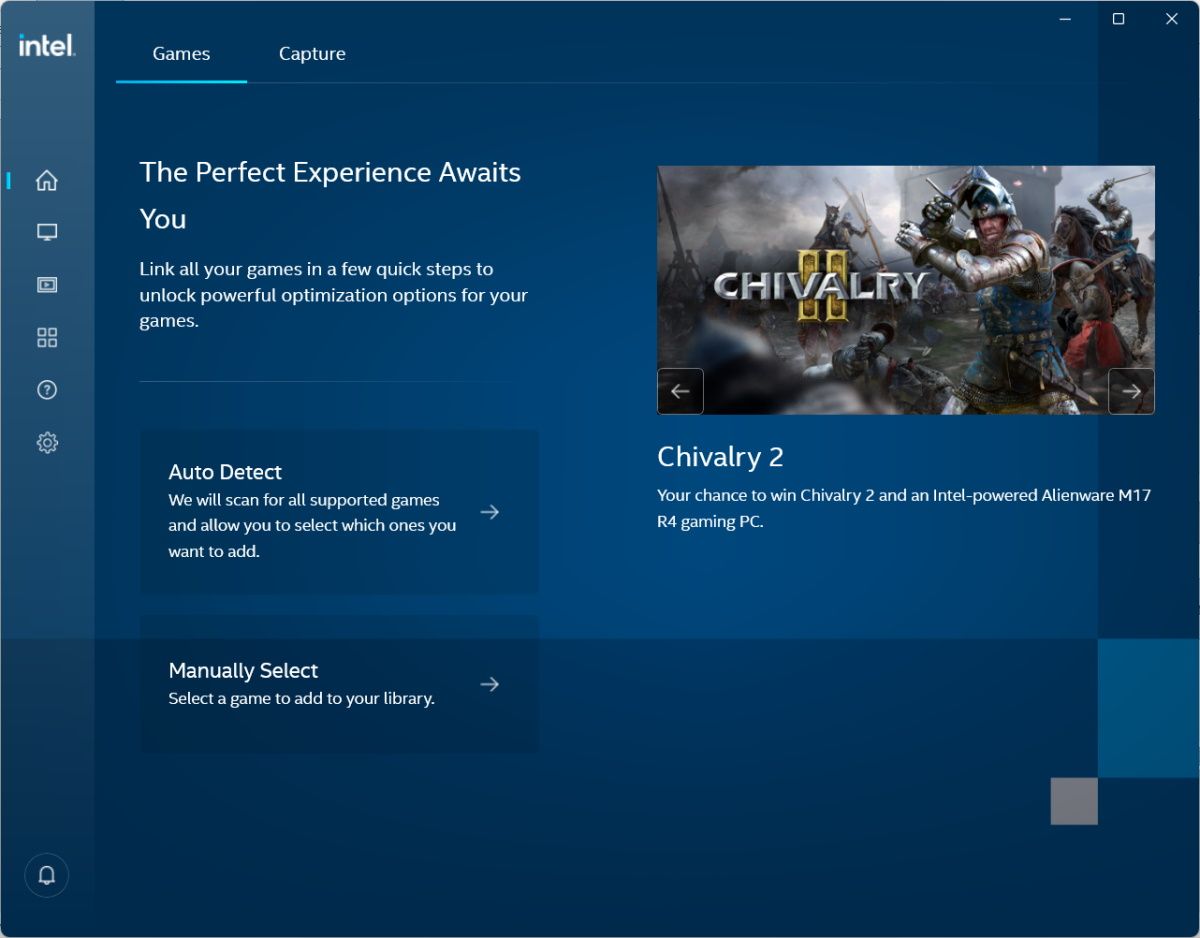
If you're still new to this app, it's a good idea to first learn how to add games to the Intel Graphics Command Center for better performance. Once you're familiar with the Intel Graphics Command Center, you can follow the steps below to capture gameplay with it:
- Launch the game you want to capture the gameplay from on your Windows PC.
-
Launch Intel Graphics Command Center. If you don’t already have it, you can go to the Microsoft Store to download and install the Intel Graphics Command Center.
-
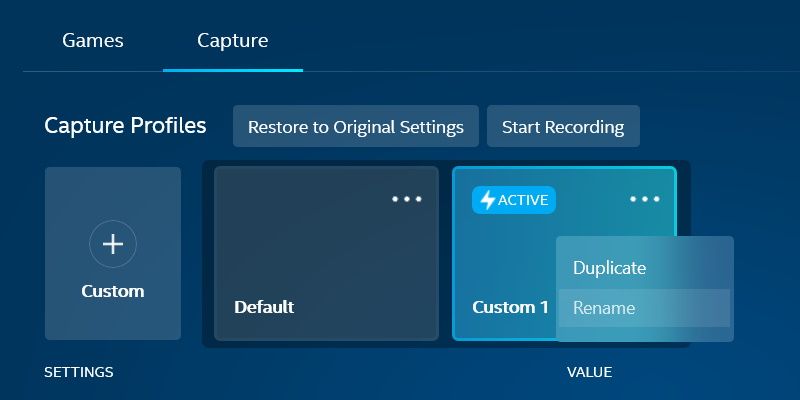
In Intel Graphics Command Center, select the Capture tab in the top menu.
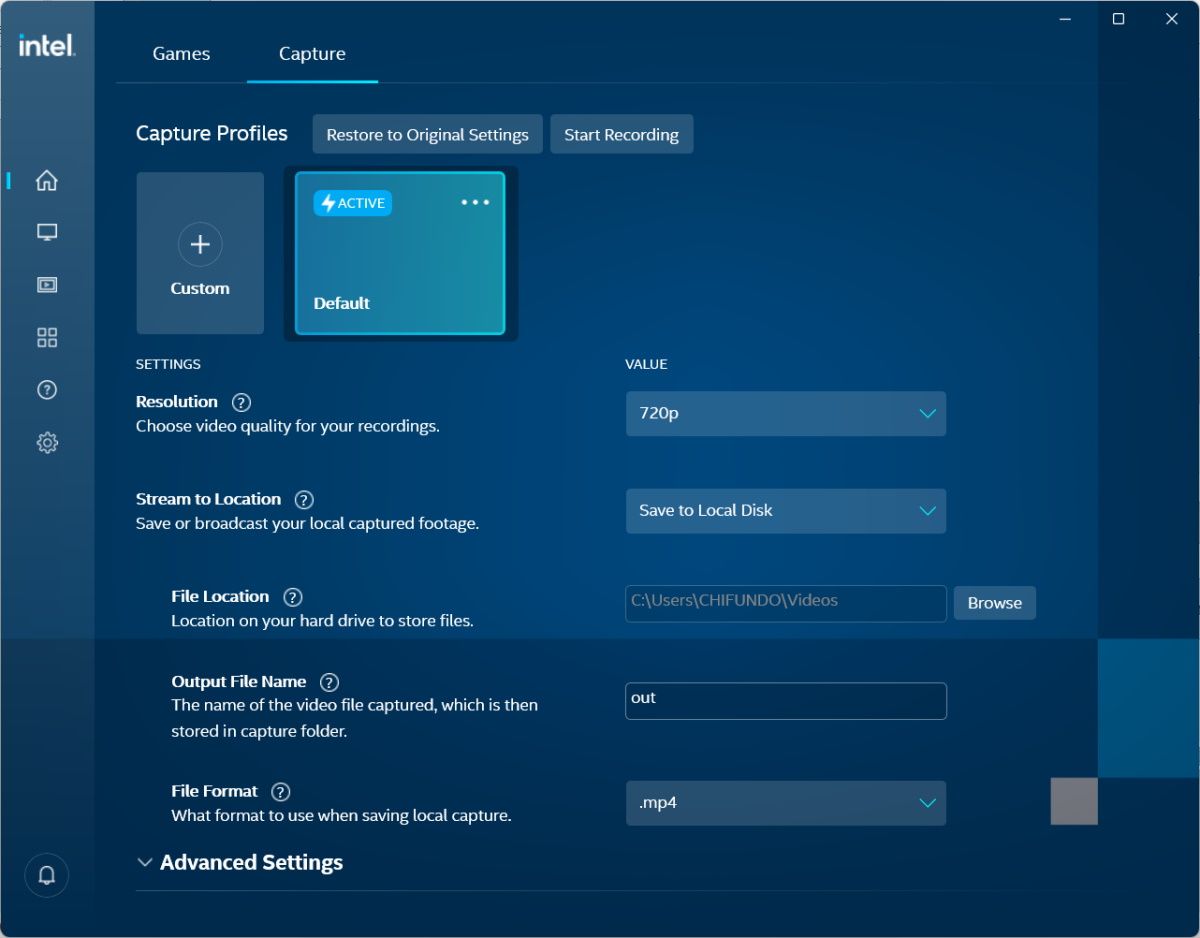
- You will find that there’s a default capture profile already created for you, and you can start recording right away. However, you can also adjust the Resolution, Output File Name, and File Format before beginning the capture session. Also, leave the Stream to Location option at Save to Local Disk at this time.
- Once you’re ready, click the Start Recording button – it’s below the top menu next to the Capture Profiles heading.
- Play your game and do some cool things worth recording.
-
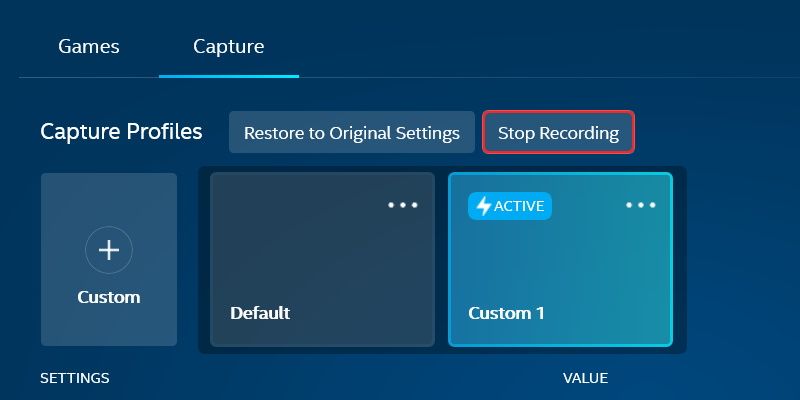
When you’re done recording, click the Stop Recording button – it will be right where the Start Recording button was.


Your gameplay video will be saved to your computer. Now you can share the video with others. And for more ways to record video on your PC, take a look at our guide on the best recording apps for Windows.
How to Create a Custom Capture Profile in Intel Graphics Command Center
You’re not stuck with the default profile when capturing gameplay on Intel Graphics Command Center. You can create a custom profile to, for example, use one for saving your captures to your computer and another for streaming to Twitch.
You can stream the gameplay to your Twitch channel by changing the Stream to Location to Stream and then entering your Twitch stream key in the Streaming URL text box.
To create a custom profile, follow the steps below:
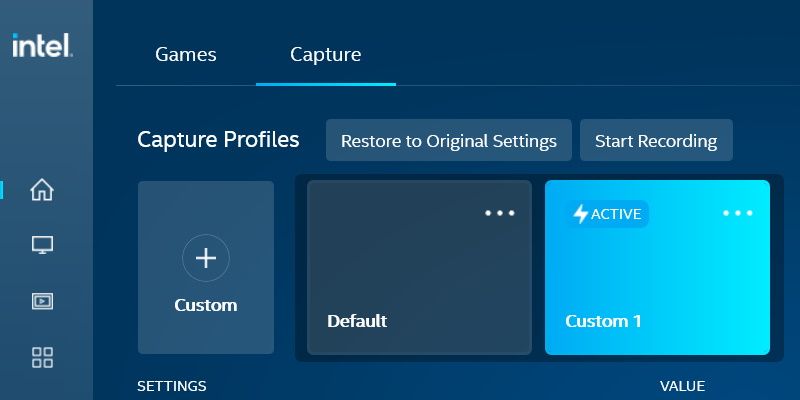
- Launch Intel Graphics Command Center and click on the Capture tab at the top.
-
Click Custom (the plus sign) below the Capture Profiles heading. The new profile will appear on the far right as a card, and it will have a generic name like Custom 1.
-
You can rename the custom profile by clicking the three horizontal dots in the top right corner of the card and selecting Rename.
- Tweak the Resolution, Save to Location, Output File Name, and File Format options to your liking.


Now your custom profile is ready to go.
It’s All About Capturing Awesome Gaming Moments on Windows
There’s no shortage of ways to record video game footage on Windows, and Intel Graphics Command Center is one of them. You can set it up the way you like and even create multiple capture profiles to save or stream gameplay in different ways. As you can see, it’s not that hard to do.