If you have an Intel graphics card installed on your Windows computer, you can optimize games to run smoothly on it with a few clicks. All you need to do is add them to the Intel Graphics Command Center, and the program will take care of the rest. That way, you don’t have to fiddle with the Intel Graphics Settings to get the best gaming performance.
Here’s how to add and remove games to Intel Graphics Command Center on Windows.
How to Add Games to Intel Graphics Command Center on Windows
You can download Intel Graphics Command Center from the Microsoft Store if you don’t have it already installed. And if you’re having trouble starting the program, you can read our guide on how to fix Intel Graphics Command Center when it’s not working.
Once you’re able to open Intel Graphics Command Center, follow the steps below to add a game:
-
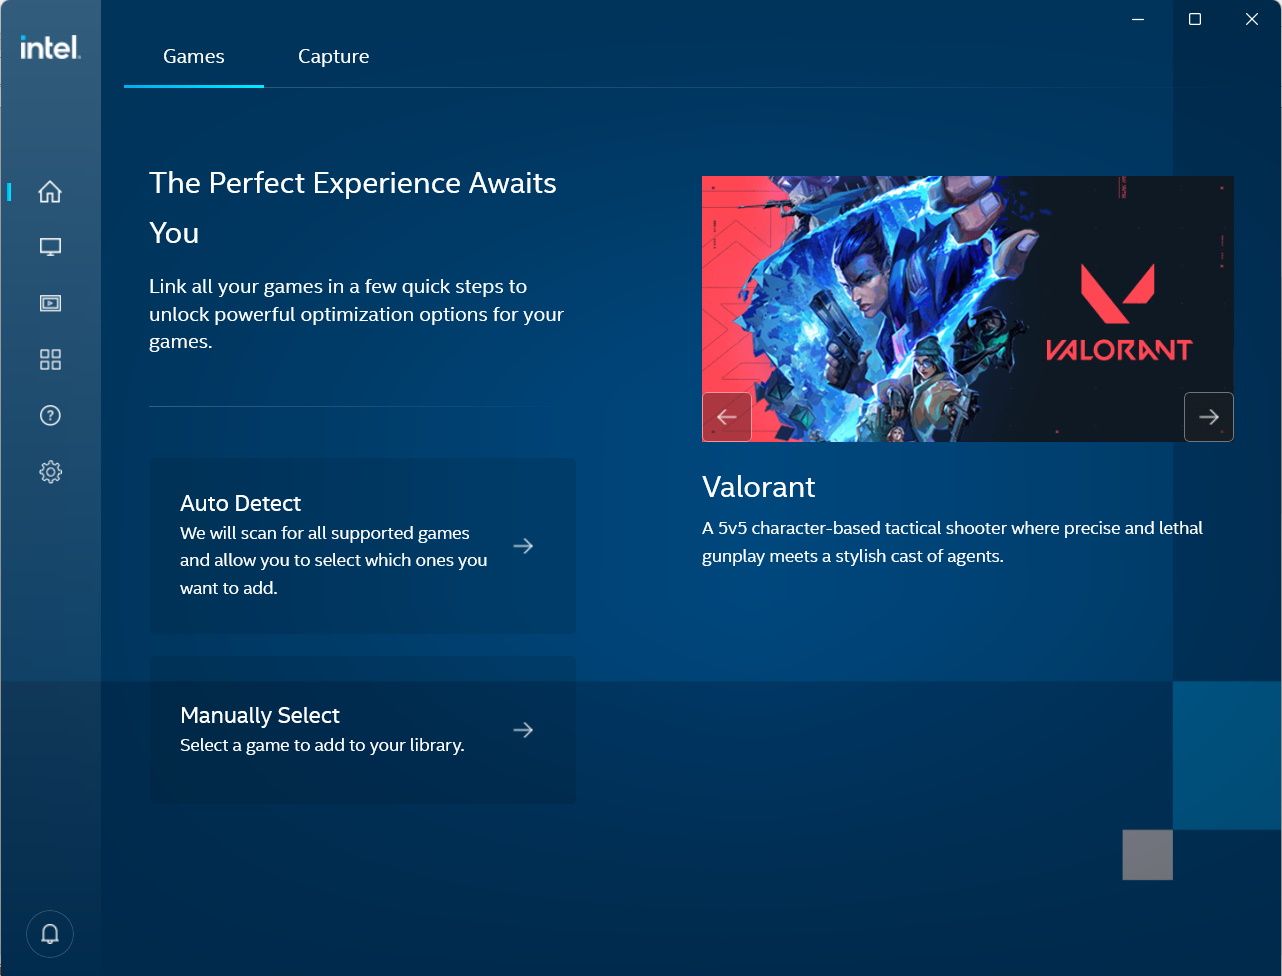
In the Games tab on the home screen, click Auto Detect or Manually Select.
-
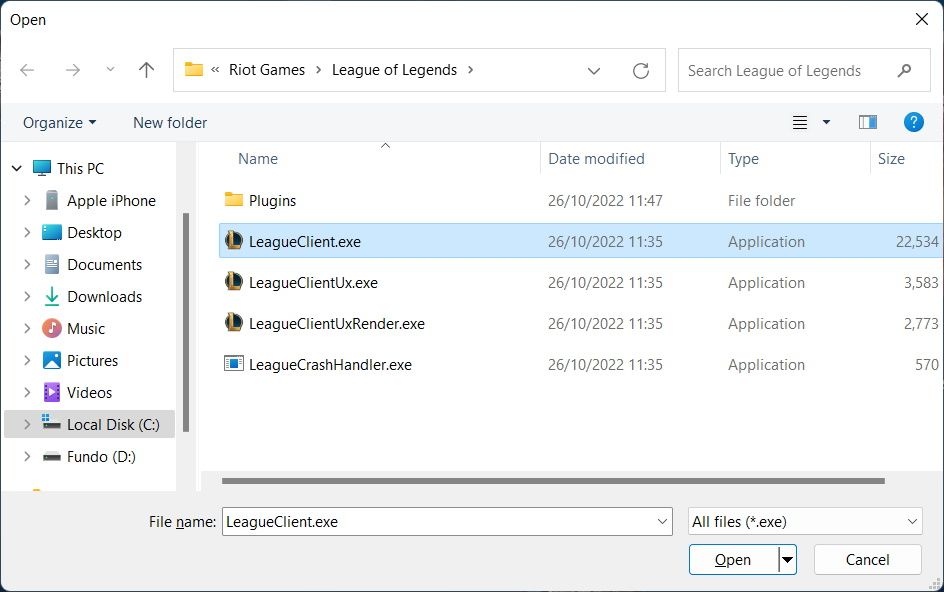
If you clicked Auto Detect, wait for the program to find compatible games. If you clicked Manually Select, navigate to the EXE file of the game you want to add, select it, and click Open in the dialog box.
-
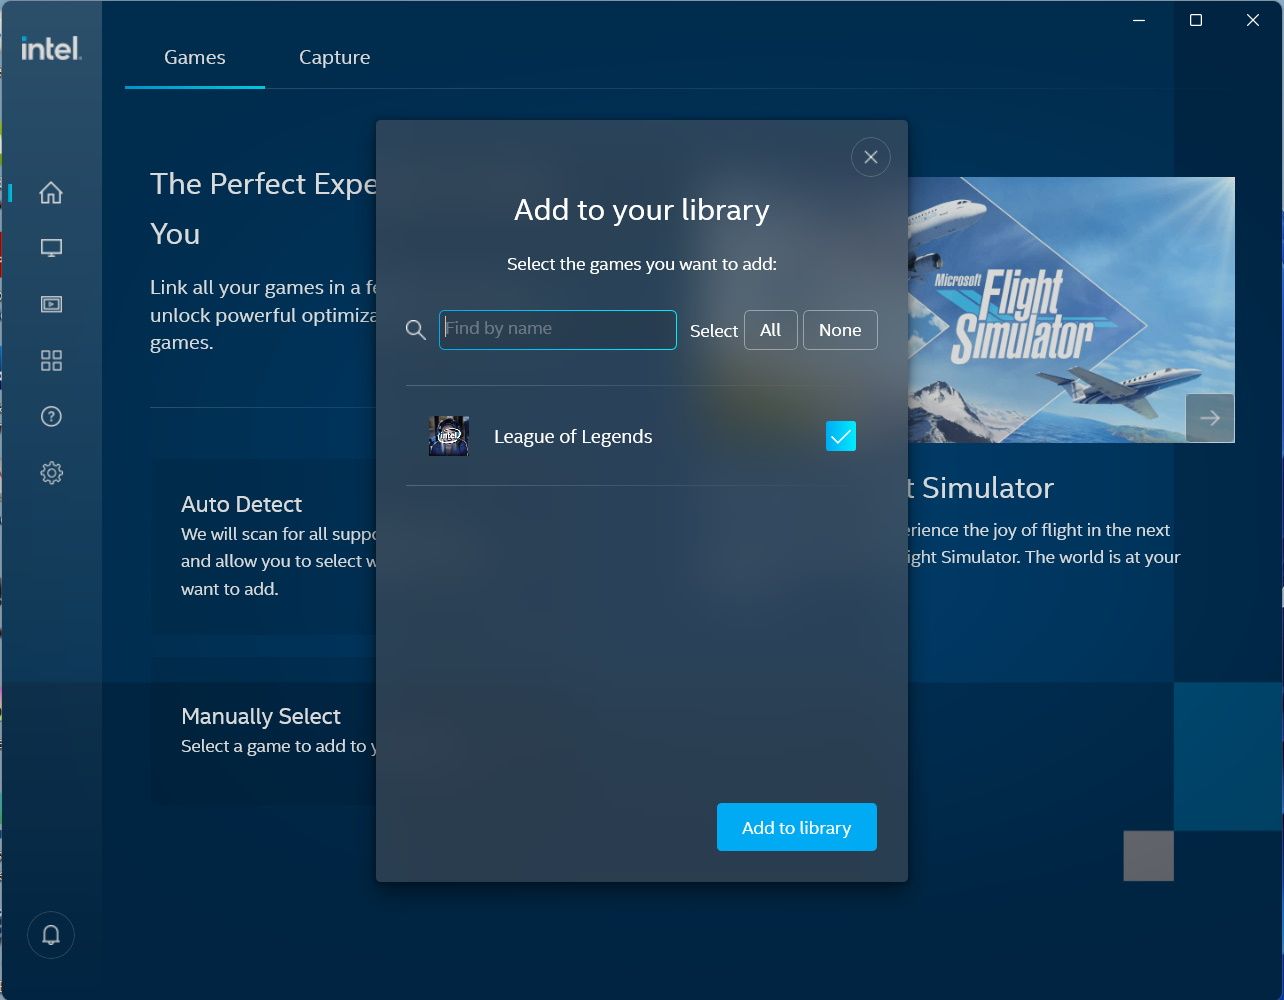
You will see a pop-up with a list of games to add. You can select or deselect games by clicking on the checkbox on the right side of each entry. When you’re done, click Add to library.


Now you will see the game show up in the Games tab of the home screen. If you want to add more games, click the plus sign on the right side of the My Games heading. From there, the instructions to complete adding the game will be familiar.

Windows has other ways to optimize games besides using Intel Graphics Command Center. For more information, check our guides on how to optimize Windows 10 for gaming and things to disable in Windows 11 for better gaming performance.
How to Remove Games From Intel Graphics Command Center on Windows
If you no longer want Intel Graphics Command Center to optimize a game, you can easily remove it. In the Games tab on the home screen, click the three vertical dots (this is known as the "More" icon) next to the game you want to remove, and then select Remove from Library.

Now the game will no longer be optimized by Intel Graphics Command Center.
Optimizing Games on Windows the Easy Way
There are plenty of things you can do to optimize gaming performance on Windows. Luckily, if you have an Intel processor, you can simply add your games to Intel Graphics Command Center. The program will ensure the games run smoothly on your Windows PC.
However, keep in mind that this is just one of the many tools you can use towards that end on Windows. So there's always something more you can do if you're still not getting the best performance out of your games.