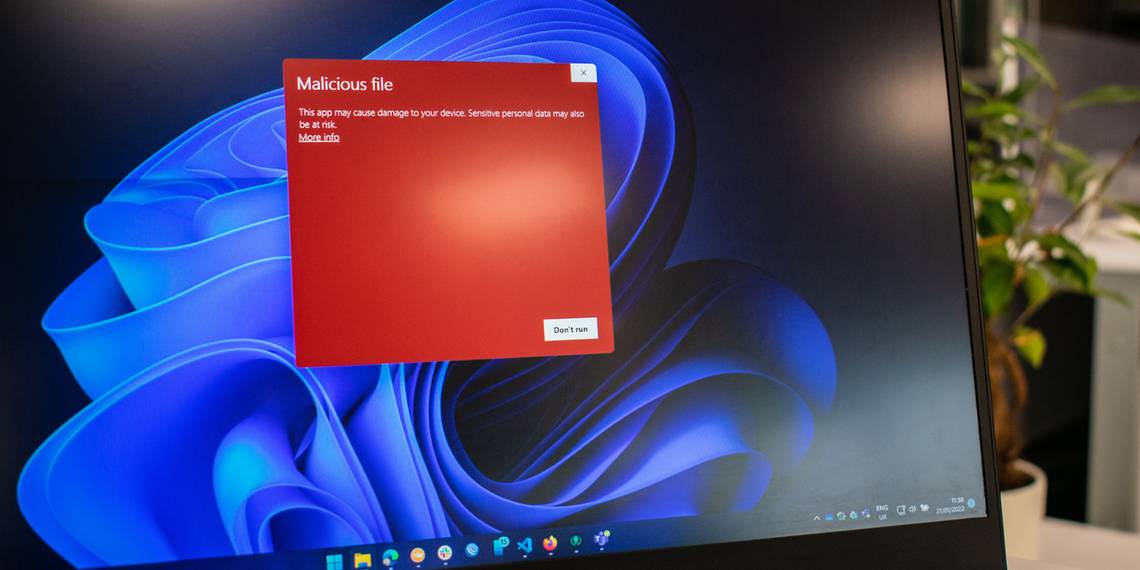
You will encounter the Windows Defender Firewall has blocked some features of this app security alert when you try to launch a program on a Windows computer. While you can click Allow access and proceed to launch the program, the pop-up can get annoying if it appears frequently.
Fortunately, you can configure Windows Firewall to stop this message from appearing. Below we discuss why this message appears and how to deal with this security alert in the Windows operating system.
What Triggers the "Windows Defender Firewall has Blocked Some Features of this App" Alert?
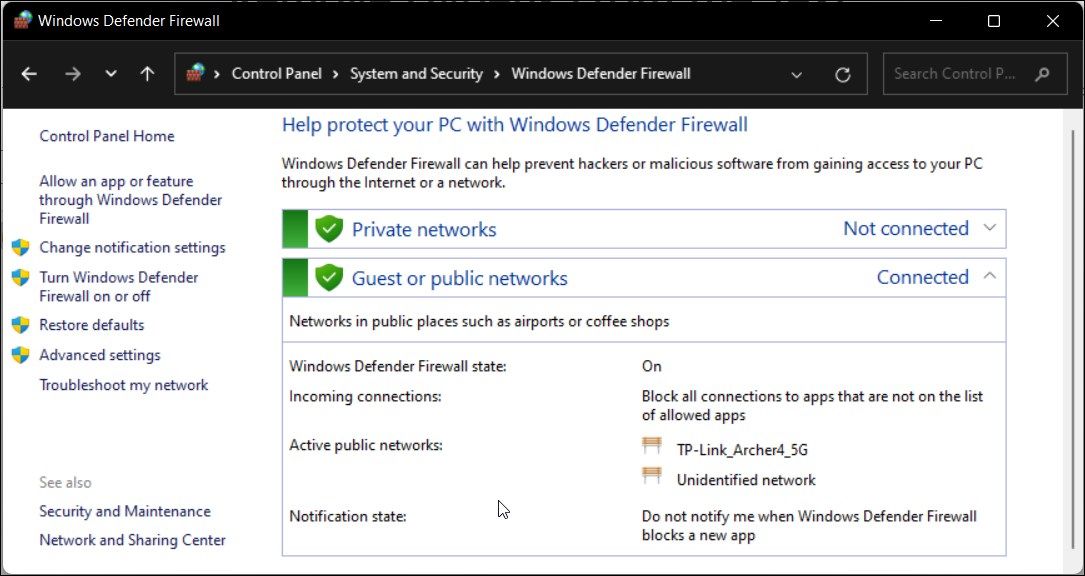
Windows Defender Firewall keeps track of all the applications trying to connect to the Internet and accepts incoming connections on your PC. When it detects an app trying to connect to the Internet for the first time, it will block access and show the above message.
If you trust the application, you can click Allow access. If not, click Cancel, and the application will stay on the blocked list until you allow it the next time.
This is a preventative measure to block sneaky apps and threat actors from gaining access to your computer. On the flip side, this security measure can be infuriating if the Windows Defender Firewall starts blocking apps frequently.
If this message repeatedly appears with the apps you have previously allowed, it is better to take a few minutes and investigate the application for issues.
In the case of a web browser, you may have a dubious plugin trying to access the Internet, triggering a security alert. In other instances, VPN clients are known to trigger this security alert quite frequently.
Here are a few things you can try to stop the Windows Firewall security alert message on your PC.
1. Run the Windows Firewall Troubleshooter
Let's start with troubleshooting the Windows Defender Firewall for the incoming connection issues. Windows 10 and 11 come with a built-in Incoming Connection troubleshooter. It lets you find and fix problems with incoming connections and Windows Firewall.
To run the Windows Firewall troubleshooter:
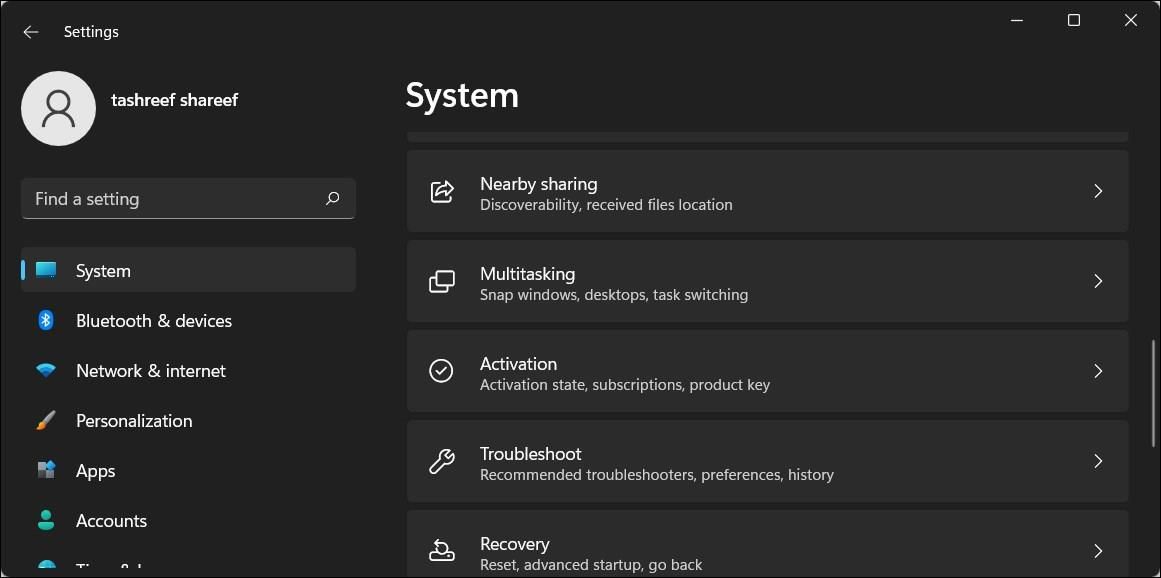
- Press Win + I to open Settings.
- Open the System tab in the left pane.
-
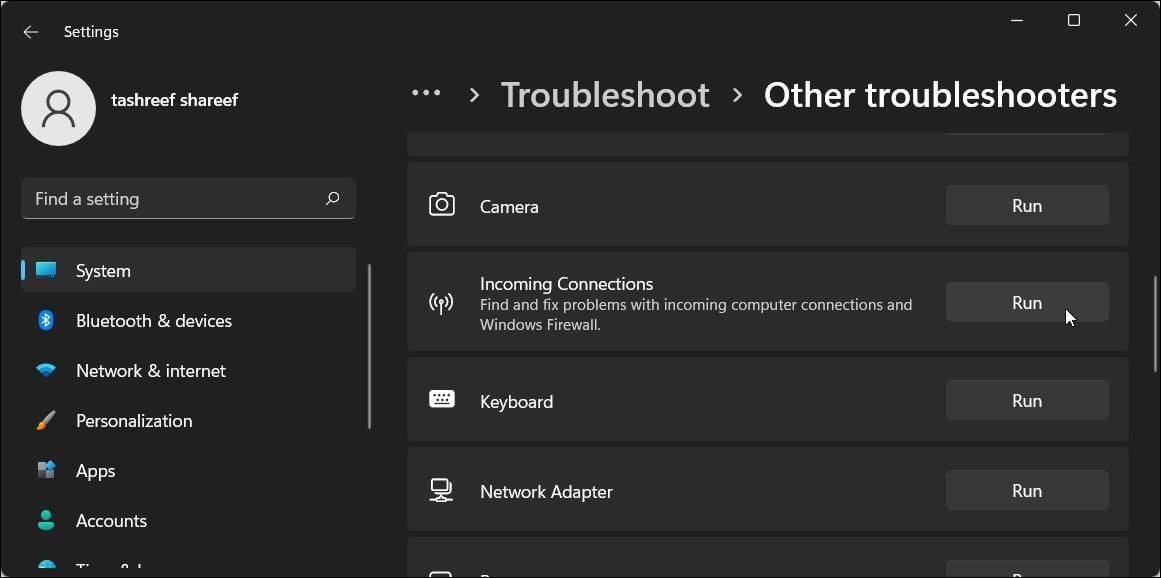
Next, scroll down and click on Troubleshooter.
- Click on Other troubleshooters.
- Next, scroll down to the Other section.
-
Locate and click the Run the button for Incoming Connection.
- The troubleshooter will try to detect the problem and require some input from you.
- Select one of the options and click Next. The troubleshooter will now look for problems in the selected area and apply a fix if required.
- Once done, click Close and look for any improvements.


2. Scan Your System for a Malware Issue
If the security alert repeatedly appears randomly for a specific app or all the apps, it is better to check your system for malware issues. If you have a third-party antivirus, perform a complete scan to find any malware infection.
To perform a Scan using Windows Security:
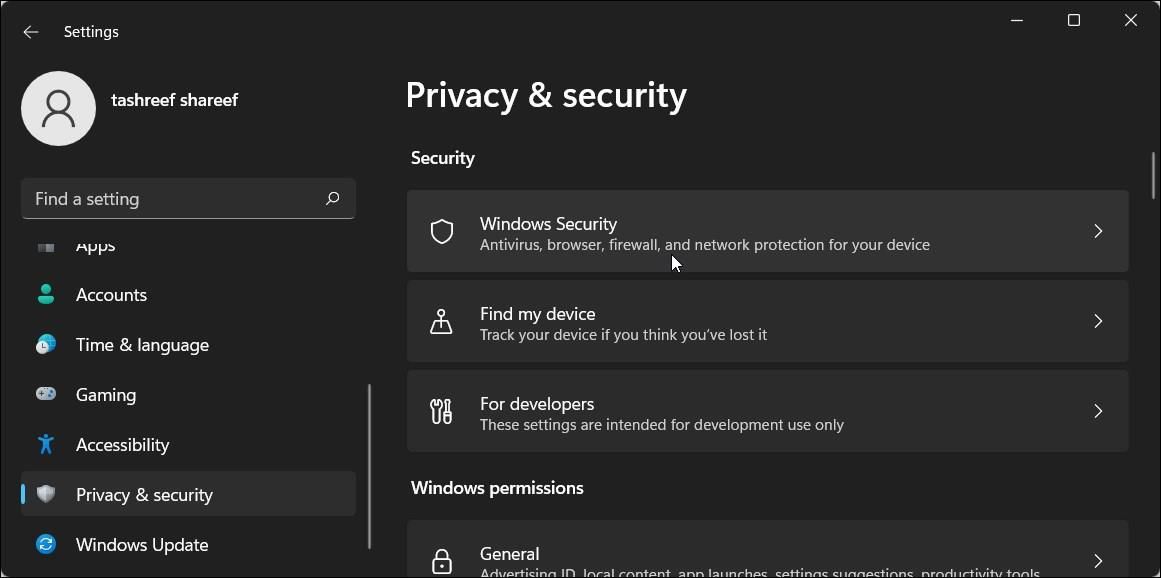
- Press Win + I to open Settings.
- Open the Privacy & security tab from the left pane.
-
Click on Windows Security.
-
Click on Virus and Threat protection under the Protection areas section.
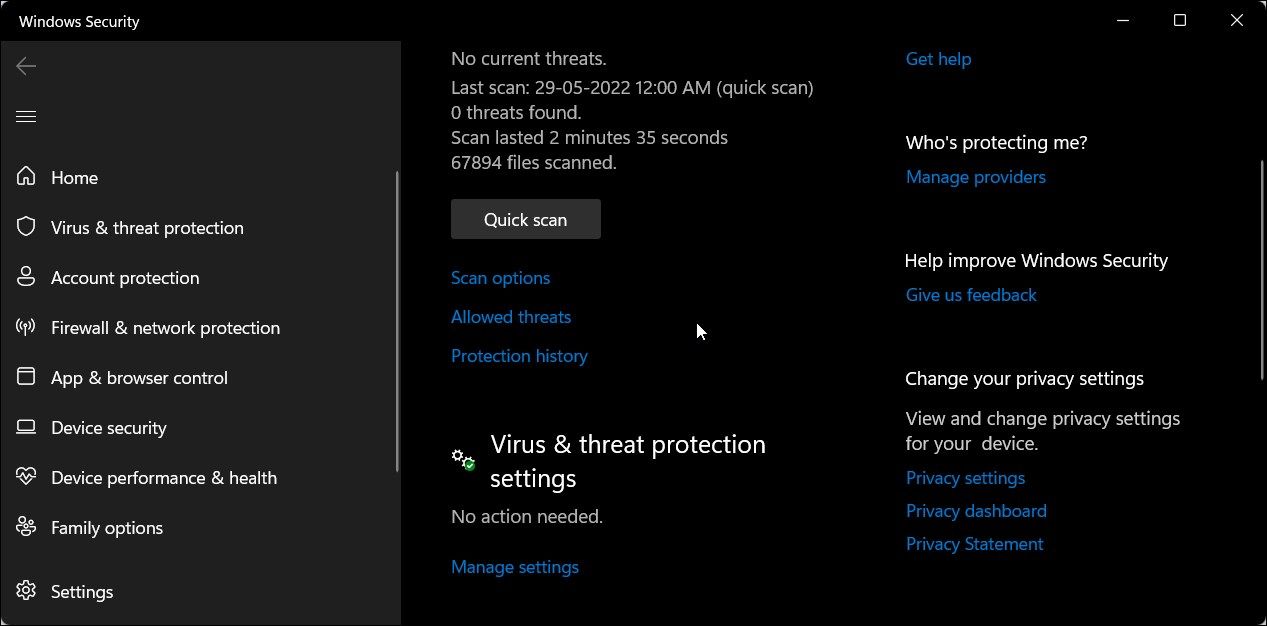
- In the new Windows Security window, click on Scan options under Quick Scan.
-
Under Scan Options, select Full Scan.
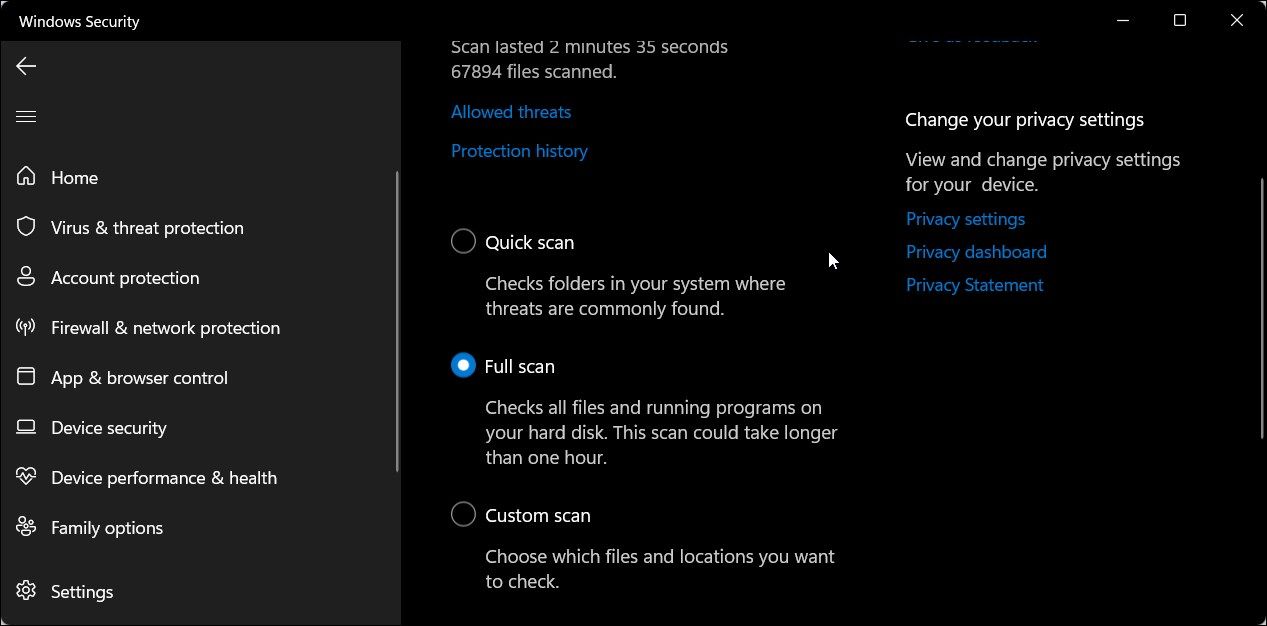
- Next, click the Scan now button to initiate the scan. This will check all files and running programs on your hard disk.


A full scan often takes a long time to complete depending on the data stored on your hard disk.
3. Disable Your VPN Client

Windows Defender Firewall can block incoming and outgoing connections from a VPN client. If you have a VPN client running, close it and exit the app completely.
To exit the VPN app, click the up-arrow icon in the system tray (bottom right corner of your desktop), right-click on the VPN app icon, and select Exit.
If the issue persists, try to disable the VPN network adapter in the Device Manager. Here's how to do it.
- Press Win + R to open the Run dialog.
- Type devmgmt.msc and click OK to open Device Manager.
- In Device Manager, expand the Network adapters section.
- You can identify the VPN network adapter by the VPN client name. For example, if you use Hotspot Shield VPN, the adapter will have a similar name.
- Right-click on the VPN network adapter and select Disable device.
- Click Yes to confirm the action.
Once disabled, check if the issue is resolved. If not, look for other VPN network adapters and disable them via the Device Manager.
4. Allow the App Through Windows Defender Firewall
You can click on Allow access to add the blocked application to the allowed list in Windows Defender Firewall. However, if the app continues to ask for permission, you can manually allow the app through the Defender Firewall.
To add the program to the Windows Firewall whitelist:
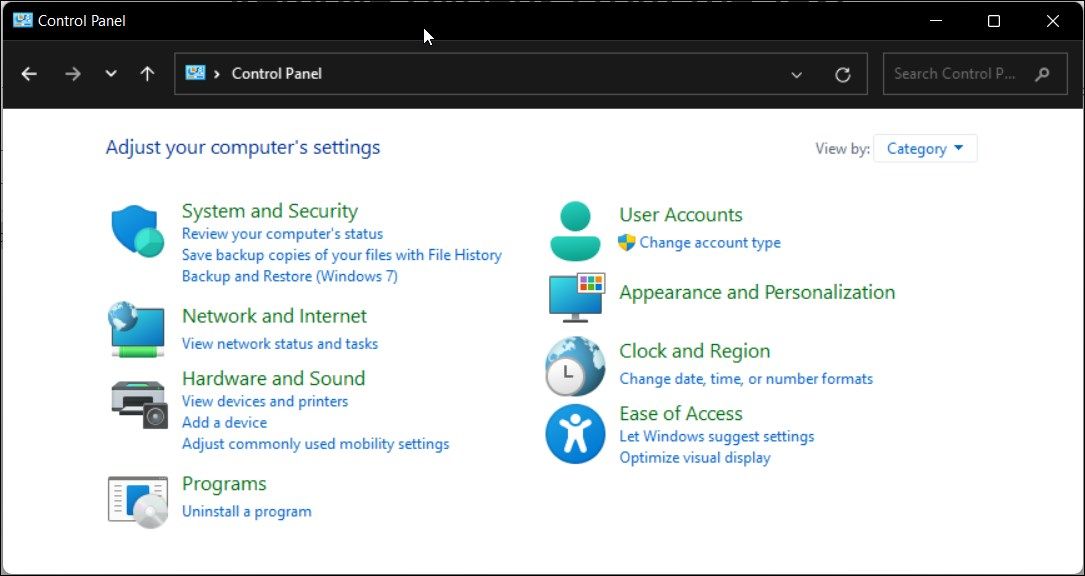
- Press Win + R to open Run.
- Type control and click OK to open the Control Panel.
-
In Control Panel, click on System and Security.
-
Next, click on Windows Defender Firewall.
-
In the left pane, click on Allow an app or feature through Windows Defender Firewall.

- Click on Change settings to enable the option.
-
Next, scroll through the list of apps and features and locate the program you want to allow through the firewall.
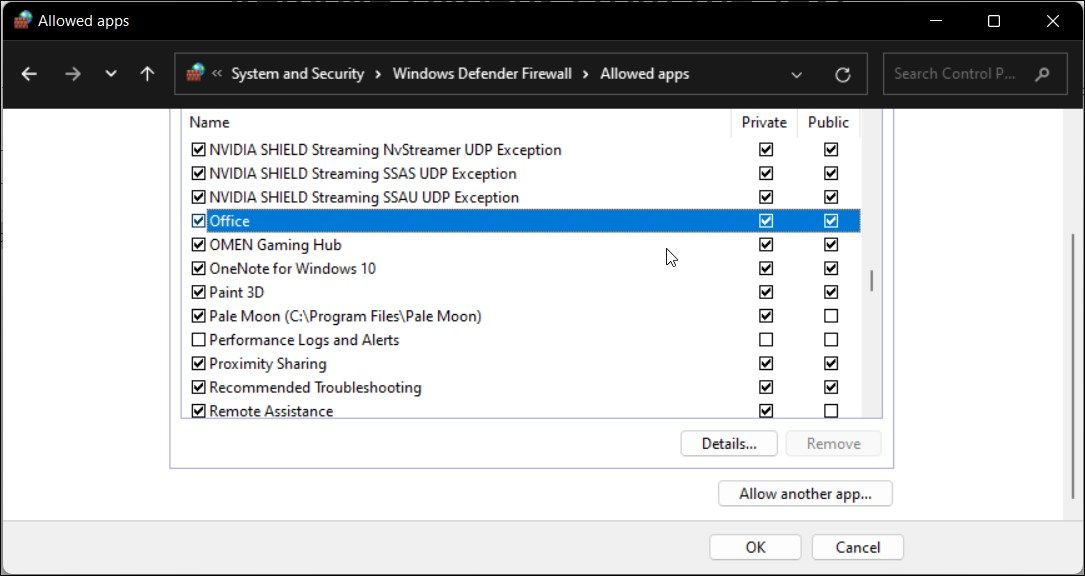
- Check both the Private and Public boxes to add the app to the Windows Defender Firewall whitelist.
- Click OK to save the changes and exit the Control Panel.


If the program you want to allow is not on the list, click on Allow another app, browse the app's installation directory, and select the executable. Then, click Add and save the changes.
5. Restore Windows Defender Firewall Settings to Default
An incorrectly configured Firewall can act erratic and block genuine apps. If you have recently made any changes to the Firewall but are unsure of the exact details, you can restore the default settings.
Restoring the default will remove all the third-party modifications and reset the Firewall to factory default.
To restore default for Windows Defender Firewall:
- Press Win + X and click on Run.
-
Type control and click OK to open the Control Panel.
- Next, go to System and Security > Windows Defender Firewall.
-
In the left pane, click on Restore defaults.
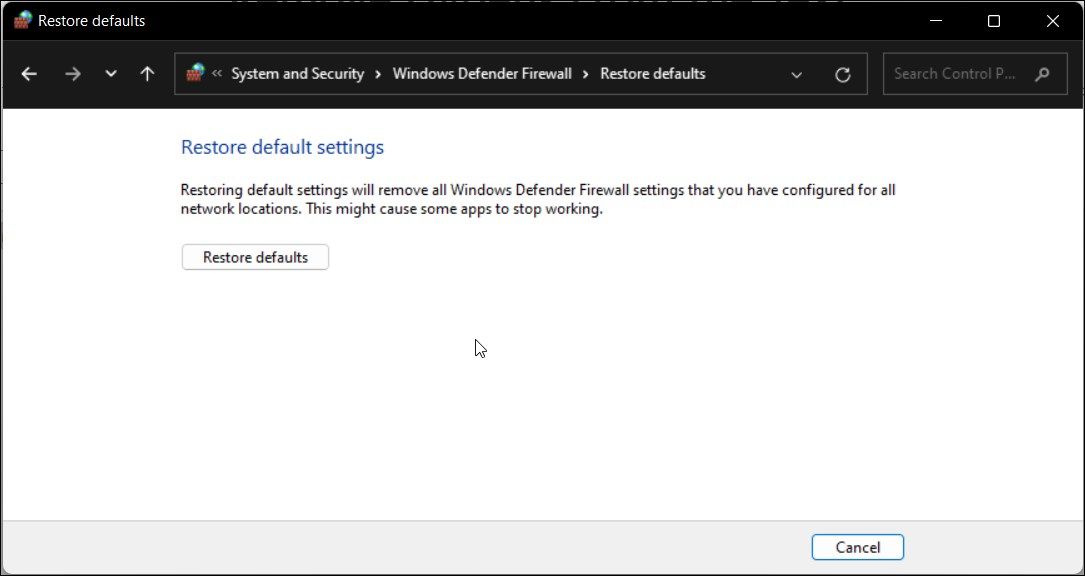
- Click the Restore defaults button.
- Read the description and click Yes to confirm the action.


Note that restoring default will reset all the changes you have made to your Windows Defender Firewall since Windows was installed. As a result, you'll need to reconfigure the firewall if necessary.
Fixing the Intrusive Windows Defender Firewall Security Alert
The Windows Defender Firewall security alert is a common sight when using a Windows computer. It is a harmless alert that often occurs only once for any program. If you trust the app, click Allow access, and the message will never appear for the same app.
In case of a repeated occurrence, troubleshoot your system for potential issues, including malware infection and VPN conflict. If the issue persists and you trust the service/program to be genuine, consider turning off Windows Defender temporarily.