
The "Windows could not start the WLAN AutoConfig service" error message pops up when the users try to connect to the internet via a wireless connection on their Windows computers.
Below, we talk about the common factors that might be contributing to the problem, followed by step-by-step instructions on how to resolve it for good.
Understanding the Potential Causes
The "Windows could not start the WLAN AutoConfig service" error can be caused by several factors, including:
- Outdated or incompatible drivers: The drivers for your WLAN adapter should be working properly for the service to work. If these drivers are incompatible due to being corrupt or outdated, you are likely to run into issues like the one at hand.
- Service dependencies: The WLAN AutoConfig service relies on several other services like Remote Procedure Call (RPC) and DCOM Server Process Launcher service to function. If any of the relevant services is disabled or corrupt, you will encounter issues while connecting to a wireless network.
- Registry errors: The relevant Registry keys may be configured incorrectly, which is preventing the service from working and leading to the error.
- Corruption error or malware: Your system might be dealing with a corruption error or malware, which is affecting its components and services like the WLAN AutoConfig service.
It is important to identify the root cause of the problem to resolve it effectively. The troubleshooting methods we have listed below should help you fix the issue once and for all. However, since most of the methods will require administrative access to the system, we recommend switching to an administrator account on Windows before you proceed.
1. Preliminary Fixes
Before delving into the advanced troubleshooting methods, it is a good idea to try some preliminary solutions. These fixes are relatively simpler, and might help you fix the issue without having to perform any complicated steps in some cases.
To get started, ensure that the Wi-Fi adapter has a strong signal strength. A weak signal can cause connectivity issues, so consider moving closer to the router. Additionally, restarting both your computer and router can help refresh the system and potentially resolve any temporary issues.
It is also worth checking if the airplane mode is enabled, as this can lead to connectivity issues. You can click on the Wi-Fi icon in your taskbar to make sure that the airplane mode is disabled.
Another helpful step is to try connecting to a different wireless network to see if the issue persists. This can help determine whether the problem is with your system or the hardware.
If none of these tips has helped fix the issue, move to the solutions we have listed below.
2. Run the Network Troubleshooter
Windows has a built-in Network Troubleshooter that can help diagnose issues related to the WLAN AutoConfig service and fix them without requiring much user input.
Here is how you can run it to fix the problem at hand:
- Press the Win + I keys together to open the Settings app.
-
Navigate to System > Troubleshoot.
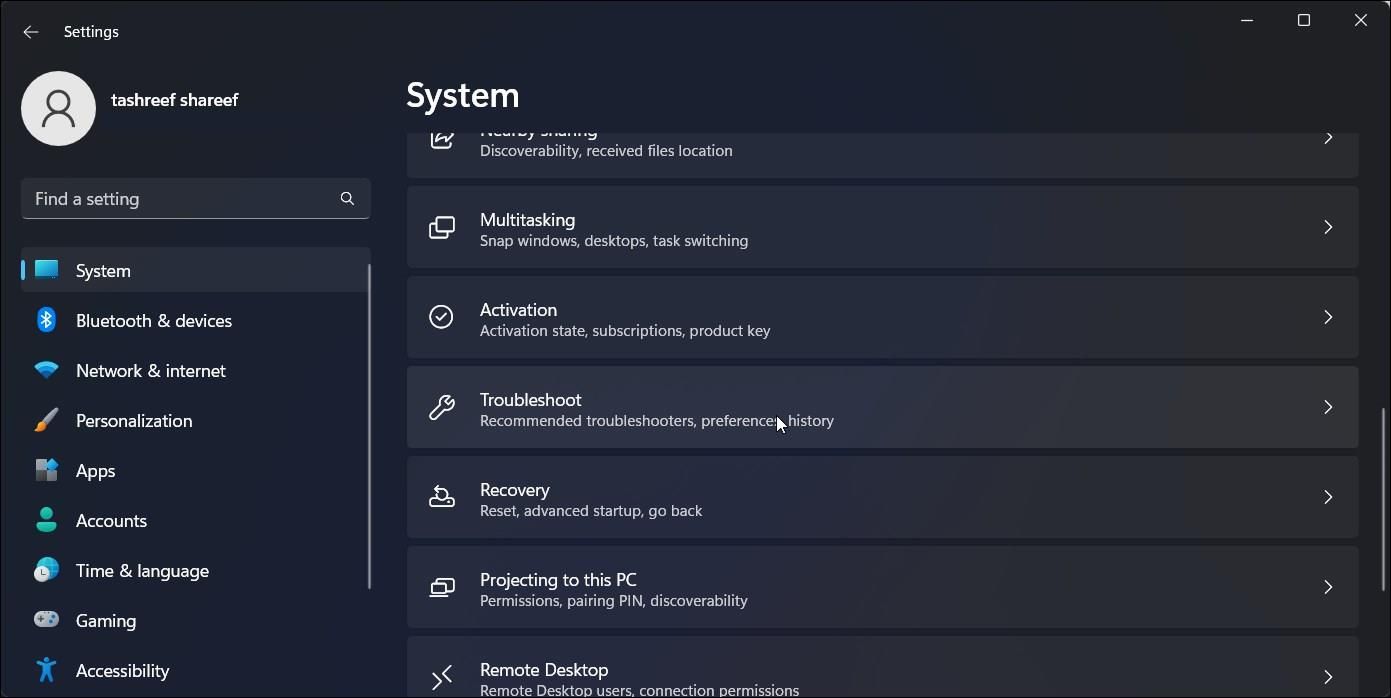
- Click on the Other troubleshooter option.
-
Now, look for the Network adapter and click on the Run button for it. The troubleshooter will now begin scanning the system for potential issues.
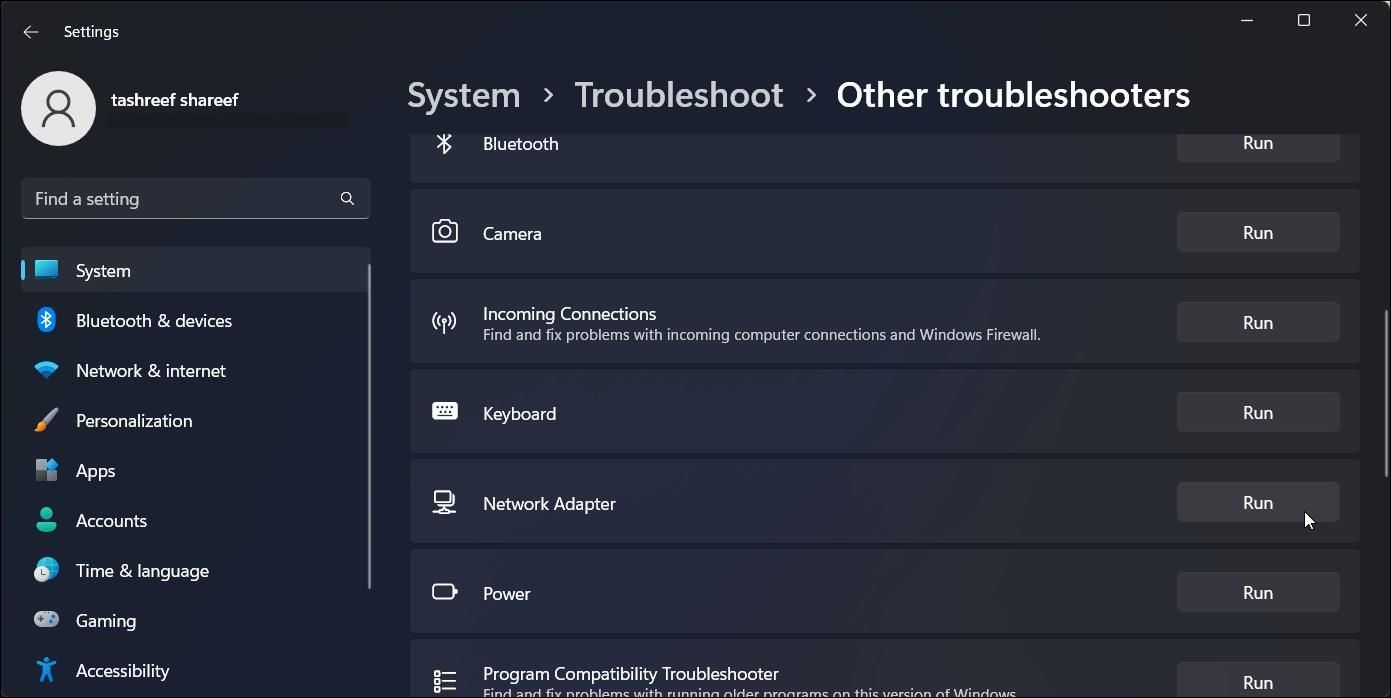


Wait for the utility to complete its scan and display the results. If an issue is identified, the troubleshooter will either attempt to repair it itself, or suggest you solutions to fix it. In case the troubleshooter fails to find any problems, click on the Close the troubleshooter option and move to the next method below.
3. Enable and Update Network Adapter
As we mentioned earlier, the issue can also be related to outdated or corrupt drivers that are essential for the WLAN AutoConfig service to work.
In this method, we will enable and update the Wireless adapter via Device Manager, which will eliminate any driver-related issues that might be contributing to the problem.
Follow these steps to proceed:
- Press the Win + S keys to open the Windows Search utility.
- Type "Device Manager" in it and click Open.
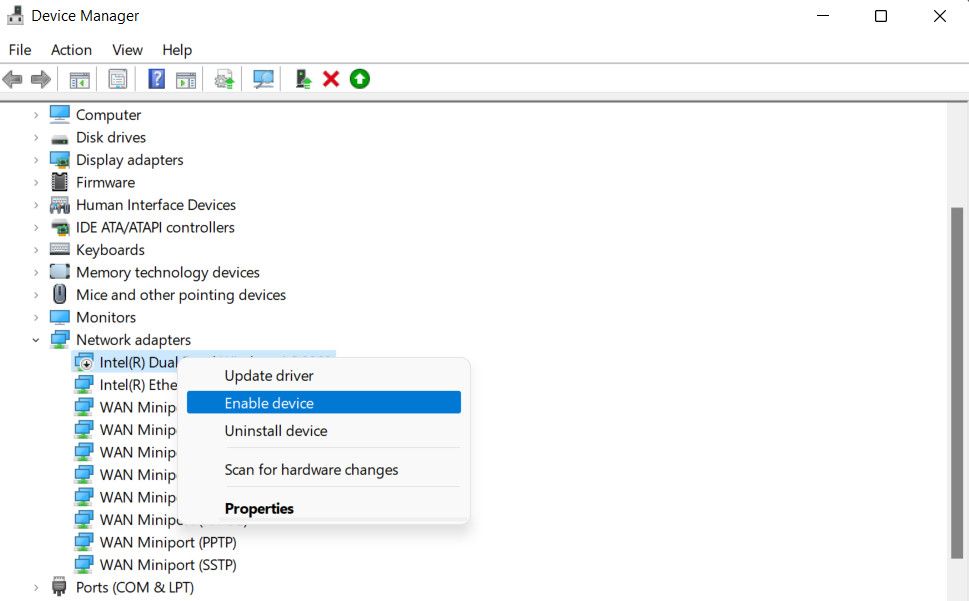
- Once you are inside the Device Manager, locate the Network adapter section and expand it.
-
Right-click on your wireless adapter and choose Enable device from the context menu.
-
Now, right-click again and choose Update driver > Search automatically for updated drivers.
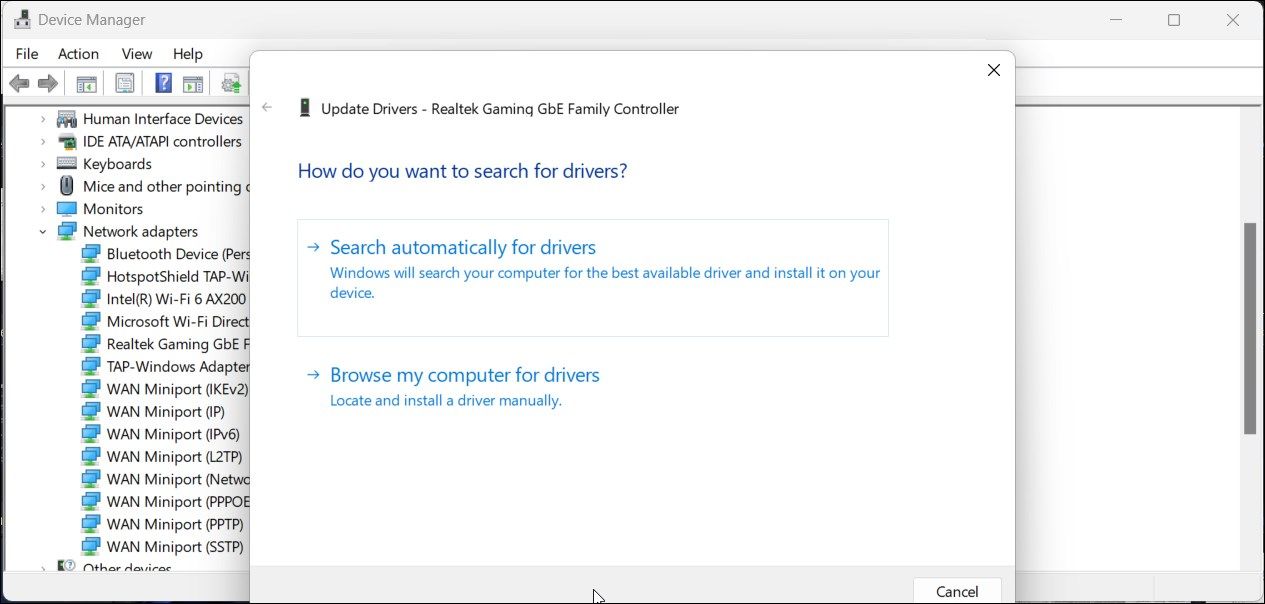
- Follow the on-screen instructions to proceed.


Once the driver has been updated, you can exit the Device Manager and check if the problem is resolved.
4. Apply a Registry Fix
There can also be a problem within the Registry components related to the WLAN AutoConfig service, which is preventing you from connecting to a wireless network.
In the case of this specific error, several users managed to fix the issue by modifying the DependOnService value, so we suggest you try the same. However, before you proceed, it is important to create a Registry backup, just to be safe.
Once that is done, follow these steps:
- Press the Win + R keys together to open Run.
- Type "regedit" in Run and click Enter.
- Click Yes in the User Account Control prompt.
-
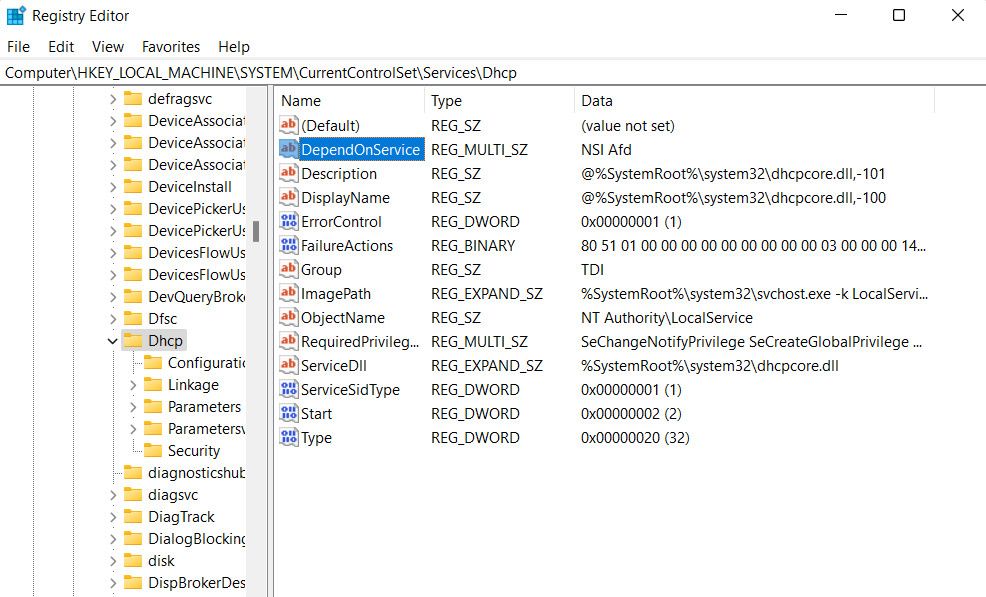
Now, navigate to the location below:
HKEY_LOCAL_MACHINE\SYSTEM\CurrentControlSet\Services\Dhcp
-
Move to the right pane to locate the DependOnService string and double click on it.
-
In the following dialog, remove everything except Afd.
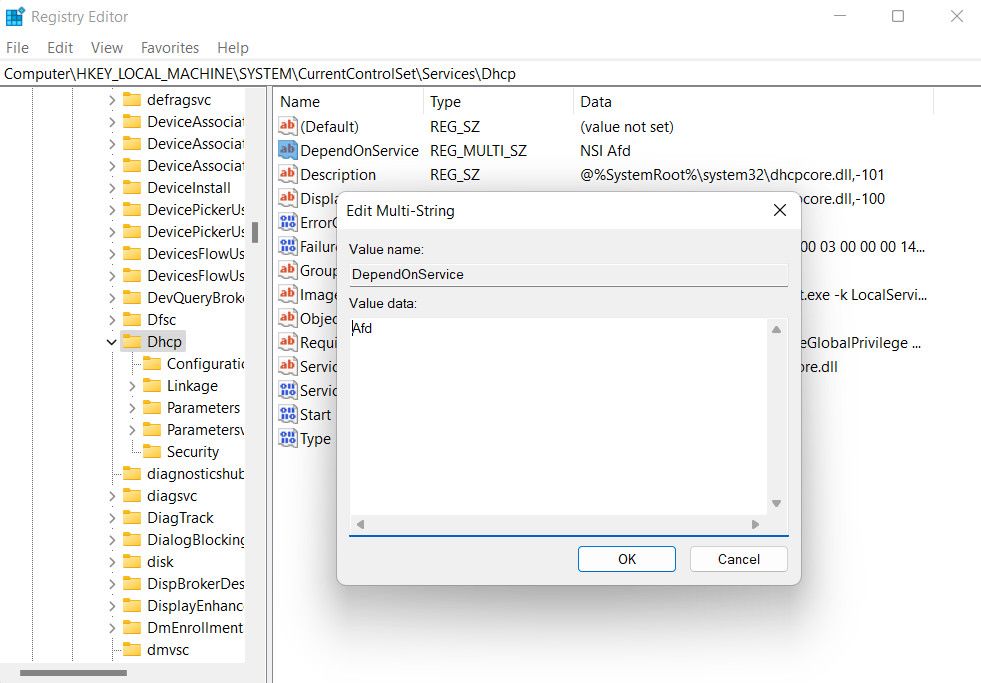
- Click OK to save the changes and close the Registry Editor.
- Finally, restart your computer. Hopefully, upon reboot, you will no longer face the WLAN service error.


5. Restart the Service
The WLAN AutoConfig service might itself be dealing with a corruption error or a glitch, which is preventing it from functioning properly.
To ensure that there is no such issue with the service, you can restart it using the Services utility. Here is how:
- Press the Win + R keys to open Run.
- Type "services.msc" in Run and click Enter.
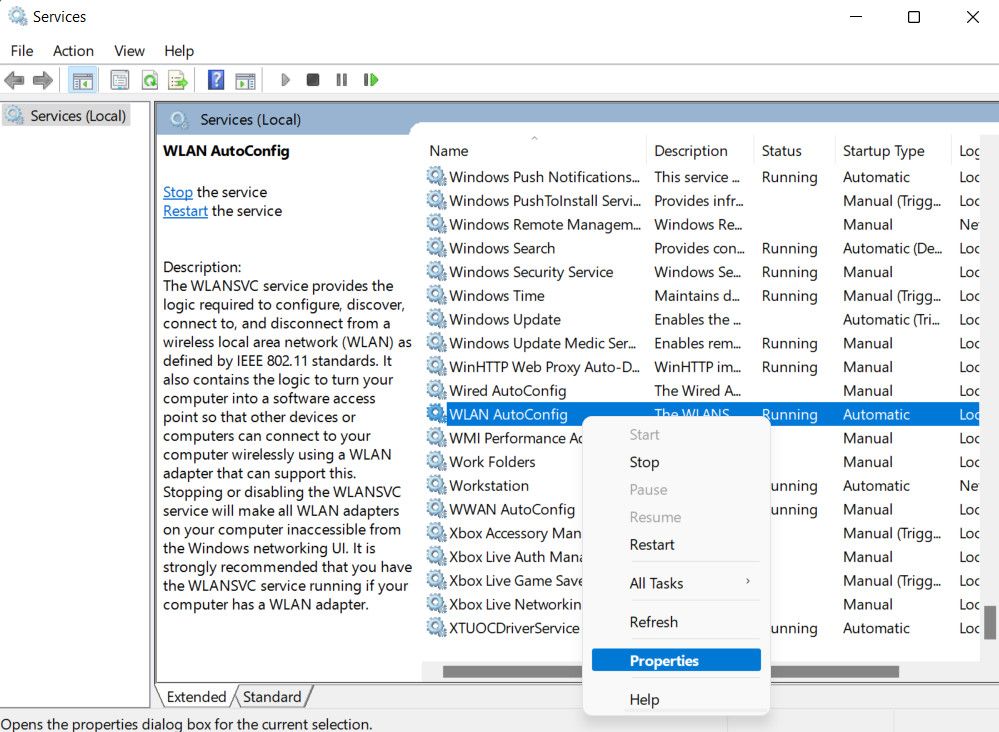
- Scroll down to locate the WLAN AutoConfig service and right-click on it.
-
Choose Properties from the context menu.
- Now, click on the Stop button, wait for a couple of seconds and click Start.
-
Expand the dropdown for Startup type and choose Automatic.
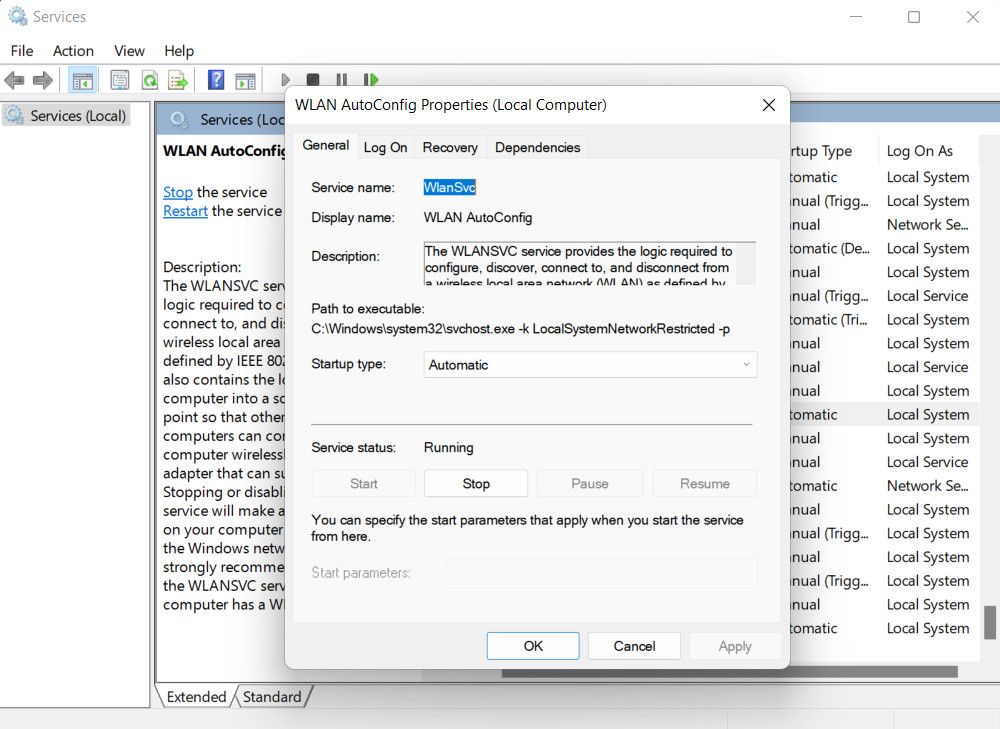
- Click Apply > OK to save the changes.


Perform the same steps for the Remote Procedure Call (RPC) and DCOM Server Process Launcher service in the same utility. If a bug or glitch was infecting the service, these aforementioned steps should fix the problem.
Connecting to Wireless Networks Made Easy
Not being able to connect to a wireless network on your device can be frustrating. Hopefully, the solutions we have listed above helped you fix the "Windows could not start the WLAN AutoConfig service" for good. To prevent such issue from occuring in the future, make sure to keep the relevant drivers and services up-to-date.