PC and laptop maintenance can be pretty frustrating for many people; computers have so many components that it can become challenging to keep track of them all. RAM is an essential PC component, and upgrading a system's RAM is an excellent way to boost PC performance. Consequently, knowing how to check the RAM specifications of your PC is very important.
While Windows does provide you with all the information you need to know about your PC, finding what you need can be a test in itself. Read on as we list the different ways you can check the RAM specifications of your PC.
What Is RAM, And Why Is It Important?
Random Access Memory (RAM) is your PC's primary data storage component. It’s also volatile, which means it does not retain information once you turn off your PC, so it is often called temporary storage.
The system loads data into the RAM when you want to run a program, and the CPU executes the instructions. A greater RAM capacity generally means better performance because you can run several resource-consuming programs simultaneously without experiencing system lag.
How to Check Your Computer's RAM on Windows
There are a few ways you can check how much RAM your Windows PC has, including a fantastic third-party option.
1. Use the Task Manager to Check RAM
The Task Manager is an indispensable tool for telling you the intricate inner workings of your PC. Apart from tracking app performance, boot times, and memory usage, it can also tell you plenty about your RAM.
On Windows 10, launch the Start menu, search for Task Manager and click on the Best match. Within the Task Manager, click on the Performance tab and click Memory to view RAM usage and specifications.

You should see the total available RAM at the top of the screen. Other detailed specifications such as the RAM speed, number of available RAM slots, and RAM form factor are displayed here too.
While most laptops come with multiple RAM slots, newer ones tend only to have a single slot; it is crucial to be sure of your existing RAM specifications before ordering upgrades.
2. Use the System Information Window to Check Your RAM
Another quick method to view the RAM specs is via System Information. Simply launch the Start menu, search for System Information, click on the Best match, and then scroll to find Installed Physical Memory (RAM) and Total Physical Memory. This should tell you the basic information you need about your installed RAM.

You can also find other system specifications of your PC using the System Information tool.
3. Use CPU-Z
Third-party system profiling software can often provide more detailed hardware performance metrics and system specs. CPU-Z is free-to-use software that displays detailed information about hardware components such as CPU, RAM, motherboard, etc.
Once you’ve downloaded and installed CPU-Z on your PC, locate the program (most probably on the Desktop) and double-click to launch it. Click on the Memory tab to get a detailed breakdown of the installed RAM.

If you want to know about the different RAM slots and the individual specifics of each installed RAM, click on the SPD tab and click on the dropdown menu underneath Memory Slot Selection.
Download: CPU-Z (Free)
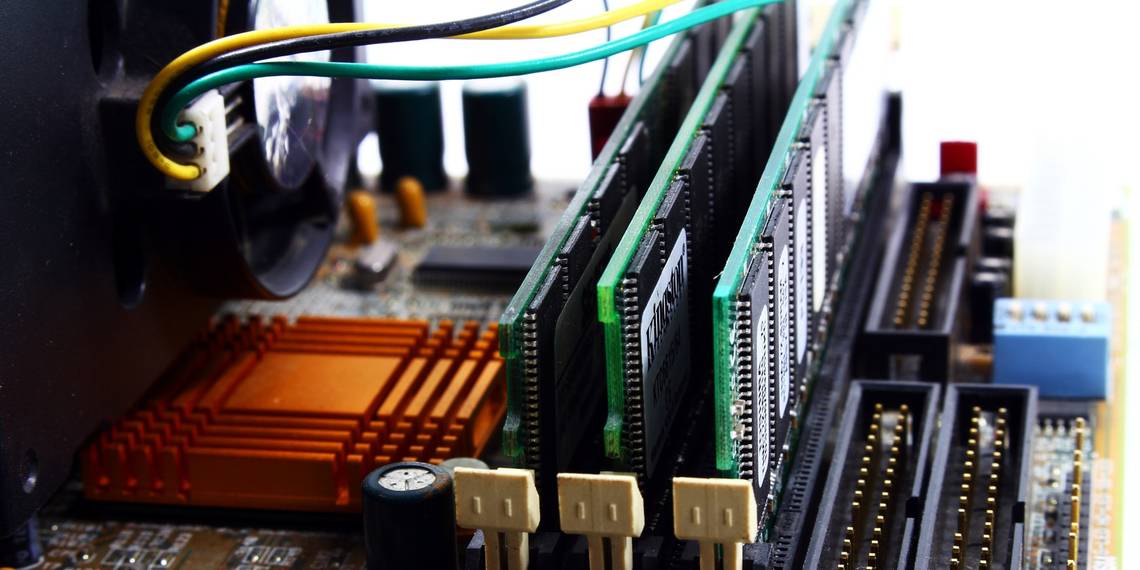
4. Disassemble Your PC and Check the RAM Sticks
If the above methods for some reason do not work for you, or you would like to undergo a more traditional approach, then you can always disassemble your PC and laptop to find the required installed RAM specifications.
If you decide to go down this route, we recommend disassembling only if you have a technical understanding of your PC; it is also vital that you have the proper tools.
Understanding Your PC's Specifications
While computers can be complicated, there are plenty of tools you can use to better learn about them. Now you know some of the best ways to get familiar with your hardware, even if it involves opening the case and taking a peek inside.