If you are running Windows on a tablet or a convertible laptop, you can use the auto-rotation feature to match the orientation of both the screen and the device. You can enable and disable this feature according to your preferences using the auto-rotation lock just like you do on your phone.
While using the auto-rotation lock is quite easy, there are times when it can become inaccessible, preventing you from using the rotation feature efficiently. In this guide, we will take a look at the troubleshooting methods that you can try in this case to get the auto-rotation lock up and running again.
1. Remove Any Attached Keyboards
Before we move toward the complicated troubleshooting steps, we suggest you remove the keyboard and see if that fixes the issue for you. By default, in some devices, the auto-rotation lock will be grayed out if the keyboard is connected.
If you are facing the issue even after removing the keyboard, then it's time to dig into the system.
2. Modify the Display Orientation Settings
If your device is not shifting to portrait mode automatically, you can enable it manually via Windows Settings. Once you do, you should hopefully be able to see the auto-rotation lock again.
Follow these steps to proceed:
- Press Win + I keys together to open Windows Settings.
- Choose System from the list of options available.
-
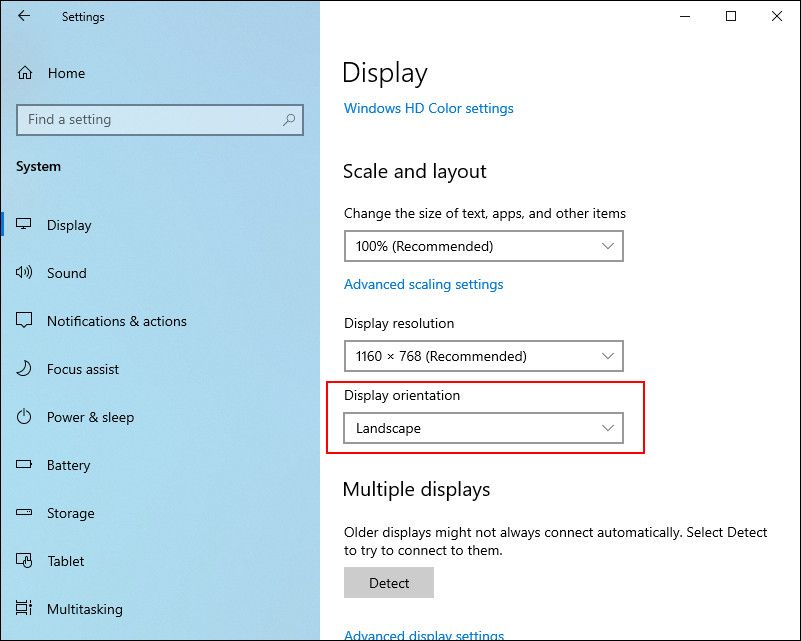
Now, select Display from the left pane and head over to the Display orientation section in the right pane.
-
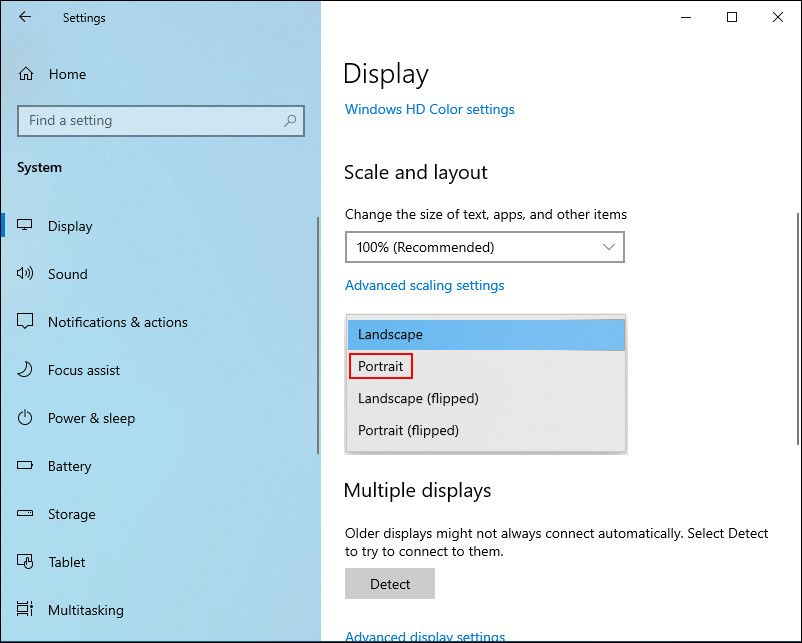
Expand the dropdown under it and choose Portrait from the menu.
- Once done, close the Settings window and check if doing so did the trick for you.


While you are at it, you can also try making some changes in the Control Panel as well. Follow the steps below to proceed:
- Type Control Panel in Windows search and click Open.
-
Expand the dropdown for View by and choose Small icons.
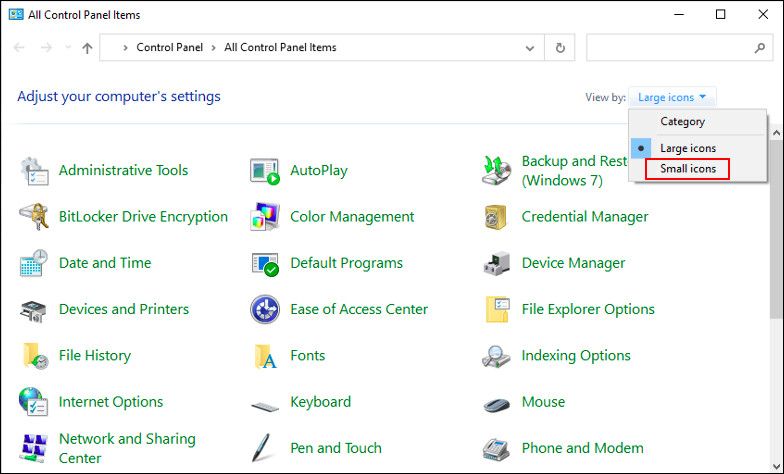
- Click on Tablet PC settings.
- In the following dialog, click on the Go to Orientation option and choose your preferred orientation from there.
- Once done, choose Apply > OK to save the changes and close the Control Panel.
3. Update Display and Sensor Drivers
All external device components need drivers to function on the system properly. The drivers are basically a communication bridge between the hardware components and the system.
In cases where the relevant drivers are not functioning properly, you are likely to face issues while using services like the one under discussion. The solution, in this case, is simple—you can try updating the drivers first and see if that helps. If the error persists, you can reinstall the driver from scratch.
In this method, we will try updating the display drivers first. If that does not work, we will reinstall the driver.
Here is how you can do that:
- Type Device Manager in Windows Search and click Open.
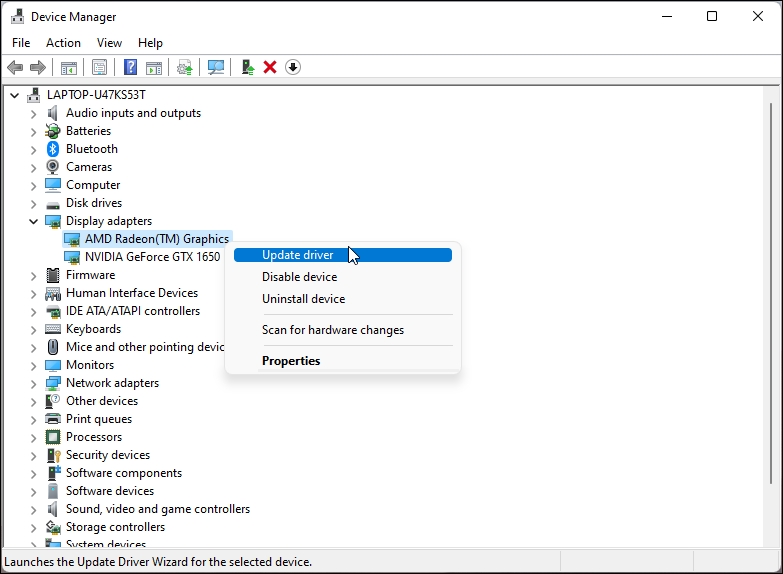
- In the following window, expand the Display adapters section and right-click on your display card driver.
-
Choose Update driver from the context menu.
-
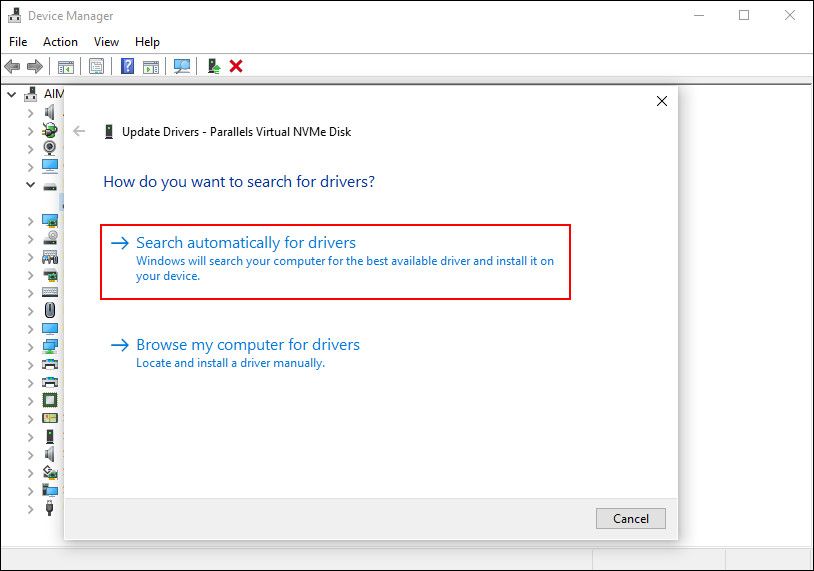
Then, choose Search automatically for drivers. The system will now automatically install the updated driver software.
-
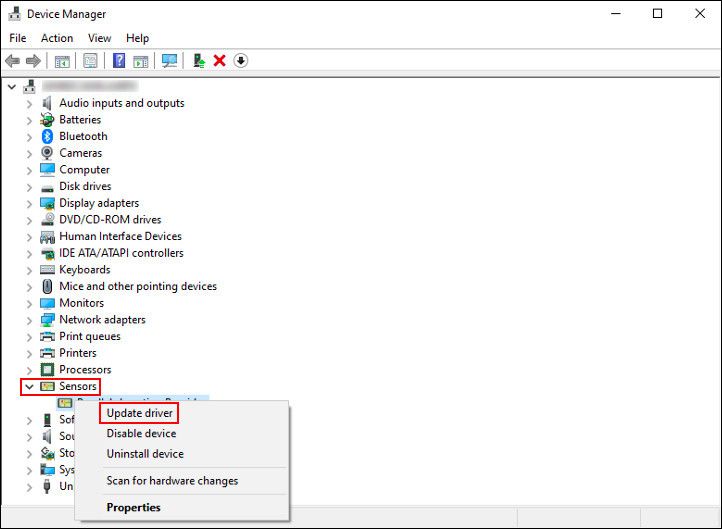
Once the updated driver version is installed, expand the Sensors section and update the accelerator from there.
- After all the updates are installed, close the Device Manager and see if the problem is fixed.


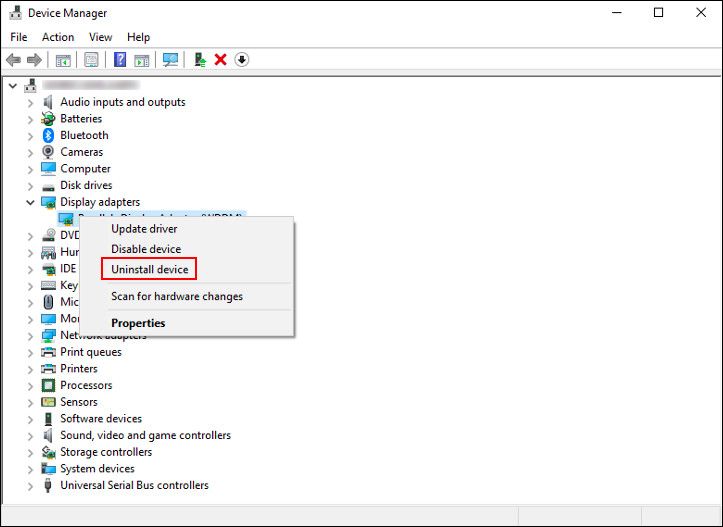
If the error persists, we suggest you go ahead and uninstall the driver. The new driver will be installed automatically once you restart your computer after uninstalling the PC.
Follow these steps to proceed:
- In the Device Manager window, expand the Display adapters section and right-click on your display card driver.
-
Choose Uninstall device from the context menu and follow the on-screen procedure to complete the uninstall process.
- Once done, restart your PC.

4. Modify the Windows Registry
Another fix that you can try is modifying the AutoRotation key in the Windows Registry. In this method, we will be changing the value of the LastOrientation value to remove the already-configured settings and forcing the system to use the sensor to detect the changes.
However, we suggest that you create a Registry backup before you proceed with the steps below. This will help you revert to the current working state of the Registry if anything goes wrong while performing the changes.
Make sure you are logged into Windows as an administrator before proceeding.
Once you have created a backup, follow these steps:
- Press Win + R keys together to open Run.
- Type regedit in Run and press Enter.
- Click Yes in the User Account Control prompt.
-
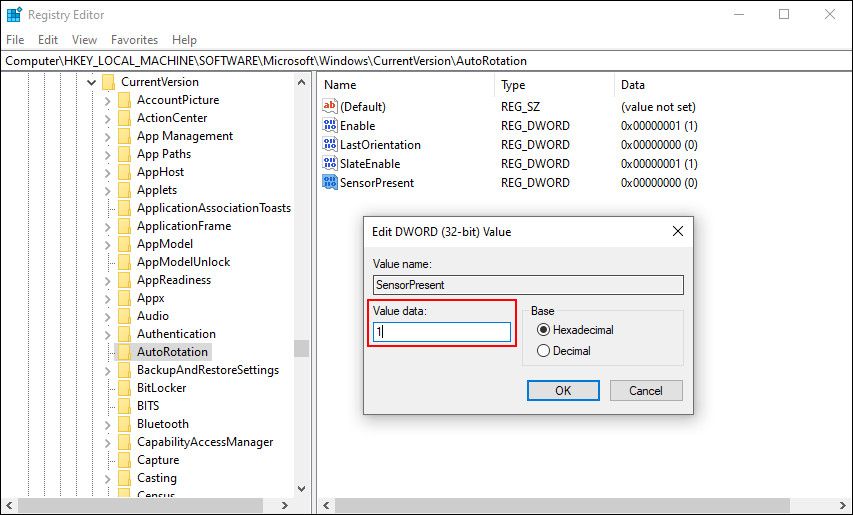
In the Registry Editor, navigate to the location mentioned below:
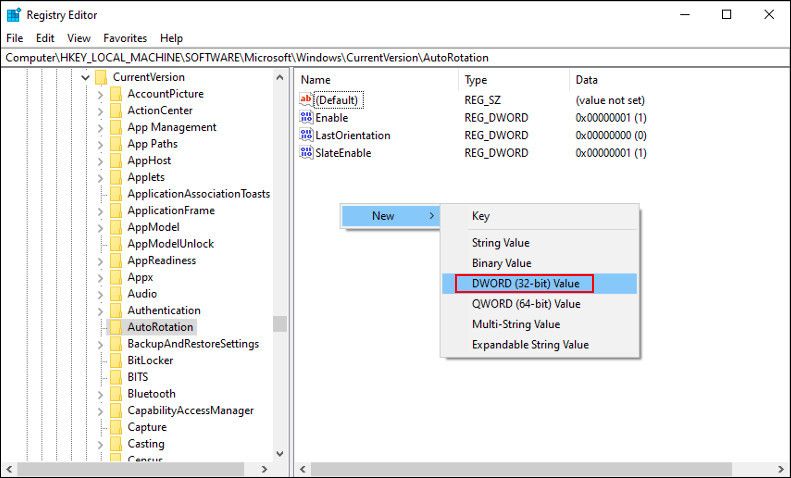
Computer\HKEY_LOCAL_MACHINE\SOFTWARE\Microsoft\Windows\CurrentVersion\AutoRotation
-
Now, right-click in an empty space in the right pane and choose New > DWORD (32-bit) Value.
-
Rename this value as LastOrientation.
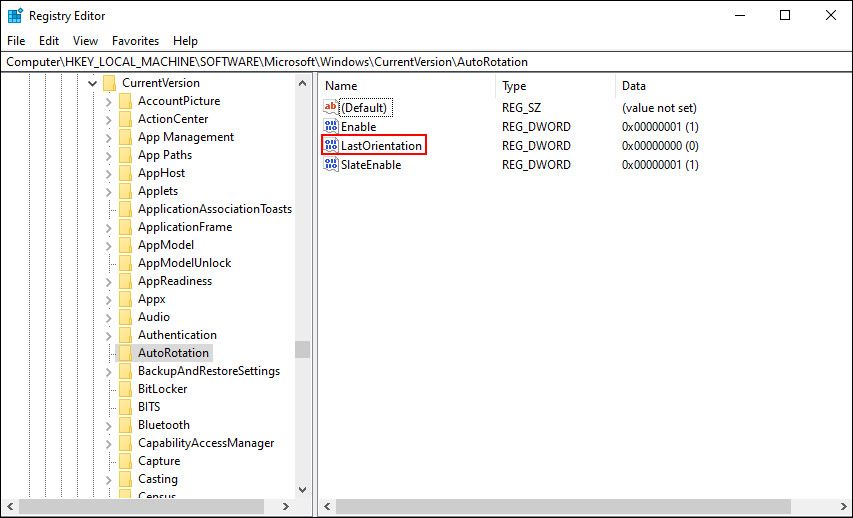
- Double-click on LastOrientation.
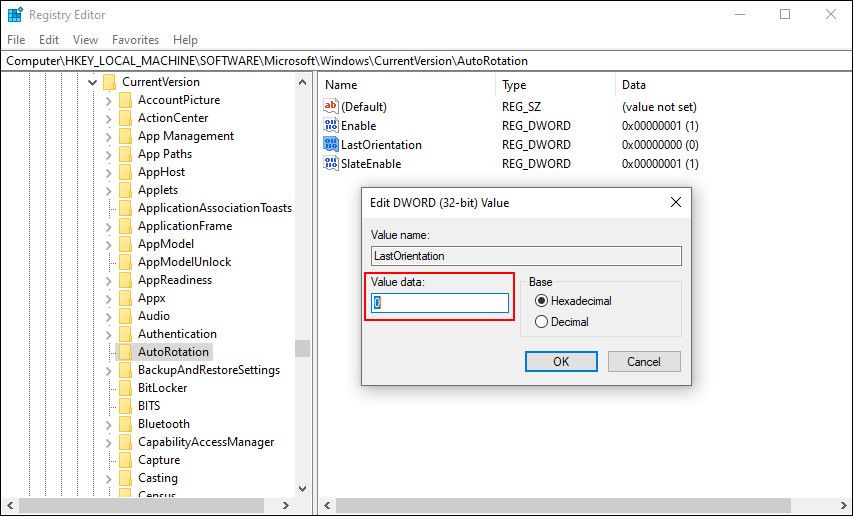
-
In the following dialog, type 0 in the text field under Value data and click OK.
-
Once done, create another DWORD value and name it as SensorPresent.
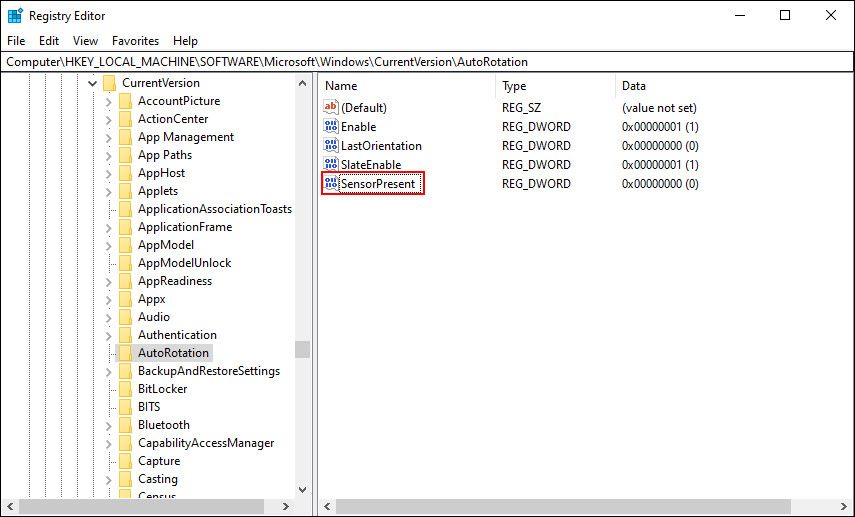
-
In the following dialog, type 1 in the text field under Value data and click OK.
- Finally, close the Registry Editor and restart your PC.


Upon reboot, hopefully, the issue will be resolved.
5. Install System Updates
System updates might seem irrelevant here, but if your operating system is not up-to-date, several features are likely to become incompatible with it, resulting in issues like a grayed-out screen rotation option.
If this scenario is applicable, we highly suggest you take your time to install the pending system updates one by one.
6. Restart the Sensor Monitoring Service
Most features of your operating system depend upon certain Windows services. To make sure that the features are working properly, you must ensure that the services they are dependent upon are functioning too.
In this method, we will be restarting the "Sensor monitoring" service that is linked to the auto-rotation feature of Windows.
Here is what you need to do:
- Open a Run dialog by pressing Win + R.
- Type services.msc in Run and click Enter.
-
In the Services window, look for the Sensor Monitoring Service and right-click on it.
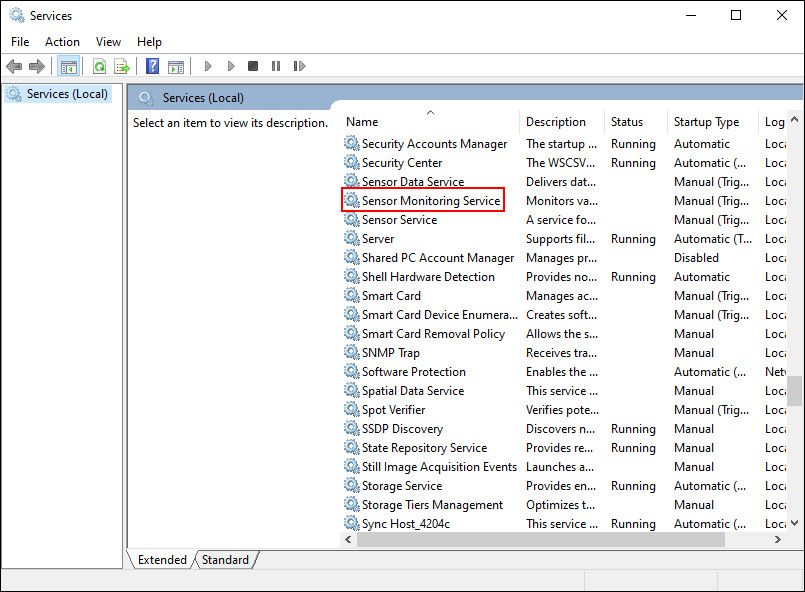
- Choose Properties from the context menu.
-
In the Properties dialog, click on the Stop button, wait for a few seconds, and then select Start.

-
Make sure that the Startup type is set to Automatic.
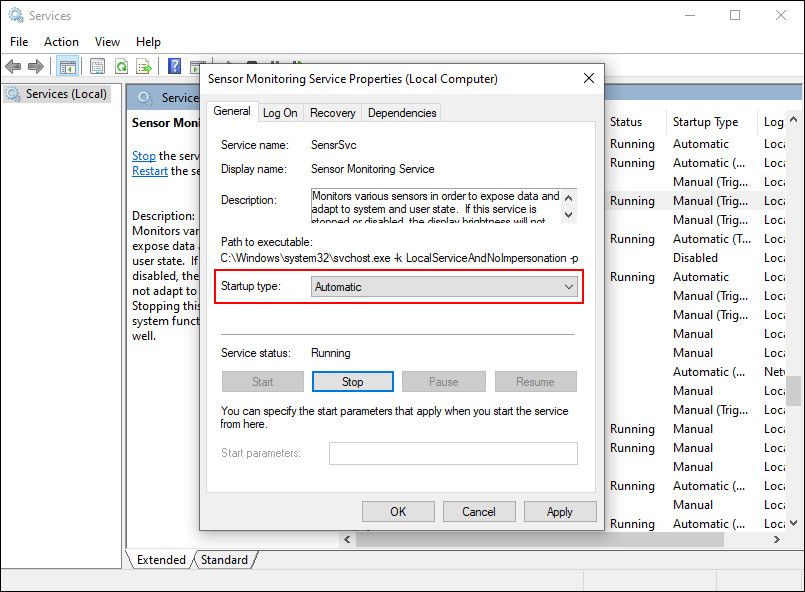
- Click Apply > OK to save the changes.


Enjoy the Auto-Rotation Feature on Windows
The auto-rotation feature comes with quite a lot of benefits. When enabled, it will adjust the orientation of your screen according to that of the device, saving you time that would have been wasted doing this manually. The methods mentioned above should help you fix the problems with auto-rotation lock in no time.
However, if you are still encountering the issue, you can report it to the official Microsoft support team and apply the fix they recommend.