
The Windows Operating System has a hidden folder called "WindowsApps." It stores Microsoft application files and other important files to enhance your Windows experience. The folder usually contains a large amount of reusable space. This is because it also contains those application files you uninstalled from your PC earlier.
Thankfully, you can remove unnecessary files from the WindowsApps folder to free up some space. But it's a little hard to get to this folder because it's protected and hidden in Windows File Explorer. Here are some ways to access the WindowsApps Folder on Windows and make necessary changes to it.
What Is the WindowsApps Folder?
You can find the WindowsApps folder under the C:\Program Files directory in Windows 10 and 11. This folder has all the files related to UWP packages or Windows apps that you get from the Microsoft Store or that come preinstalled on Windows OS.
The problem is that a basic Windows user or even a system administrator user account can't access or change the files in the folder. This is because it is owned by a Microsoft account named "TrustedInstaller." We've already covered everything about TrustedInstaller and how to disable it in detail.

Even if you uninstall or debloat some of the apps on Windows, the core application files are not removed from the WindowsApps folder. So, there are chances that such apps will reappear after a new Windows update.
This is why we recommend using one of the popular software uninstallers for Windows. Because these tools not only uninstall an app completely but also clean up any leftovers and traces from all the secured folders.
If you don't know what you're doing—modifying or deleting the files in the WindowsApps folder could cause system errors or even cause the Windows operating system to crash.
There are many ways to access the WindowsApps folder and bypass the protection to gain access to the necessary files.
Method 1. How to Access WindowsApps via File Explorer
You can easily find the WindowsApps folder in the Windows File Explorer by unhiding the respective folder first. However, to access the folder and make changes to the files—you need to gain some extra rights by changing the ownership.
Follow these steps to view the WindowsApps folder first:
-
Open the Windows File Explorer (Win + E) and go to the C:\Program Files directory.
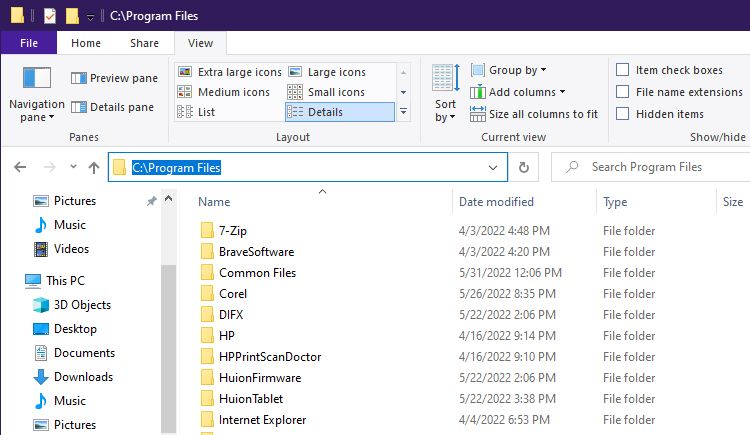
- Now, click the View options button at the top of the File Explorer.
-
Click or hover over the Show button and select the Hidden items option to enable it.
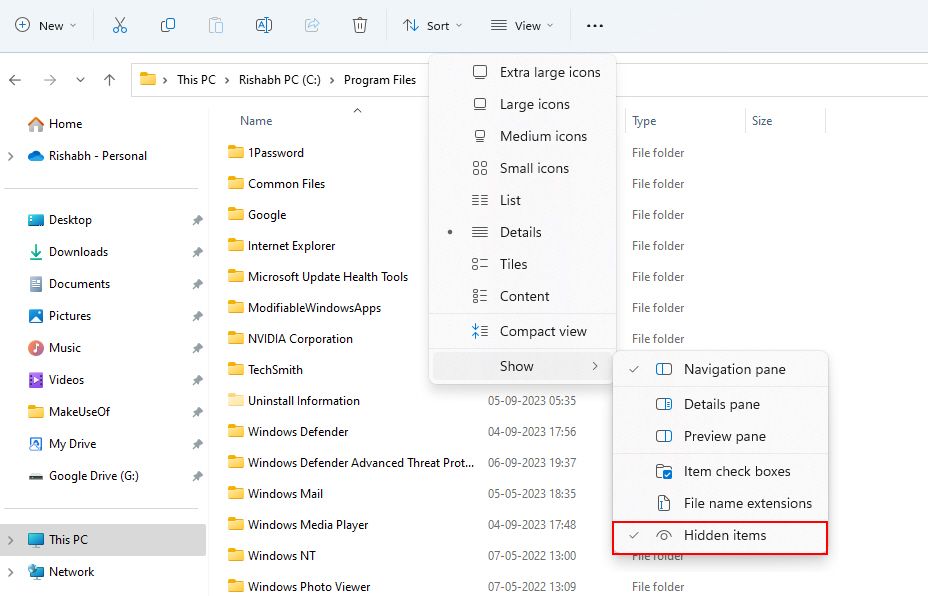


That's it. Now, you can see the WindowsApps folder in the same directory.
If you try to open it, you'll see an information popup saying, "You have been denied permission." So, to actually access that folder and gain exclusive read and write rights—you've got to do a bit more.
Change Ownership Properties to Get Access
For the next steps, you need a user account with administrative rights. If you're a beginner, you must know everything about the Administrator account to understand the steps better.
Follow the steps mentioned below to change the ownership rights and access the required folder:
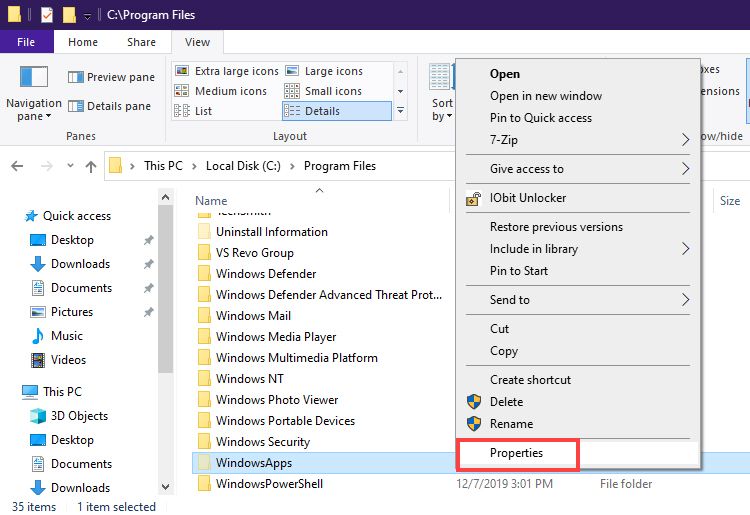
- Select the WindowsApps folder and right-click on it.
-
Once the context menu appears, select Properties from the list. You can also use a quick shortcut to open the folder properties, i.e., Alt + Enter.
-
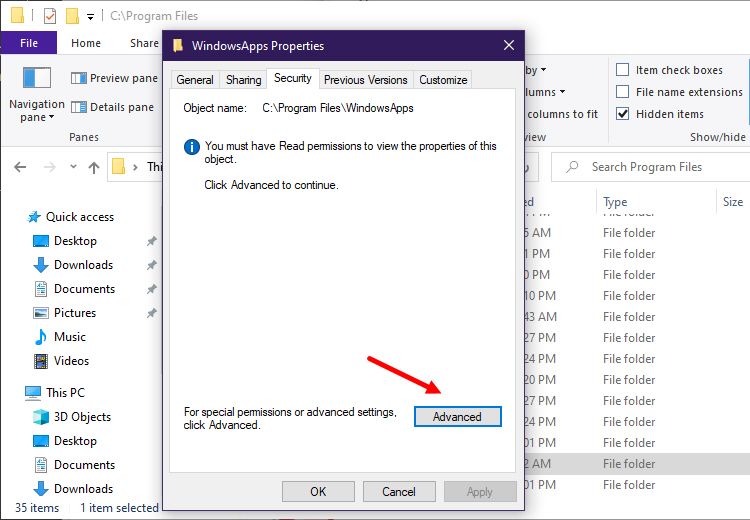
Now, under the Properties window. Click the Security tab and then the Advanced option located right at the bottom.
- Once you've opened the Advanced Security Settings window, click the Change text next to Owner.
-
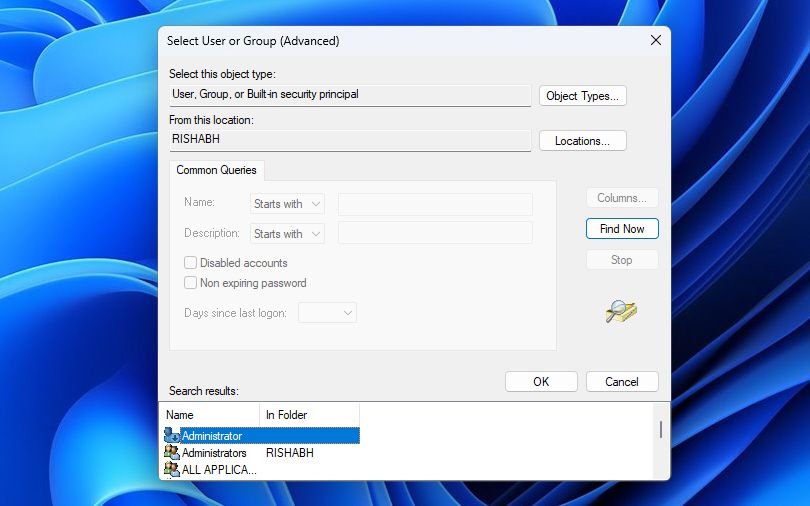
Now, click Advanced > Find Now > Administrator on the following screen.
-
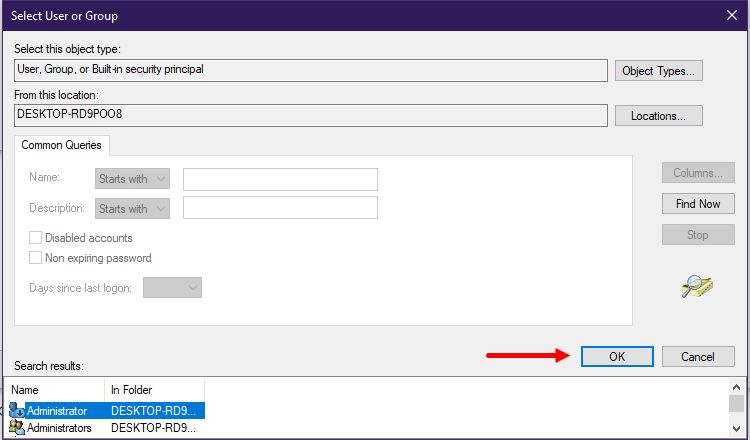
Finally, click OK to select the Administrator as the owner and again OK to save the changes.
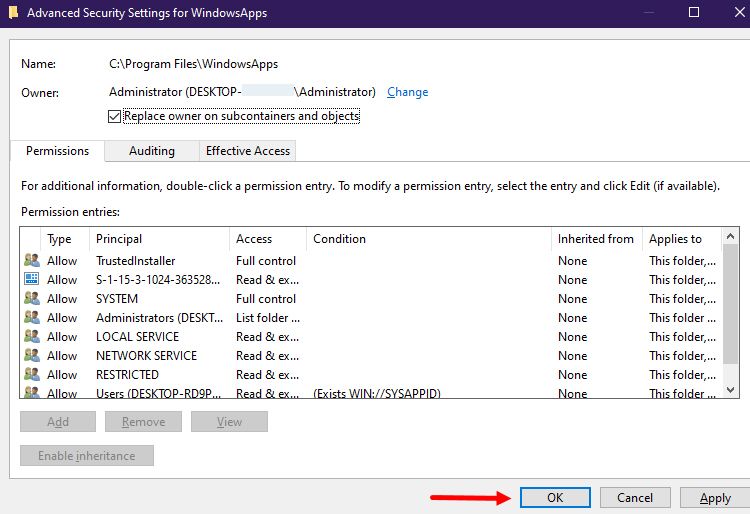
- Then, tick the checkbox before the Replace owner on sub containers and objects text.
-
Now, click the Apply button, followed by the OK button, to initiate the process of transferring ownership.
- Once done, click the OK button on the next pop-up.


If you followed the steps above to take ownership of the WindowsApps folder, you can now move or delete files from that folder.
When you don't pause automatic software installations from the Microsoft store, the WindowsApps folder occupies a considerable bit of disc space. So, it becomes essential for you to access this folder once and check for the files that you no longer need.
Moreover, you can also check out some free tools for taking control of files and folders on Windows. Such tools allow you to take full ownership of all your files and folders with a single click.
Method 2. How to Access WindowsApps via a PowerShell Command
The File Explorer-based method is pretty complicated for a newbie. Use PowerShell to complete your job if you're looking for an easy-to-go method. Using Windows PowerShell is a pretty straightforward and automated way of doing the same thing.
Follow these steps to access the WindowsApps folder using PowerShell:
1. Launch the Windows start menu or Windows search by pressing Win + Q.
2. Type in PowerShell and click the Run as Administrator option to run PowerShell with administrator rights. Besides, you must also know some other ways to open PowerShell on Windows for future usage.

4. In Powershell, run the following command and press the Enter key:
takeown /f “C:\Program Files\WindowsApps” /r

The above command will restore all the files or folder ownership to the system administrator. It will take some time for your administrator user account to become the owner of the WindowsApps folder and everything in it.
The access you gain by executing the above process is similar to that of the Windows File Explorer-based method. You have just automated the process and eliminated the unhiding of system files. Now, you can back up, clear some space, or make changes to the Windows apps' back-end files.
If you're facing crashes while executing the file, make sure to check out some effective ways to fix PowerShell crash errors.
3. How to Access WindowsApps via a Registry Hack
There's another quick way to do the same thing with just a few steps. If you cannot use the PowerShell method stated above, you can use a simple registry hack to access the files in one go.
Here's how you can take full ownership of the context menu for your files and folders and get to the WindowsApps folder:
- Download the Take Ownership registry file.
-
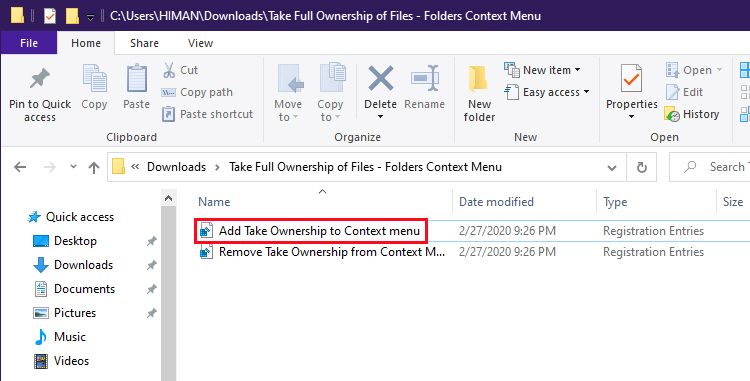
Extract the zip and open the Add Take Ownership to Context menu registry file.
- On the next screen, click Yes to add it to the registry.
- Next, exit the popup by clicking OK and navigate to the C:\Program Files directory.
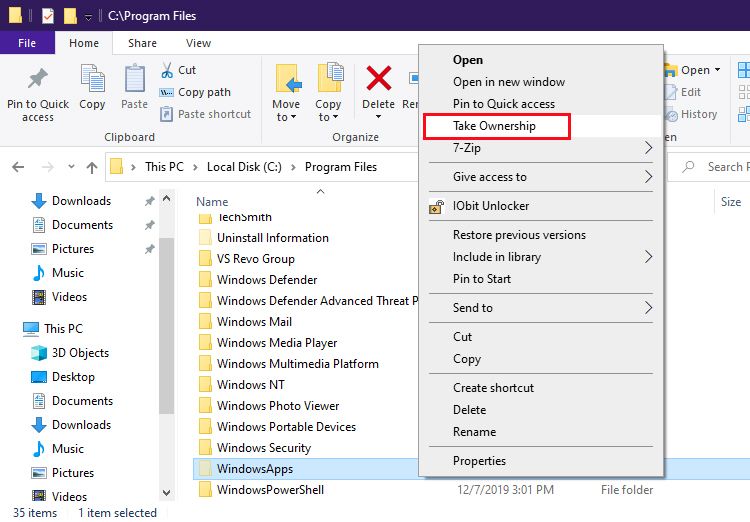
- Select the WindowsApps folder and right-click on it.
-
From the context menu, click the Take Ownership option.
- In the Command Prompt, you must give User Account Control Administrator rights for the registry hack to work. After that, please wait a few minutes for the window to close. Soon, it will display success messages constantly in the Command Prompt.


Once finished, you'll no longer face the "You've been denied permission" error on clicking the WindowsApps folder.
Enjoy Unrestricted Access to the WindowsApps Folder
Using one of the provided methods, you should now be able to view the hidden files and folders inside the WindowsApps folder. Now that you know everything about it, you can easily make changes to the UWP packages that are safe.
Moreover, in the WindowsApps folder—you can remove Windows app remnants, open any software directly from the .EXE file, and inspect all removed packages, among other things.