One of the major causes of a sluggish Windows PC is its background running processes. You can keep an eye out on memory-hogging processes by opening the Task Manager, but you can also use the WMIC command line to do the same.
Even if you don't have prior knowledge about using text commands on Windows, it's easy to view background running processes via the WMIC command line. If you want to view a list of all background processes using the WMIC command, try the steps below.
What Is WMIC?
WMIC stands for Windows Management Instrumentation Command-Line, and it makes it possible to perform Windows Management Instrumentation (WMI) operations. WMI is a subsystem of PowerShell, and it allows the admin to monitor the system efficiently.
In laymen's terms, it examines all the information related to the system. It includes the system name, BIOS serial number, Disk Drives detail, etc.
Along with a long list of other features, Windows Management Instrumentation Command-Line (WMIC) tool is deprecated from Windows 10. Microsoft is no longer actively developing this tool for Windows 11; however, you can still use it on your Windows PC.
As it turns out, the depreciation is only applicable to the command-line tool. As such, WMI will not have any adverse effect on the depreciation. Windows PowerShell supersedes the WMIC tool for WMI, i.e., you can now execute commands in Windows PowerShell.
How to Find Background Running Processes Using WMIC
You can check out all the background running processes with Task Manager and WMIC. The only difference is that WMIC displays detailed information about the background processes. To be specific, you can see the following.
- KernelModeTime
- PageFileUsage
- WriterOperationCount
- PeakPageFileusage
- WorkingSetSize
- ReadTransferCount
- ExecutablePath
Below are the steps you need to follow to view background running processes using WMIC in Windows 11.
- Open the Start Menu, type Windows PowerShell, and press Enter.
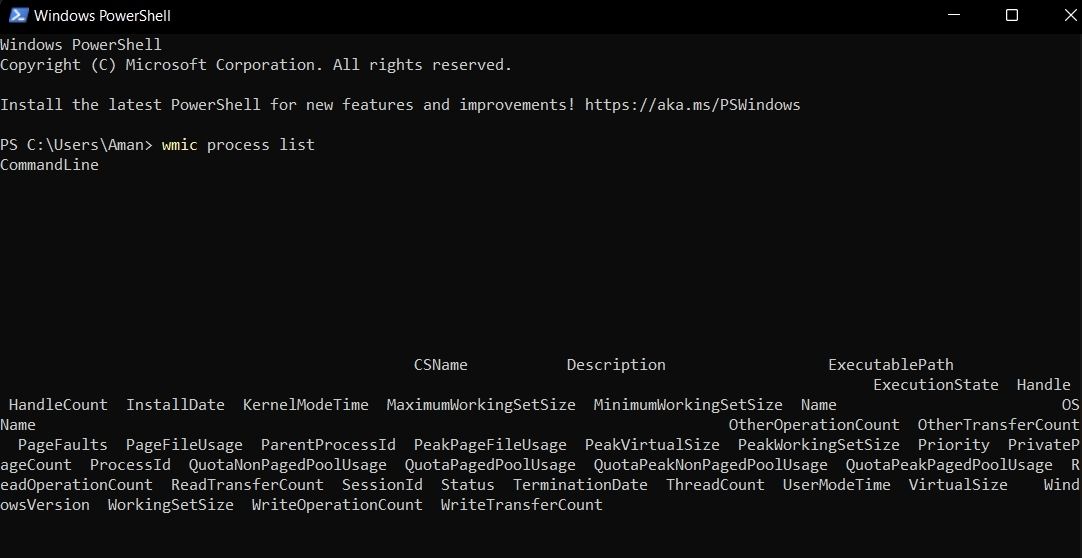
- In Windows PowerShell, type wmic process list and press Enter.
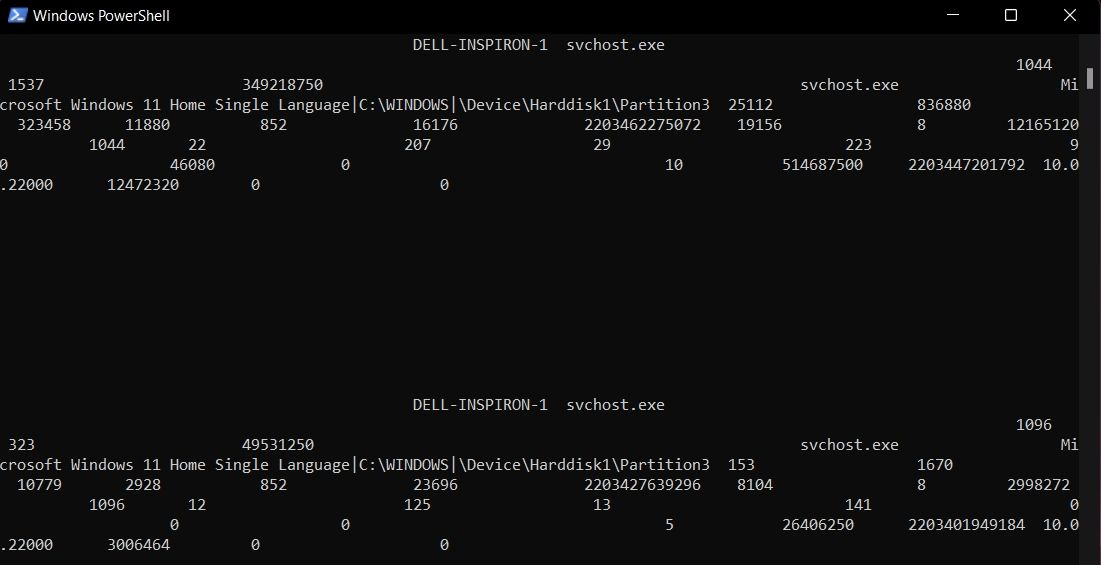
Once done, you will see all the background running processes along with their associated services.
Why Should You Use Task Manager Over WMIC?
One of the major reasons people use Task Manager over WMIC is the user interface. However, without much effort from the user's side, WMIC commands display more information about the background running applications than Task Manager.
Still, at the same time, WMIC's interface makes it almost impossible to go through the data. And it doesn't matter how big your screen is or the resolution it uses; it's still difficult to go through it all.
However, in the Task Manager, all background application statistics are separated into easy-to-read columns. One glance at the Task Manager and you can quickly see the CPU, Memory, Disk, and Network consumption of various applications.
In WMIC, you will find all these information and much more, but it will be very hard to identify them. The best way to read the WMIC command results is to use a text editing application like Notepad ++.
And finally, there isn't any direct method to close the background applications in WMIC. The Task Manager allows you to close any application very easily; just right-click on any application and choose End task from the context menu. But this isn't the case with WMIC, because there isn't any direct method to do the same.
Manage Background Running Processes With WMIC
We have discussed how you can view all the background processes using WMIC on Windows 11. Although WMIC displays more information, Task Manager will always have the upper hand due to the user interface.
To get the best performance from your system, it's recommended to keep clearing unnecessary background processes. It will ensure that your PC has enough resources to allocate to main applications.


