
These days, a lot of meetings and classes are held on online platforms like Zoom and Microsoft Teams, which means owning a fully-functioning webcam is vital. Most of the time, Windows 11 automatically recognizes peripheral devices such as a webcam, allowing you to use them without any issues.
Unfortunately, webcams sometimes fail to work for a variety of reasons, which can be hardware and software-related. We have put together this guide to help you fix any webcam-related issues you might be facing on Windows 11. Let's get started!
Why Is My Webcam Not Working on Windows 11?
Webcam issues can be either hardware and software-related. For the most part, Windows webcam issues have something to do with software. Usually, this occurs when Windows 11 doesn't recognize the camera has been connected or when the software you're using doesn't have the appropriate permissions to access the camera.
Other factors that can contribute to this problem include recent system updates, privacy settings that restrict access, and hardware problems. External webcams might also not work if your computer’s port is faulty or there is an issue with the webcam itself.
1. Check Your Webcam's Compatibility
To start you can check your web camera model's compatibility with Windows 11. If the webcam you are trying to use is old, then you might be facing the issue at hand due to its incompatibility with the newest Windows operating system. The easiest way to check if your webcam is compatible with Windows 11 is by heading over to its official website.
You can also test the webcam on Windows 10 or other older versions to see if it works fine on it. If it does, then you'll need to buy a new webcam that is compatible with Windows 11.
2. Unplug and Plug the Camera Back In
It may seem too simple to be effective, but it is worth a shot.
It may happen that the port you are using is faulty, causing the issue under consideration. If you have connected the webcam to the computer with a cord, unplug it and re-plug it into a different port on the computer. Likewise, we recommend unplugging any gadgets plugged into the computer that is not in use since other devices could cause the camera to have a hard time communicating with Windows.
3. Provide Adequate Permissions to the Application
Alternatively, the application you're trying to use the webcam with may not have the appropriate permissions to use it at all. The solution, in this case, is simple, as all that you need to do is provide both the camera and the targeted application with appropriate permissions.
Here is how you can do that:
- Press Win + I on your keyboard simultaneously on your keyboard to open Windows Settings.
-
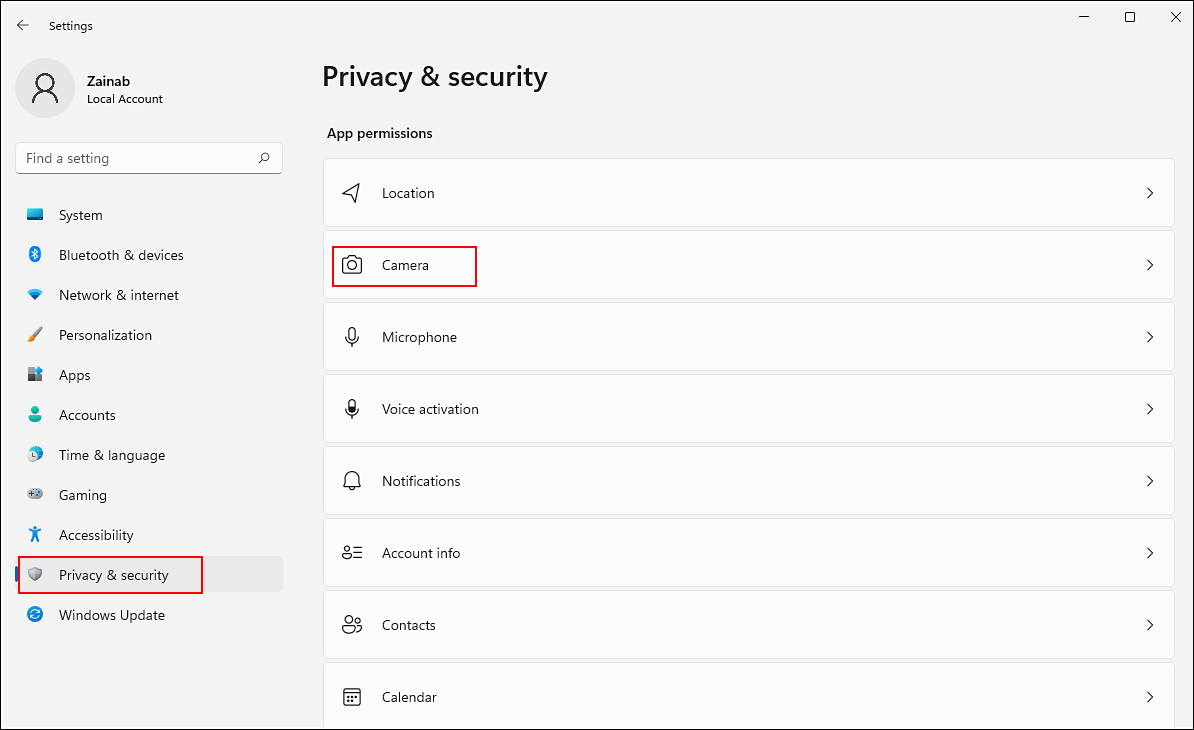
Inside the Settings window, select Privacy & security from the left pane and click on Camera on the right side of the window.
-
Enable the toggle for Camera access and Let apps access your camera.
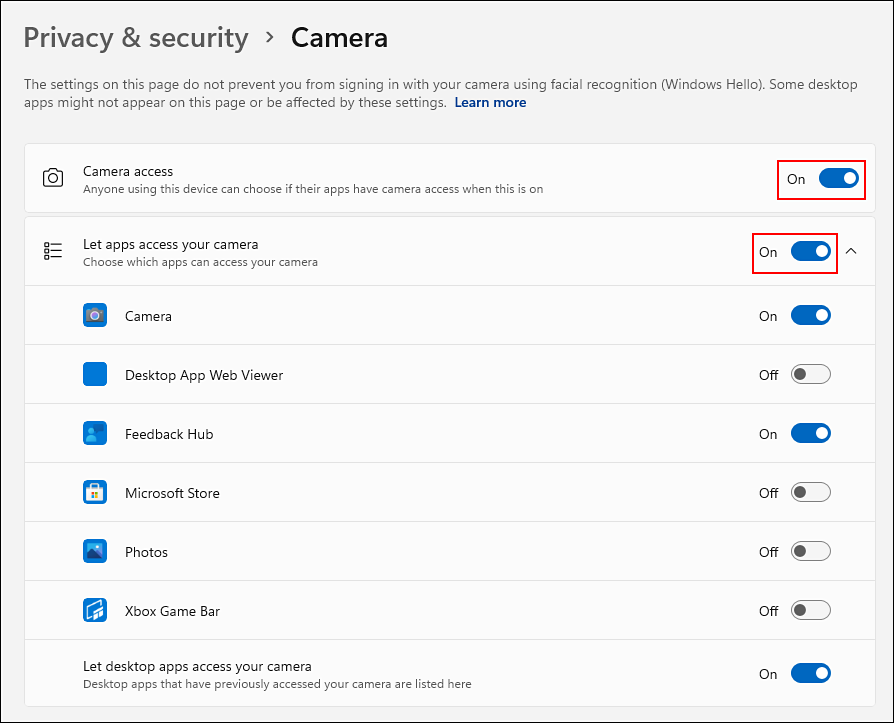
- Now, turn on the switch next to all the apps you want to share your camera with.


You can now close the Settings application and check if the issue is resolved.
4. Update Your Camera Driver
The Windows 11 computer may have webcam problems if you are using an outdated or corrupted camera driver. You are likely to face stability issues, or the quality may be poor. If you haven’t updated your camera driver in a while, follow the steps mentioned below to do so:
- Type Device Manager in the search area of your taskbar and hit Open.
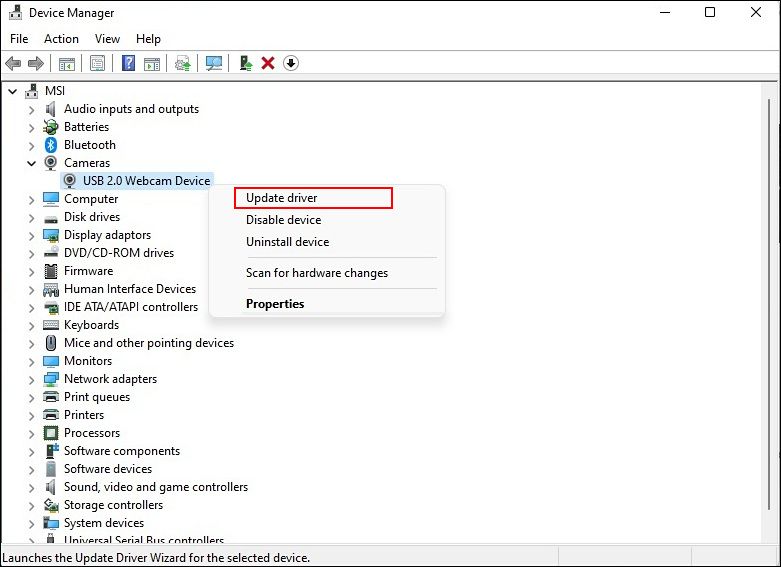
- Once you are inside the Device Manager window, expand the Camera option.
-
Right-click the camera driver and select Update driver from the context menu.
-
Select Search automatically for drivers.
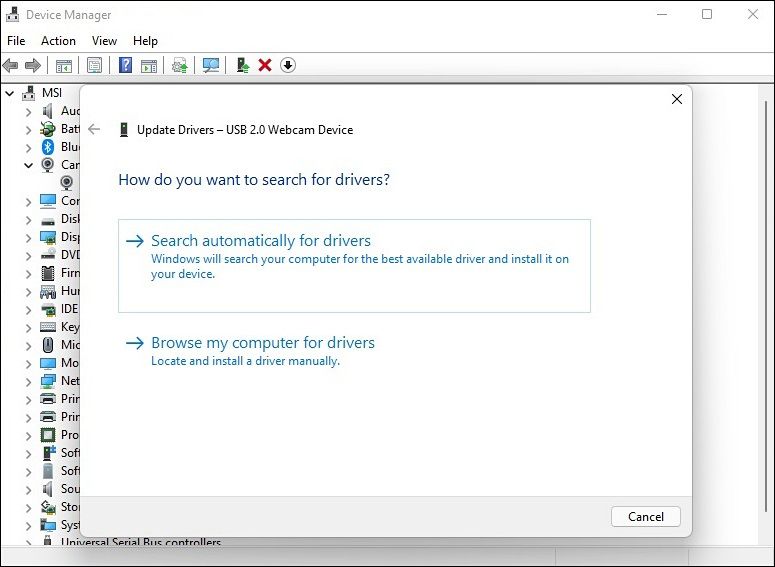
- Doing so will allow the system to scan for the latest updates and if any is found, Windows will install it without much user input.


Once the process is completed, check if you can use the webcam without any issues.
5. Install Optional Windows Updates
The manual Windows Update process includes a section that reveals non-critical optional updates. Optional updates are different from normal updates, and they include updates for video cards, sound cards, and Ethernet cards. These updates can fix a majority of compatibility problems on Windows 11.
Here is how you can install the optional updates to fix the webcam issue on your computer:
- Press Win + I simultaneously on your keyboard to launch Windows Settings.
-
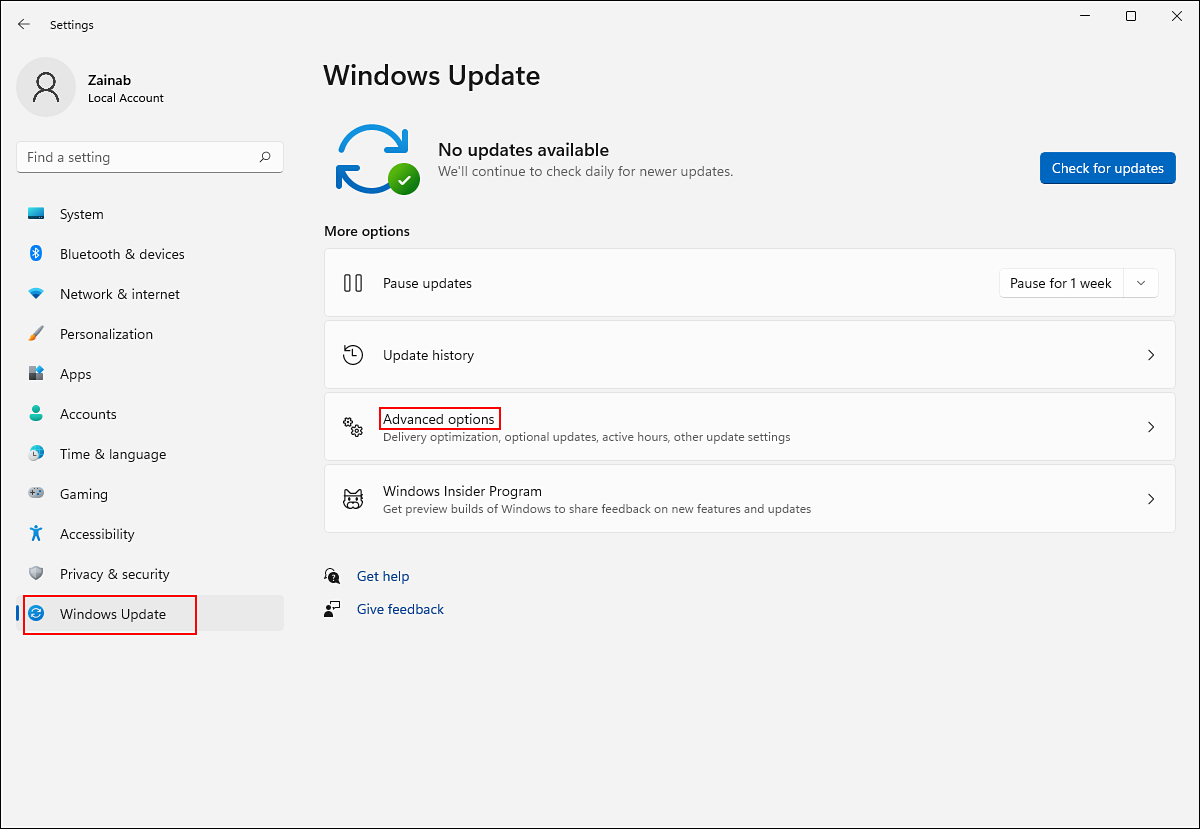
From the left panel, click Windows Update, and then select Advanced options from the right side of the window.
-
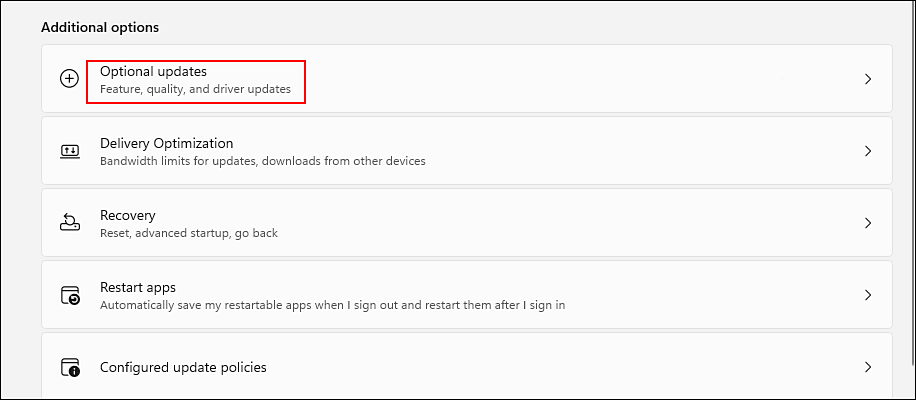
Locate the Additional options section then click on Optional updates under it.
- Click on the Driver Updates option and then mark a checkmark for all the driver updates available.
- Once done, click on the Download & install button and wait for the updates to install.


Finally, try using your webcam and check if following the steps mentioned above resolved the problem.
6. Run the Built-in Camera Troubleshooter
Windows operating system also comes with a number of built-in handy troubleshooters that can scan your system for issues and resolve them without any significant user input. Fortunately, there is a camera-specific troubleshooter included in the list of troubleshooters, which can you can run to fix issues like the one at hand.
Here is how you can run the built-in camera troubleshooter to resolve the detection issue:
- Press Win + I simultaneously on your keyboard to launch Windows Settings.
-
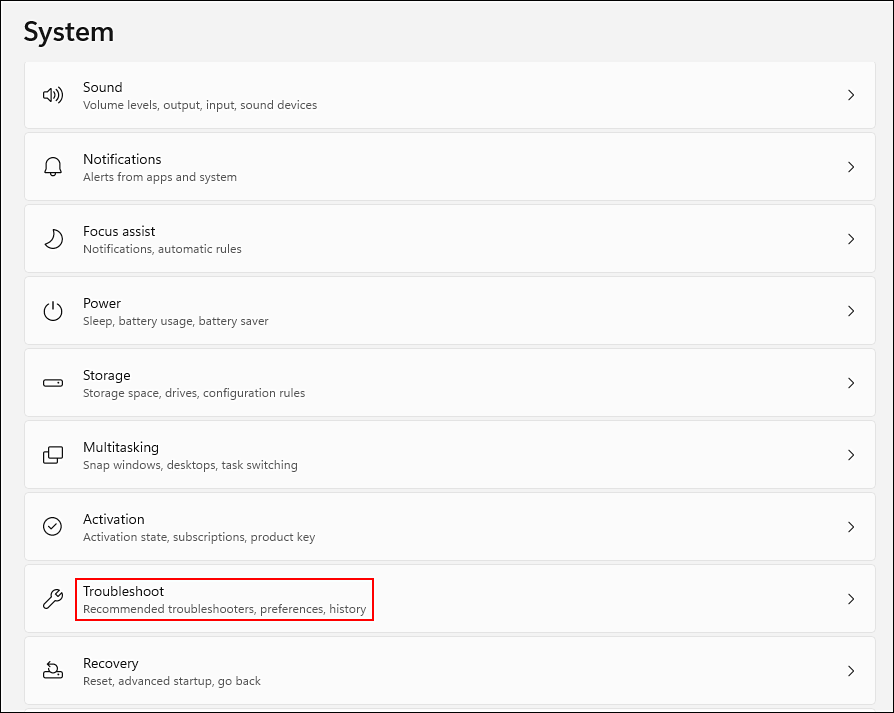
In the Settings window, select System from the left pane and select Troubleshoot from the list of options available.
-
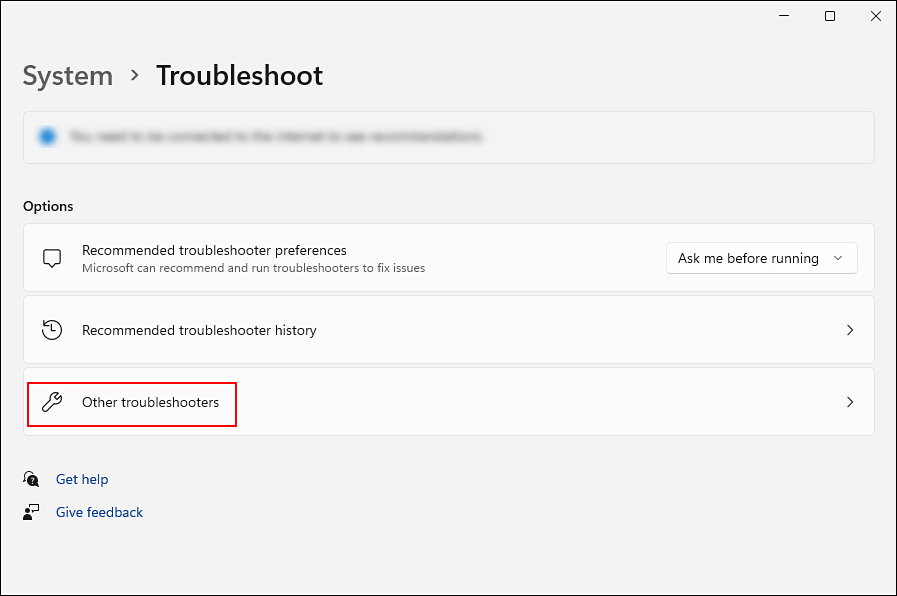
Click Other troubleshooters.
-
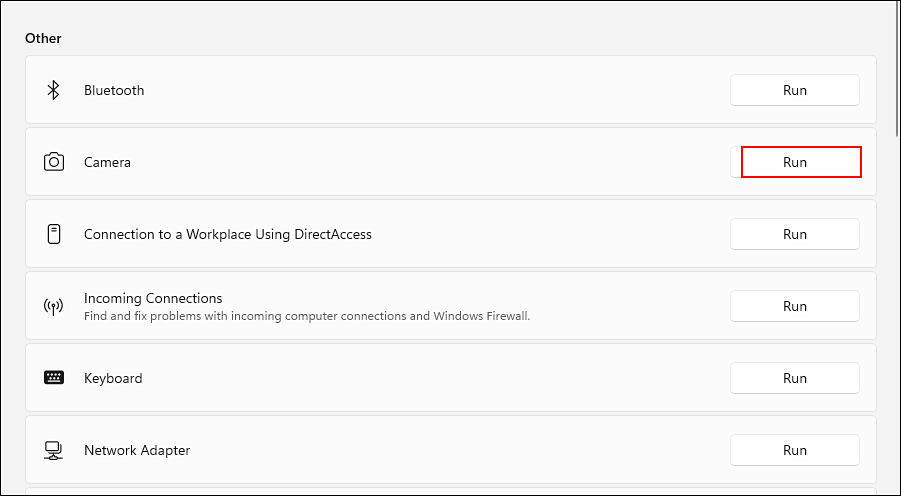
Next, locate the Camera option under Other and click on the Run button next to it.
- Now let the troubleshooter scan for issues. If any issues are identified, it will attempt to resolve them automatically.


Hopefully, this will resolve the problem at hand. If it did not, jump to the next method below.
Reinstall Webcam Device
In the event that none of the methods above resolve the webcam not working issue for you, uninstall and reinstall the webcam driver or device on the Windows 11 computer.
Here is how you can do so:
- Type Device Manager in the search area of your taskbar and hit Open.
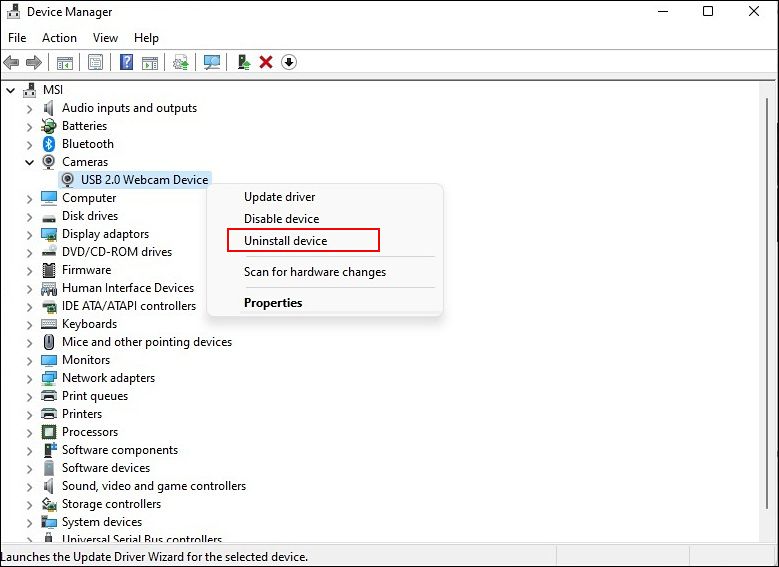
- Once you are inside the Device Manager window, expand the Camera option.
-
Right-click the camera driver and select Uninstall device from the context menu.
-
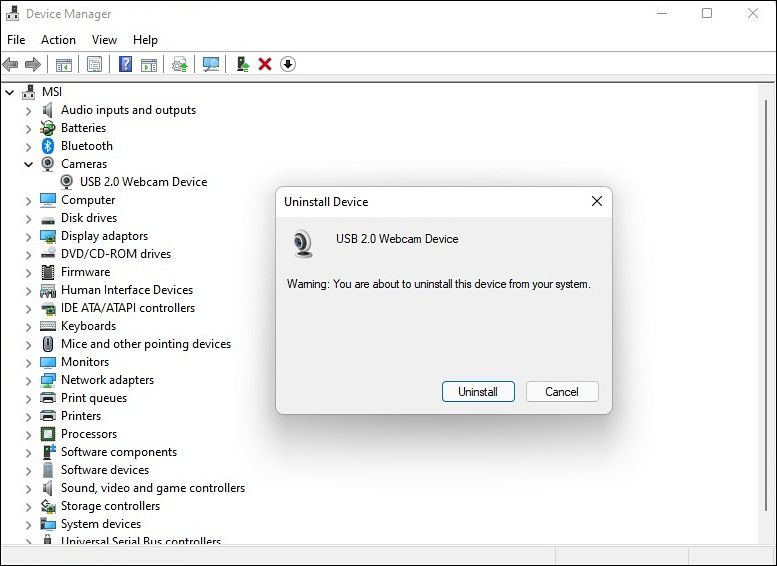
To confirm the uninstallation process, click Uninstall again and wait.
- Once the process is completed, restart your PC.


Check if the problem is resolved upon reboot.
Windows 11 Webcam Issues, Resolved
People who use their webcams frequently for meetings, streaming, or even taking pictures might find it frustrating when their webcam suddenly stops working. In any case, resolving this issue isn't difficult-just follow the steps in the following article. You should also make sure your drivers are updated to prevent problems like this in the future.