A device driver is an important component that enables the computer to detect and manage the installed hardware. But at times, the installed drivers end up causing more issues than they solve.
Fortunately, you can quickly uninstall drivers on your computer. Here are five ways to uninstall drivers in Windows 11.
When Should You Uninstall a Device's Drivers?
As aforementioned, a device driver is an important component that tells your computer how to communicate with the associated device. For instance, to connect and use your webcam, a camera driver is needed to fill the gap between the computer and the webcam and deliver the result to you.
Without the camera driver, your webcam is just a gadget that doesn't do anything. However, certain drivers can sometimes cause various issues on your computer. These issues can cause device failures and are one of the reasons why Windows sometimes crashes.
As such, if any of the installed drivers is causing problems on your system, you must uninstall it to solve the problem.
1. How to Uninstall Drivers Using the Device Manager
The Device Manager is one of the most commonly used tools on a Windows computer. It lets you identify unknown devices, update, and uninstall drivers. You can also use it to enable or disable a device.
To uninstall a driver using the Device Manager, follow the below steps:
- Open the Power menu using the Win + X hotkey.
- Choose Device Manager from the menu.
- Double-click the category with the device driver you want to remove.
-
Right-click on the device and choose Uninstall device from the context menu.
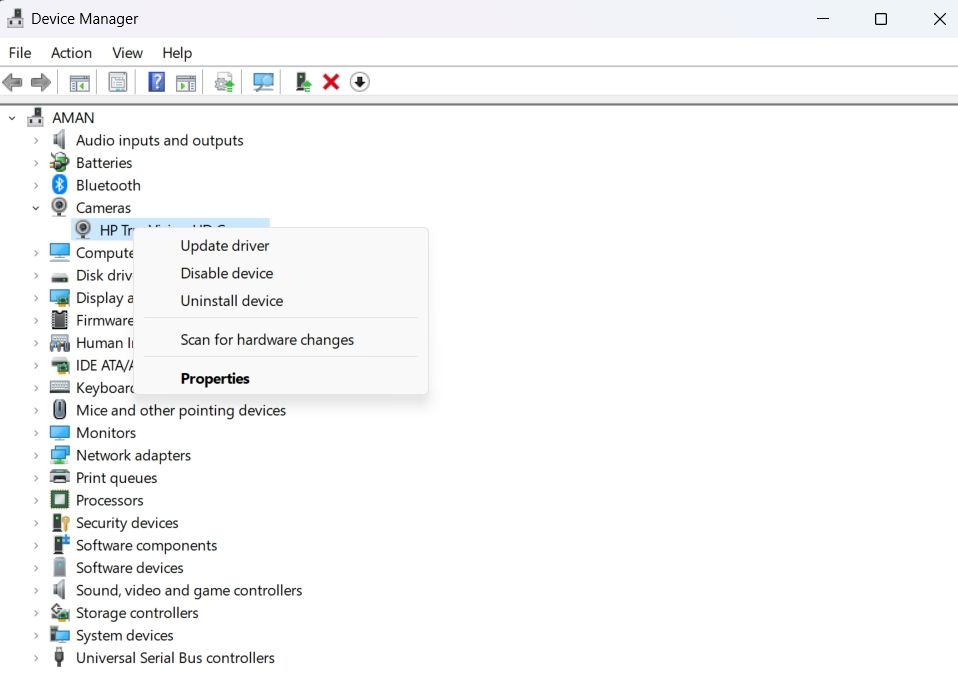
- Click Uninstall to the confirmation that crops up.

The selected driver will be entirely removed from your system.
The above steps will uninstall all the device drivers, excluding the printer driver. You can uninstall a printer driver by following the other methods in this guide.
2. How to Uninstall Drivers Using the Settings App
The Settings app is the central hub for almost all Windows settings. You can use it to manage preferences, configure the OS, and control the connected devices. The Settings app also lets you manually uninstall a device driver.
Here's how to uninstall drivers using the Settings app:
- Open the Settings app using one of the many ways to open settings on Windows 11.
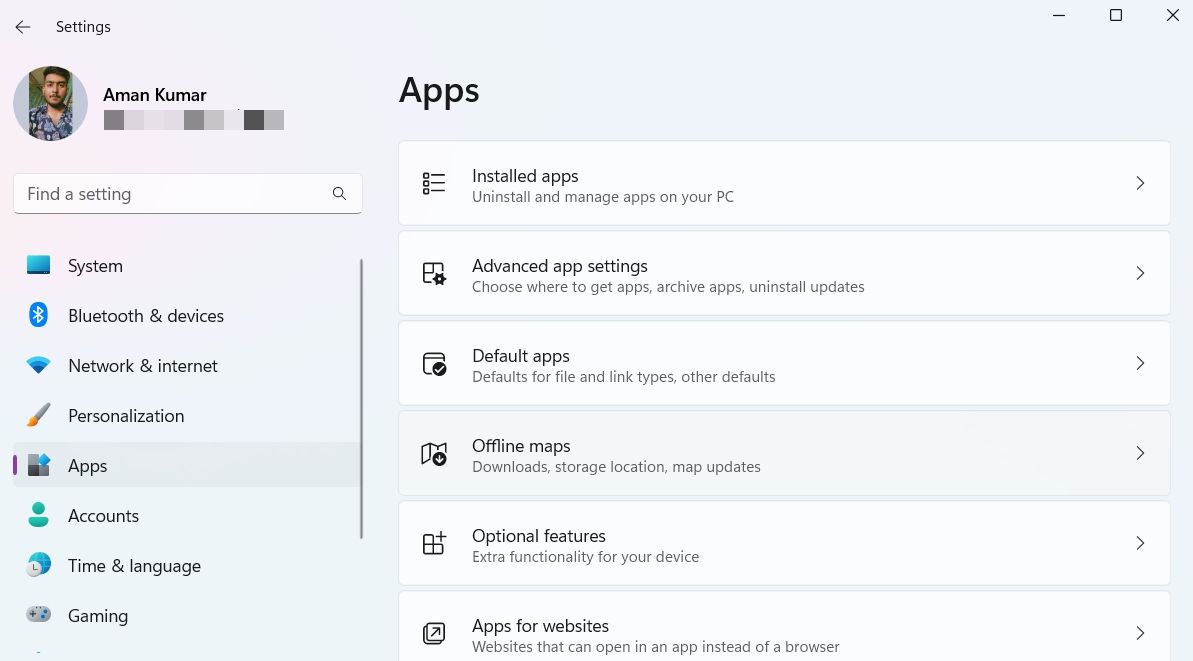
- Choose Apps from the left panel.
-
Select Installed apps. Here you will find all the applications and drivers installed on your computer.
- Locate and click on the three dots next to the driver you want to uninstall.
-
Choose Uninstall from the context menu.
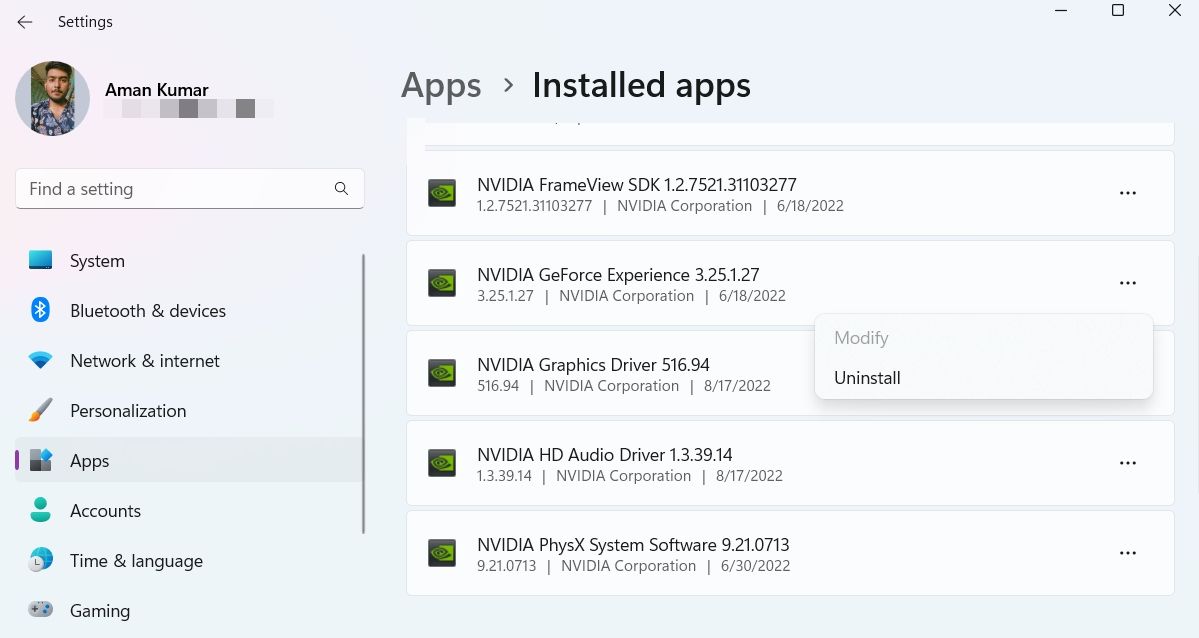
- Click Uninstall again to the confirmation box that appears.


That's it. Restart your computer to apply the changes.
3. How to Uninstall Drivers Using the Control Panel
The Control Panel is an important Windows component that lets you manage system settings. These settings control nearly everything about how your system works and looks, and you can use them to effectively set up Windows the way you want.
The Control Panel has a Program and features section from where you can manage all the installed applications and drivers. You can uninstall a device driver using the Control Panel by following the below steps:
- Open the Run dialog box by pressing the Win + R hotkeys.
- In the Run search bar, type Control Panel and press Enter.
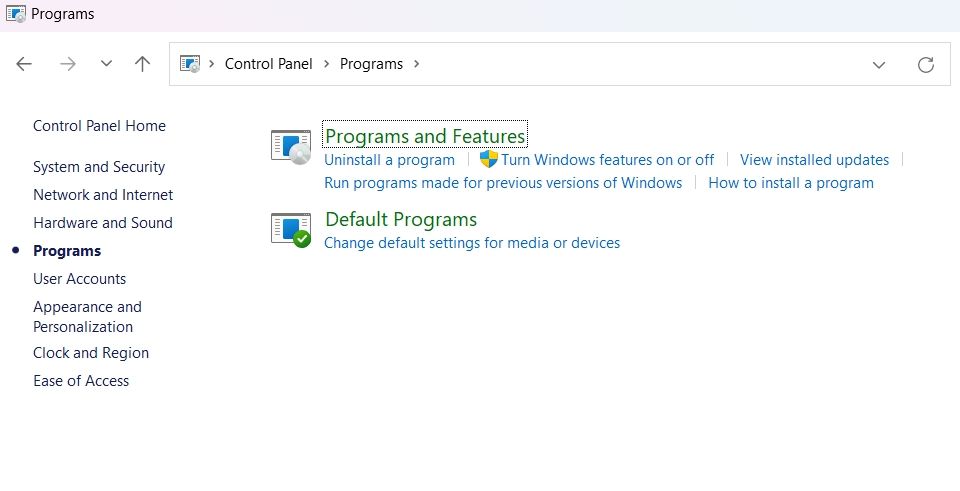
- Change the View by to Category.
-
Click Programs and then click Uninstall a program.
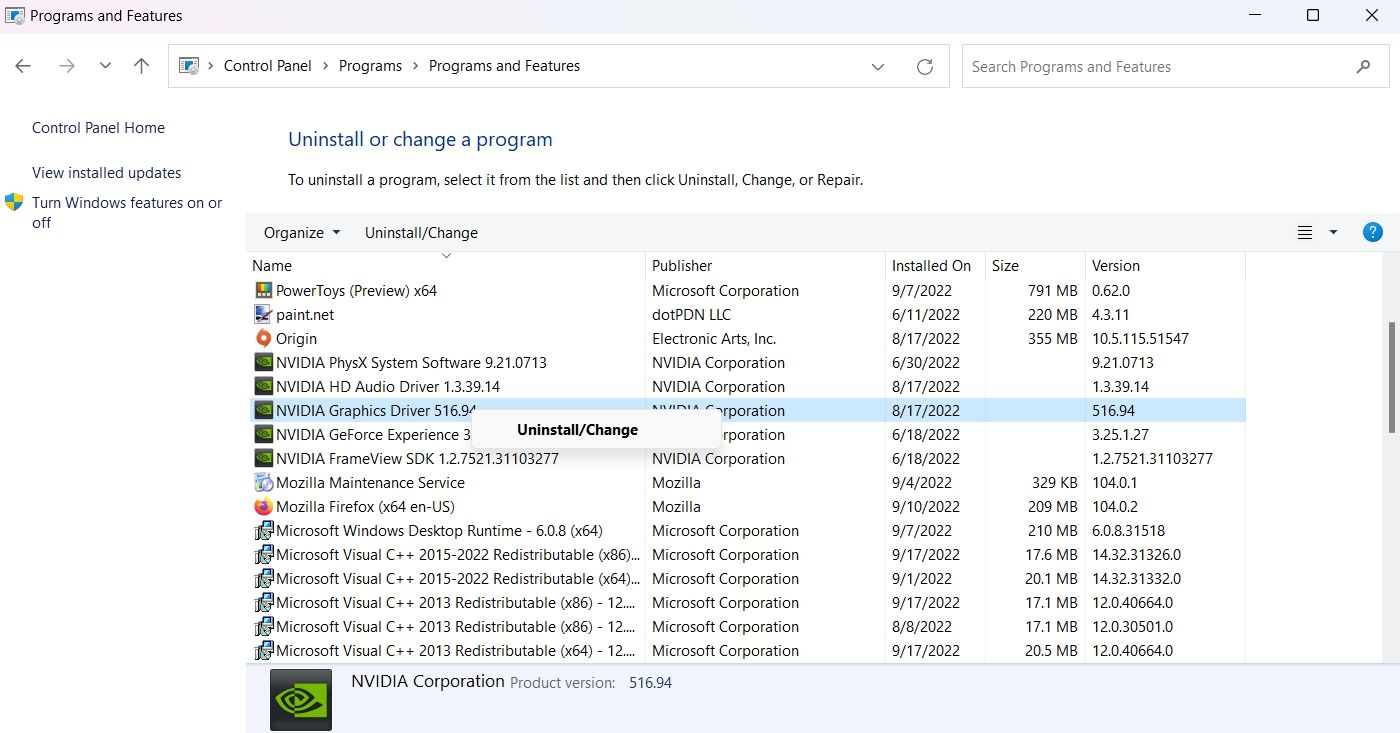
- Locate and right-click on the driver you want to uninstall.
-
Choose Uninstall / Change from the context menu.
- Click Yes to the UAC that pops up.


Next, follow the on-screen instructions to uninstall the driver on your computer.
4. How to Uninstall Drivers Using the Command Prompt
Windows Command Processor, aka Command Prompt, is the command line interface of a Windows computer. It is a way of interacting with your system through text commands.
You can use Command Prompt to perform various tasks, including uninstalling drivers on your computer. Here's how:
- Open the Start menu by pressing the Win key.
- In the search bar, type Command Prompt and click the Run as administrator option at the right pane.
-
Type the following command and press Enter. This command will display all the third-party drivers installed on your system.
Dism /online /Get-Drivers /Format:Table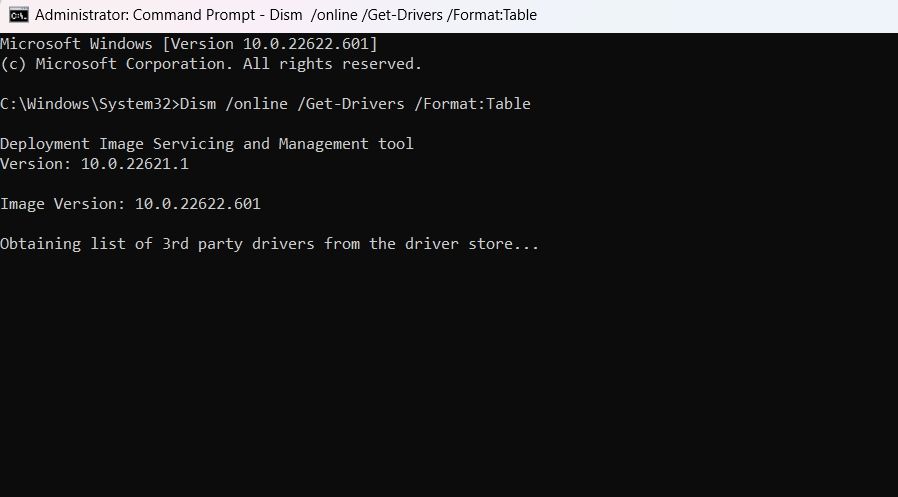
-
To view third-party drivers as well as system drivers of your computer, type the following command and press Enter.
Dism /online /Get-Drivers / all /Format:Table -
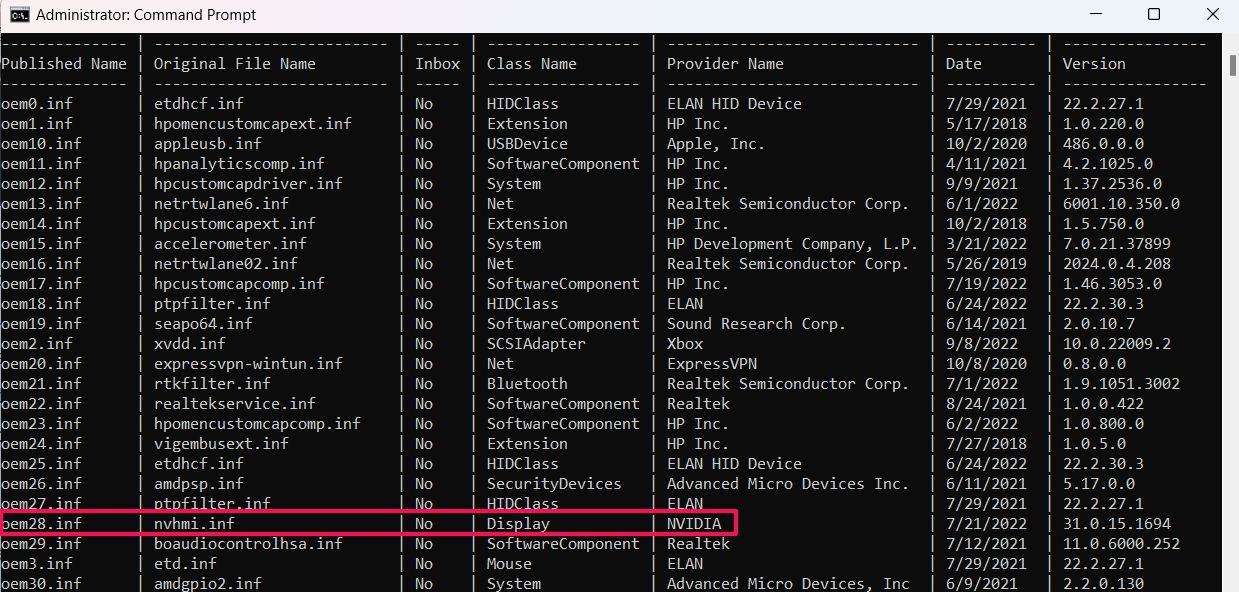
Note down the published name of the driver you want to uninstall. For instance, if you want to uninstall the NVIDIA driver, then its published name is oem28.inf.
-
To uninstall the driver, type the following command and press Enter. Replace <published name> with the published name of the driver you want to uninstall.
pnputil /delete-driver <Published Name> /uninstall /force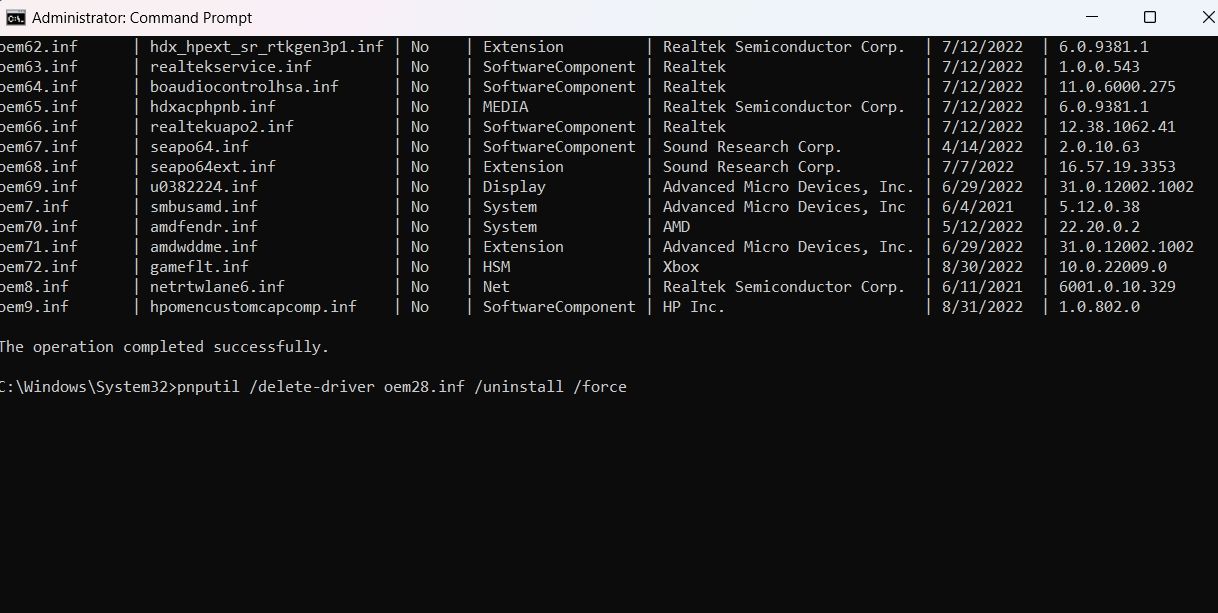


Running these commands will forcefully uninstall the driver from your computer.
The third-party driver list contains the names of even those drivers that are no longer installed on your computer. You will get an error if you try to uninstall such drivers using the above steps.
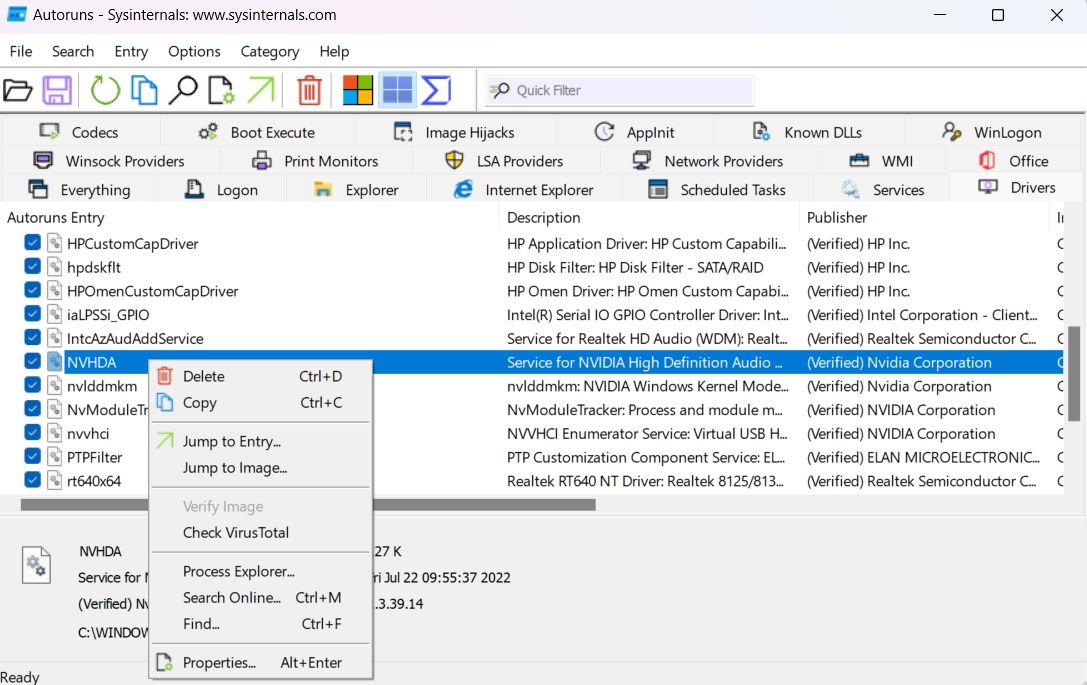
5. How to Uninstall Drivers Using Autoruns
Autoruns is a system utility that shows all the programs that are currently running on your computer. You can use it to close background applications, manage services, and even uninstall drivers.
Here's how to uninstall drivers using Autoruns:
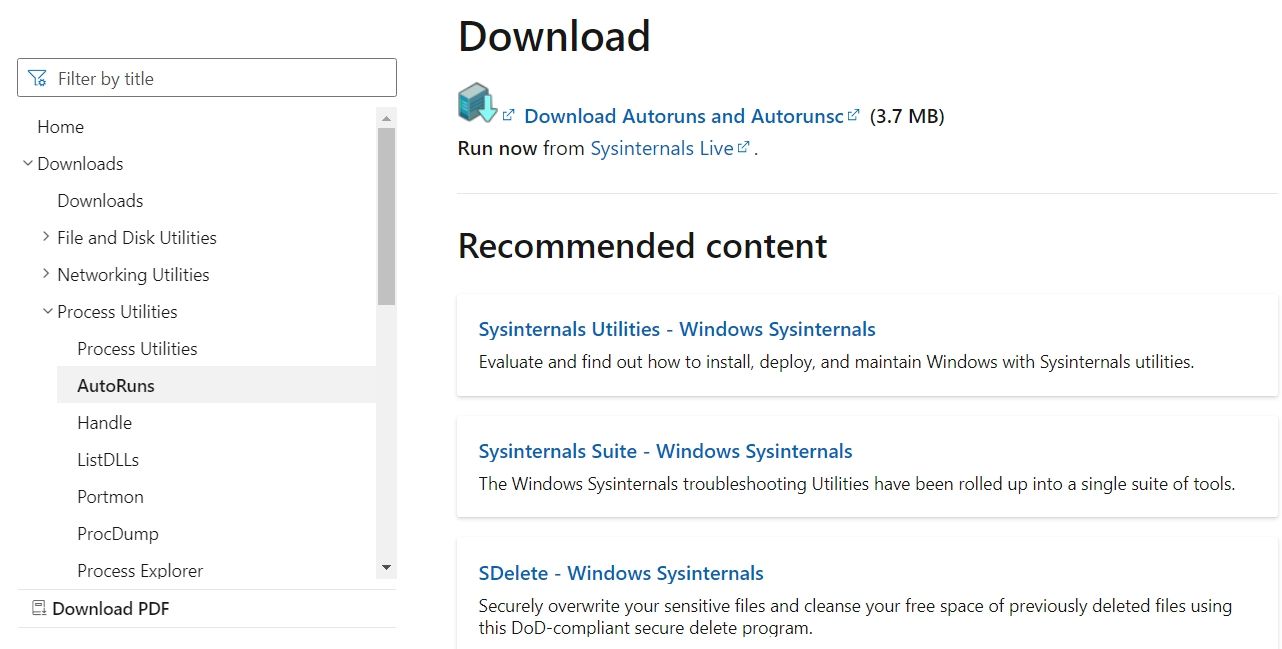
- Open a browser and visit the Microsoft Autoruns page.
-
Scroll down and click on the Download Autoruns and Autorunsc link.
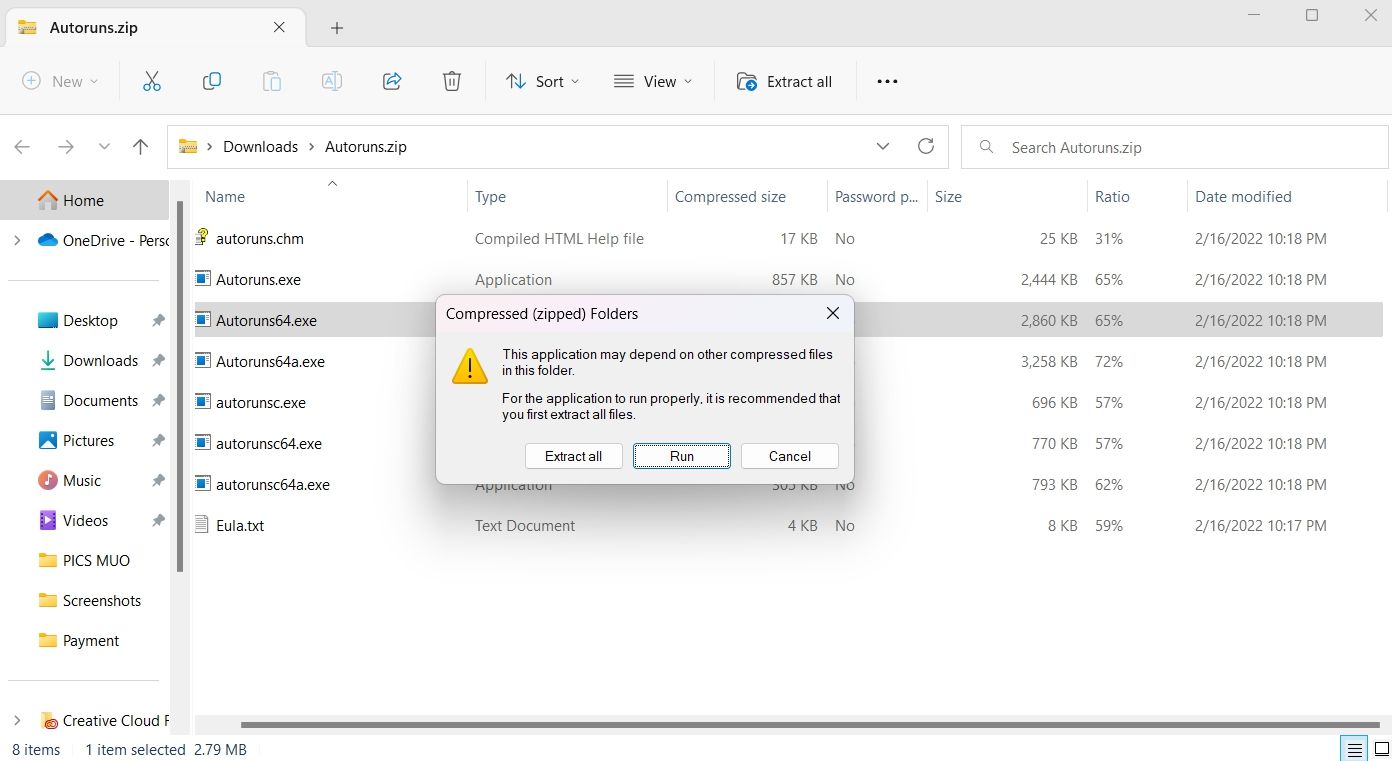
- Extract the downloaded file.
- Locate and double-click on Autoruns64.exe.
-
Choose Run from the prompt that appears. The Autoruns window will crop up.
-
Click the Drivers tab.
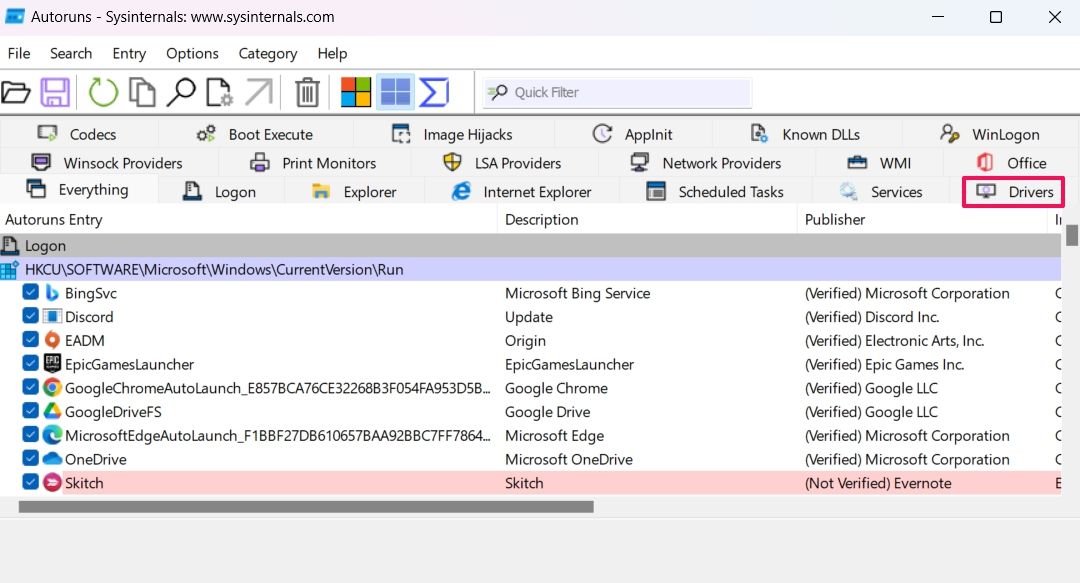
- Locate and right-click on the driver you want to uninstall.
-
Choose Delete from the context menu.
- Click Yes to the prompt that appears.


Remove Problematic Drivers From Windows 11
A corrupt or problematic device driver can adversely affect your workflow and keep you busy all day. You can uninstall all such drivers using the above methods.
Another way to fix a corrupt or problematic driver is by downloading its latest update. Each update comes with new features and eliminates all the drivers' issues.