
Windows 11 comes out of the box with a refreshing look, but there are many tweaks you can make to the Windows UI. One of the easiest ways to personalize the visual experience on Windows 11 is using themes.
Windows 11 offers eight themes out of the box. You can customize themes by changing the background image, fonts, color, sounds, and other things. Additionally, you can also download themes from the Microsoft Store. So, here's how to get started with themes for Windows 11.
How to Change the Theme on Windows 11
If you're just bored of your Windows 11's current look, you can simply change the themes and select one of the existing themes on Windows 11.
To change the theme on Windows 11:
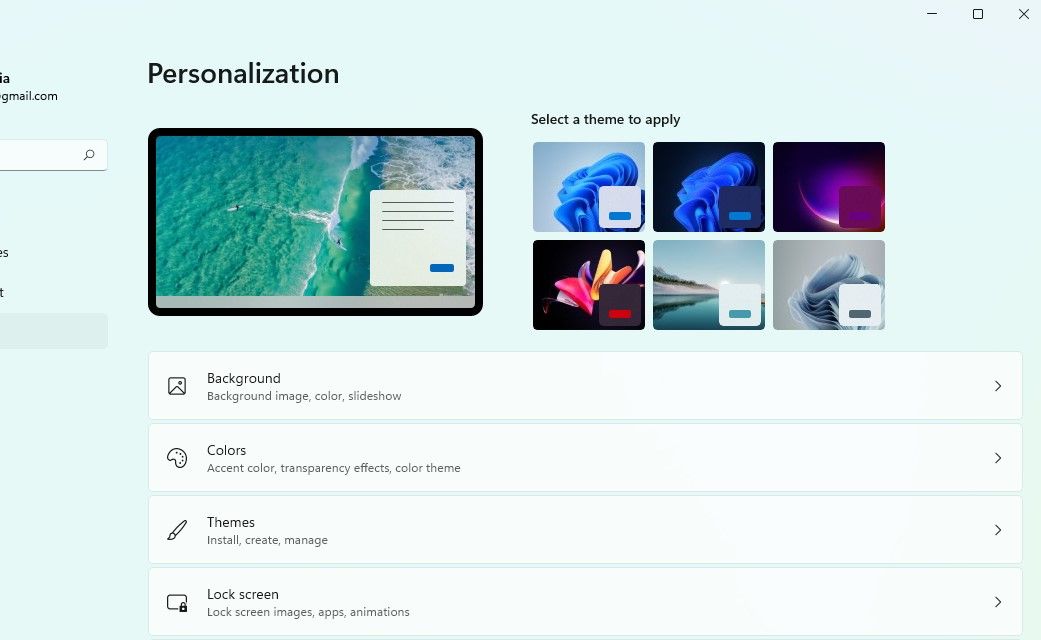
- Right-click on the desktop and select Personalize. This will open the Personalization section in the Settings app.
-
You'll see a list of themes at the top of this section under the header Select a theme to apply. Just select one of those themes to apply it.

The theme should apply after a few seconds.
How to Customize Your Windows Theme
If you don't want to use a theme as-is, you can customize a Windows theme to your liking. Windows 11 allows changing specific components of a theme such as a background image, lock screen image, and colors.
To customize a theme on Windows 11:
- Right-click on the desktop and select Personalize to open the personalization section in the Settings app.
-
You'll see a list of options here that you can customize for your current theme. Some of the most useful customization options include:
- Background: This is where you can change the background image. You can also use other background options like a solid color, slideshow, or Windows Spotlight.
- Colors: This is where you switch between light and dark mode, enable or disable transparency effects, and change accent color.
- Lock screen: This is where you can choose an image for the lock screen and select an app that appears on the lock screen.
You can also customize the Taskbar, Start Menu, and other components such as:

Whenever you change one of these elements, the changes will apply automatically.
How to Use Contrast Themes
Windows 11 also offers contrast themes for better accessibility. Contrast themes are high-contrast themes designed for people with low vision, but you can also use them if you like the look and feel of those themes.
Applying a contrast theme makes the text more legible because of high-contrast colors. If you do a lot of reading on the computer, you might want to give contrast themes a shot and see how if it makes reading easier.
To enable contrast themes:
- Press Win + I to launch the Settings app and select Accessibility from the left sidebar.
- Click on Contrast themes.
-
Select one of the contrast themes from the four that are available (Aquatic, Desert, Dusk, and Night sky) by clicking on the dropdown.
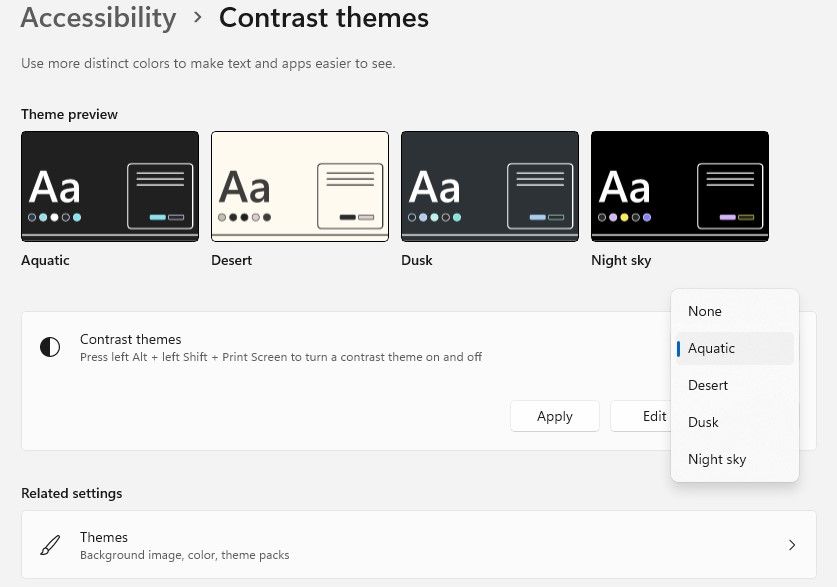
- Click Apply once you've selected a contrast theme.

You can also customize the contrast themes on Windows 11. If you want to customize a theme, select a contrast theme from the drop-down and click on Edit instead of Apply.
Here's what you can edit in a contrast theme:
- Background: Lets you change the background color that appears behind a text element.
- Text: Lets you change the color of the text for Windows 11 and web pages.
- Hyperlink: Lets you change the color of linked text on Windows 11 and web pages.
- Inactive text: Lets you change the color of inactive text that appears anywhere in the OS.
- Selected text: Lets you change the color of selected text.
- Button text: Lets you change the color of buttons and text within the buttons.

Once you've made the changes, select the Save as button. You'll need to select a name for this custom theme. Enter a name, and then click Save and apply.
If you ever need to quick enable or disable a contrast theme, you can use the shortcut: Left Alt key + Left Shifty key + Print Screen.
How to Download Themes on Windows 11
If you don't like the themes that are already available on Windows 11, you can also download new ones.
You can select both free and premium themes from the Microsoft Store, though most are free. The free themes are excellent, but if you don't mind spending a few dollars, you can also get one of the exquisite premium themes.
To download and install new themes:
- Press Win + I to launch the Settings app and navigate to Personalization > Themes.
- Click Browse themes. Doing this will launch the Microsoft Store. You'll see a list of themes in the Store. Click on the one you want to install.
- Once you've clicked on a theme, click on the Get button at the top-right to download and install the theme.
-
Click Open. Doing this will open the Settings app.

- Click on the theme you just installed and it will apply automatically.

Of course, you can customize the newly installed theme just like you'd customize an existing theme.
However, if you change your mind later and want to revert back to the original theme, just select it from the Personalization section in the Settings app. If you no longer require the manually installed theme, right-click on the theme and select Delete.
Windows 11, Personalized
Themes are a great way to quickly change the overall look and feel of Windows 11 every once in a while. There's a large library of themes on the Microsoft Store if you don't like the ones that come installed by default on Windows 11.
Alternatively, you can also customize the themes that are installed on the computer. If you miss the Windows 10 experience, you can also make Windows 11 look like Windows 10 with a third-party app.