
Setting up a slideshow is a great way to show off a collection of your favorite photos. There are a plethora of third-party software packages with which you can set up picture presentations.
However, you don’t need to install any of those additional apps, as Windows 11 already includes built-in features and apps to set up basic slideshows with. Here are six ways you can set up photo slideshows in Windows 11 without additional desktop software.
1. How to Set Up a Desktop Slideshow
Windows 11 includes a feature that enables you to set up slideshows on its desktop. When enabled, the desktop displays images in a selected folder for a specified time. It’s a relatively basic slideshow feature, but you can still show off all your favorite photos on your PC’s desktop with it. This is how to set up a desktop image slideshow in Windows 11:
-
Click anywhere on the desktop with your right mouse button to select Personalize.
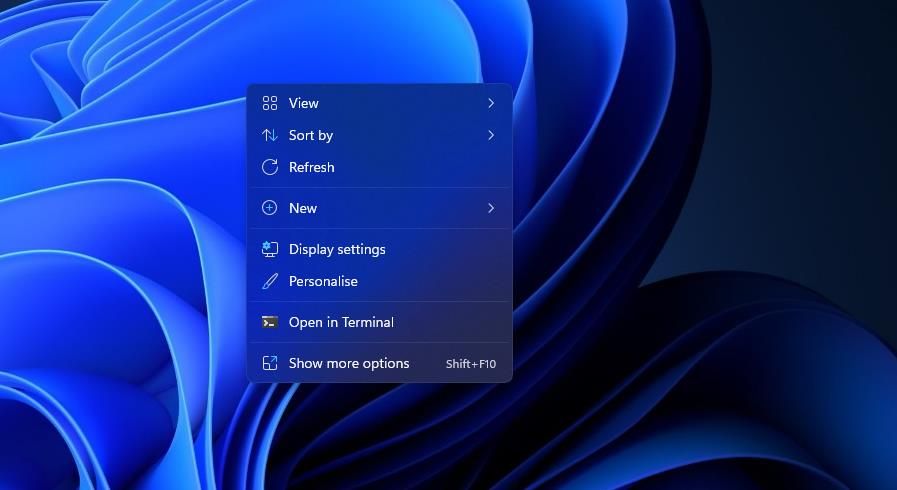
- Select Background in Settings.
- Double-click Personalize your background to expand its settings.
-
Select the Slideshow option within the Personalize your background drop-down menu.
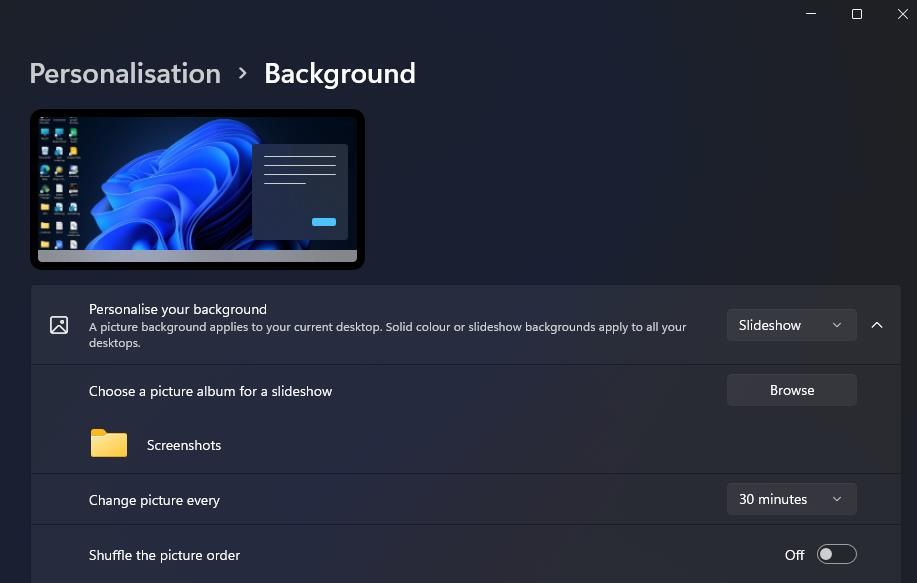
- Click Browse to select a folder that includes your photos for the slideshow.
- Select the Choose this folder option.
- Then choose an image display period on the Change picture every drop-down menu.


2. How to Set Up a Screensaver Slideshow
If you prefer to view your favorite images without overlapping desktop icons, set up a screensaver photo presentation instead. Yes, Windows 11 does still include screensavers, even if some people argue that screensavers are no longer relevant.
his is how you can set up a screensaver slideshow in Windows 11:
- Type screensaver in the Start menu's search text box.
- Click Change screensaver in your search results.
-
Select the Photos option within the drop-down menu shown directly below.
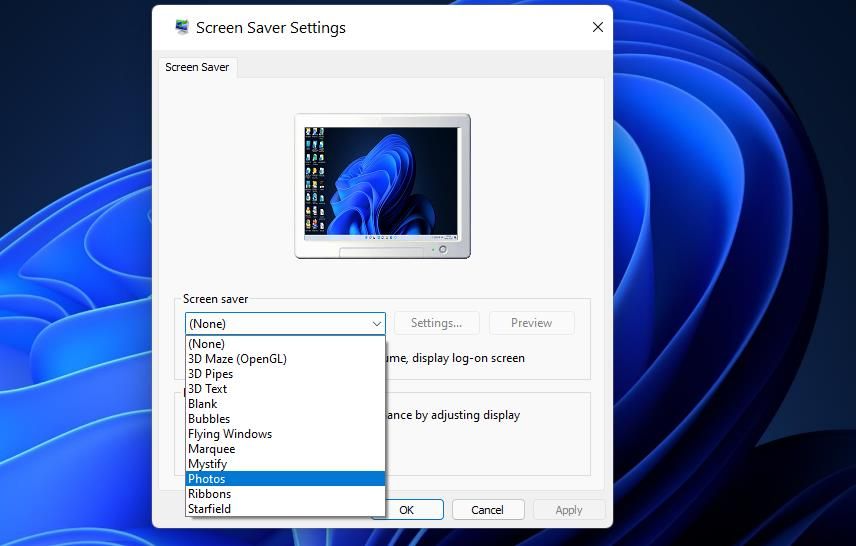
- Adjust the Wait option to configure how long it takes to for the screensaver to appear.
-
Press the Settings button to bring up further options.
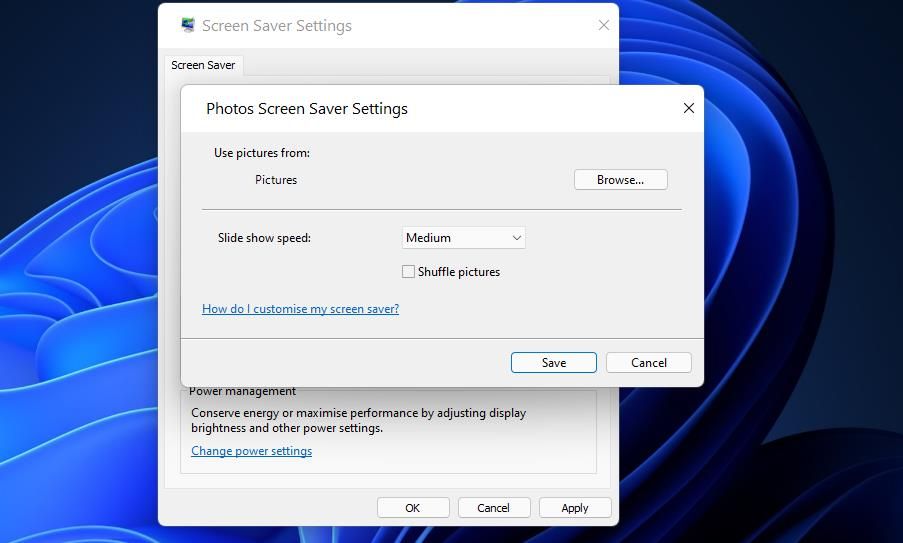
- Click the Browse button for selecting pictures.
- Choose a folder that includes the photos you want to show in the slideshow, and click OK to confirm.
- Select an option on the Slide show speed drop-down menu.
- Click the Save and Apply options.


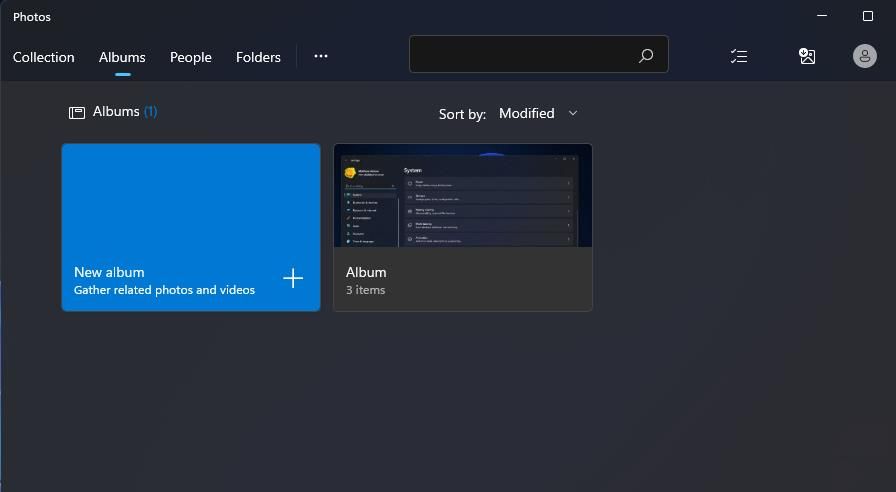
3. How to Set Up a Slideshow With the Photos App
Photos is Windows 11’s default image viewer and photo-editing app. That app includes a Slideshow option you can select to view a compilation of images. You can view slideshows in Photos with that option as follows:
- Click the pinned Photos app that’s on Windows 11’s Start menu.
-
Select the Albums tab.
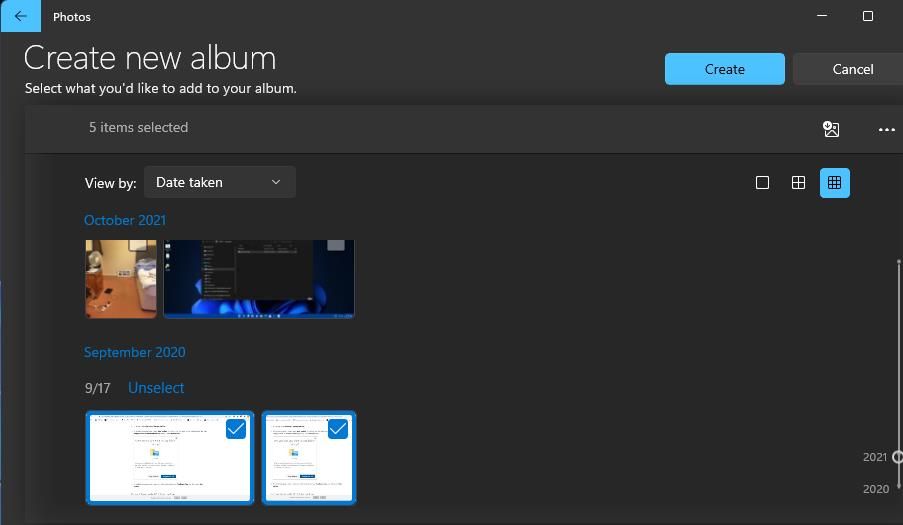
- Click New album to select images within Photos to include in your slideshow. You can click the Import > From folder options to select images you can’t find within the Photos app.
-
Press the Create button to set up the album.
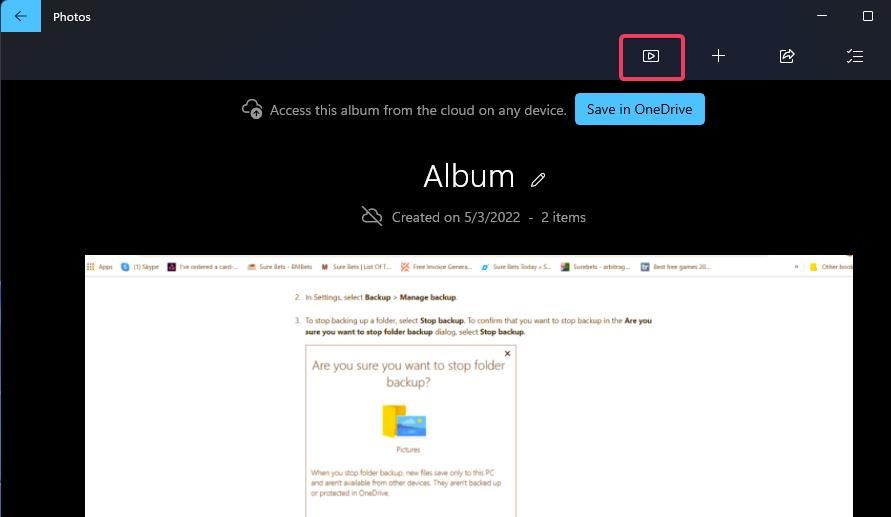
- Select the album you just set up in Photos.
-
Click the Slideshow button to view your photo presentation.


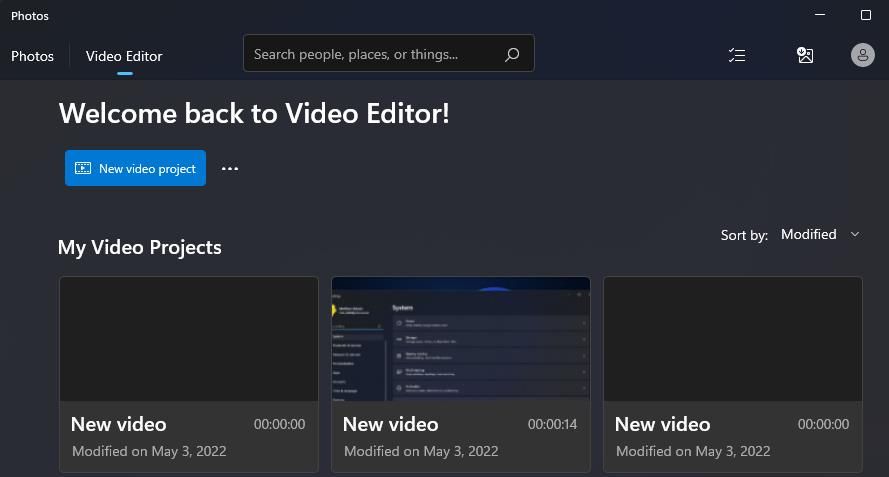
4. How to Set Up a Slideshow With Video Editor
Video Editor is an app that’s like an expansion to Photos. That app enables its users to set up photo video slideshows with different themes and background music. Here are the steps for creating a slideshow clip for your favorite snapshots in Video Editor:
- Click within the search box on Windows 11’s Start menu.
- Enter Video Editor in the search utility.
- Select Video Editor to open that tab in Photos.
-
Press the New video project button.
- Enter a title for your clip, and click the OK option.
- Click + Add > From this PC to select some images for the slideshow. Then select Open to add them.
-
Drag image thumbnails from the project library onto the slides at the bottom of the My Slideshow tab.
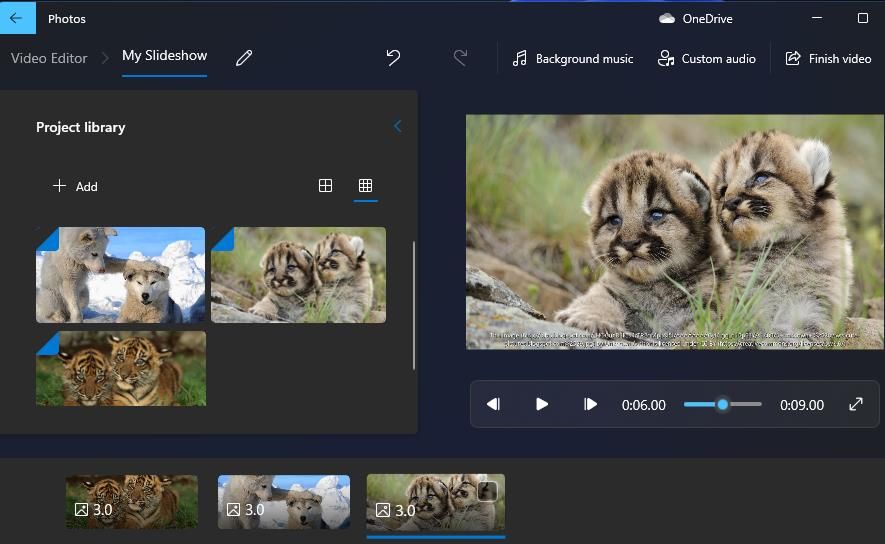
-
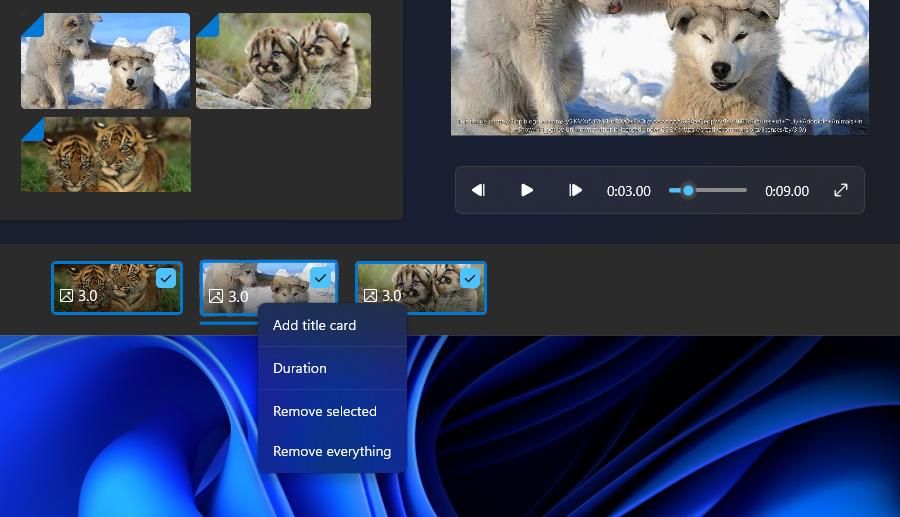
Check all the slides' checkboxes, and right-click one to select Duration. Then input a value to set how long the slideshow displays all the images before changing.
-
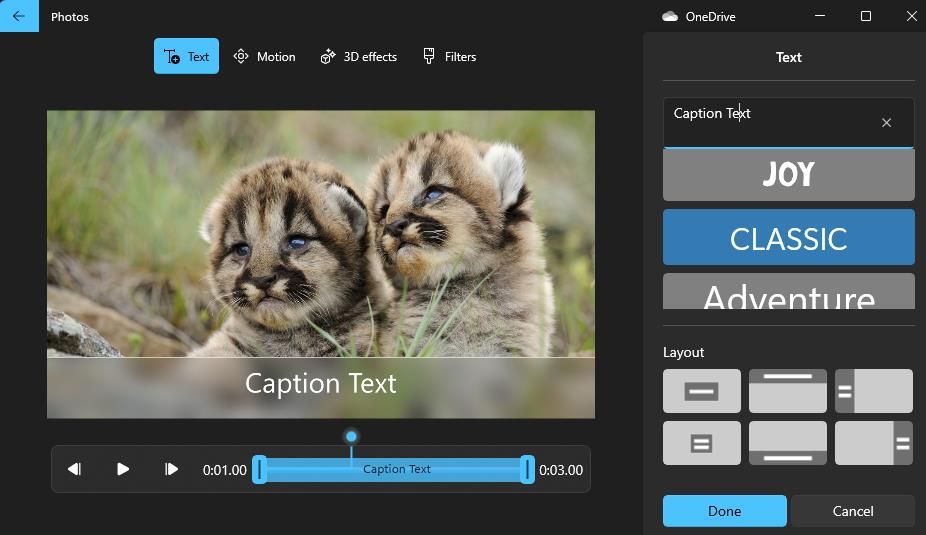
You can add captions to specific images by right-clicking them and selecting Edit > Text option. Enter a caption in the text box, select a font, and click Done.
- To add some sound, click the Background music option. Then choose an audio scheme, and press the Done button.
-
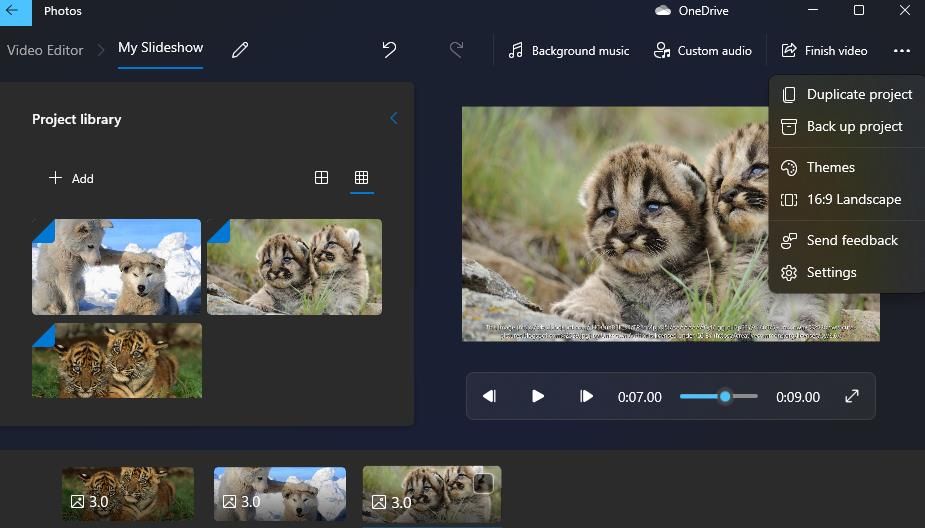
Click the three-dot button at the top right of Video Editor to select Themes. Select a theme to set for the slideshow and click Done.
- Press the Finish video button.
- Select an option on the Video quality drop-down menu, and click the Export option.


5. How to Set Up a Slideshow With Google Photos
Google Photos is a cloud storage web app for storing images you can utilize within Windows 11’s Edge browser. Anybody with a Google Account can save snapshots there. If you don’t already have such an account, set one up as outlined on this Google Account Help page. Then follow these steps to set up a slideshow in Google Photos:
- Open Google Photos in Edge or another browser.
- If you don’t already have images saved there, click Upload > Computer in Google Photos. Press the Ctrl key to choose some photos, and click the Open option.
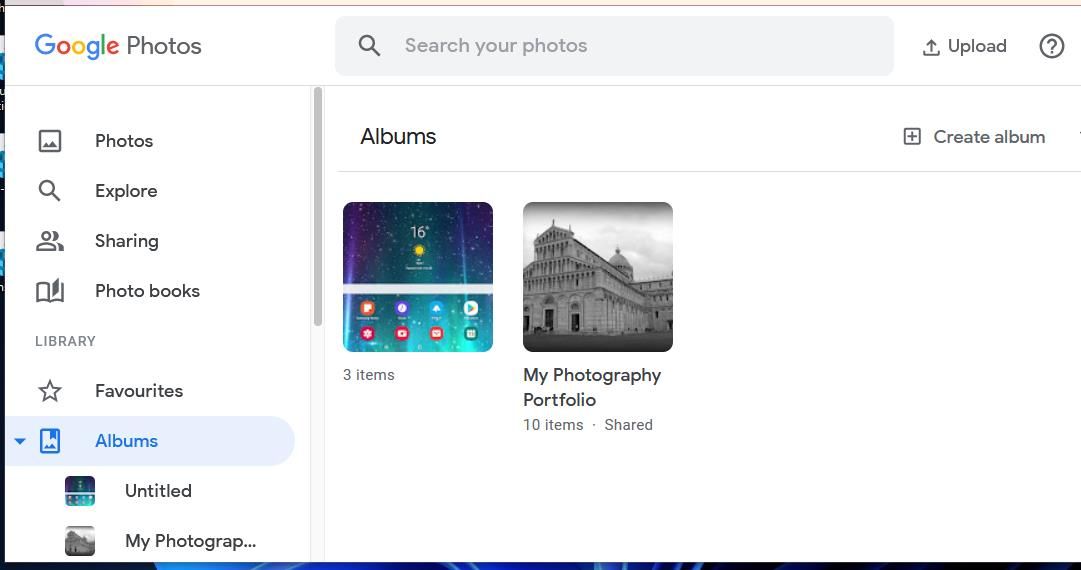
- Select Albums on the left of Google Photos.
-
Click the Create album option.
- Enter an album title, and press the Add photos button.
- Choose some photographs, and click the Done button.
- Select your new album in Google Photos.
-
Click the More options (three-dot) button to select Slideshow.
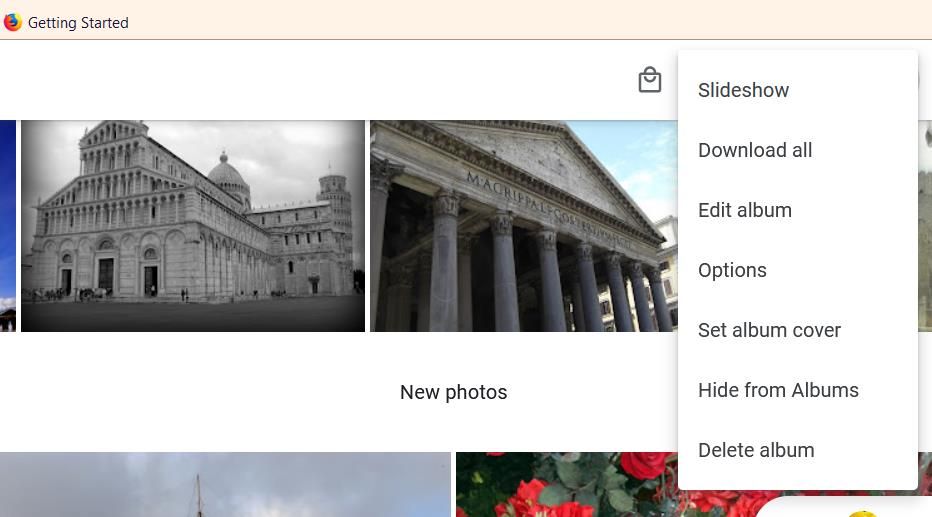
- Your album slideshow will now play in full-screen mode. Click the left and right arrows to flick through your images.


6. How to Set Up a Slideshow With Google Slides
Slides is a presentation web app of the G Suite you can also utilize with a Google Account. That app includes much more extensive options for setting up photo slideshows with different layouts, transition effects, animations, and captions than Google Photos. These are the steps for setting up a basic image slideshow with Slides:
- Open the Google Slides homepage.
- Click the Go to Slides button.
- Then select the Blank presentation option.
- Enter a title in the Untitled presentation box.
-
Click the small down arrow on the New Slide button.
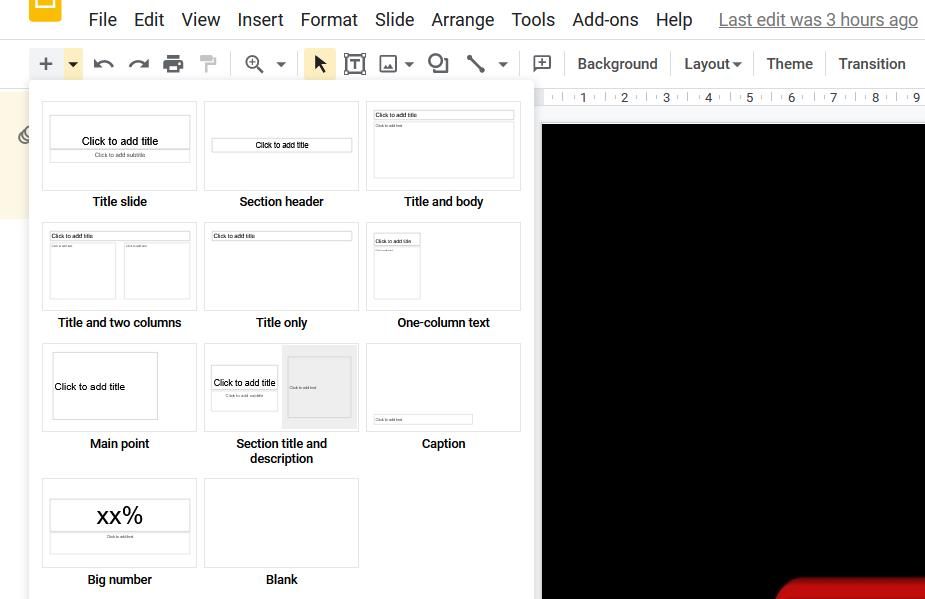
- Select Blank to add an empty slide.
- Repeat steps five and six to add as many slides as you need for your photo slideshow.
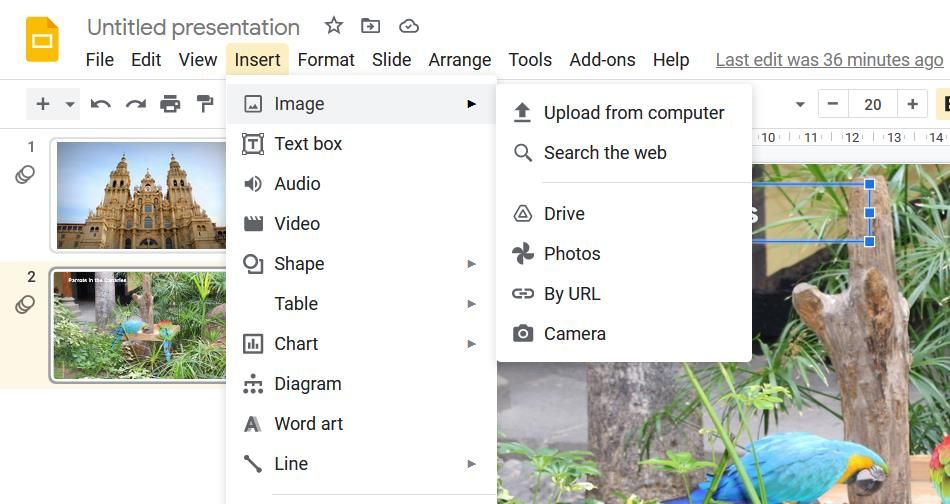
- Then select a blank slide to add an image to and click Insert.
-
Select Image > Upload from computer on the menu.
- Choose a photo you want to add to the slide and select the Open option.
-
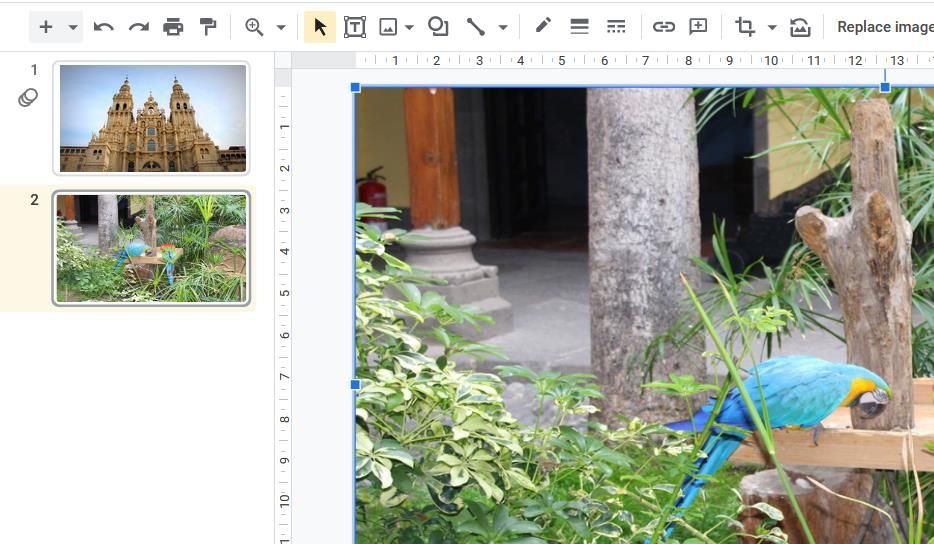
Drag the image’s borders with the cursor to resize it so that it fills the whole slide.
- Repeat steps six to nine to add photos to all blank slides within your slideshow.
-
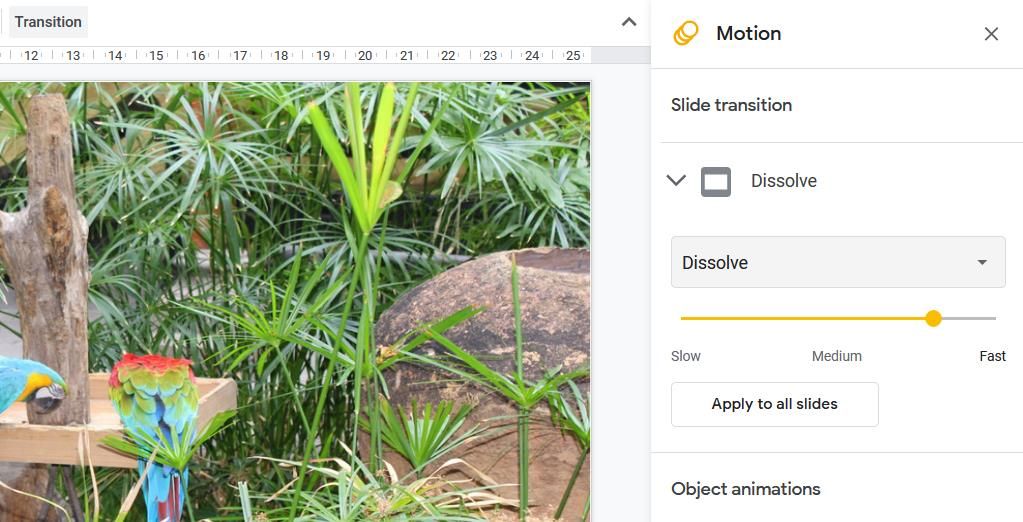
To add a slideshow transition effect, click the Transition button. Then choose a transition on the drop-down menu, and select the Apply to all slides option.
-
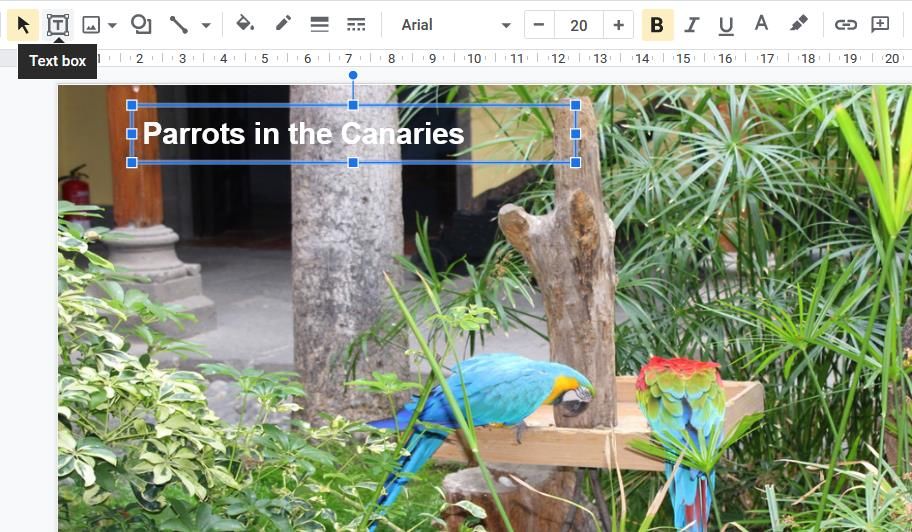
You can also add captions to slides by clicking the Text box option. Position your box at the bottom or top of the slide, and enter a photo description in it.
- Click the Slideshow button to view the presentation.
- Your presentation gets automatically saved within Slides. However, you can save it to a hard drive by clicking File > Download and choosing Microsoft PowerPoint (or alternative) file format.


Slides has many more audio, formatting, text, shape, and theme options available. You can also include multiple images in single slides by selecting different layout options. Our how to create a presentation in Google Slides guide provides more in-depth guidelines for utilizing that web app.
7. How to Set Up a Slideshow With Windows Media Player
Windows Media Player is old software with which you can play music and video and view images. That software still comes included with Windows 11, and you can set up basic image slideshows with WMP as it catalogs pictures in your user folder. This is how you can create image slideshows with Windows Media Player:
- First, make sure your user Pictures folder includes the photos you want in a slideshow. You can move photos into the user Pictures folder by dragging and dropping them from one directory to the other in File Explorer.
- Type Windows Media Player inside the Start menu’s search box.
- Select Windows Media Player to bring up that software’s window.
- Click the Create playlist button.
- Type Image Slideshow in the playlist text box.
- Then click the small arrow beside Playlist to extend that category.
-
Click the Pictures on the left of the Windows Media Player window.
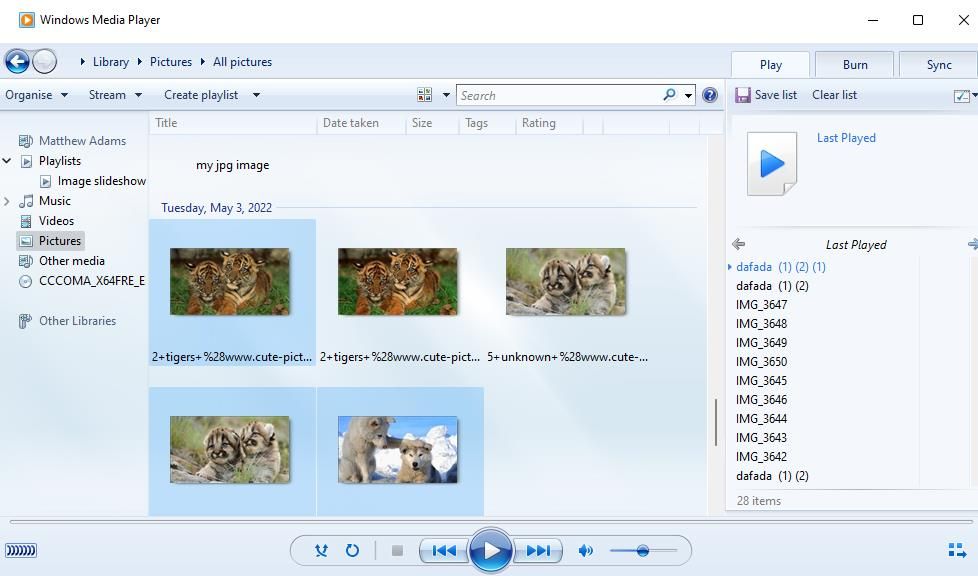
- Hold the Ctrl key and select photos to include within the slideshow.
- Then hold the left mouse button to drag your image selection onto your playlist’s title in the Windows Media Player sidebar.
- Release the left mouse button when you see the Add to + tooltip.

Now select your Image Slideshow playlist in Windows Media Player, which will include the photo files you’ve added to it. Click the Play button to start the slideshow. Windows Media Player will then display play a basic slideshow that flicks through the images in it at about five-second intervals. If WMP doesn’t automatically show the slideshow, click the Switch to Now Playing option.

Who Needs Third-Party Photo Slideshow Software?
So, it’s hardly essential to install third-party slideshow software in Windows 11 when you can show off your favorite pics with the methods above. Windows 11’s built-in desktop and screensaver slideshow features and Google Photos are ok for showcasing basic image collections. You can set up more advanced photography slideshows that incorporate variable transition effects, background music, audio narrative, and text captions with Video Editor and Google Sheets.