Microsoft requires your system to have an active internet connection to complete the Windows 11 setup. It asks you to log into your Microsoft account to download critical updates and new features before you can start using your freshly installed Windows operating system.
This becomes an issue if you want to use a local user account or don’t have an active internet connection during setup. Luckily, there are a few workarounds to skip the Windows 11 network setup. Here we show you how to bypass this restriction and complete the Windows 11 setup without an internet connection.
Why Does Windows 11's Setup Require an Internet Connection?

According to Microsoft, you need an active internet connection to perform updates and download and use some features. In addition, Windows 11 Home edition requires a Microsoft Account to complete device setup on first use.
However, this may not be feasible due to many reasons. First, you may want to use a local user account, but connecting to the Internet will force you to log in with a Microsoft account. The second potential issue is the missing WiFi drivers to connect to the network. Finally, the unavailability of a working Internet connection is another reason you may want to bypass this restriction.
In Windows 10, bypassing this restriction was easy. You could click on the "I don't have internet" option and proceed to create a local user account and complete the setup.
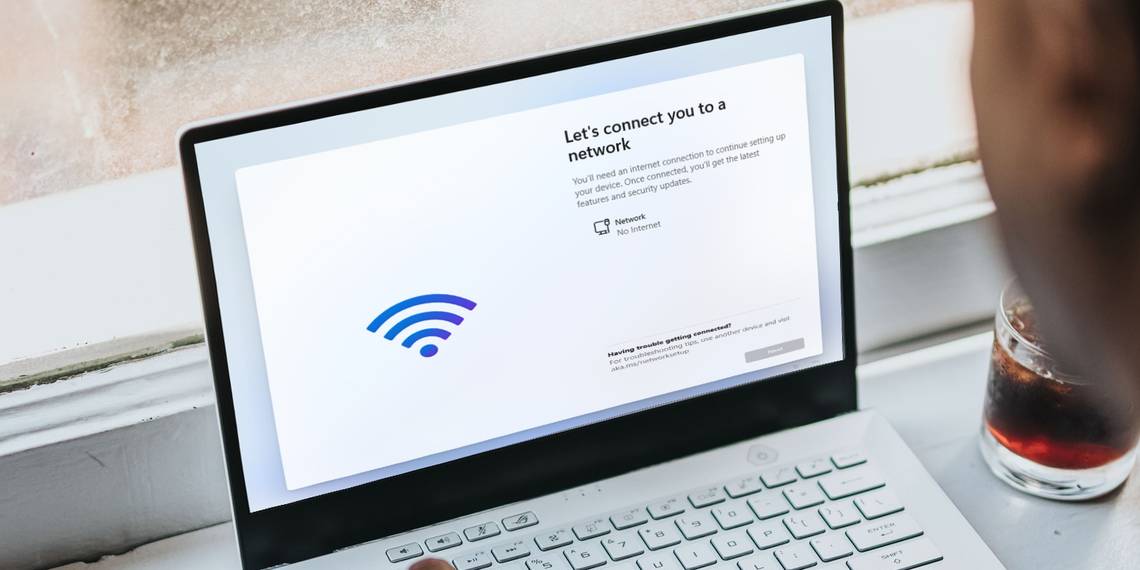
Windows 11, however, stops at the "Let’s connect you to a network" screen with the "Next" button grayed out. Windows 11 Pro, Enterprise and Education users can click on "I don’t have internet" and proceed to complete the setup with a local user account; however, Home edition users don't have this option.
Here are a few workarounds to install Windows 11 Home without an active Internet connection.
1. Bypass Out-of-the-Box-Experience (OOBE) Internet Requirement
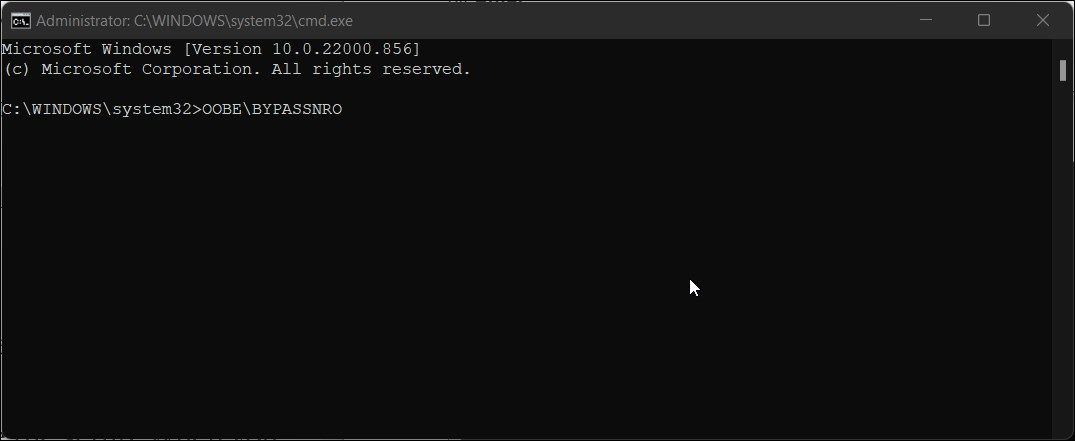
You can bypass the Let’s connect you to a network screen using the OOBE \BYPASSNRO command in Command Prompt.
When executed, it runs an existing CMD script, bypassnro.cmd, stored in the System32 folder to modify the Windows registry. This modification allows you to complete the Windows 11 setup without an Internet connection.
To complete the Windows 11 setup without internet:
- Make sure your computer is not connected to the Internet.
- Next, boot your computer with the Windows installation media. Skip to Step 9 below if you are already on the Let's connect you to a network screen.
-
When the Windows Setup dialog appears, select your preferred language, time, and keyboard input layout and click Next.
-
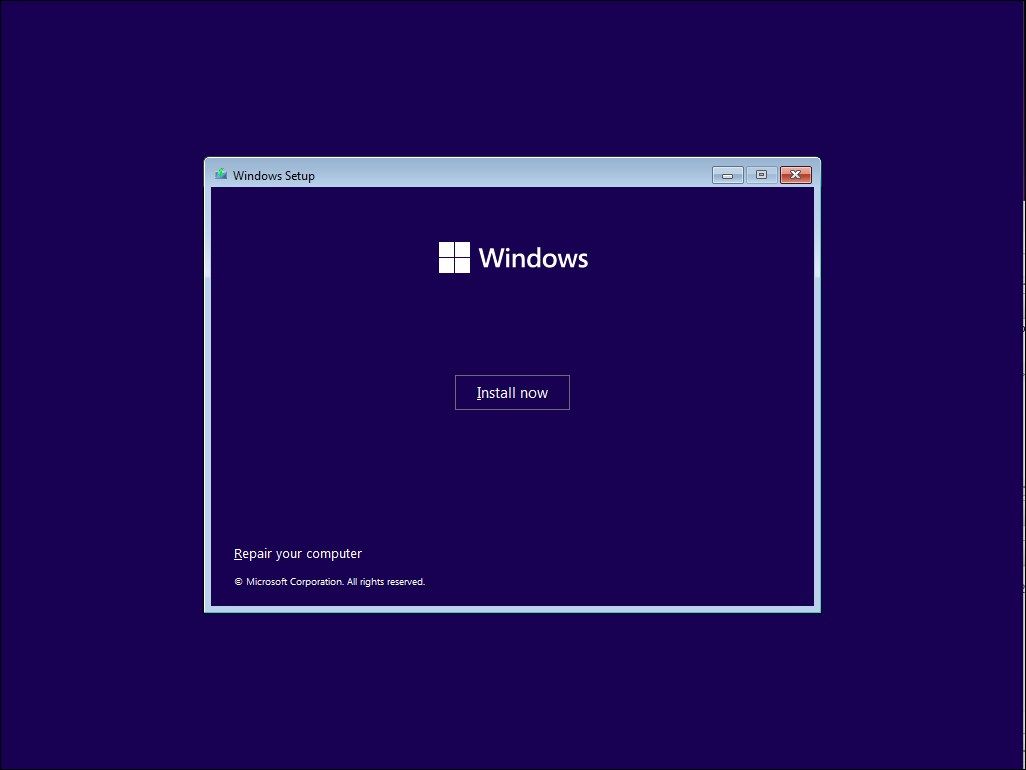
Click Install Now.
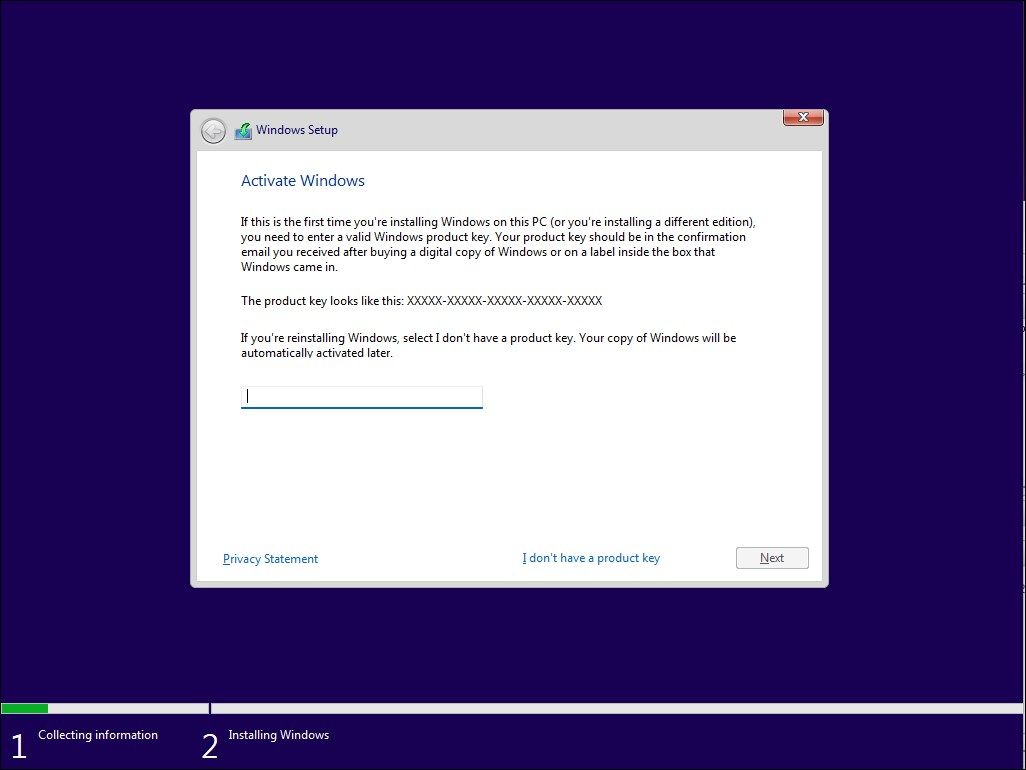
- Enter your product key. If you don't have a product key, click the I don't have a product key link in the bottom right corner. If you are upgrading from Windows 10 and had Windows 11 previously installed, the operating system will automatically recognize and validate the Windows product key linked to your computer hardware.
- Next, if prompted, select the edition of Windows 11 you want to install.
- Check the box to accept terms and click Next.
-
Select Custom: Install Windows Only (Advanced).
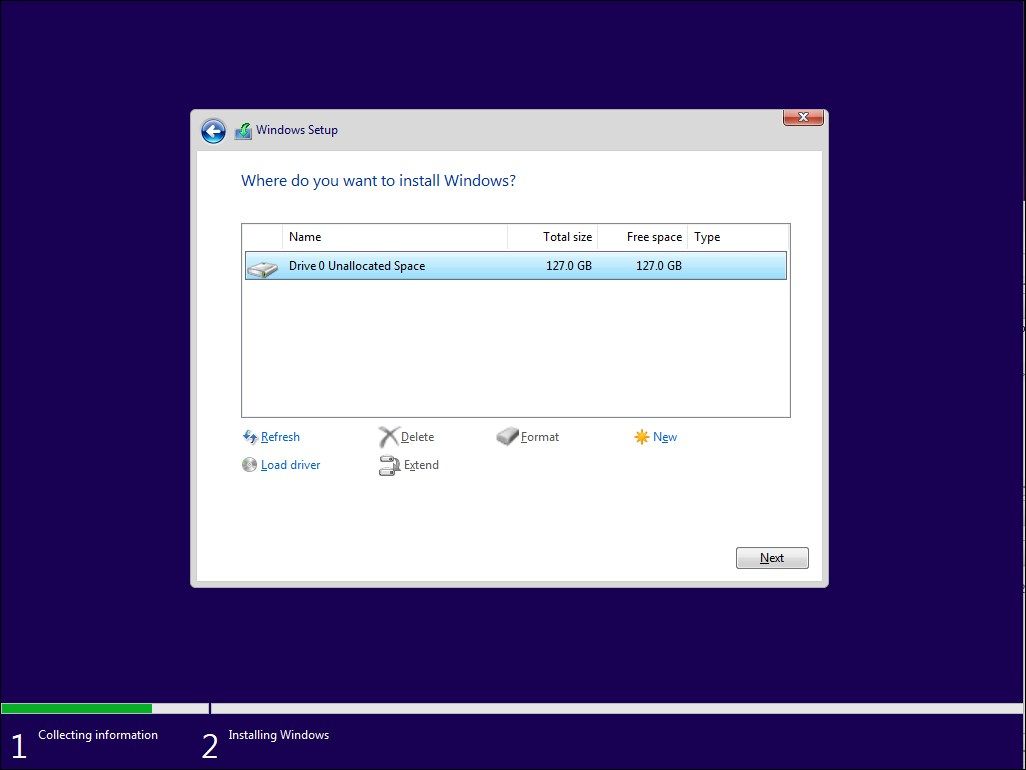
- Select the installation drive and click Next. Wait for Windows to finish installation and restart your computer.
- In the setup screen, select your region and keyboard layout.
-
Once in the Let’s connect you to a network screen, press Shift + F10 to launch the Command Prompt.
-
In the Command Prompt window, type the following command and press Enter:
OOBE\BYPASSNRO -
Upon successful execution, your system will restart and relaunch the OOBE dialog.
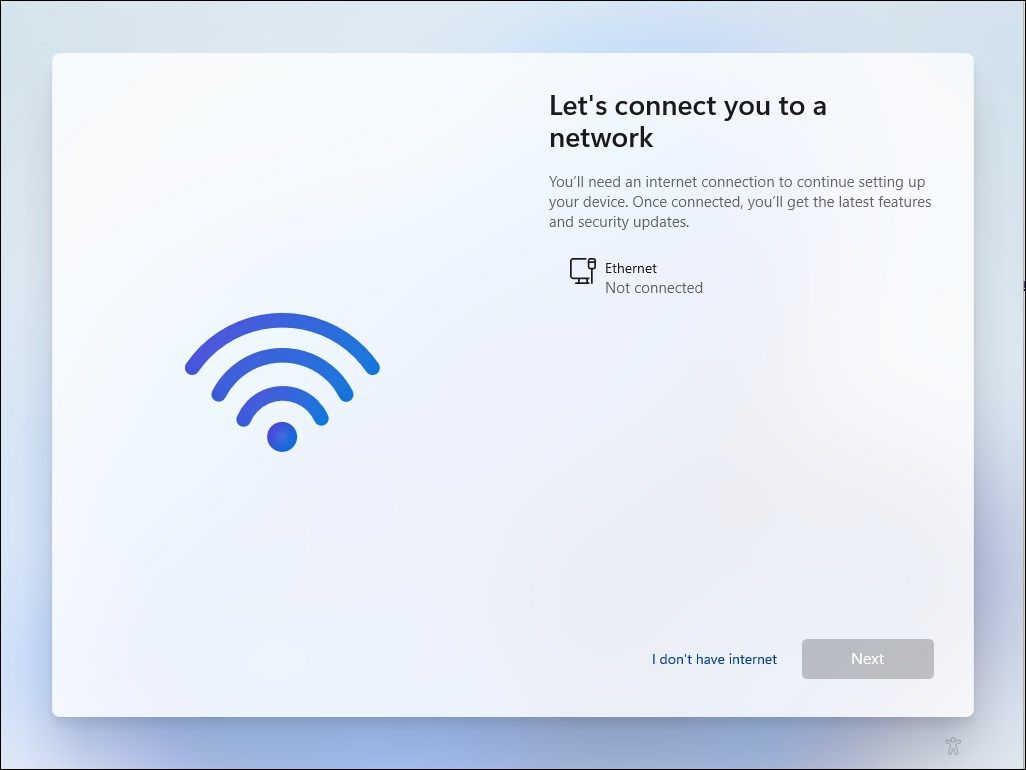
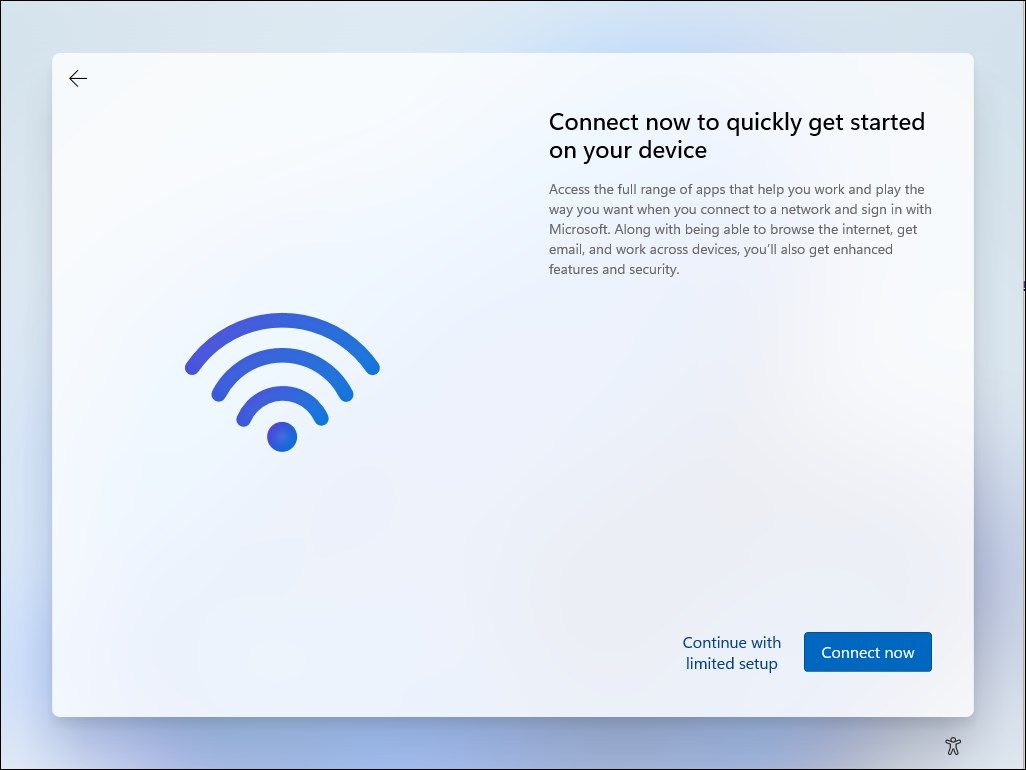
- Follow the on-screen instructions to complete the setup. When you reach the Let’s connect you to a network screen, click on I don’t have Internet option.
-
Next, click on Continue with limited setup.
- Accept the License Agreement and proceed to create your local user account.


Make sure to add security questions. This will help you recover your local user account in case you forget your password. Once done, follow the on-screen instructions to complete the setup.
2. End Network Connection Flow Process Using Task Manager
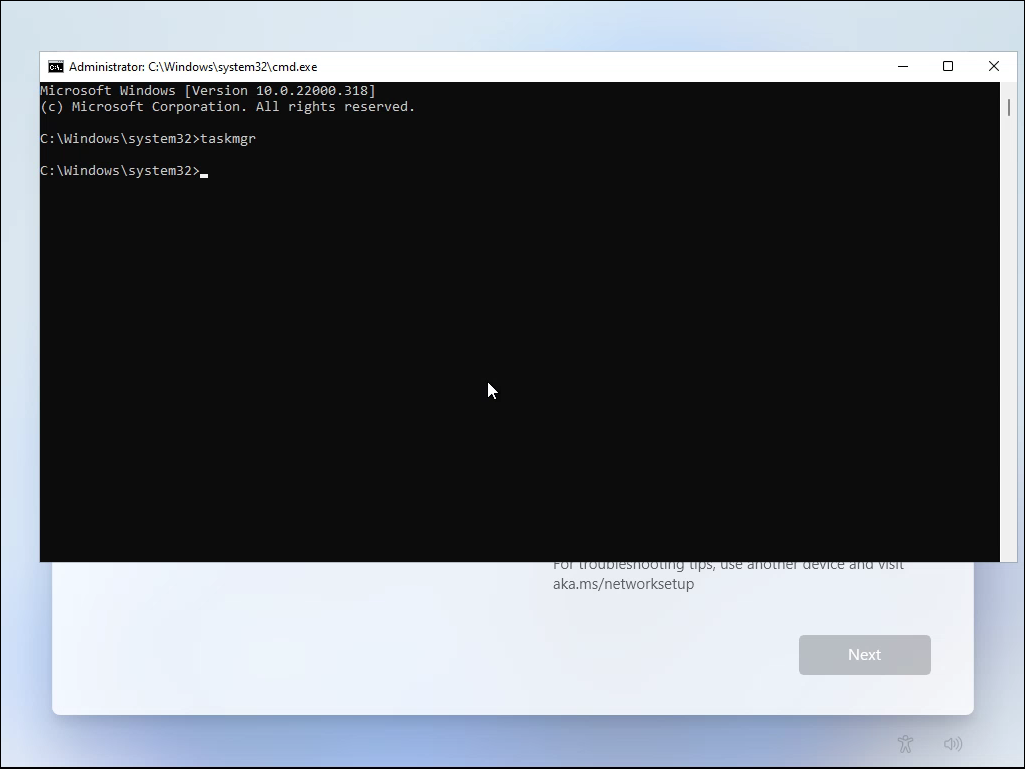
You can bypass the "let’s connect you to a network" screen by killing the oobenetworkconnectionflow.exe process using the Windows Task Manager.
Since you already have Windows 11 installed at this stage, you can launch the Task Manager on top of your setup wizard using Command Prompt and kill the process.
To skip the Windows 11 network setup using Task Manager:
- Assuming you are in the Let’s connect you to a network screen, press Shift + F10 to launch the Command Prompt.
-
In the Command Prompt window, type taskmgr and hit enter to launch Task Manager.
- Alternatively, use the Ctrl + Shift + Esc shortcut to launch Task Manager without Command Prompt.
- Click More Details to open Task Manager in full view.
-
In the Processes tab, locate Network Connection Flow. Use the search bar in Task Manager to find the Network Connection Flow process.
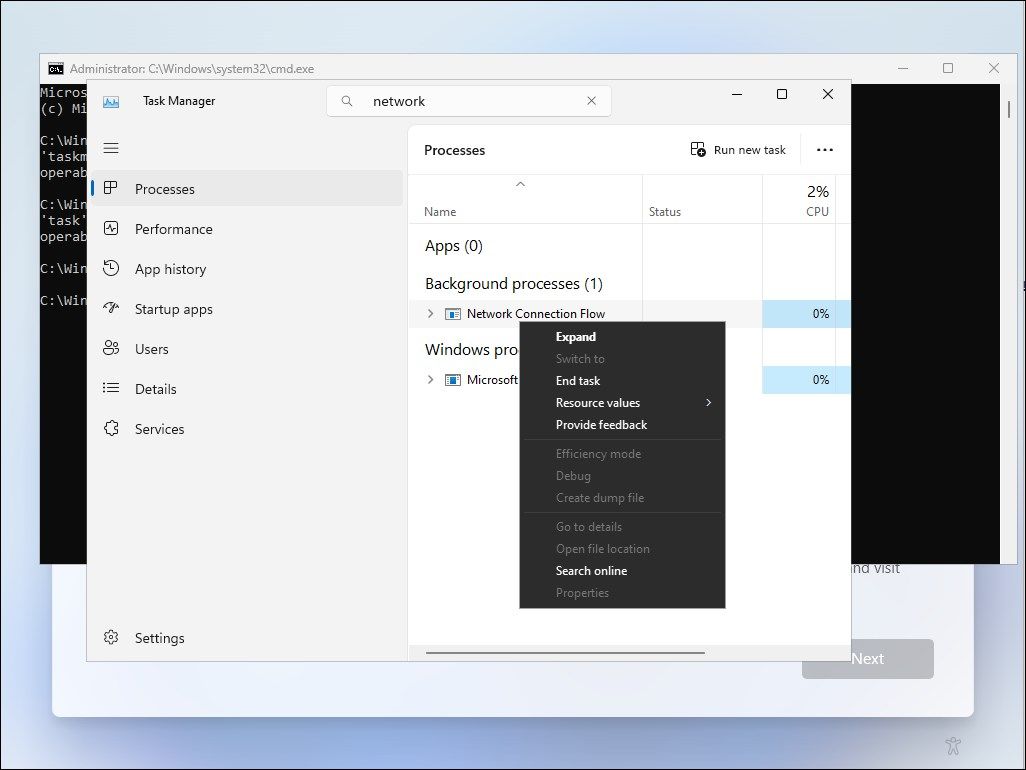
- Select the Network Connection Flow process and then click the End task button. Wait for the process to end and then close the Task Manager.
- Type exit in the Command Prompt and hit enter.


Now you will be back in the setup wizard. It will show some loading animation and then proceed to the next step. Here enter your name and password to create a local user account in Windows 11 and complete the setup.
3. Directly Kill Network Connection Flow Using the Command Prompt

If you are unable to end the Network Connect Flow through Task Manager, you can directly kill it using the Command Prompt. Here’s how to do it.
- At the Let’s connect you to a network screen, press Shift + F10 to launch Command Prompt.
-
In the Command prompt window, type the following command and hit enter to execute:
taskkill /F /IM oobenetworkconnectionflow.exe - Once executed, close the Command Prompt window to continue with the setup.
4. Skip Let’s Connect You to a Network Page with Alt + F4
This workaround is more of a hit-or-miss but seems to have helped a few users. When at the Let's connect you to a network screen, press the Alt + F4 keyboard shortcut to close the mandatory Internet connection required window. Incidentally, you can use this shortcut to close active windows/programs when working on your desktop as well.
For more such handy shortcuts, explore our ultimate guide to Windows 11 keyboard shortcuts.
If successful, Windows 11 will skip the current screen and move to the next step. Once you're past this step, you can create a local user account and then complete the setup.
Completing the Windows 11 Setup Without Internet Access
You can follow one of the four methods listed above to skip the let’s connect you to a network window and complete the Windows 11 setup without the internet.
That said, once you finish the setup and create a local user account, connect to the Internet to download critical security updates and features. You may also notice a few missing icons after the initial setup. Windows will download these icons when you connect to the Internet next time.