
Windows Search is one of the most crucial features of your Windows 11 system. However, when it breaks, it can really hamper your productivity and force you to take additional steps when opening a file or changing a particular setting.
To those who recently upgraded from Windows 10 to Windows 11, you may find that you cannot type within the search bar. Unfortunately, this is a common issue, and there’s no specific reason why typing has been disabled. But don’t worry. We have listed various ways to fix this issue so you can get the Windows Search bar up and running in no time.
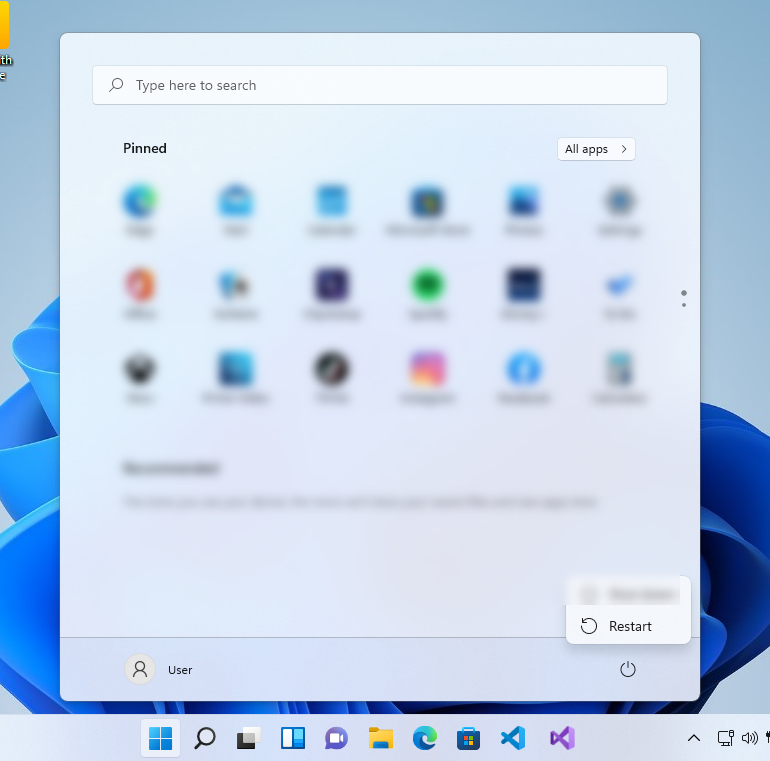
1. Restart Your Computer
Rebooting your computer resets many temporary items, allowing Windows Search to work with a clean slate. As such, if you cannot type in the Windows 11 search bar, giving the system a quick reboot may free it up once more.
- Click the Start button in the Taskbar to launch the Start menu.
- Then, click the Power button and choose Restart from the options.
-
Once the system has rebooted, check if the search function is working.

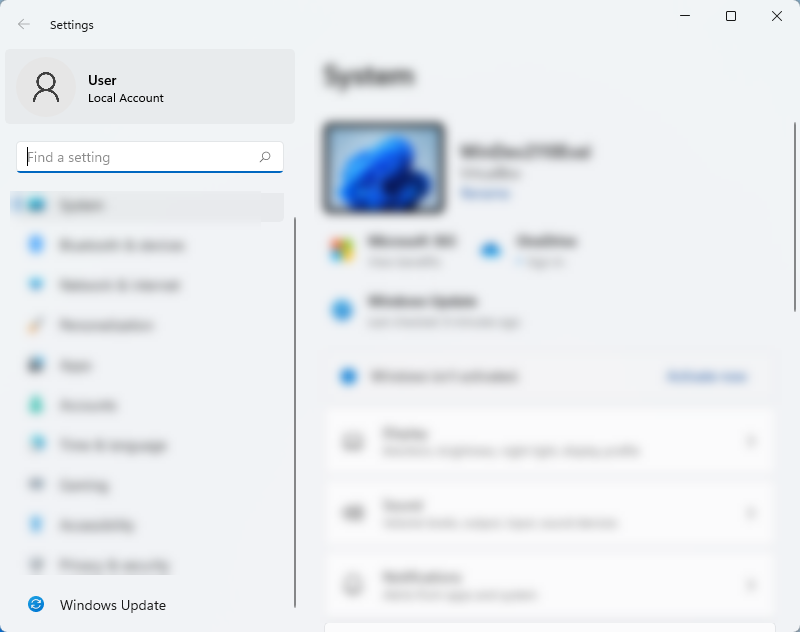
2. Update Your Windows System
Most of the time, many functionalities of your Windows system don’t work because you’re running an older version of your OS. For example, if your system hasn’t been updated for a long time, this may be why the search feature is not letting you type.
Updates are rolled out to fix bugs and any issues, so it’s best practice to install it when it’s available. Follow the steps below to update your system:
- Press and hold Win + I keys to open Settings.
- On the Settings page, click Windows update found on the left-side menu.
-
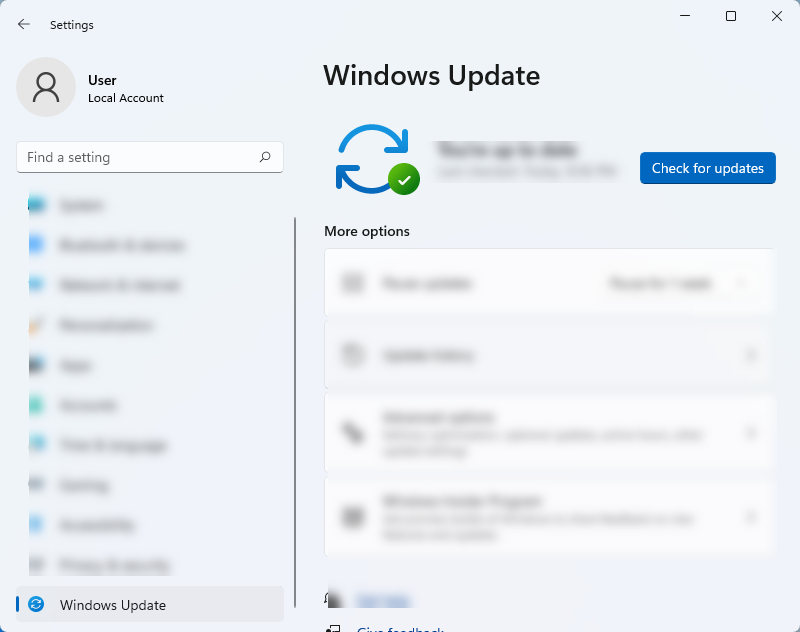
Then, click Check for updates. This allows your system to scan for newer versions. Make sure you’re connected to the internet, or the scan will fail.
-
If you find any new updates, download and install them.


Apart from bug fixes, Windows update comes with security enhancements, ensuring that your computer is protected while improving its overall performance. As such, it's a good idea
3. Relaunch Windows Search, Cortana, and File Explorer
The search function of your Windows 11 system comes from a process called SearchHost. If you’re using the search function, the process comes into play. However, if you’re not using it, the process is suspended. There may be a minor glitch in the process; that’s why Windows Search is not working. Sometimes, restarting this process fixes the issue. Here’s how:
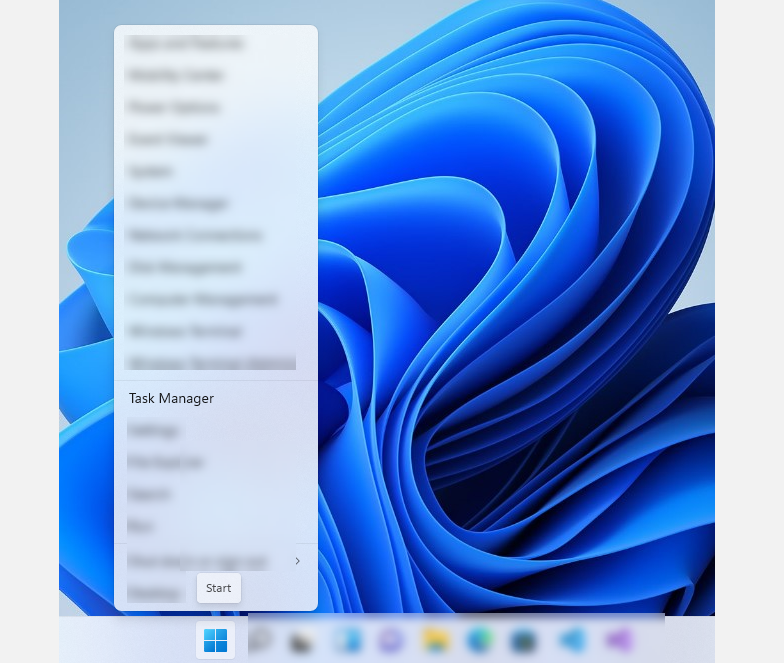
- Right-click on the Start button and click Task Manager from the option. Alternatively, you can press and hold Ctrl + Shift + Esc keys to launch Task Manager.
-
On the Task Manager window, click the Details tab found on top.
- Next, look for the SearchHost.exe process in the Details tab.
- Then, click the SearchHost.exe process and press the End task button found on the bottom part of the window. This will open a new dialogue box.
- In the dialogue box, select End process.
- Lastly, relaunch Windows Search and see if the problem is fixed.

If this doesn't work, it's worth restarting Cortana and File Explorer to see if that fixes the problem. To do that, click on the Processes tab, look for Cortana.exe, right-click it, and click End task. Then, look for Windows Explorer, right-click that, and click Restart.
4. Use the Windows Search Troubleshooter
Like Windows 10, Windows 11 comes with a built-in troubleshooting tool that allows you to automatically fix certain functions in the system. For example, you can use this tool to fix the problem with your Windows Search. Follow these steps:
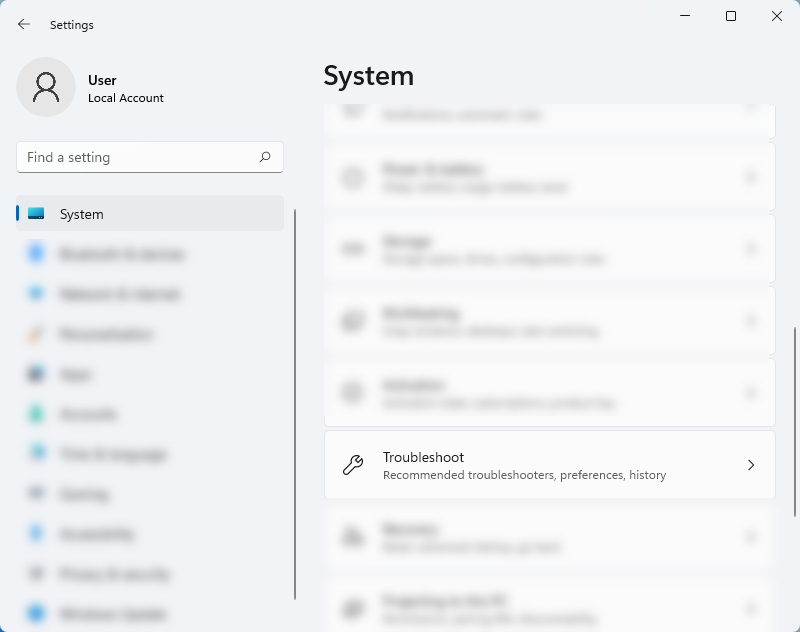
- Press Win + I keys to open Settings.
- Under Systems, press Troubleshoot.
-
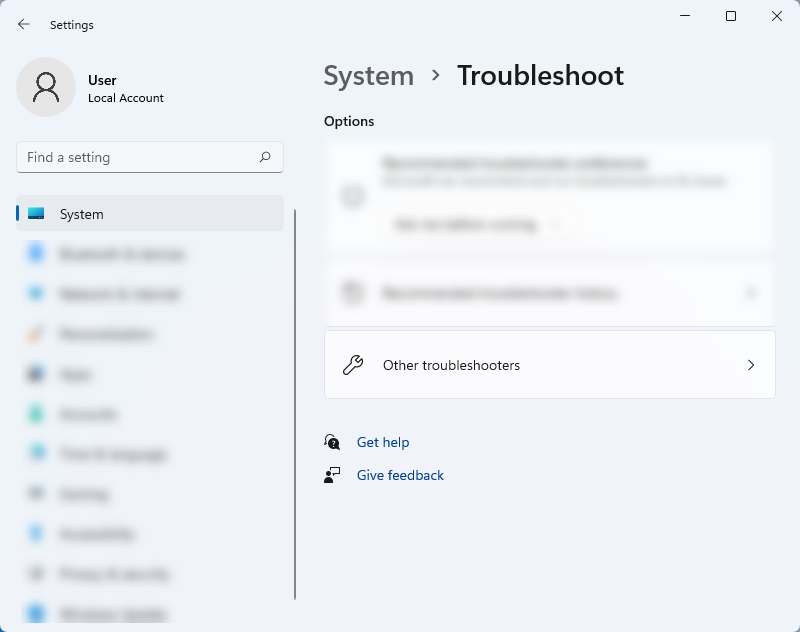
From the Troubleshoot page, press Other troubleshooters.
-
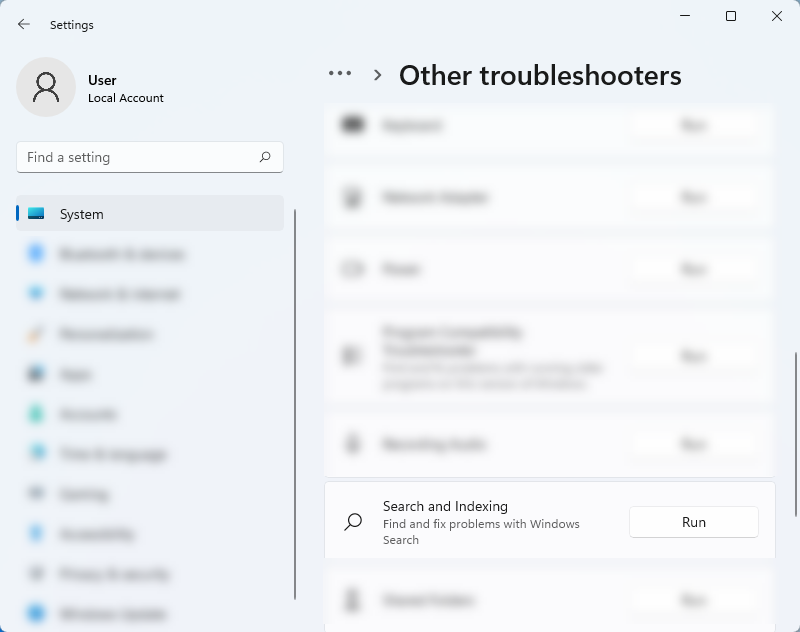
Look for Search and Indexing, and press Run beside it.
-
From the dialogue box, select the problems you are currently experiencing with the search function, and press Next. The troubleshooting tool will look for the root cause of the Windows Search problem and offer solutions. Follow the recommended fix and see if the issue persists.


5. Fix Any Corrupt Files in Your System
In many scenarios, corrupt files cause system errors in your Windows system. For example, Windows may suffer corruption in the files related to Windows Search, which in turn prevents you from typing in the search bar.
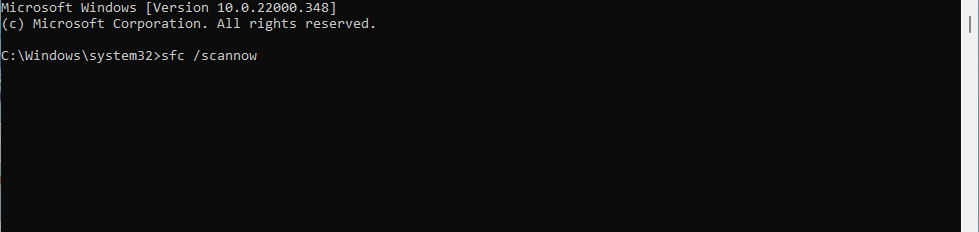
Thankfully, Windows has a command that you can use to automatically repair these files. Here’s how you can launch this command:
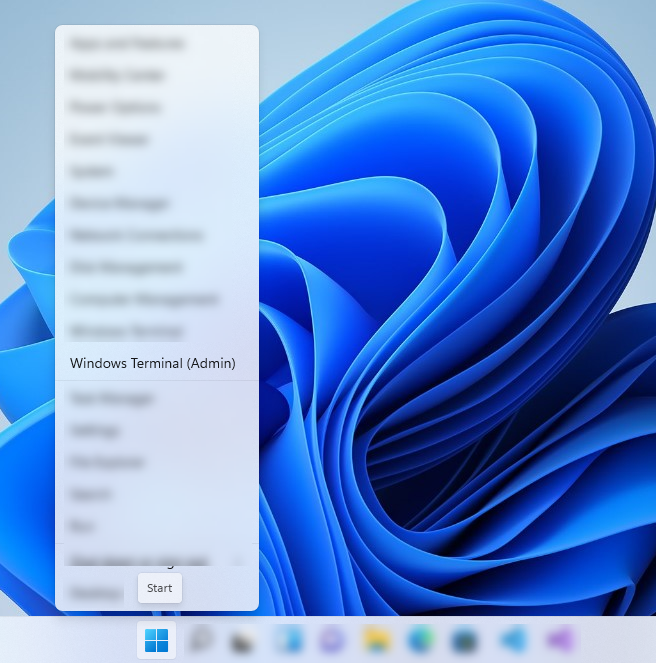
- Right-click on the Start button and click Windows Terminal (Admin). Press Yes when the dialogue box appears.
-
On the Windows Terminal, type sfc /scannow and press Enter. This will run a scan and look for any corrupted files to fix.
-
After the scan is completed, restart the laptop and check if Windows Search is working.


6. Run Ctfmon
The ctfmon.exe process helps with alternate means with writing. As such, if it encounters an error, it may prevent you from typing within the search bar.
To fix this, press Win + R, then enter the following:
C:\Windows\System32\ctfmon.exe
You may need to change the "C:" part of the command to whatever drive you're currently using.
If this works, you'll have to run the command every time you restart your PC to fix the search bar. As such, it may be worth resetting your PC to prevent the headache of running this command every time.
7. Reset Your PC
If everything else fails, your last bet is to reset your computer. This brings back all the functionalities of your system to its default setting, removing any modification made.
This may seem like an intimidating solution, especially if you have important files on your computer. But don’t worry, there’s an option for you to keep your files. However, apps and custom settings will be removed. Follow the steps below to reset your computer:
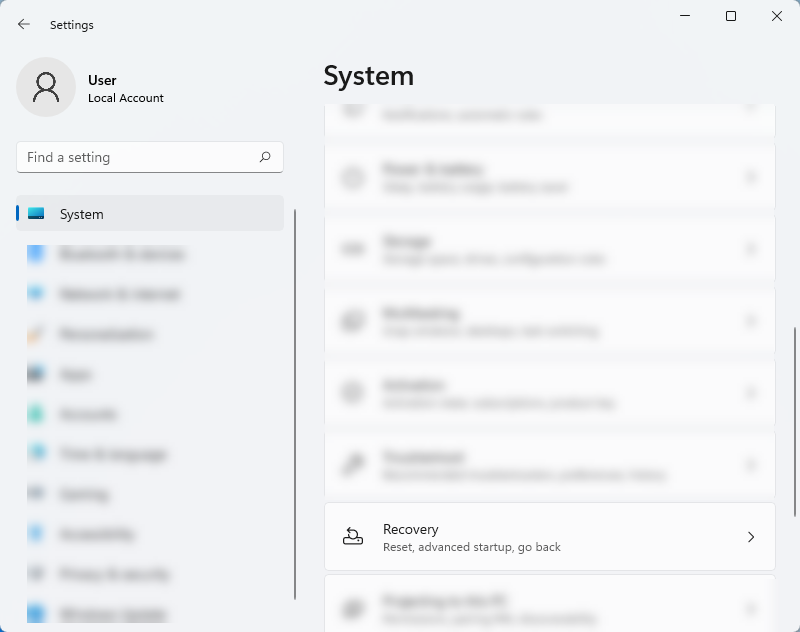
- Open Settings by pressing Win + I.
- Then select System > Recovery.
-
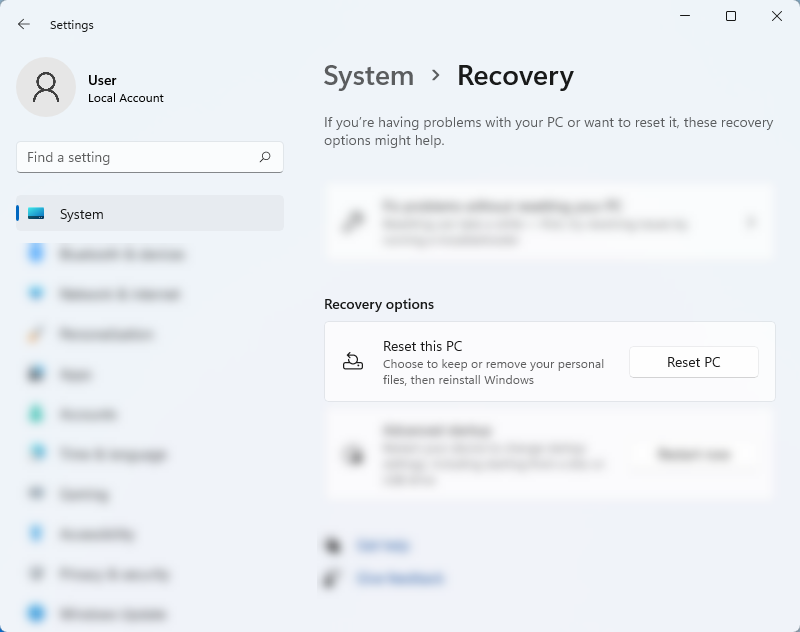
Under the Recovery settings, click the Reset PC button beside the Reset this PC option.
-
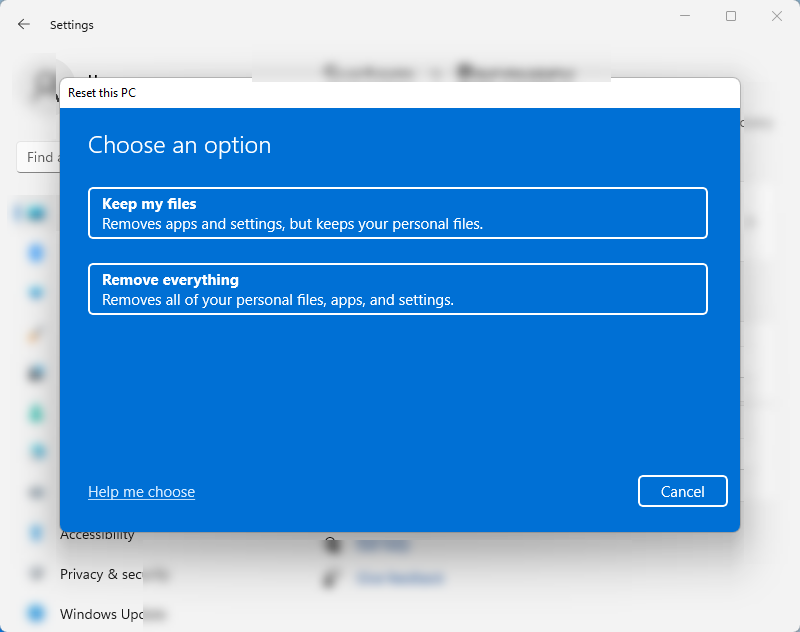
Then, you can choose whether you want to keep your files or remove everything.
-
Follow the instructions and wait for the process to finish. After the procedure, your search feature should function properly.


Windows Search Typing Problem, Fixed
Issues with your Windows 11 search function can be a real inconvenience. Instead of finding what you need right away, you need to scour through all of your files and folders. Thankfully, there are troubleshooting steps you can try to fix this problem. However, if you think that Windows Search isn’t enough, you can try third-party programs for a deeper scan.