Do you feel like you’re spending way too much time on your computer? Well, then you might want to keep an eye on your daily screen time on Windows.
It is vital to track your day if you want to make the most of it. If you're concerned about how much time you spend on your computer, you can check your screen time in the Windows 11 Settings app. Let’s see how.
How to Check Your Screen Time on Windows Using the Settings App
The Power & Battery section of the Windows 11 settings app provides a detailed breakdown of your computer's battery usage pattern. It also displays information regarding your PC's screen on time, screen off time, and total sleep time.
To check your screen time on Windows 11, use the steps below.
- Open the Start menu and click the gear-shaped icon to launch the Settings app.
- In the System tab, select Power & battery from the right side.
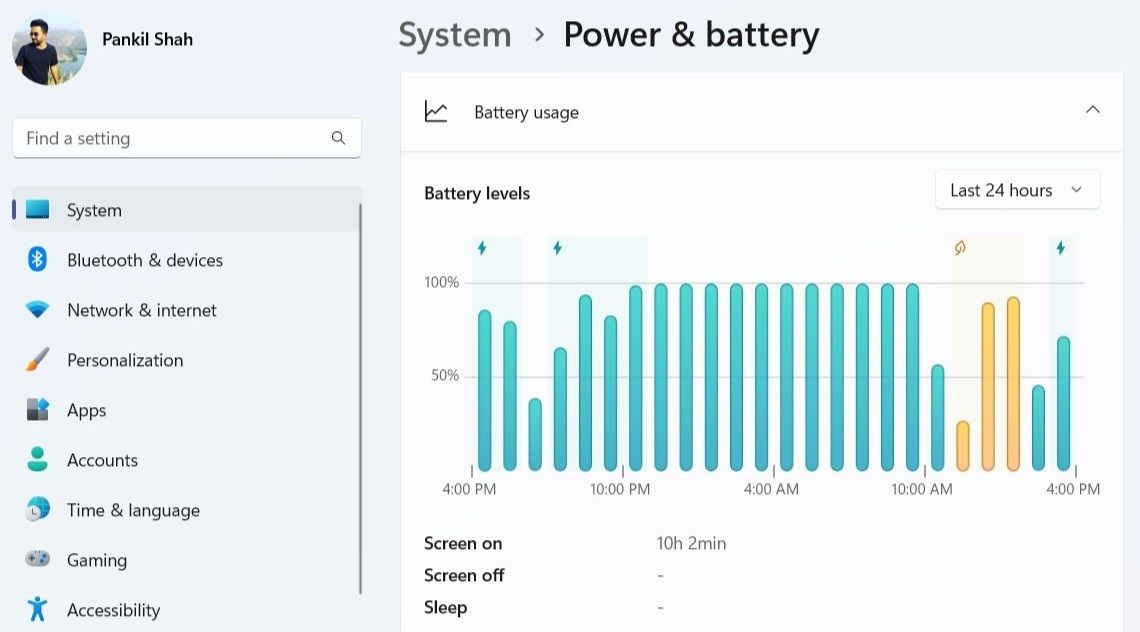
- Under the Battery section, click on Battery usage to expand it.
-
You can find your screen time for the last 24 hours directly below the chart. You’ll also see the screen off and sleep time.
-
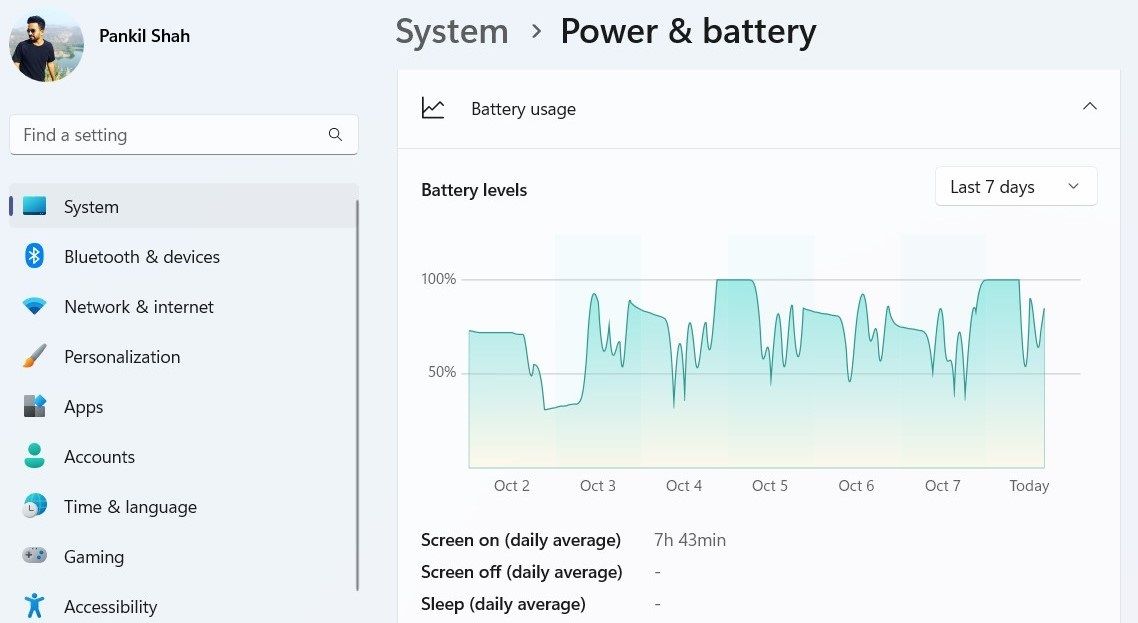
You can use the drop-down menu next to Battery levels to select 7 days and view your daily average screen time for the past week.
-
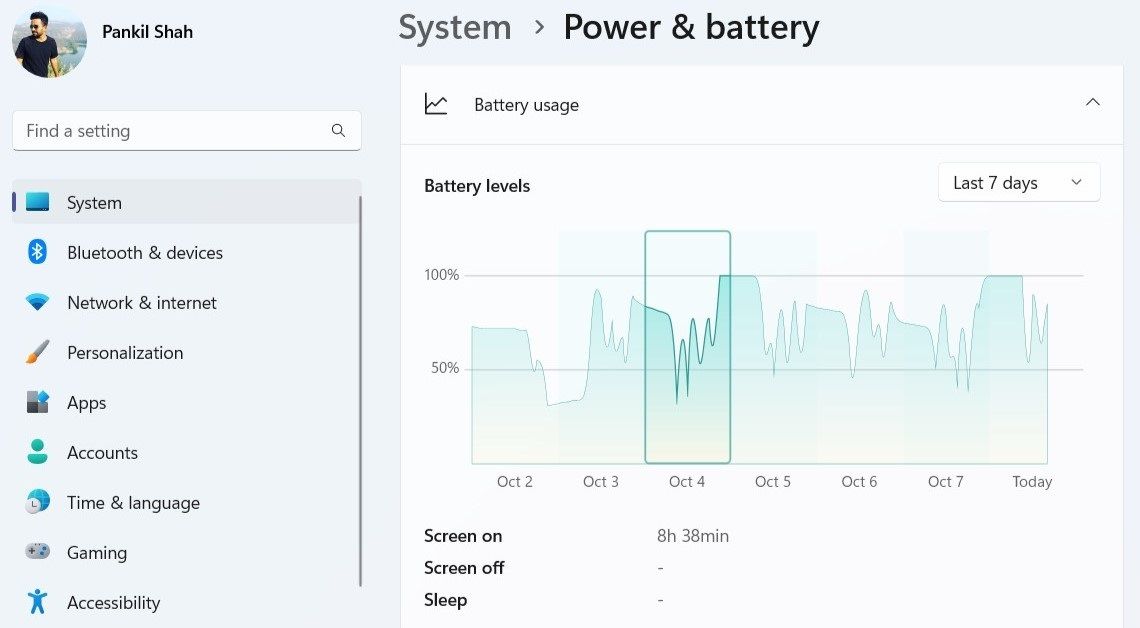
You can view your screen time for a specific date in the past week by clicking on that date.


Unfortunately, the Settings app does not show how much time you spend on each app, so you'll need to use time-tracking software for that.
Checking Your Screen Time in Windows 11
It's easy to lose track of time when you’re sitting in front of a computer. You might be surprised to learn how much screen time you clock in daily. Knowing your screen time should help you take the necessary steps to limit your screen usage.