Almost every image editor includes options for resizing images. Yet, seldom are such options accessible from the Windows context menu. Therefore, you usually need to open images within editing applications and bring up the required options before you can resize pictures.
However, some groovy third-party desktop apps enable you to resize images without having to open them. Apps like Image Resizer and CoolTweak add resize options to Windows 11’s context menu you can access within File Explorer. This is how you resize your pictures with those software packages.
How to Add a Resize Picture Context Menu Option With Image Resizer
Image Resizer is a freeware desktop app that runs on all Windows platforms dating back to XP. That software adds a Resize pictures option to the context menu you can select to change image dimensions from a small window. It’s a very lightweight utility with which you can resize photos quickly and efficiently. You can install and utilize Image Resizer as follows.
- Open the Image Resizer Softpedia page.
- Click Download Now > Softpedia Secure (US) Download on that webpage.
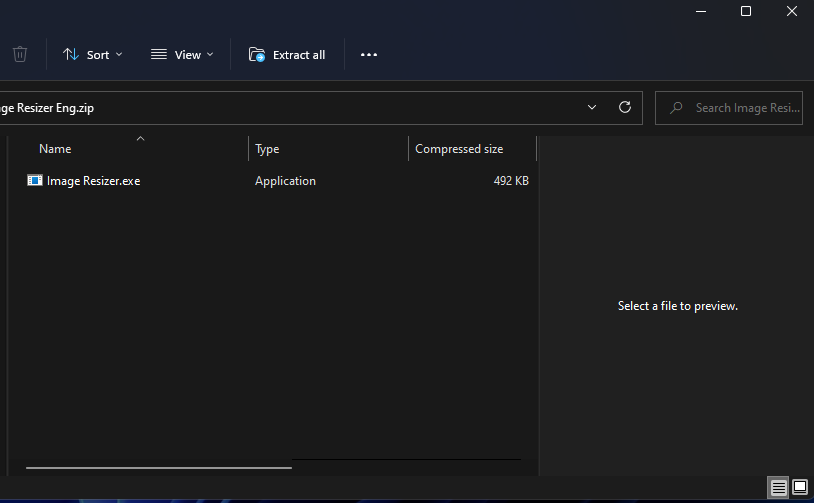
- Click the magnifying glass taskbar icon, and open the folder that includes the Image Resizer ZIP.
- Double-click the Image Resizer ZIP to open it.
-
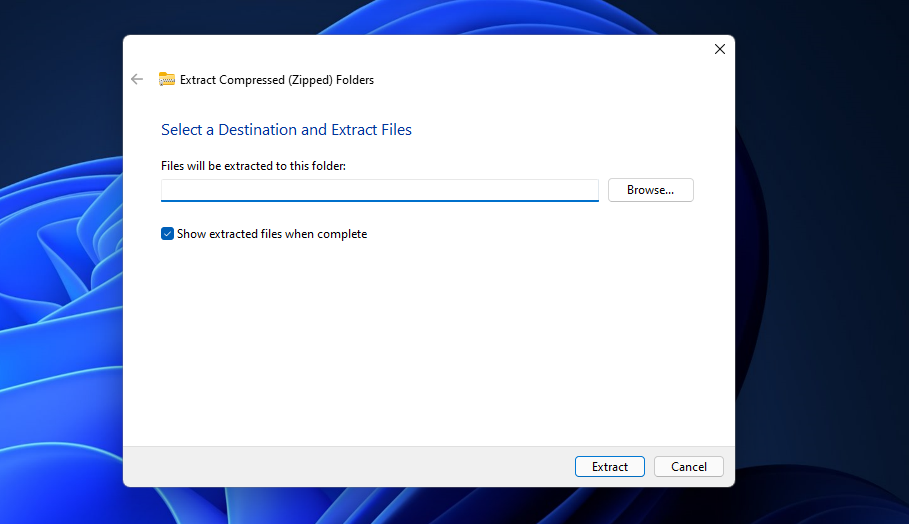
Select File Explorer’s Extract all option.
-
Click the Show extracted files when complete checkbox, and select the Extract option.
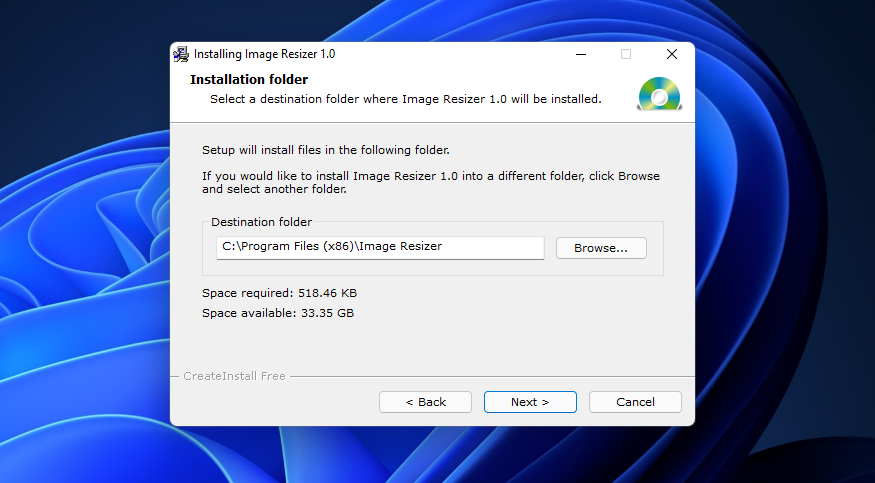
- Double-click the Image Resizer.exe to bring up the setup window.
-
Click the Next option, and press the Browse button to choose an installation folder.
- Press the Next button to install, and then click Finish.


Now open a folder that includes some images within File Explorer. Right-click an image file there and select Show more options. You’ll notice a new Resize pictures option on the classic menu. Click that option to bring up an Image Resizer window.

The Image Resizer window includes various options for resizing the image you’ve selected the Resize pictures option for. There you can select Small, Medium, Large, and Phone size preset options. To adjust the size yourself, click the Custom button. Then enter pixel width and height values within the text boxes, and press the Resize button.

You can also change the values for the other size options. To do so, click Advanced options to bring up the window shown directly below. There you can enter different width and height values for the Small, Medium, Large, and Phone options. Click Create a new size to set up a new preset option.

How to Add Resize Image Context Menu Options With CoolTweak
CoolTweak is an alternative to Image Resizer that adds options for resizing images more directly to the context menu. It also has a separate window that incorporates resize, share, and watermark settings along with other output options. This is how to add CoolTweak’s resize image options to Windows 11’s context menu.
- Open the CoolTweak website.
- Click the Cooltweak 3.3 Stable button there.
- Press the Win + E keys simultaneously, and open the folder that includes the CoolTweak setup wizard.
- Double-click CoolTweak.Install.3-3-0.en to open the CoolTweak installer.
- Click Next on the setup window, and select the I agree radio button.
-
Select Next again, and click Browse to choose an installation folder.
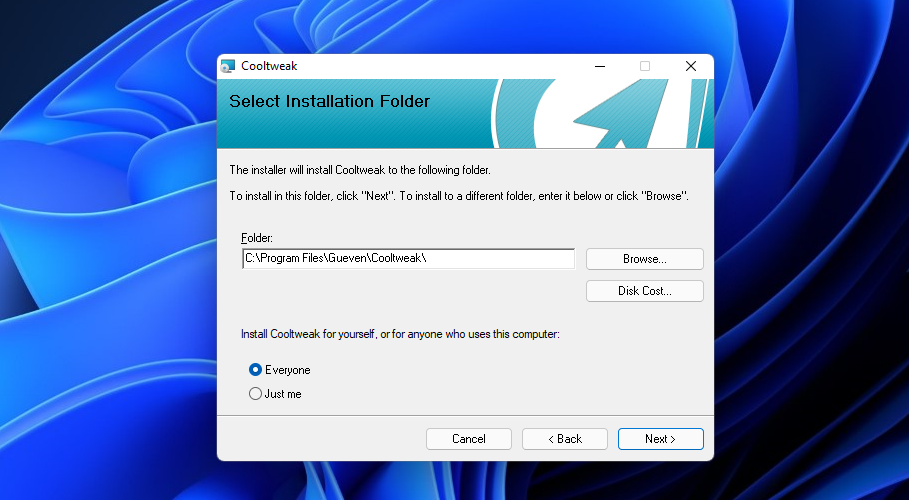
- Click Next to install CoolTweak.
- After installing the software, a CoolTweak Menu editor window will automatically open. You can close that window to skip the tour.

You can now check out the new CoolTweak options on your context menu. Open File Explorer and an image folder. Right-click an image to resize and select Show more options. Select CoolTweak on the classic menu to open the submenu in the snapshot directly below. There you can select Resize to 900px or Resize to 1600px options among others.

Select the Resize option to bring up CoolTweak’s editor window. There you can enter size values for the image within the Width and Height boxes. Click the Pixel drop-down menus to change the measurement unit. Press the Continue button when you’re done.

All resized images save within CoolTweak folders. Those folders will appear within the directories of the images you resize. Double-click a CoolTweak subfolder to open the resized images.
You can also add new resize options to the CoolTweak submenu. Right-click an image and select Show more options > CoolTweak. Then select Customize my actions to bring up the window in the screenshot directly below.

To set up a new resize option, click the Add A Menu button there. Select Resize and crop my pictures on the window that opens. Then press the OK button.

Next, select the Fixed size option on the Resizing mode drop-down menu. Input different size values within the Width and Height boxes. Press the Save changes button to add the option.

Click the Menu actions button beside the New menu option you just added. Select Edit label on the menu. Then you can enter a suitable label for your resize option.

If you like, you can add different icons to options by selecting Edit icon with the Menu actions option. However, the software doesn’t include any alternatives in its Icon folder. So, you’ll need to download some different ones from icon websites like IconArchive.
Aside from that, you can reposition the position of the menu options. Click the Move the menu arrow button beside the Menu actions option. Then hold the left mouse button and drag the option up and down the menu to move it.
It’s also worth exploring CoolTweak’s other options. You can apply watermarks to images by clicking its Add a Watermark option, which is also available on the context menu. Plus CoolTweak incorporates five image-sharing options you can select via the right-click menu or by selecting Share Online within its window. You can select to share pictures on Twitter, Flickr, Twitter, 500px, and Picasa.
Now You Can Resize Images From Your Context Menu
CoolTweak and Image Resizer provide handy shortcuts for resizing images via File Explorer's context menu. When you can select resize options on the right-click menu, you won’t need to open up files within image-editing software to adjust picture sizes. So, those are ideal desktop apps for users who often need to resize images on the fly.