
Like all the previous Windows versions, Windows 11 is prone to data loss. Apart from accidentally deleting the files yourself, you can lose your data due to a number of reasons including virus attacks and system crashes. Fortunately, there are several ways you can recover lost data.
While third-party applications are also an option for this purpose, the built-in Windows utilities do a pretty good job of recovering your lost data for you within minutes. In this guide, we will take a look at the most effective methods of recovering data in Windows 11.
1. How to Recover Deleted Files via the Recycle Bin
This method of recovering the deleted files has been around for as long as we can remember.
When you delete a file or folder from Windows, it goes to the Recycle bin and stays there unless you permanently do not delete it from there. If you have not permanently deleted the targeted file from the Recycle Bin, you can recover it with just a few clicks.
Here is how you can do that:
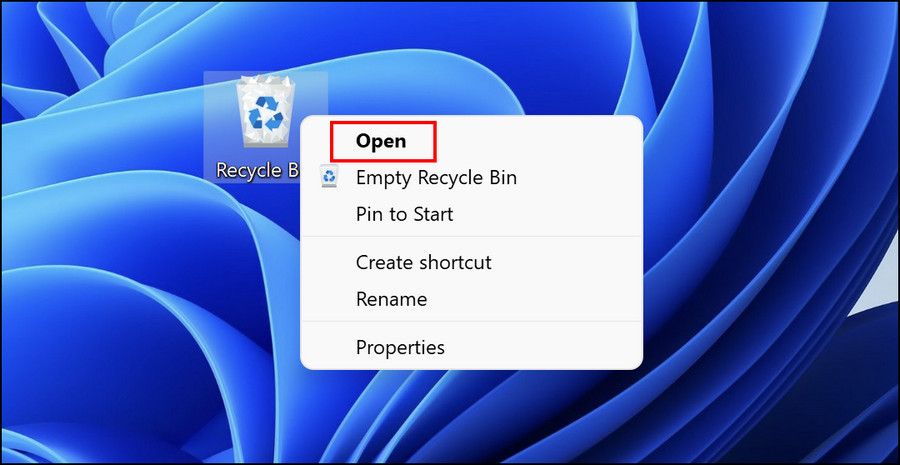
- Head over to your desktop and right-click on the Recycle bin icon.
-
Choose Open from the context menu.
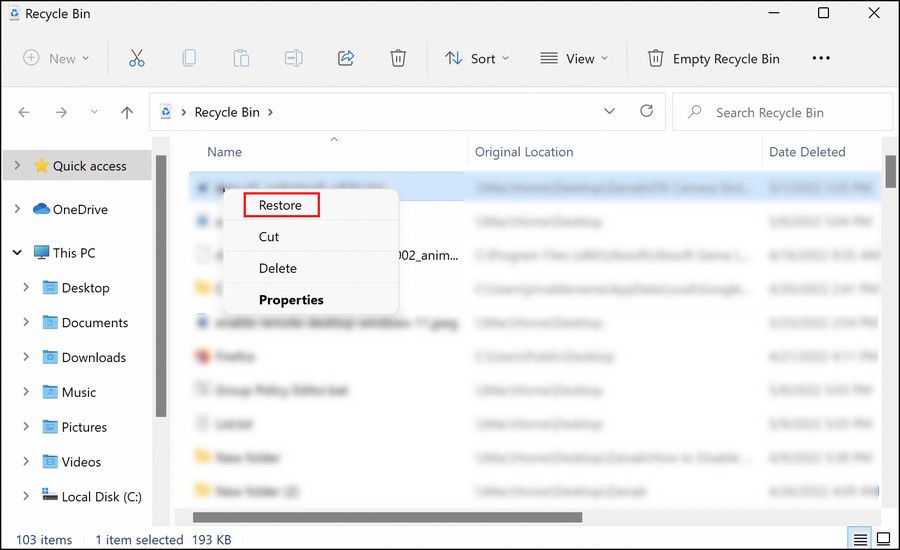
- In the following window, look for the file that you want to recover. You can also use the search menu to find the file.
-
After finding the file, right-click on it and choose Restore from the context menu.
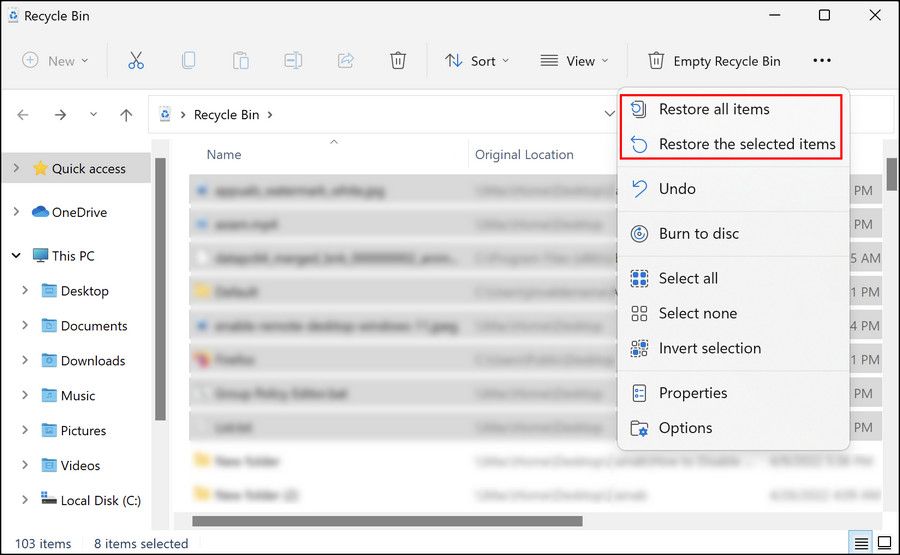
- To restore a bunch of files, select them all.
-
Then, click on the Manage option in the toolbar and select Restore the selected items or Restore all items.


Your files are now ready to be used again. If however, you cannot recover the files using the Recycle bin for some reason, head over to the next method below.
2. How to Use OneDrive Backup to Recover Deleted Files
Another way to retrieve the deleted data is by using the OneDrive backup feature. In this method, we will first try to look for the targeted files in OneDrive and download the ones found. If the files are no longer available on OneDrive as well, then we will try restoring OneDrive to a previous point in time and seeing if that makes a difference.
- Launch your browser and head over to the official OneDrive page.
- If you are not signed in already, use your Microsoft email address and password to log in.
-
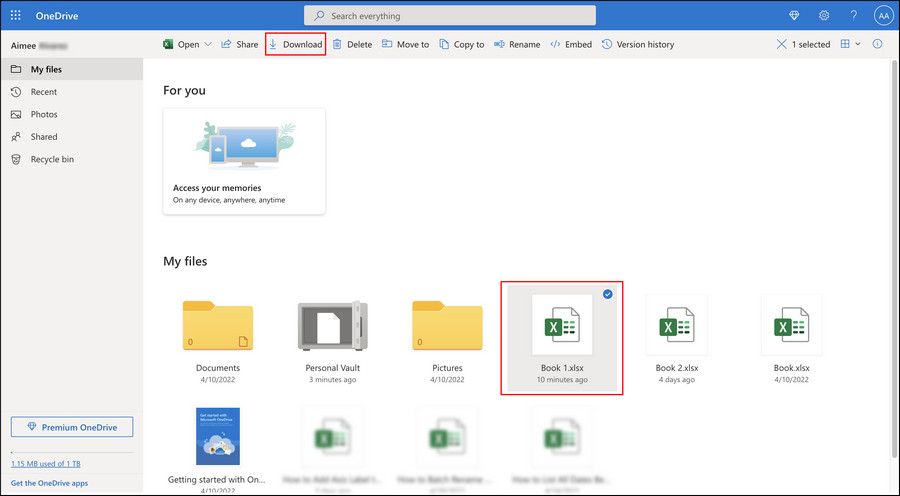
Locate the files that you want to recover, click on them, and hit the Download button.

If you cannot find the files you want to recover, proceed with these steps to restore OneDrive to a previous state.
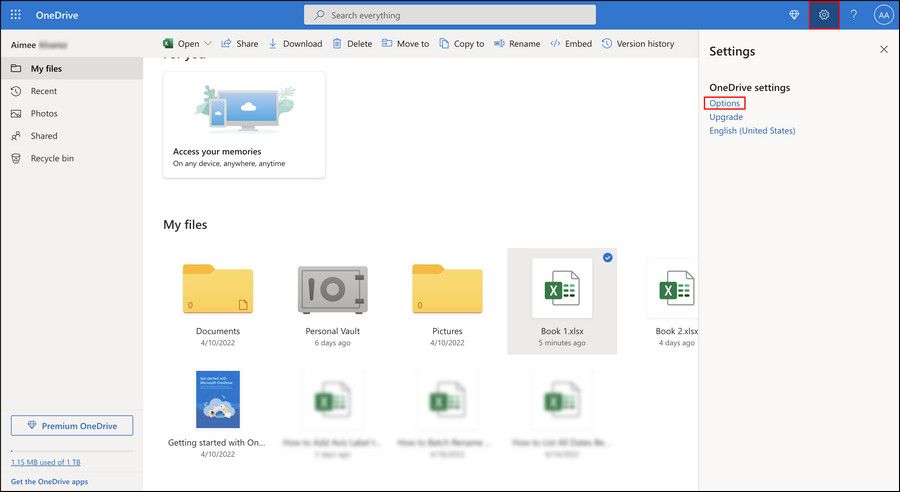
-
On OneDrive's webpage, click on the gear icon in the top-right corner and choose Options from the context menu.
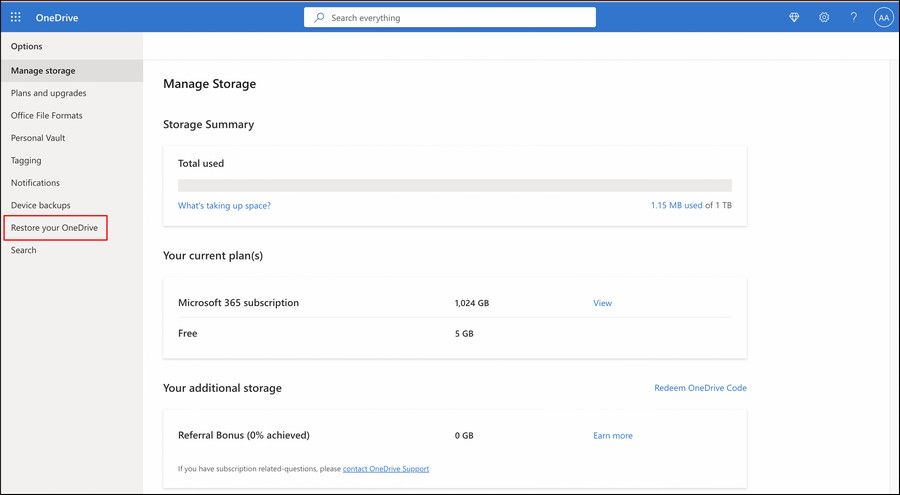
-
In the following window, choose Restore your OneDrive from the left pane.
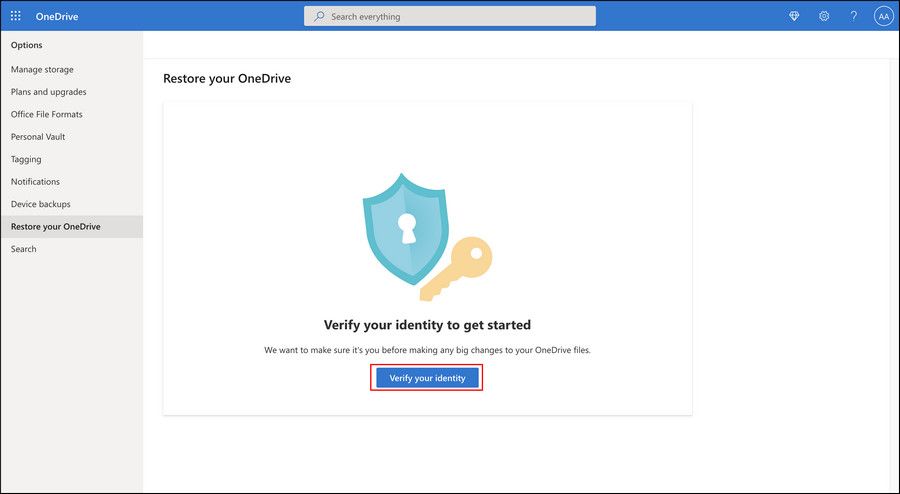
-
Click on the Verify your identity button and follow the on-screen steps to proceed.
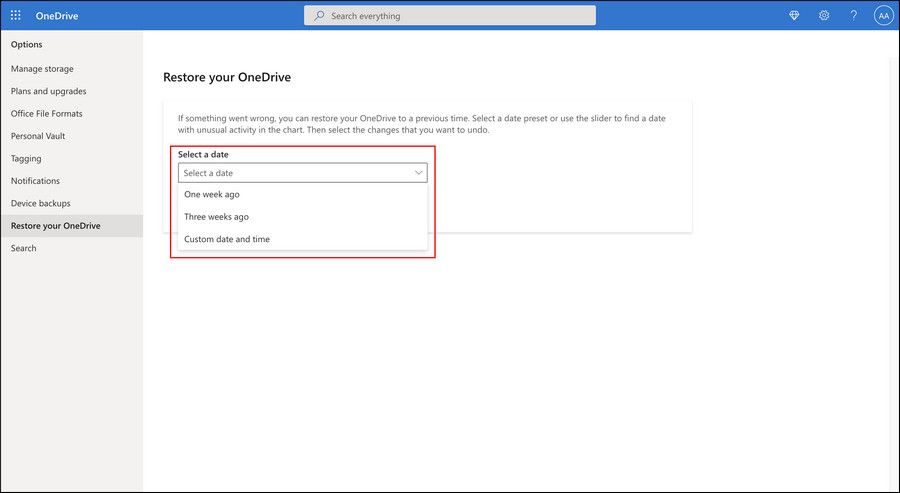
-
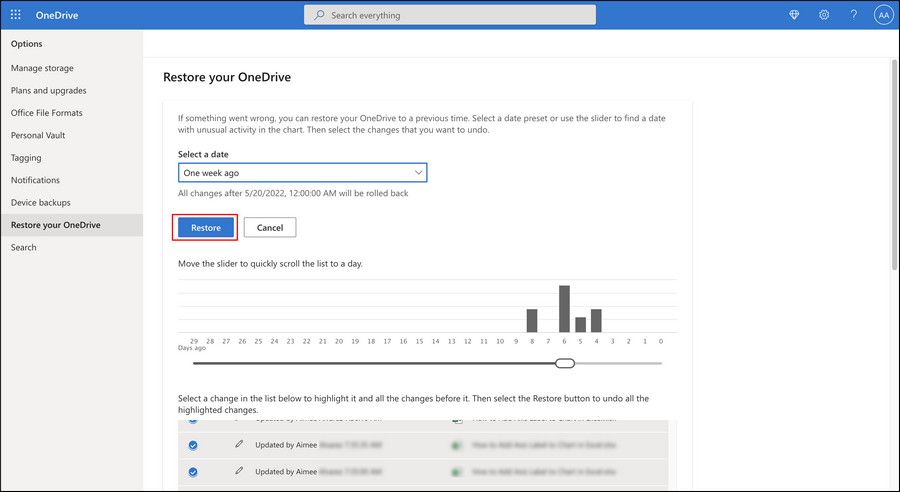
Once done, expand the dropdown for Select a data and pick a date you want to restore to. You can also go for the suggested restore point recommended by OneDrive.
- OneDrive should now present you with a list of changes that the restore will make. You can uncheck the ones you do not want.
-
Finally, click on the Restore button.
-
Click Restore again in the confirmation prompt to proceed.
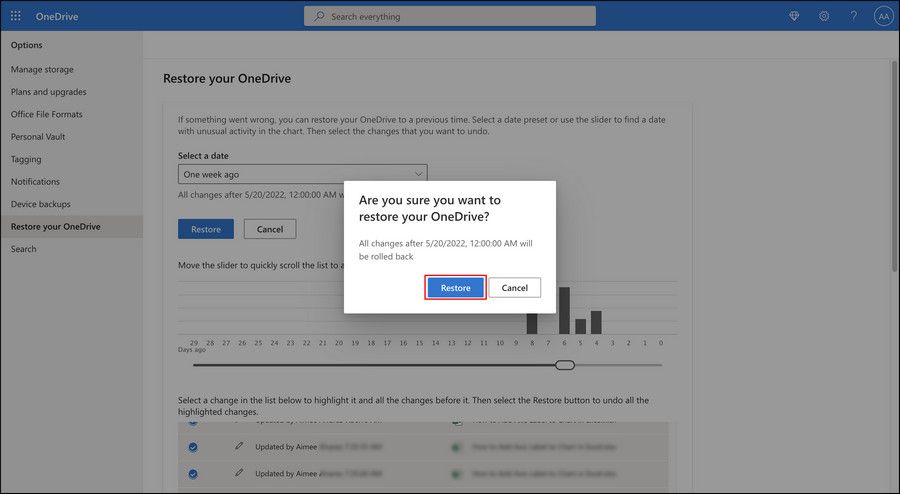


After the process is completed, check if you can view the required files now. If you can, restore them using the steps we outlined at the beginning of this method. You can also make your important OneDrive files locally accessible if you want to access them offline.
3. How to Recover Deleted Files Using the Backup and Restore Feature
Backup and Restore from Windows 7, like the System Restore feature has come along for the ride on Windows 11. If you created a backup using this tool anywhere in the past, you can use it to recover the deleted files in the latest Windows version.
- Press Win + I to launch Windows Settings.
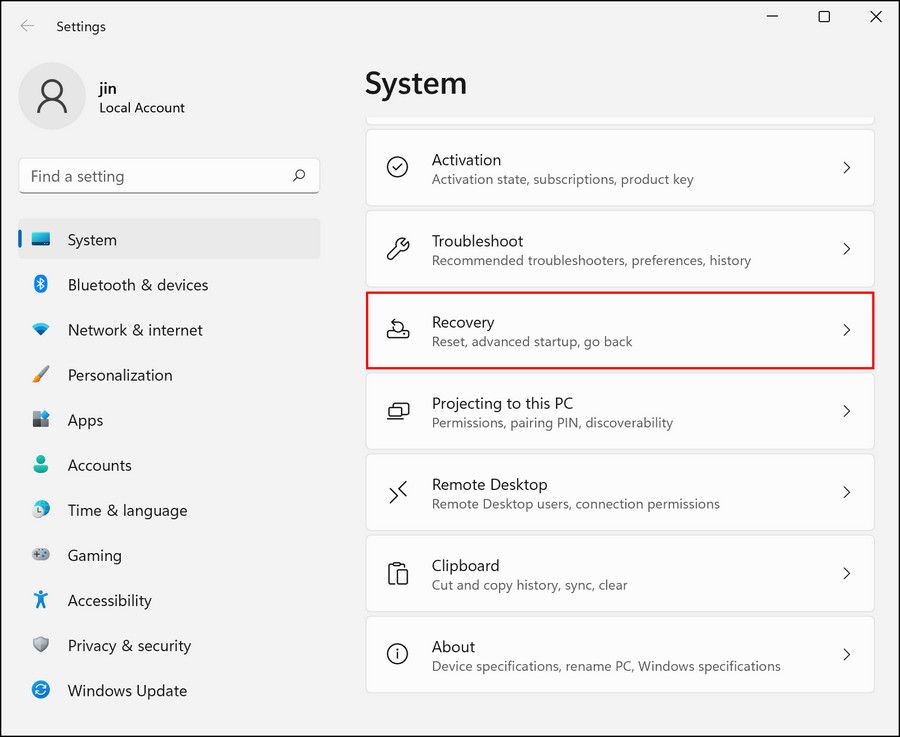
- Click on System from the left pane.
-
Click Recovery in the following window.
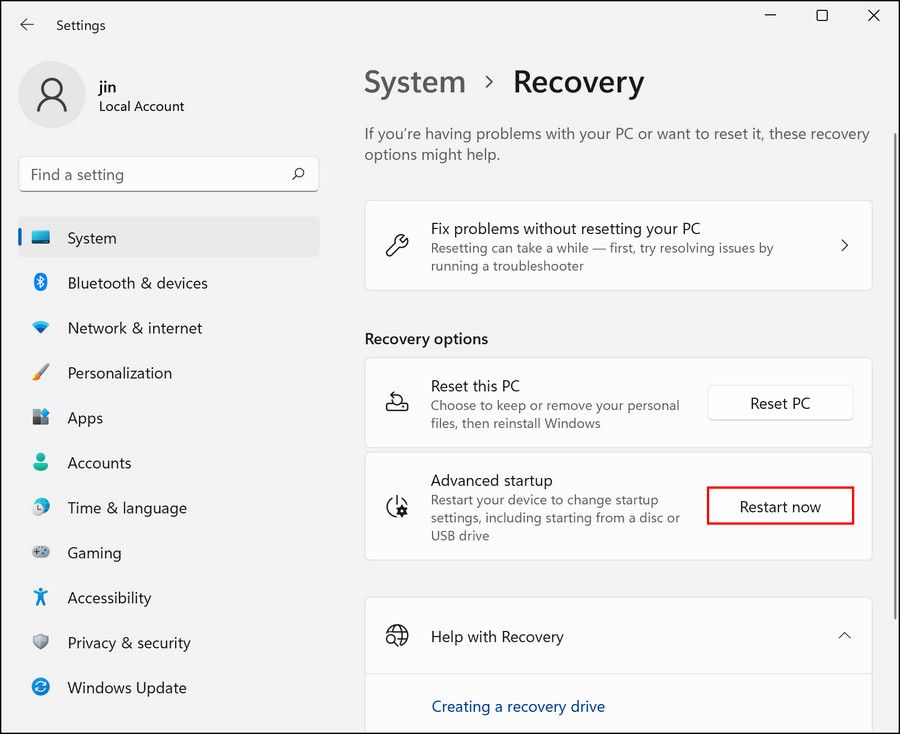
-
Head over to the Recovery options section and click on the Restart now button associated with Advanced options.
-
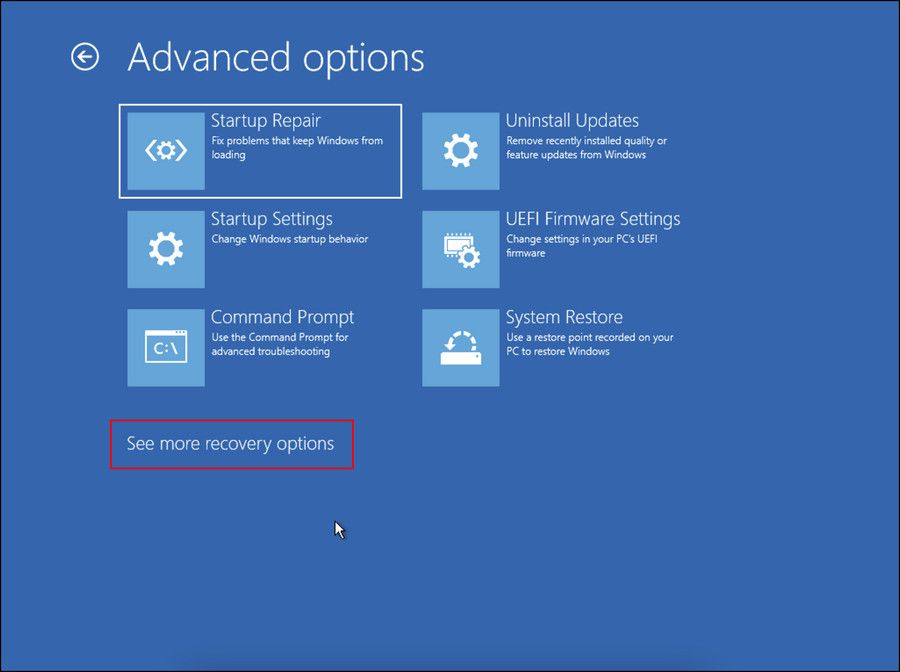
In the Troubleshoot menu, head over to Advanced options > See more recovery options.
-
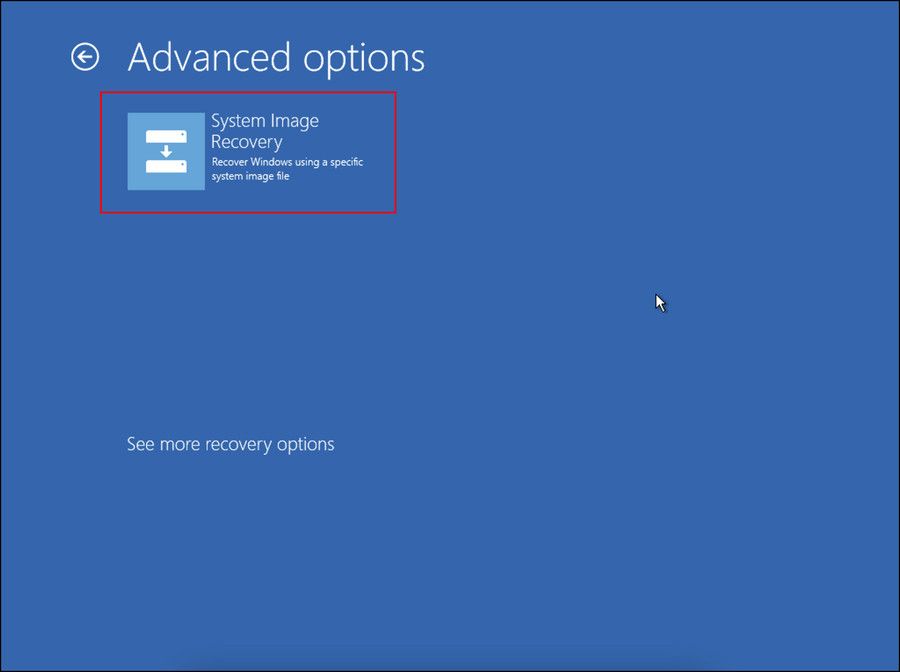
In the following window, click on System Image Recovery.
-
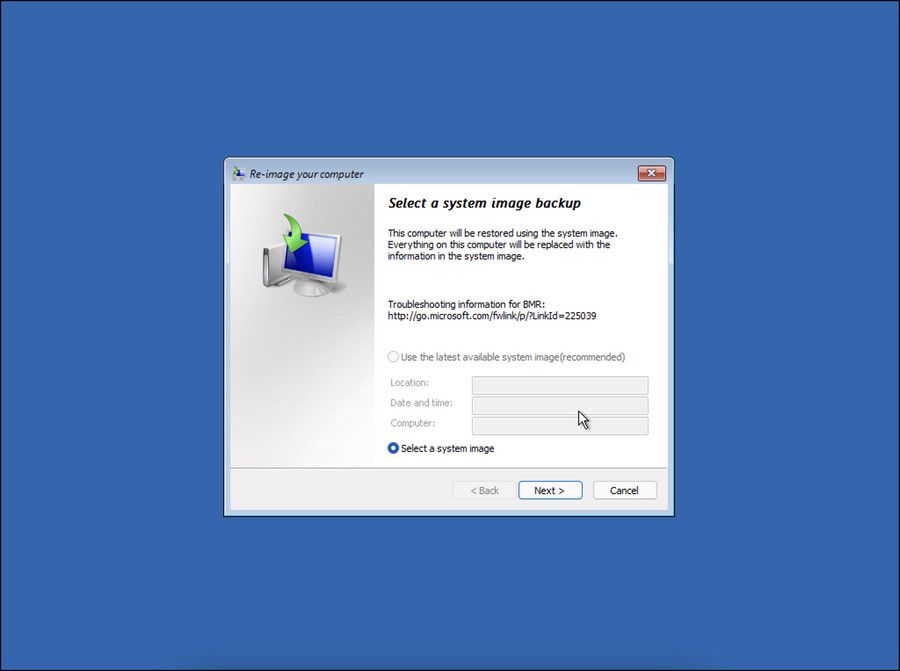
Pick a system image backup and follow the on-screen steps to complete the process.


4. Use Microsoft’s Windows File Recovery App or a Third-Party Program
In the last method, we will be discussing two more ways to recover the deleted files; using Microsoft’s Windows File Recovery App or a Third-Party Program.
Proceed with a method according to your preferences:
1. Microsoft’s Windows File Recovery app
This official Microsoft application can help you recover your data from different storage media such as hard drives and even USB drives. Despite its name, it is not an actual app but a Command-line utility.
Here is how you can use it:
- Click on the Windows Store icon on your taskbar to launch Microsoft Store. Alternatively, you can also type Windows Store in the search area of the taskbar and click Open.
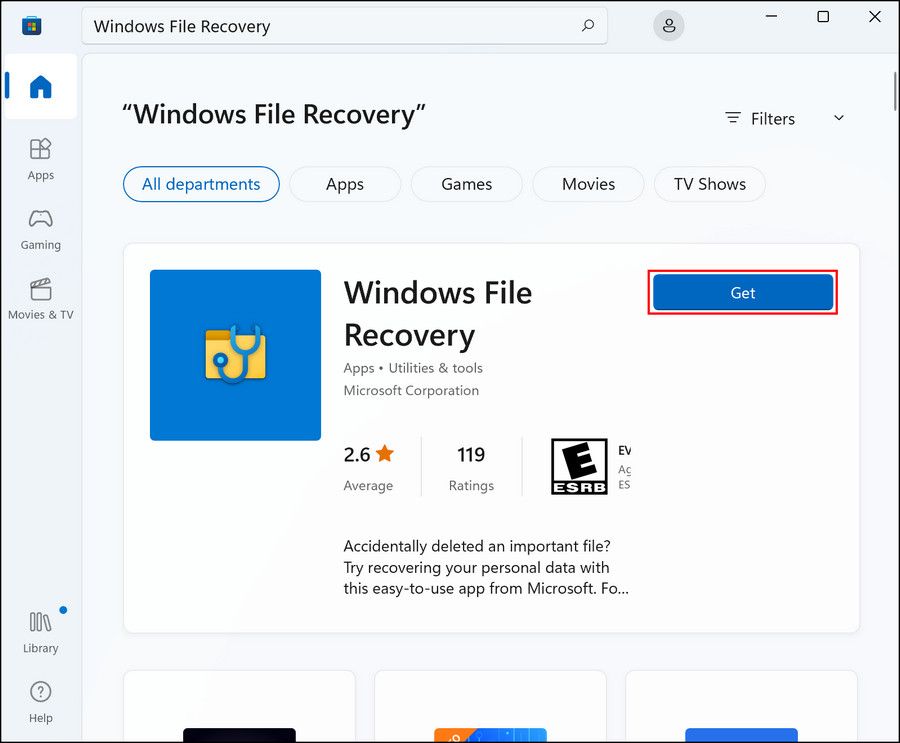
- In the following window, type Windows File Recovery in the search bar and click Enter.
-
Click on the Get button for Windows File Recovery to download the app.
-
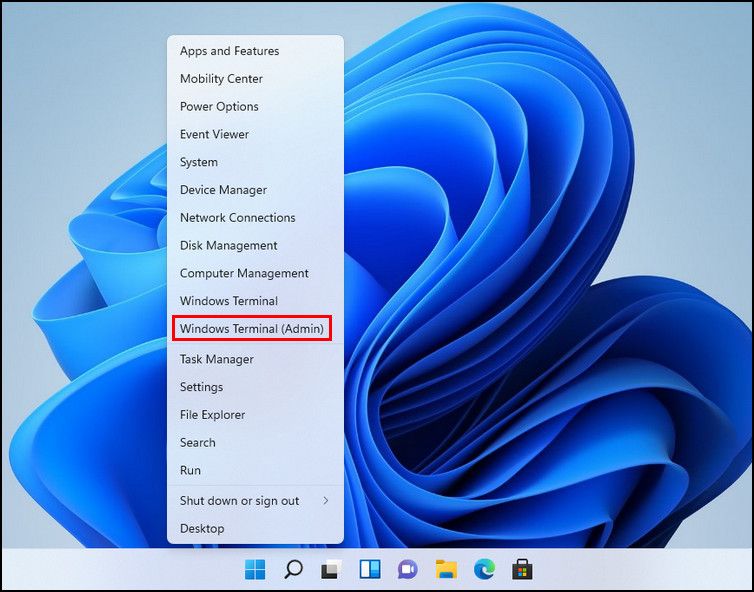
Once the app is installed, right-click on the Windows icon on your taskbar and select Windows Terminal (Admin) from the context menu.
-
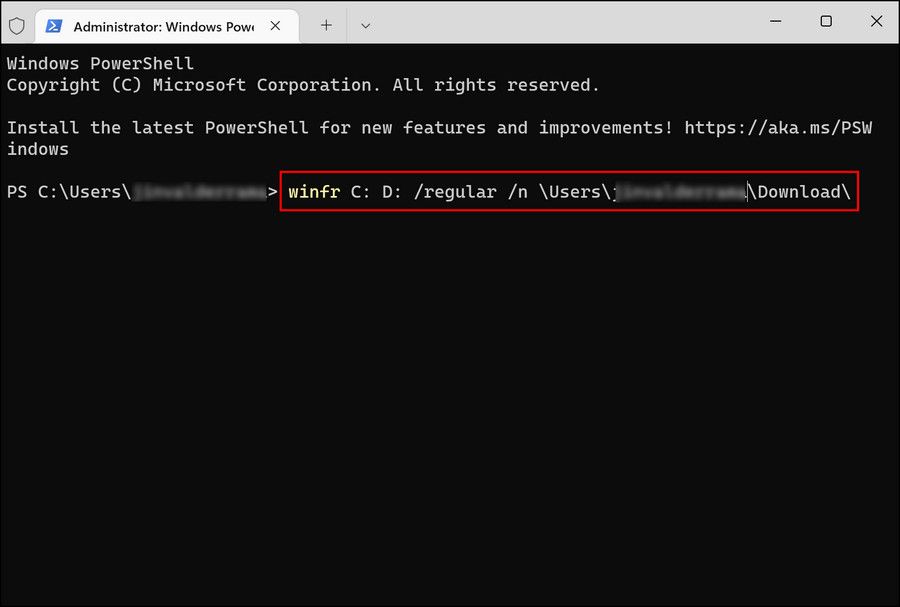
Next, copy the command mentioned below and paste it into the Terminal window. This command will recover the files on drive C to drive D. You can replace the file names and destination folder names with the ones you require.
winfr C: D: /regular /n \Users\<username>\Download\


Once done, close the Powershell window and confirm that the files are recovered.
2. Using a Third-Party Application
Finally, you can try using a third-party application to recover your deleted files. There are both paid and free options in the market.
Third-party applications are ideal for those of you who need some advanced features to customize the process. If you need only basic features to recover the files, then the built-in Windows features are more suitable for you.
Here are some of the popular third-party applications you can get your hands on:
These applications can help you recover lost and deleted files, emails, photos, videos, and music. Some of them can even recover contacts and call history for you.
Get Your Lost Files Back
You now know how to recover important data if you lose it for any reason. We recommend that you make use of the Windows built-in utilities for this purpose. If those do not work, you can try using the third-party options according to your preferences.