
Windows PowerShell is a command-line tool developed by Microsoft that helps you automate mundane tasks on your system. If you’re an avid Windows user who uses PowerShell on a regular basis, you'll want to use the most recent version of the tool.
There are several ways to install or update PowerShell on Windows 11. In this article, we take a look at all of them.
1. How to Install or Update PowerShell With the Winget Command
The Windows Package Manager (or Winget) is a command-line program that you can use to install apps on Windows. This eliminates the need to search for the app on the web and go through the tedious installation process.
Using the Winget command is one of the most straightforward ways to install or update PowerShell in Windows 11. Here are the steps you can follow.
- Click the magnifying glass on the taskbar or press Win + S to open the search menu.
- Type Command Prompt in the search box at the top.
- Select Run as administrator to open Command Prompt with administrative privileges.
- Select Yes when the User Account Control (UAC) prompt appears.
-
Paste the following command in the console and press Enter to view all the available versions of the PowerShell app.
winget search PowerShell - Note down the ID associated with the PowerShell app you want to get.
-
Run the following command to install the PowerShell app.
winget install AppID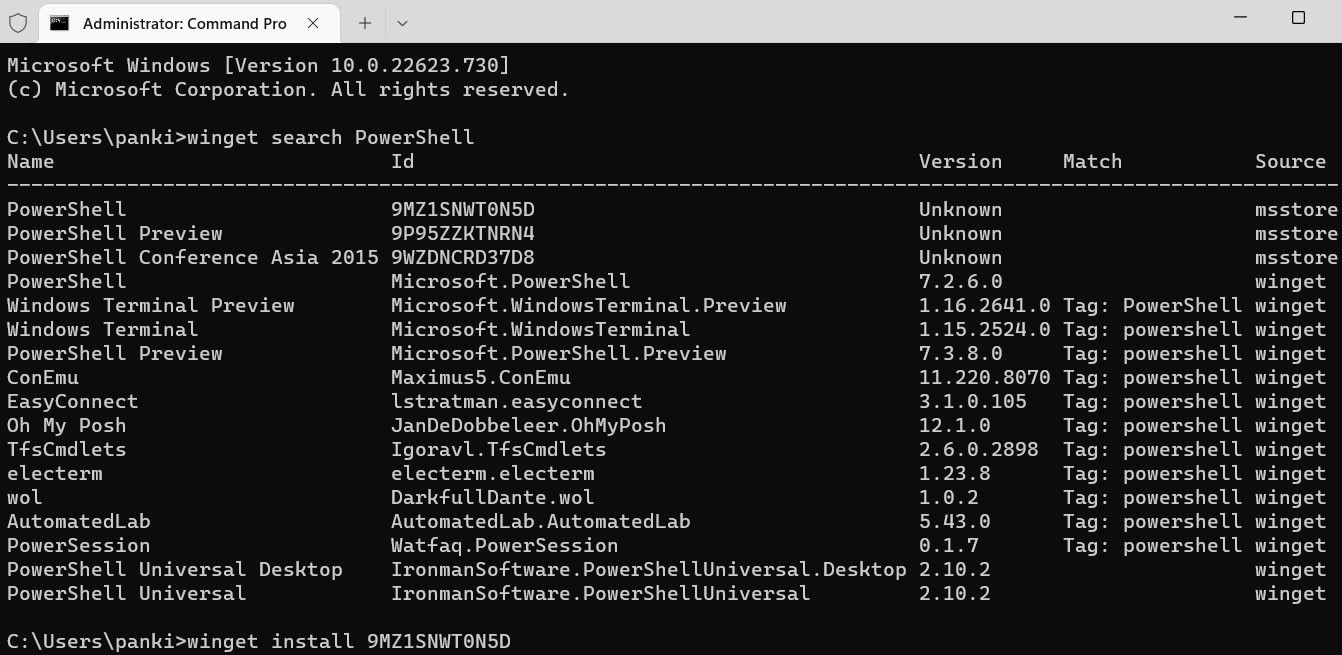

Replace AppID in the above command with the actual app ID noted in the last step.
Wait for Winget to download and install PowerShell on your PC and then exit the terminal window. Following that, the PowerShell app should be available for use.
Conveniently, the Winget command also lets you install multiple apps at once. If you want to learn how, check our guide on how to batch-install multiple software packages in Windows 11.
2. How to Install or Update PowerShell From GitHub
Another way to install or update PowerShell on Windows is to download its installer package from the GitHub website. Here's how you can go about it.
- Open up your preferred web browser and navigate to GitHub's PowerShell page.
- Select the latest PowerShell version from the GitHub page.
- Scroll down the Assets section and download the MSI file on your PC.
-
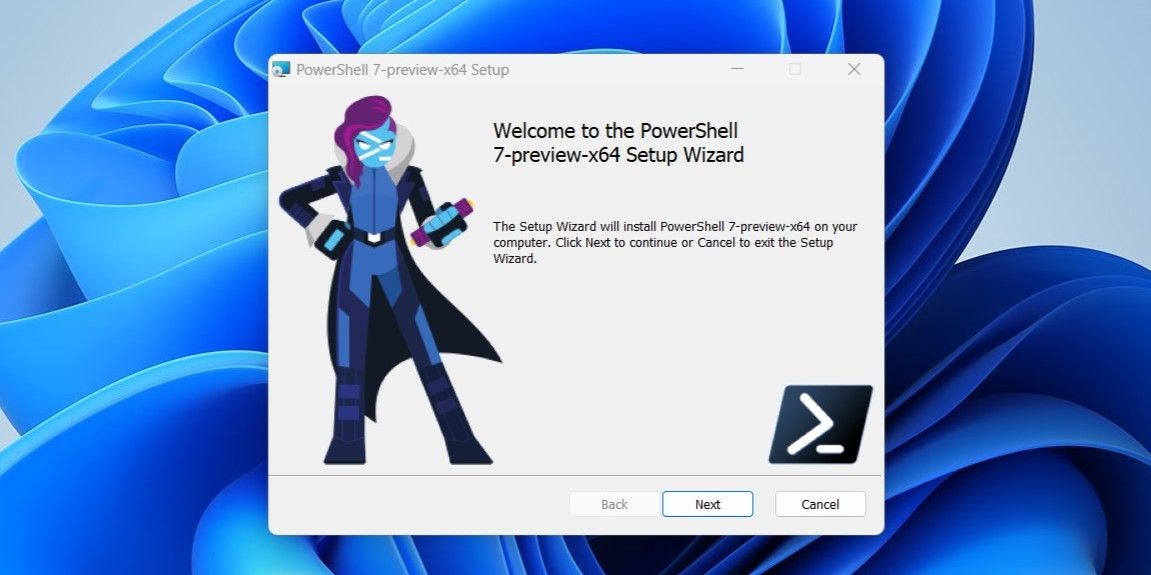
Open the installer package and click Next.
- Specify the installation folder and click Next.
- Click Next again.
-
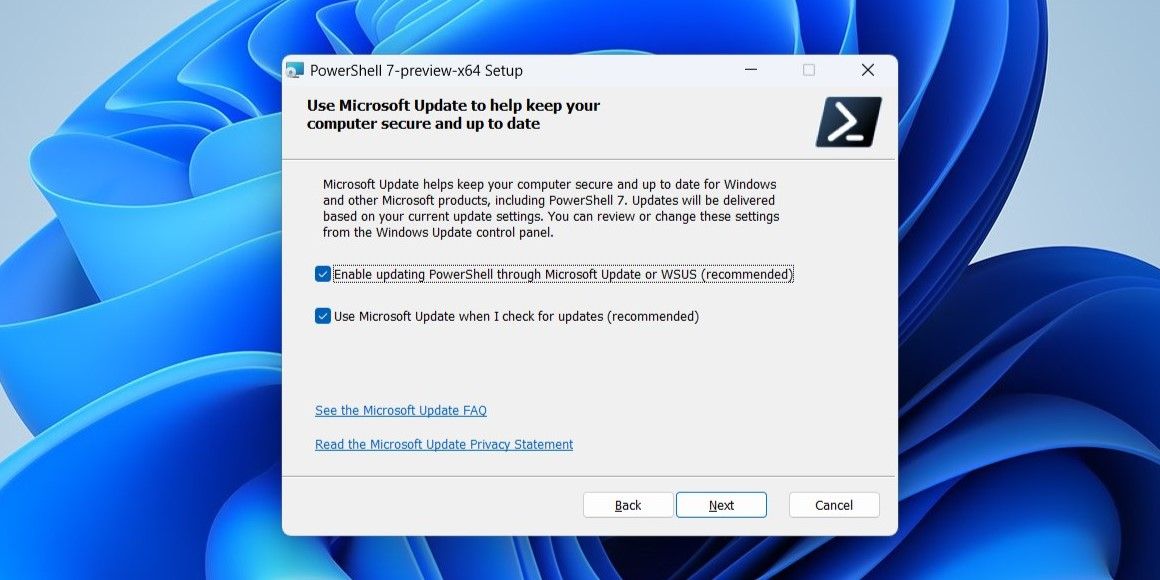
Check the boxes that read Enable updating PowerShell through Microsoft Update or WSUS and Use Microsoft Update when I check for updates. Then, click Next.
- Click the Install button and follow the on-screen instructions to complete the process.


And that’s about it. Once you complete the above steps, you’ll have the latest version of PowerShell at your disposal.
3. How to Install or Update PowerShell Using the Microsoft Store
The PowerShell app is also available on Microsoft Store. To install or update the PowerShell app using Microsoft Store, use the following steps:
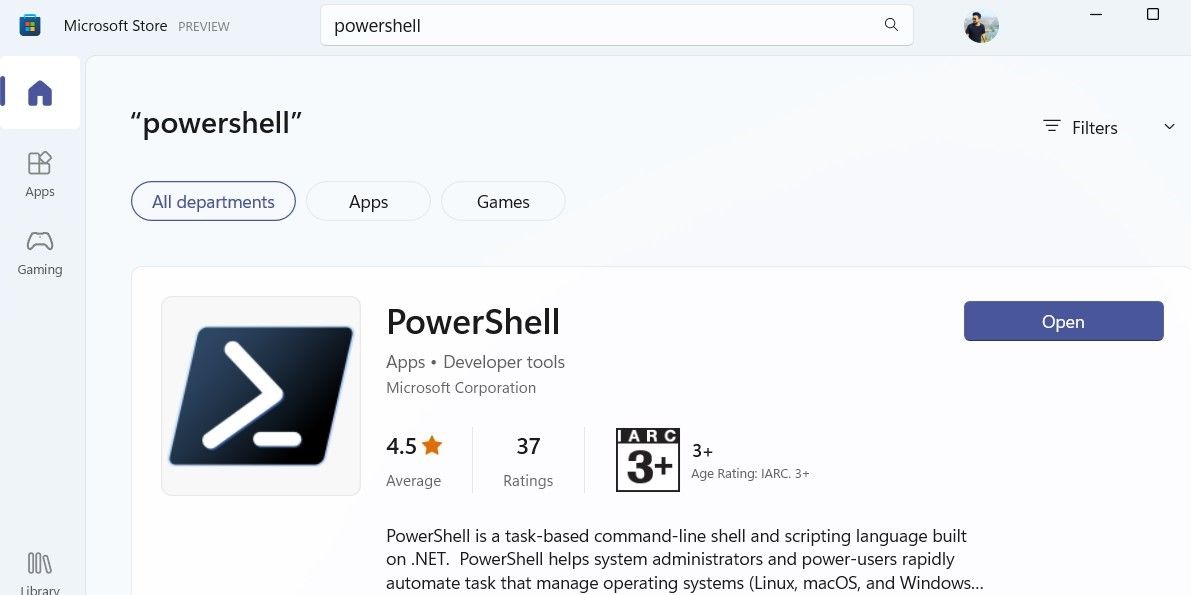
- Open the Microsoft Store app on your PC.
- Use the search bar at the top to locate the PowerShell app on the store.
-
Click the Update button to update the PowerShell app. If you don't have the app, click the Install button to get it.

If you're having trouble opening the Microsoft Store app on your Windows 11, fix it so that you can update your apps easily.
Automate Your Tasks With PowerShell
Using the most recent version of PowerShell should give you access to the latest features. You can use any of the methods you like to install or update PowerShell on Windows 11.
Now that you’ve got the latest version of PowerShell, why not learn some alternative ways to open it on your Windows PC?