
A photo collage is a single image that contains multiple pictures within a grid layout. Many users set up slideshows to show off their snapshots on Windows PCs. However, creating photo collages is a good alternative way to showcase your photography.
Yet, Windows 11 doesn’t include any built-in app or feature with which you can set up photo collages. Don’t bother opening Photos, MS Paint, or Paint 3D because none of those apps include collage options. Nevertheless, there are plenty of third-party software and web apps available you can use to set up photo collages within Windows 11.
How to Set Up a Photo Collage With Collagerator
Collagerator is Windows 11 freeware that enables you to set up picture collages quickly and easily. It includes Photo drop, Black border, Mosaic, No turns, and Photo Drop on black layout options, plus a wide variety of page presets to set up picture collages with. If you want to share your photos on social media but you'd rather not use Facebook's Layout tool to make a collage, Collagerator can do all the hard work for you.
How to Download and Install Collagerator
To get started with Collagerator, you'll need to download and install the app:
- Open the Collagerator website, and click the Download Collagerator.exe option.
- Right-click the button for the Start menu to select the File Explorer option.
- Bring up the folder you downloaded Collagerator in.
- Double-click Collagerator.exe to start the software’s installer.
-
Click the I accept radio button.
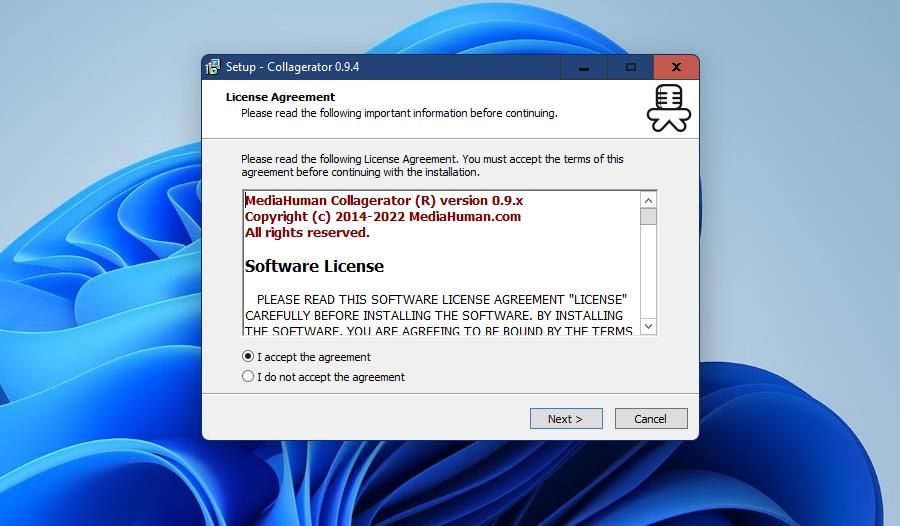
- Press Next two times to reach the final option for installing.
- Select Collagerator’s Install option.
- Double-click the Collagerator icon on the desktop to launch the software.

How to Make a Collage With Collagerator
Now that Collagerator is up and ready to go, it's time to make a new collage:
-
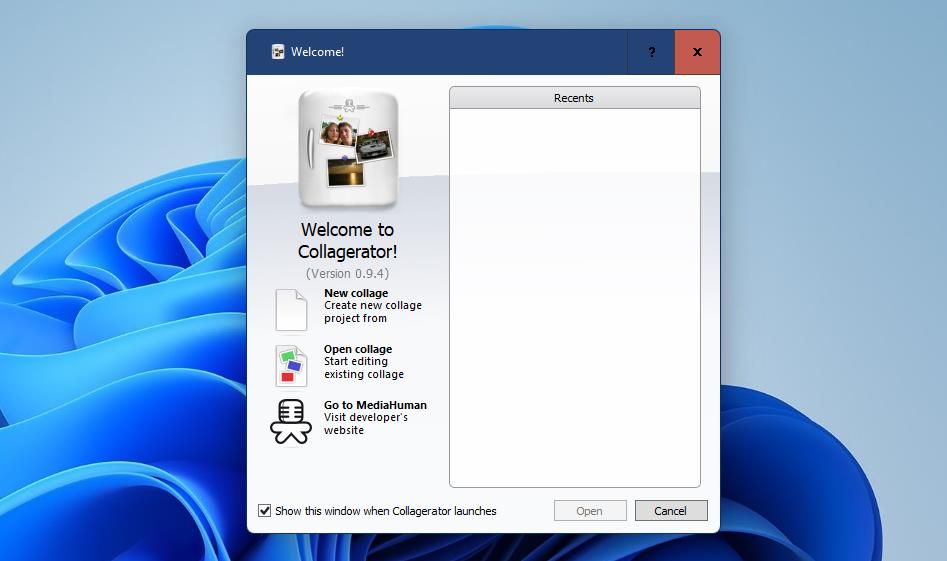
Click the New collage option.
- Choose a page size for the collage on the drop-down menu.
-
Select a landscape or portrait option just beside the Page size drop-down menu.
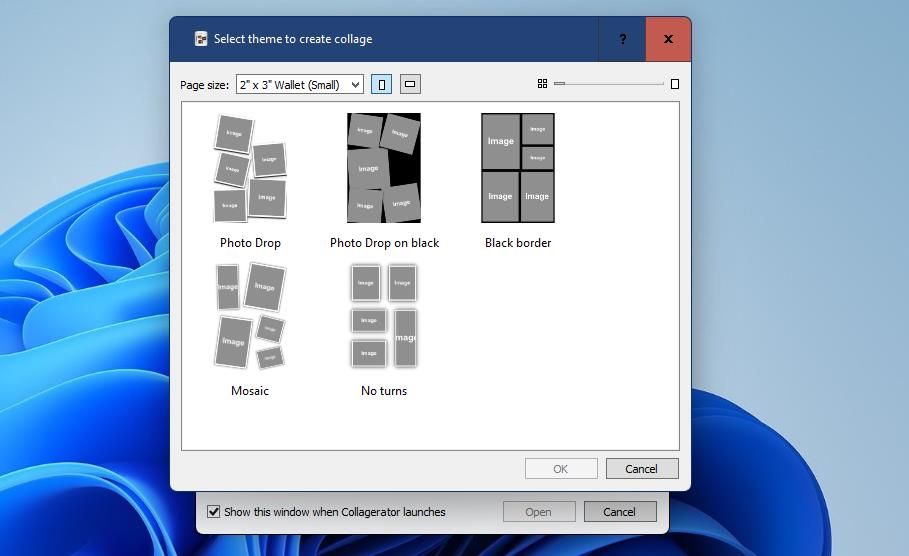
- Choose a theme layout option.
- Click OK to bring up the editor window.
- Press the Add photo button on the Images tab.
- Then open a folder that includes photos for the collage within the Select images window. Hold the Ctrl key to select multiple images for the collage, and click the Open button.


Now you’ll have a photo collage you can modify with Collagerator’s options.
How to Modify a Collage With Collagerator
Firstly, try moving and resizing images within the collage. You can move an image in its box by left-clicking near the center of it and then dragging the mouse. To rotate and resize a picture, left-click along the edge of the image and then move the cursor around.

You can resize the images’ boxes by adjusting the amount of space between them. Reducing or increasing the spacing between boxes will change their sizes. To do that, click the Theme tab and select Arrange. Then drag the Spacing bar’s slider left and right.

However, you can resize the images’ boxes more freely with the two photo drop themes. If you’re using a photo drop theme, left-click near the edge of the image and then drag the mouse up and down to expand or shrink its boxes. You can also move the boxes around the collage by selecting and dragging them with the mouse when using a photo drop layout.

Collagerator includes shadow effect options. To apply shadows to images, click Shadow on the Theme tab. Then you can select an Enable shadow option and adjust the shadow effect with the Distance and Blur radius bars.
Your collage need not have a plain background. Select Background on the Themes tab to view some collage backdrop settings. There you can select four alternative background styles and choose a different background color with the palette options. Or you can select to add a custom background picture to the collage.

When you’ve finished your collage, click the File menu. There you can select Save as. Or select Print on that menu to print out your collage.
How to Set Up a Photo Collage With Canva Free Collage Maker
Canva is one of the best online graphic design tools with which you can set up photo collages. There are lots of ways photographers can use Canva, and fortunately, creating collages is within its huge list of features.
You don’t even need a Canva account to utilize it for photo collages, but will be prompted to sign in with Google or Facebook. Canva includes a multitude of collage templates and additional options for adding elements and text.
How to Create a Collage With Canva
You can set up a basic photo collage with Canva like this:
- Open the Canva web app in Edge or other browsing software.
- Then click the Create a photo collage button there.
-
Click the Uploads button on Canva’s left sidebar.
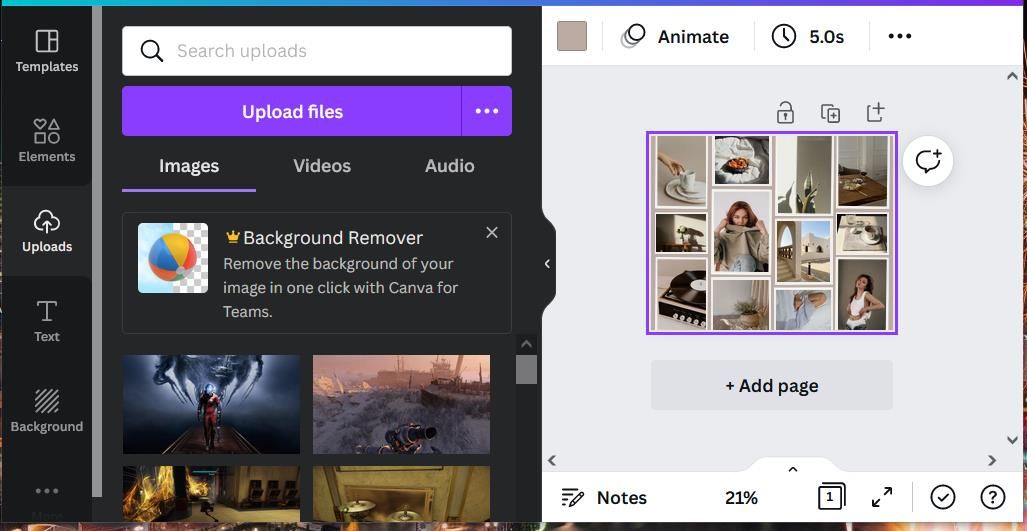
- Press the purple Upload files button.
- If prompted to sign in with an account, select a Google or Facebook option. Then choose your account to sign in with.
- Then select the images you want to include in your collage, and press the Open button.
-
Click Templates on the left of Canva.
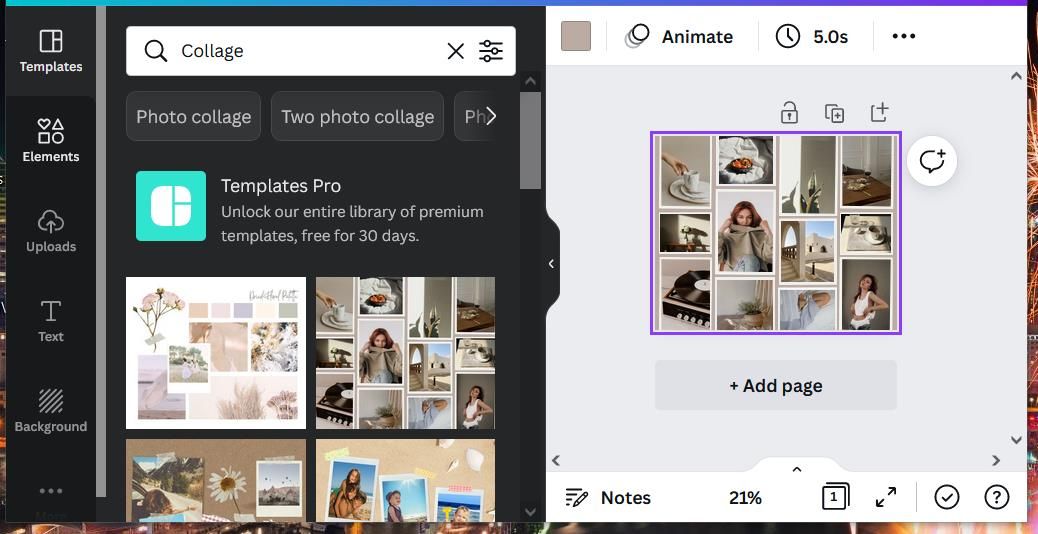
- Choose a template for your photo collage.
- Select the Uploads tab again, and then left-click and drag your photos into the template’s boxes.


Once you’ve moved all the images onto the template, you can start tweaking the collage.
How to Edit a Collage With Canva
Left-click the image boxes and hold the mouse button to reposition them within the collage. You can move images within the boxes by double left-clicking them.
If you want to change the collage’s background, click the More button. Press the More button, and then select Background. There are a plethora of backgrounds there you can select to add to your collage.

You can spruce up your collage by adding clip art elements to them. Click Canva’s Elements tab. Then you can drag and drop overlapping clip art pictures from that tab onto the photo collage.

Canva’s text options enable you to add some slideshow-style captions to your collage’s images. To do so, click the Text tab. Select the Add a little body of text option. Then you can resize and reposition the text box with the mouse and enter a caption in it.
You can change the text by selecting options on the formatting bar above the collage. Click the drop-down menu there to choose a different font. Resize the text by clicking the + and – buttons. Press the Text Color button to change the font color. You can even select a groovy font style by clicking the Effects button there.

To save the photo collage, press the Share button; select the Download option there. Choose a format for the image in the File type drop-down menu, and click Download again. The collage file will be in whatever folder your browser is configured to download to.
Show Off Your Favorite Snapshots With Photo Collages
Picture collages are a great way to show off related photos on single pages. With Collagerator and Canva, you can set up collages with different template styles and nice additional effects. So, you don’t need to splash out on any collage software to create appealing collages in Windows 11.