
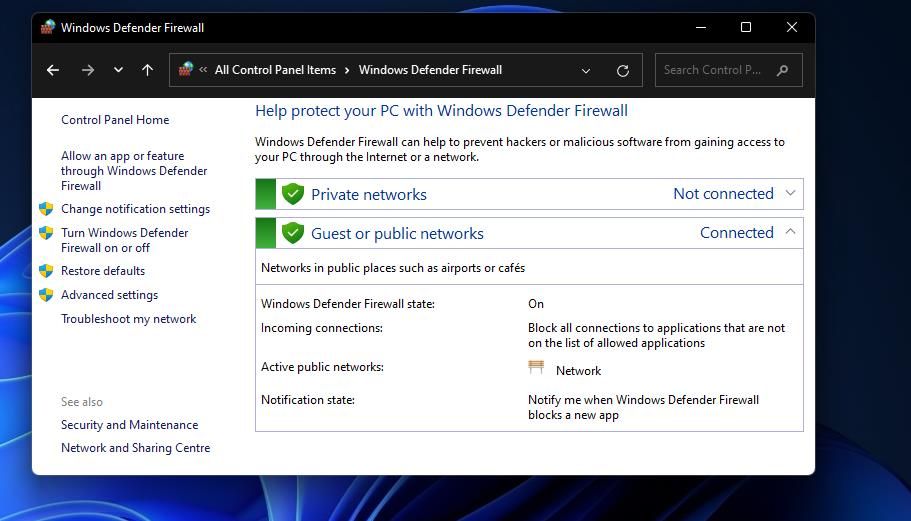
Your computer's firewall is a network tool that monitors incoming and outgoing internet traffic on your PC. Windows Defender Firewall (WDF) is Windows 11’s built-in firewall which blocks unpermitted software from accessing the internet.
Sometimes users need to configure what software is permitted through Windows Defender Firewall with its allowed apps options. Some users might even need to temporarily disable WDF for troubleshooting purposes. To change that firewall’s settings, you’ll need to open its Control Panel applet. Here are several ways you can open the firewall Control Panel applet in Windows 11.
1. How to Open Windows Defender Firewall With the Control Panel
You can manually open the Windows Defender Firewall applet from within the Control Panel. That’s not the most direct method, but it’s one way to open the firewall applet nonetheless. This is to how to open the firewall applet from within the Control Panel in Windows 11.
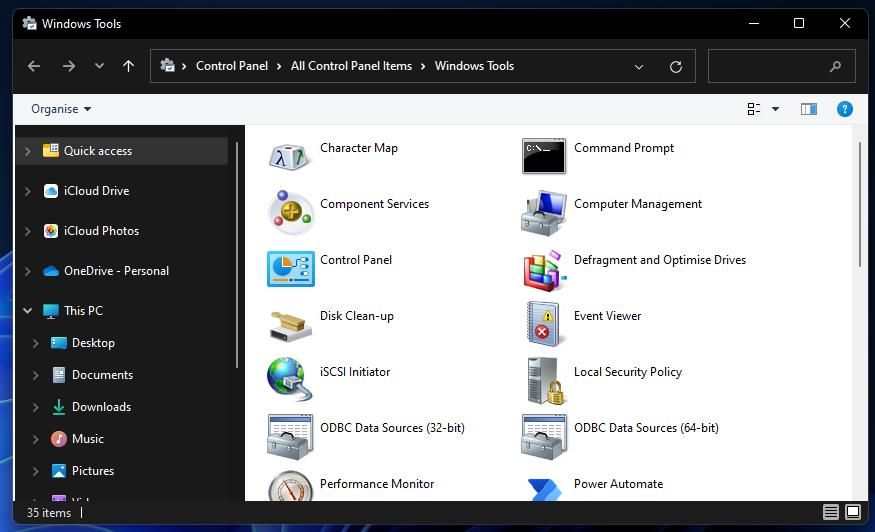
- Open the Start menu, and click All apps.
- Scroll down the Start menu to the Windows Tools folder. Click Windows Tools to open it.
-
Double-click Control Panel in the folder to open its window.
-
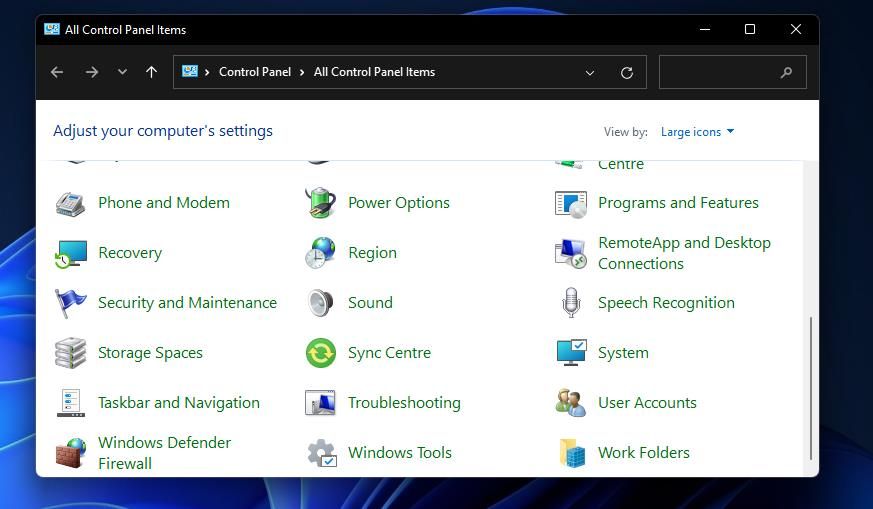
If the Control Panel opens in category view, click the View by menu and select Large icons.
-
Then click Windows Defender Firewall to open that Control Panel applet.


2. How to Open Windows Defender Firewall With Run
The Run dialog box provides a quicker three-step method for opening Windows Defender Firewall. You can open the firewall’s Control Panel applet by entering a quick applet command into that accessory’s Open box. These are the three steps for opening Windows Defender Firewall with Run.
- Press the Windows + R keys on your keyboard at the same time to launch Run.
-
Type the control firewall.cpl Run command in the Open text box.
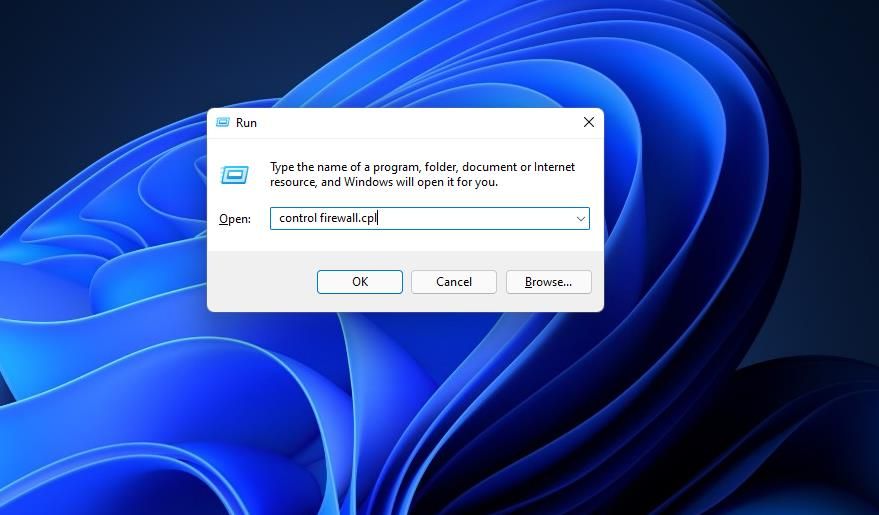
- Click the OK option to bring up Windows Defender Firewall.

3. How to Open Windows Defender Firewall With the Search Tool
Windows 11’s search tool always comes in handy for opening built-in system utilities and third-party software. Simply entering the name of what you need to open in the search box will often find it. Then you can select to open what you’re looking for from there. You can open the Windows Defender Firewall Control Panel applet with the search box as follows.
- Press the search tool’s magnifying glass taskbar button to open the utility.
-
Type the keyword Windows Defender Firewall in the search box.
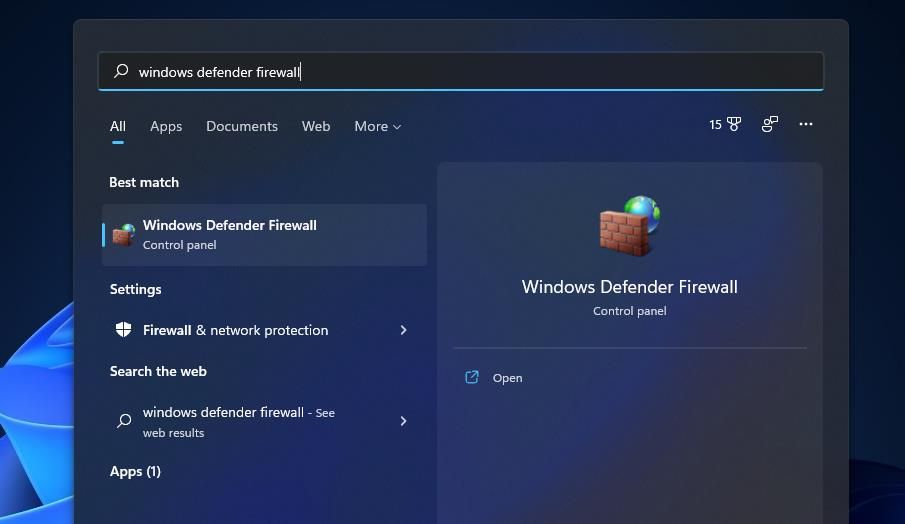
- Click Windows Defender Firewall to open it.

4. How to Open Windows Defender Firewall With Windows Terminal
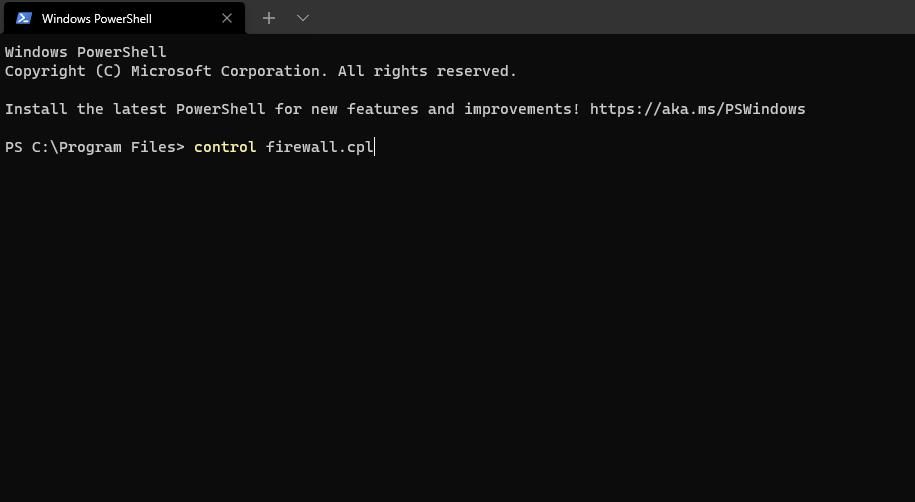
The control firewall.cpl Run command specified in method two also works when entered in the Command Prompt and PowerShell. Therefore, you can open the firewall applet with Windows Terminal, which incorporates both those command-line interpreters. This is how you can open Windows Defender Firewall with Windows Terminal.
- Click Start with the right mouse button to select Windows Terminal (Admin).
-
Next, click the Open a new tab button at the top of Windows Terminal to bring up the menu shown directly below.
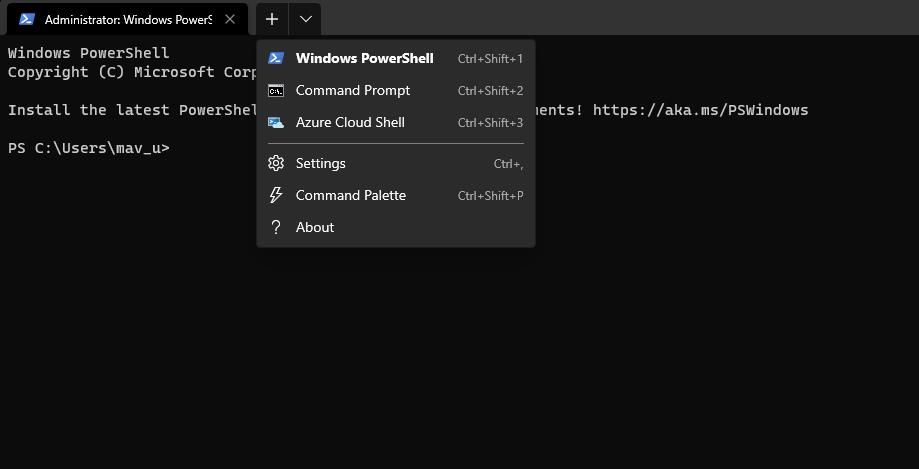
- Select Command Prompt or Windows PowerShell there.
-
Then type control firewall.cpl within the Command Prompt or Windows PowerShell tab, and press the Enter key.


5. How to Open Windows Defender Firewall With Task Manager
Task Manager incorporates a Create new task tool that’s like Run. That tool enables you to run new processes. You can access the Windows Defender Firewall applet by creating a new task as follows:
- Click any empty area of Windows 11’s taskbar with the right mouse button and select Task Manager.
-
Next, click File on Task Manager’s menu bar.
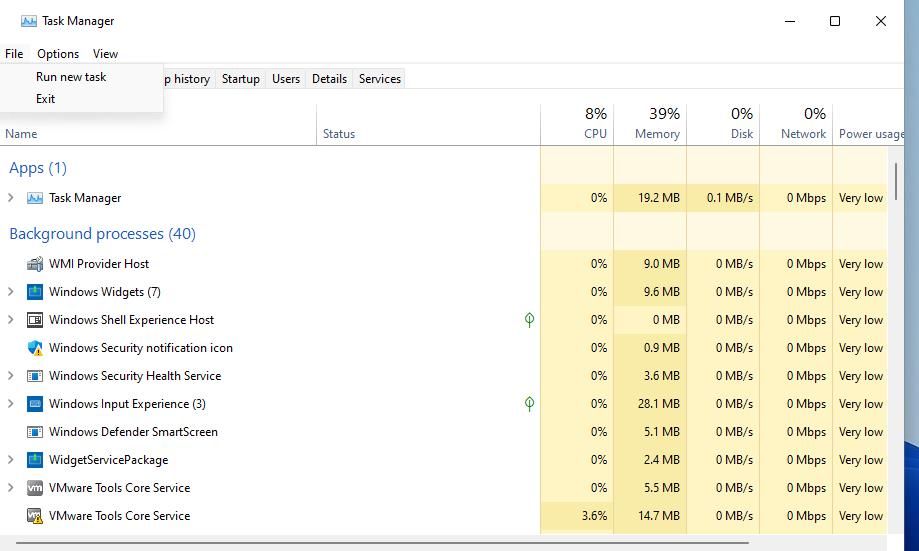
- Select Run new task to bring up the Create new task command dialog.
-
Input control firewall.cpl inside Create new task’s Open box.
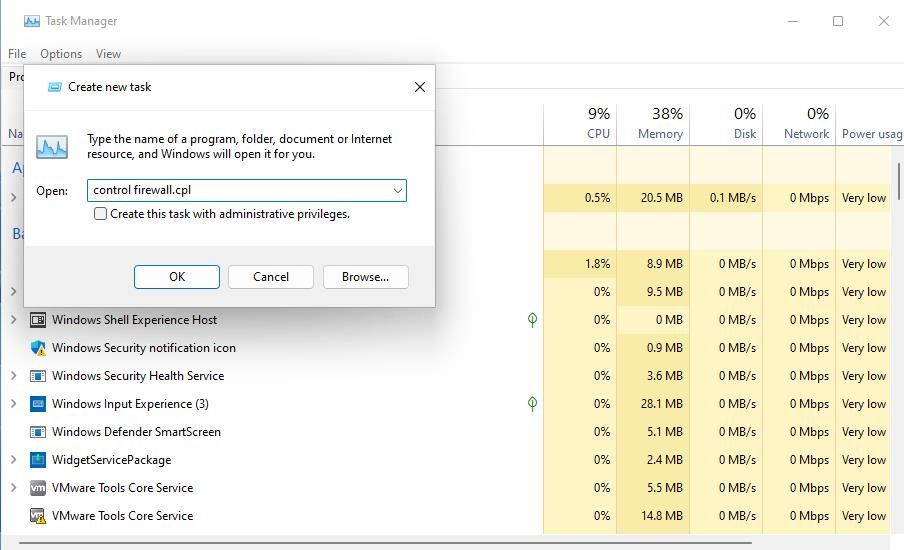
- Click OK to bring up the Windows Defender Firewall applet.


6. How to Open Windows Defender Firewall With Settings
Although Windows Defender Firewall is a Control Panel applet, there is a way you can access it from Settings. This is how you can open Windows Defender Firewall via Settings:
- Click Start and the Settings app shortcut on the menu that opens.
-
Input the keyword Windows Defender Firewall inside the Settings search box.
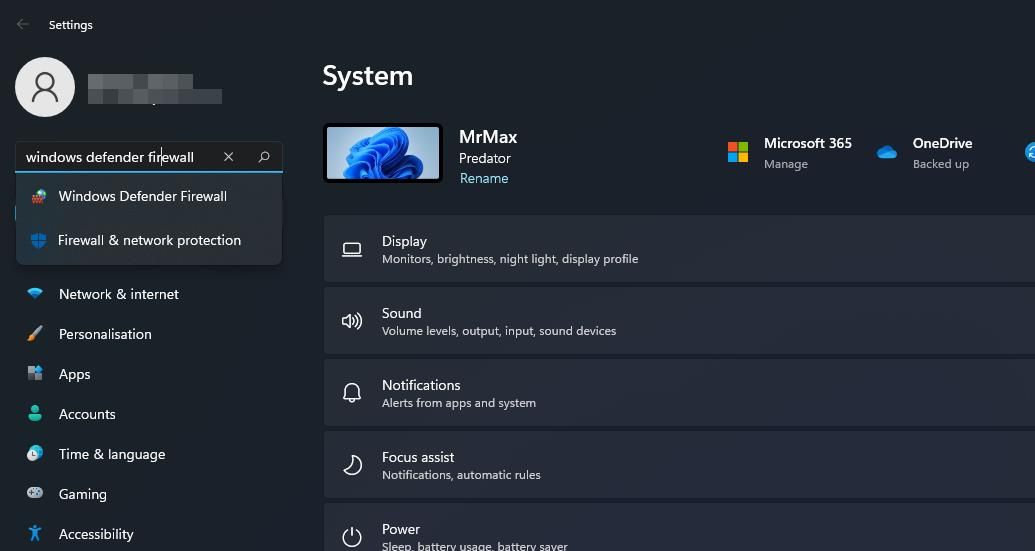
- Select the Windows Defender Firewall search result.

7. How to Open Windows Defender Firewall With Windows Security
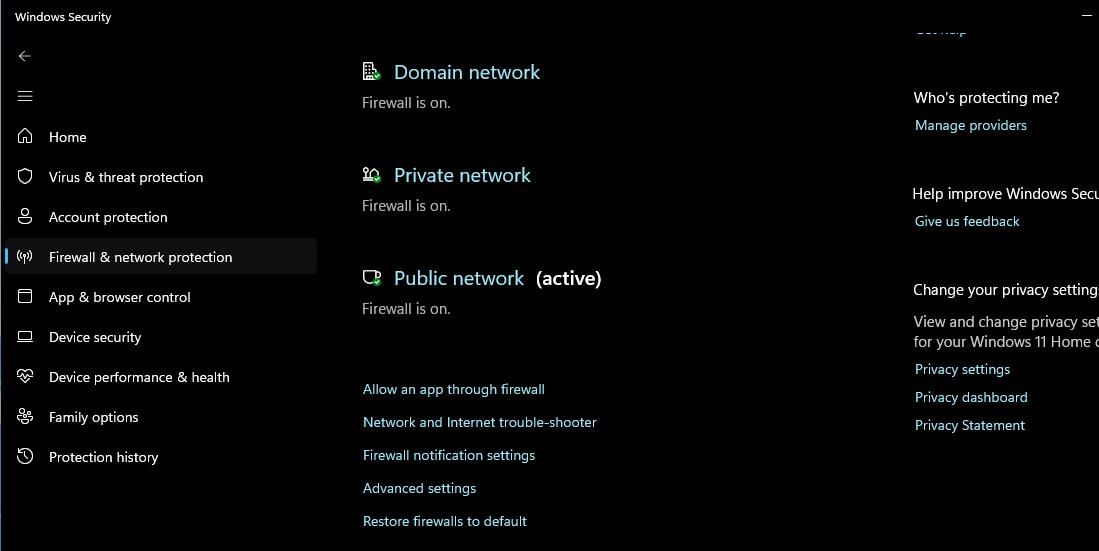
The Windows Security app includes alternative firewall settings. That app also includes navigation options for accessing parts of the Windows Defender Firewall Control Panel applet. You can use those navigation options to access the WDF applet from Windows Security as follows:
- Double-click the shield icon in Windows 11’s system tray area to open the security app. You might also need to click a small Show hidden icons arrow to see Windows Security’s system tray icon.
- Select the Firewall & network protection tab in Windows Security.
-
Click the Allow an app through firewall navigation option.
-
The allowed app list part of the Windows Defender Firewall applet will open. You can go to the applet’s home screen by clicking Windows Defender Firewall in the Control Panel’s navigation bar.


Alternatively, you can click Restore firewalls to default on the same Firewall & network protection tab. Doing so will open the Restore defaults option in the Windows Defender Firewall Control Panel. Windows Security has those navigation links to the WDF applet because it doesn’t include options for retting the firewall or allowing apps through it.
8. How to Open Windows Defender Firewall With a Desktop Shortcut
You can make Windows Defender Firewall directly accessible from the desktop by creating a shortcut for it there. Then you’ll be able to open the firewall a little quicker with that shortcut whenever you need to modify its settings. These are the steps for adding a Windows Defender Firewall shortcut to the desktop.
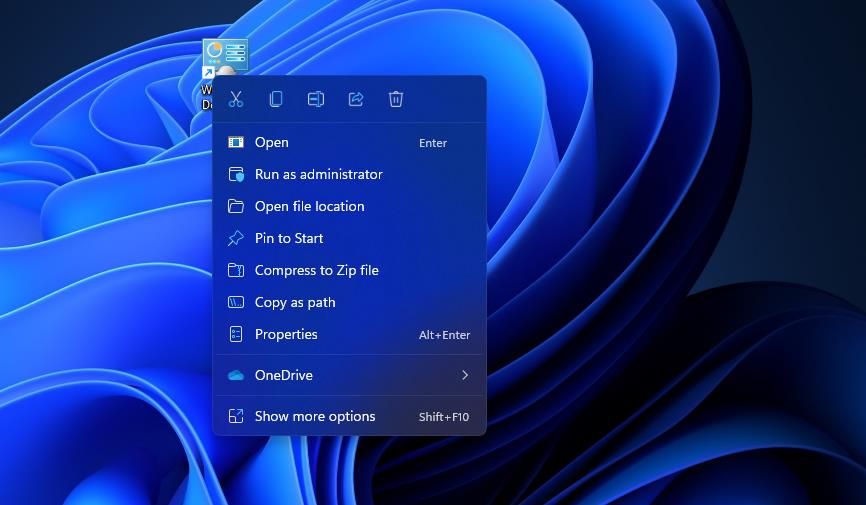
- Click somewhere on the desktop with the right mouse button to select New > Shortcut.
-
Type control firewall.cpl in the item location box as in the screenshot directly below.
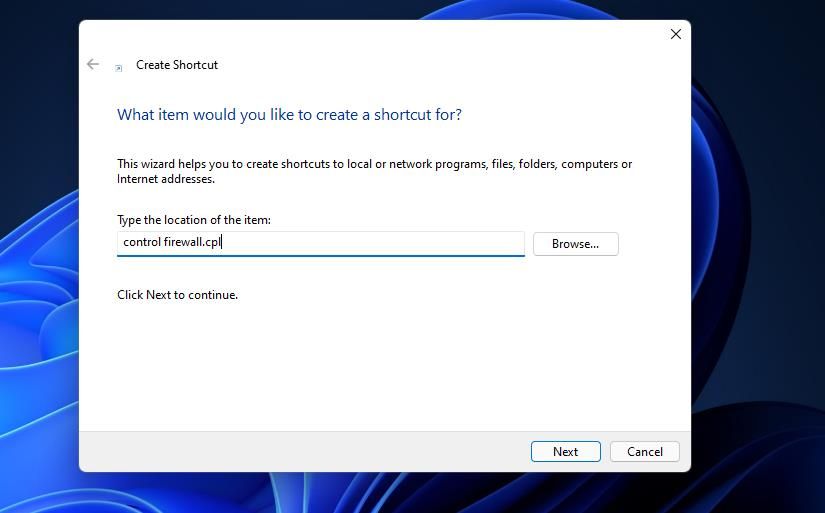
- Press the Next button to go to the naming step.
- Erase what’s in the text box, and then input Windows Defender Firewall there.
-
Click Finish to add a Windows Defender Firewall icon to the desktop.

- Go ahead and double-click the Windows Defender Firewall shortcut to bring up its Control Panel applet.


9. How to Open Windows Defender Firewall With a Keyboard Shortcut
If you prefer hotkey accessibility, you can also set up a keyboard shortcut for Windows Defender Firewall. Setting up a desktop shortcut for the firewall as outlined in the previous method is the first stage for that. When you’ve done that, you can apply a hotkey to the WDF desktop shortcut like this.
-
Right-click a Windows Defender Firewall shortcut you’ve added to the desktop and select Properties.
- Click inside the Shortcut key box on the properties window.
-
Press F (for firewall) to establish a Ctrl + Alt + F hotkey.
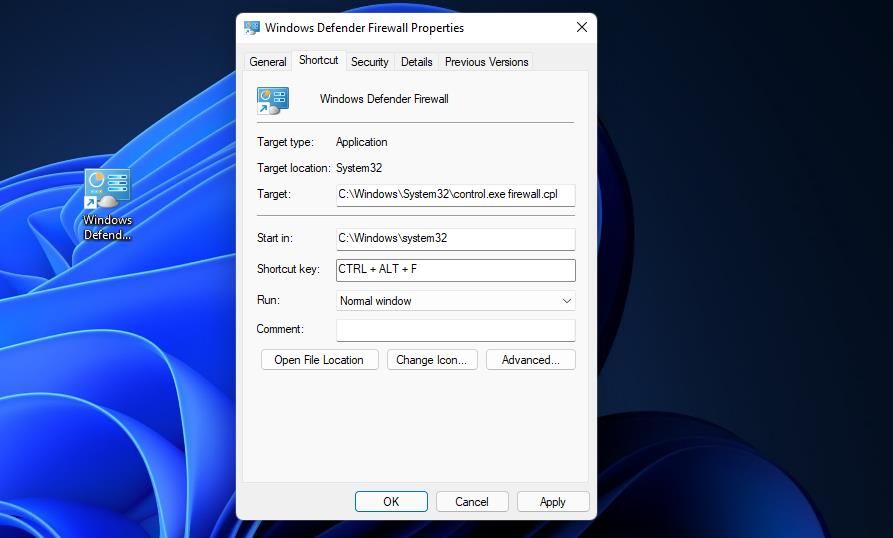
- Select Apply to save the new keyboard shortcut.
- Click OK on the properties window.


Now press Ctrl + Alt + F at the same time to open Windows Defender Firewall. You can always change that hotkey by pressing a different key for it within the Shortcut key box. Note that deleting the Windows Defender Firewall desktop shortcut will also erase the hotkey applied to it.
10. How to Open Windows Defender Firewall With a Context Menu Shortcut
The desktop context menu is another place you can open Windows Defender Firewall from. However, you’ll need to add a firewall shortcut to the desktop’s right-click menu first to do so. You can add a Windows Firewall option to the context menu with Winaero Tweaker like this.
- Open the Winaero Tweaker homepage within a Windows browser.
- Click Download Winaero Tweaker on the homepage.
- Press the Win + E, then open the folder where the Winaero Tweaker ZIP file downloaded to.
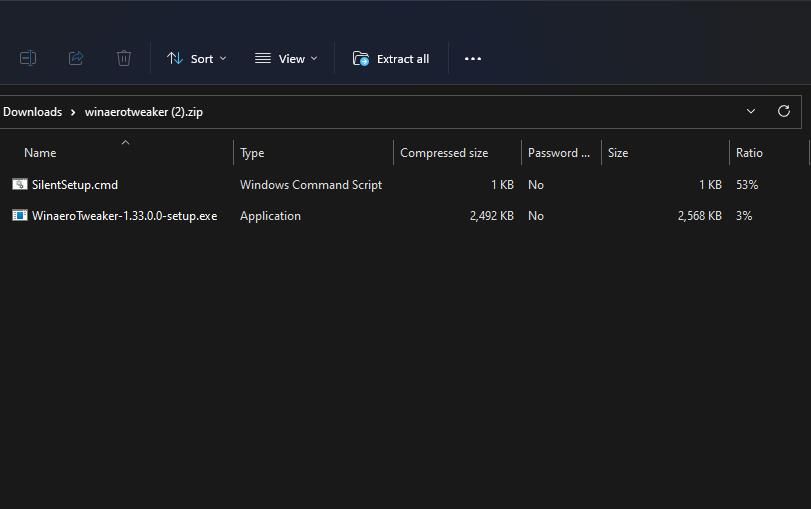
- Double-click the winaerotweaker.zip file to open it.
-
Click Extract all at the top of File Explorer.
-
The Show extracted files option will probably be selected by default. If it isn’t, however, select that option.
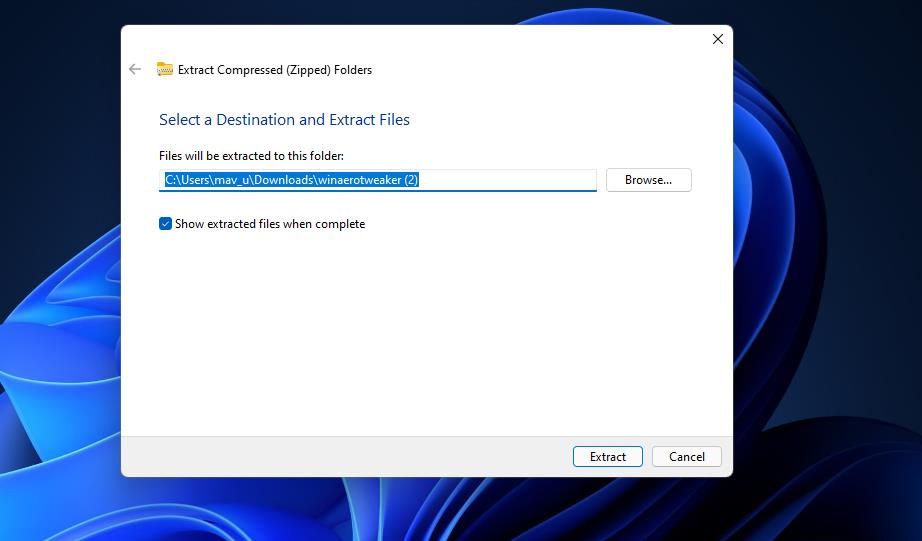
- Press the Extract button to open an extracted Winaero Tweaker folder.
- Double-click the WinaeroTweaker-1.33.0.0-setup.exe file there to bring up an installer for the software.
- Select the Normal mode and I accept the agreement options within the setup wizard and click Next to proceed.
-
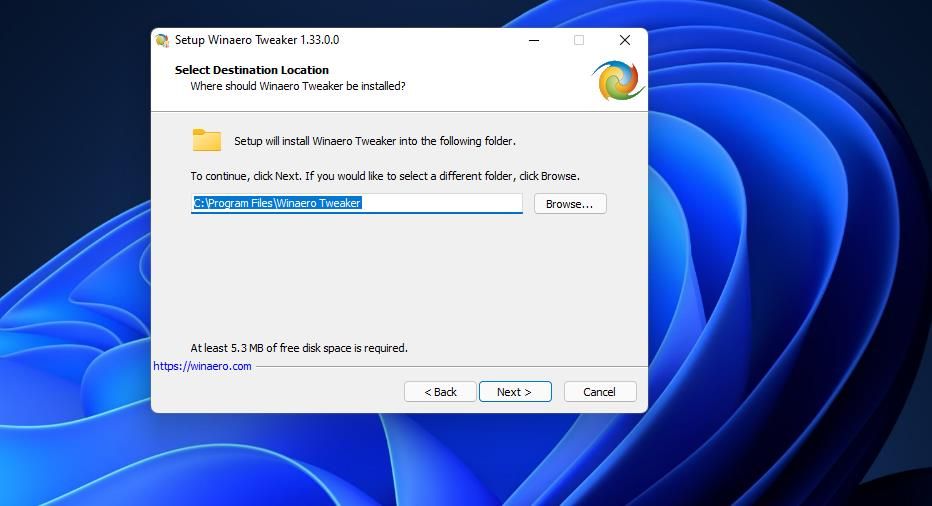
Click Browse, choose an installation folder, and press the OK button.
- Then press the Next button a few more times to get to the Install option. Click the Install button to finish.
- Open the Winaero Tweaker window.
- Double-click the Context Menu category to expand it.
-
Then select Winaero Tweaker’s Firewall Context Menu option shown directly below.
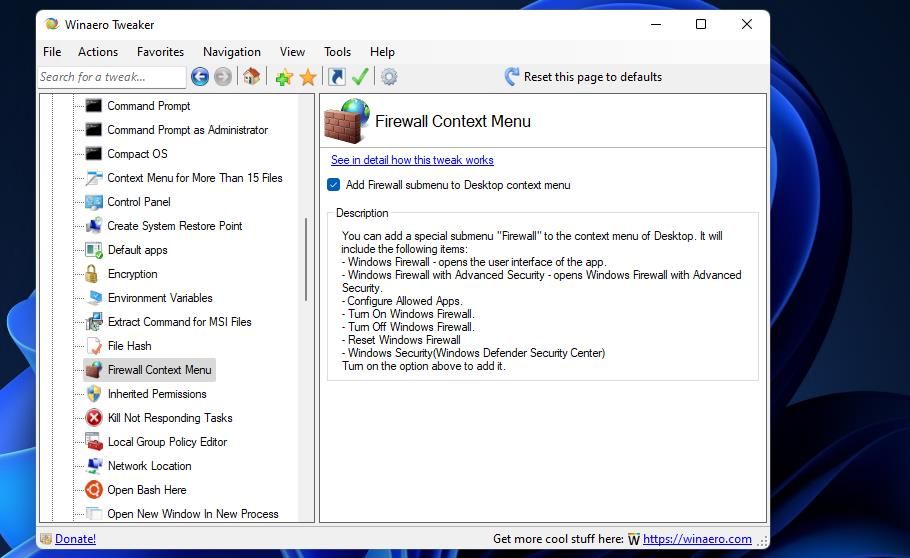
- Select the Add Firewall submenu to Desktop context menu checkbox.


Now close Winaero Tweaker. Right-click the desktop and select Show more options to view the classic context menu. Move the cursor over the new Windows Firewall submenu there. Then click Windows Firewall to bring up that Control Panel applet.

You’ll notice the Windows Firewall submenu includes more than one shortcut. There you can select to open Windows Defender Firewall with Advanced Security. That submenu also includes options for turning the firewall on/off and resetting it.
Optimize Network Protection With the Windows Defender Firewall Applet
Open Windows Defender Firewall’s applet with whatever method above you prefer. You can open it with Run, the search tool, Control Panel, and Windows Terminal. To open that applet a little quicker, it’s better to set up a shortcut for it as outlined in the last three methods. However you open WDF, you can optimize your network protection with the advanced firewall and allowed apps settings available within from its Control Panel applet.