
The Windows Narrator has been around as an essential accessibility feature for a long time. It helps users navigate web pages, Windows apps, and more by reading the text on the screen.
Since the release of Windows 11, many accessibility features have received significant upgrades. New features (such as more natural voices) make Narrator more powerful and customizable on Windows 11.
Read on as we discuss all you need to know about setting up and using the Windows 11 Narrator.
How to Set Up Narrator on Windows 11
Similar to other accessibility tools, you can configure the Narrator to launch automatically before or after signing into Windows or through a dedicated keyboard shortcut.
To set up how Narrator starts on your system:
- Launch the Settings app from the Start menu, and select Accessibility from the sidebar.
-
Under Vision, click on the Narrator tab.
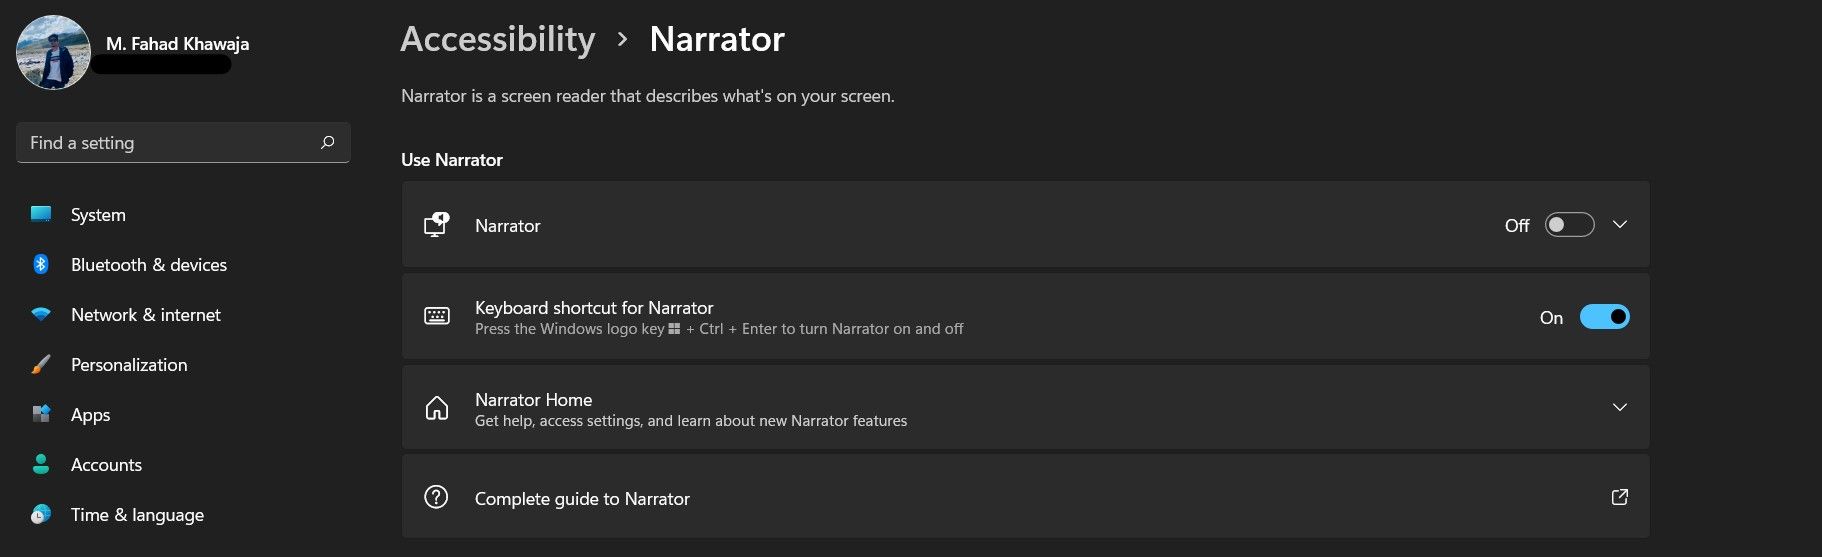
- To enable Narrator immediately, turn on the Narrator toggle button.
- If you want to automatically set up Narrator to start before or after sign-in, then expand the Narrator tab and select the required options.
- To enable the Narrator shortcut key (Win + Ctrl + Enter), enable the Keyboard shortcut for Narrator toggle button.
- Similarly, you can set up Narrator Home to launch automatically as well.

How to Change the Narrator's Voice on Windows 11
Windows 11 provides a lot of flexibility in customizing the Narrator's voice to your preference. You can choose from several different voices to adjust the narration speed, pitch, volume, and more.
To change the Narrator voice settings on Windows 11:
-
Navigate to Settings > Accessibility > Narrator.
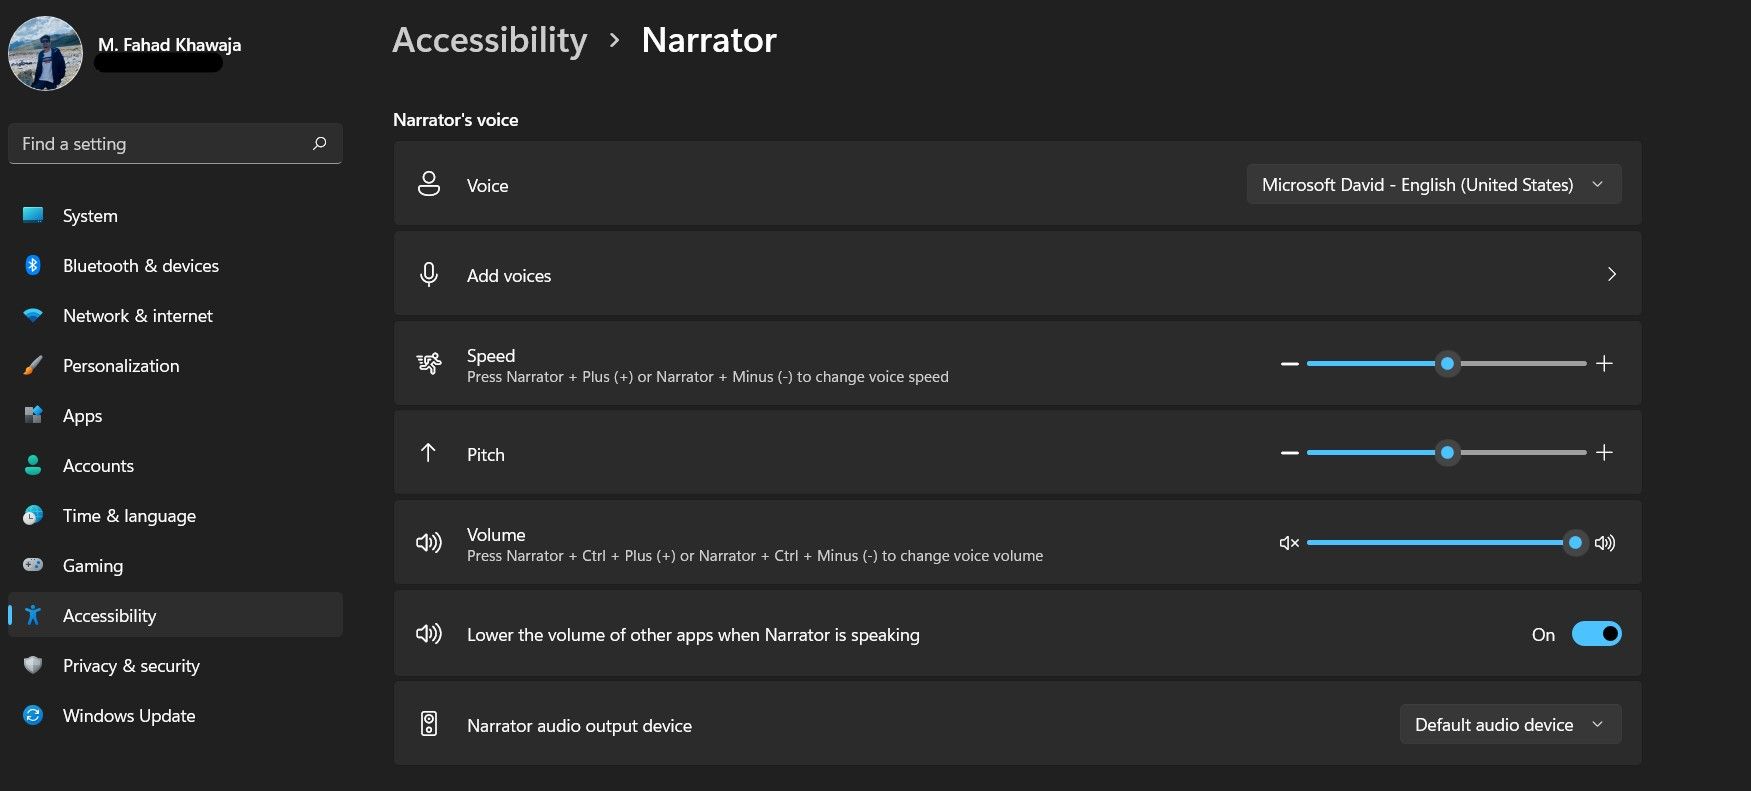
- Select the Voice dropdown and choose your preferred Microsoft voice to change the Narrator's voice.
- Alternatively, you can also add a different voice through the Add voices tab. Select Add voices from the Speech settings page and choose a language package.
- You can adjust the narration's Speed, Pitch, and Volume of the narration from their respective control sliders.
- If you want to change the default narration output device, connect your output device to your PC and select the device from the Narrator audio output device dropdown box.

How to Configure Narrator Speech on Windows 11
In addition to adjusting the Narrator's voice, you can also change the wordiness or verbosity of the Windows 11 Narrator. This essentially means how much detail the Narrator provides while screen reading.
Here’s how you can adjust the verbosity of the Windows Narrator:
- Launch the Settings app and navigate to Accessibility > Narrator.
-
Select the Verbosity level dropdown, and choose the required narration detail level.
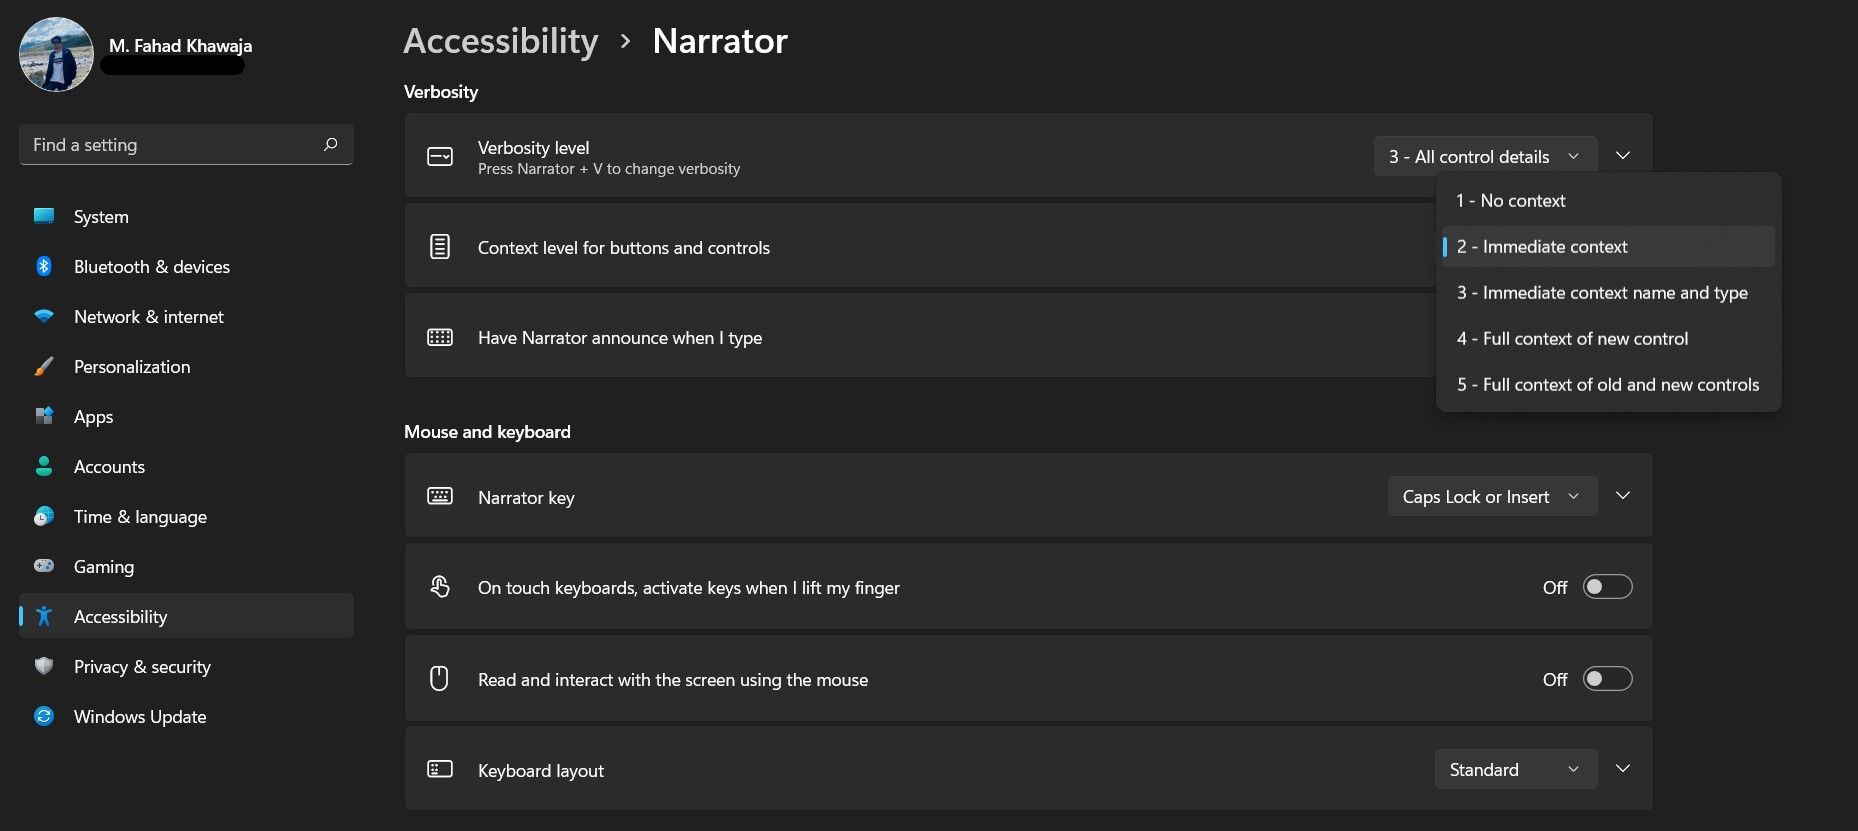
- Similarly, you can also decide how much detail the Narrator provides when you interact with buttons or controls through the Context level for buttons and controls dropdown box.
- If you want the Narrator to alert you every time you press a keyboard key, you can enable the feature by expanding the Have Narrator announce when I type tab. Windows allows you to choose to enable this feature for a specific key group (letters, numbers, function keys, etc.). You can select your preferences by selecting the required options.

Advanced Narrator Settings
Apart from how Narrator sounds, Windows 11 lets you configure advanced Narrator settings. This includes customizing how the Narrator cursor appears, integrating a braille display, and choosing how your data is managed.
You can easily manage these settings through the same Narrator settings page.
Narrator Becomes More Natural
Windows 11 has now begun support for natural Narrator voices. Thanks to the Insider update, users can now experience web browsing, reading, and mail authoring in a more realistic manner.
While the update is currently restricted to Windows Insiders, we’re optimistic that Microsoft will soon begin supporting all Windows 11 devices with additional languages.