Microsoft has rolled out Windows 11 to the Dev and Beta channels of the Windows Insider Program. If you’ve signed up for the Insider Program and installed Windows 11 on your PC, it will update itself with new features over time.
While this sounds like a good thing, it can really interrupt your workflow if your operating system changes overnight, especially if the update comes with serious bugs. If you’re tired of the unstable preview builds, then you can leave the Windows Insider Program and revert back to Windows 10.
How to Leave the Windows Insider Program?
Once you decide to stop receiving Windows Insider Preview Build updates, you have two choices. First, you can unenroll your PC to stop receiving any further updates after the major release of Windows 11 and continue using the existing Windows 11 Preview Build. Alternatively, you can also choose to stop receiving preview builds immediately and revert to Windows 10.
To stop receiving Windows Insider Program Preview Builds for Windows 11:
- Search for Settings in the Start menu and launch the Best match.
- Navigate to Windows Update and then click on Windows Insider Program.
- Click on the Stop getting preview builds tab and toggle the Unenroll this device when the next version of Windows releases. Your device will now be unenrolled from the Windows Insider Program.
After you do this, your device will not receive preview builds once the next major release of Windows 11 will launch.
How to Revert Back to Windows 10?
If Windows 11 has been a severe disappointment and you would much rather go back to Windows 10, then you have two possible methods.
Go Back to Windows 10 From the Settings Menu
To restore Windows 10 on your device while keeping all your files and without performing a clean installation of Windows:
- Search for Settings in the Start menu and launch the Best match.
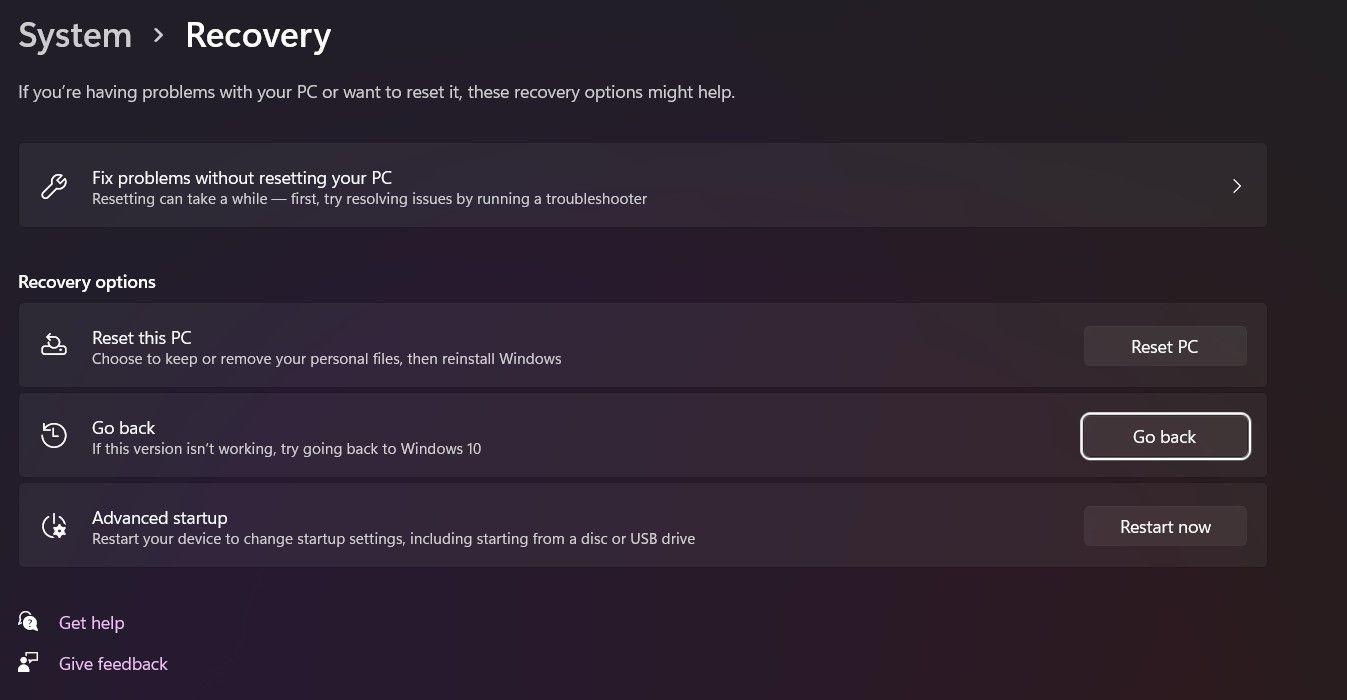
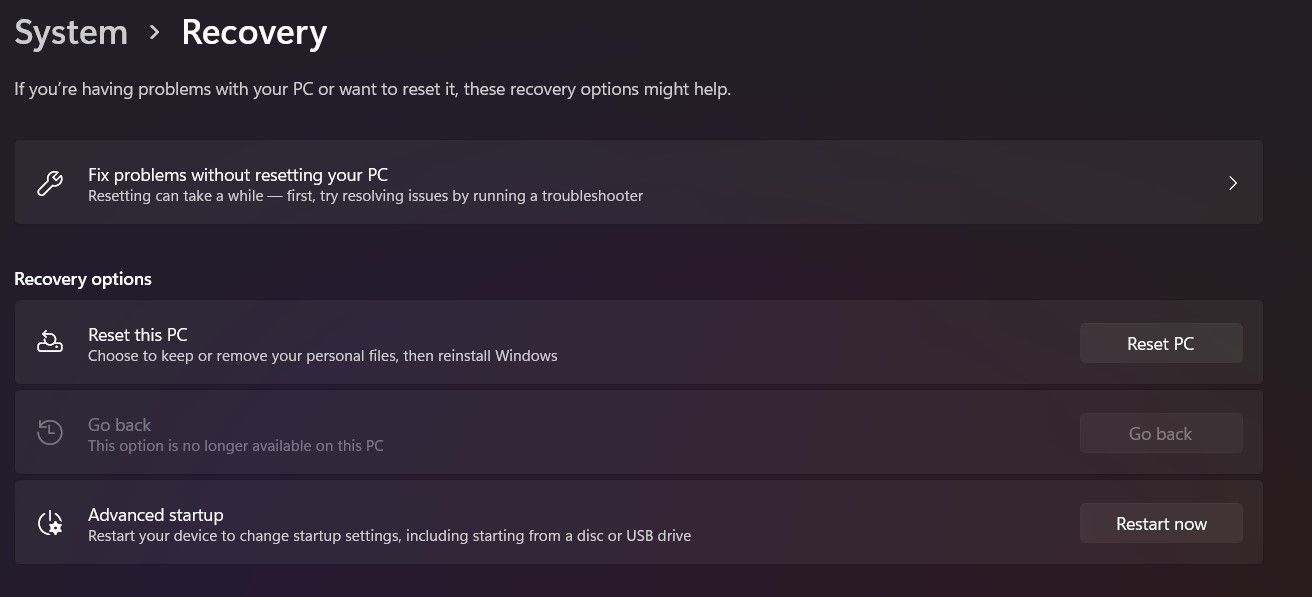
- Navigate to System > Recovery > Recovery Option > Previous Version of Windows and finally select Go back if the option is available.
- Follow the on-screen instructions to complete the rollback process.
If the Go back option is not enabled, you will have to use a clean installation of Windows 10 as described below.
Restore Windows 10 With a Clean Installation
If you're taking this route, you'll first want to back up all necessary data. This is because you will be uninstalling the existing Windows 11 and replacing it with a clean and stable version of Windows 10. Your files and applications will not carry over.
You will first need to create an installation media and then restore Windows 10 using the installation media. Creating the Windows 10 installation media is a reasonably straightforward process. It is recommended that you use an external device such as a USB with at least 8GB of free storage.
Once you have created the installation media, carry out the following steps:
- Launch Settings from the Start menu and navigate to System > Recovery > Advanced startup and click on Restart now.
- Select Use a device and follow the onscreen instructions; you will need to delete all partitions in the disk where you want to install Windows 10.
- The installation process will take some time, and you can then set up Windows 10 on your device.
Windows 11 Is Here, but It May Not Be for Everyone Yet
Windows 11 will change the game for Microsoft, but it still hasn't been released officially and needs to come a long way. The Beta and Dev channels are not entirely reliable, and you can come across some serious issues. On the bright side, Windows 10 is still as amazing as ever.


