As technology advances, users must implement effective security measures to keep them safe from threats and malicious actors taking advantage of every vulnerability they find. This means that, apart from securing your system using antivirus programs, users must know how to keep their local files safe and secure.
Thankfully, Microsoft addresses the massive need of its users to protect their sensitive data by providing them with a built-in option to encrypt their hard drives. In this article, we will discuss two methods to turn on device encryption on your Windows 11 PC so that you can have better system security.
How to Encrypt Your Windows 11 Hard Drive
You have two ways to encrypt your hard drive on Windows 11: via device encryption or BitLocker. Both of them are security features that help users protect their sensitive information. Device encryption uses one or more mathematical techniques to safeguard your data, while BitLocker encryption uses the XTS-AES 128-bit encryption method to secure your files.
1. Using Device Encryption
Unfortunately, only some Windows 11 devices support the device encryption feature since it requires them to support Modern Standby. If you want to know if your computer can use device encryption, follow the steps below:
- Open Windows Search by pressing and holding Win + S keys.
- In the search bar, type system information and click Run as Administrator.
- Then, scroll to the bottom of the System Summary window and look for Device Encryption Support. If the value says Meets prerequisites, then you can use device encryption on your PC. If you don’t see it, go to the next method to encrypt your hard drive.
How to Turn On Device Encryption on Windows 11
To enable device encryption on Windows 11
- Open Settings by pressing and holding Win + I keys. Alternatively, click Start and select Settings from the menu.
- Then, go to the Privacy & Security option on the left side navigation.
- Under Privacy & Security, click Device Encryption. If you don’t see this option on your settings, this feature is not available on your device.
- Once you’re on the Device Encryption page, toggle the switch on for the Device encryption option.
- After turning it on, wait for a few seconds for the encryption process to finish.
- Close the Settings window. Your Windows 11 hard drive is now encrypted.
If this doesn't work, refer to our guide on fixing the device encryption feature on Windows 11 to learn more.
How to Turn Off Device Encryption on Windows 11
To disable encryption again:
- Press the Start menu and click the Settings app. You can also open Settings by pressing and holding Windows + I keys.
- Next, click Privacy & Security on the left side menu.
- On Privacy & Security, select Device encryption.
- Then, turn off the toggle found on the right side of the Device encryption option.
- When the popup screen appears, select Turn off to confirm your action.
- Next, wait for the decryption process to finish. It may take a while, depending on your device.
- Lastly, close Settings.
2. Using BitLocker
If your Windows 11 device doesn’t have a device encryption feature, you can use BitLocker instead. It’s also available in most Windows 11 devices, especially those with TPM 2.0. In addition to protecting your sensitive information, you can also use it to keep unauthorized persons from accessing your device.
How to Turn On BitLocker on Windows 11
To enable BitLocker:
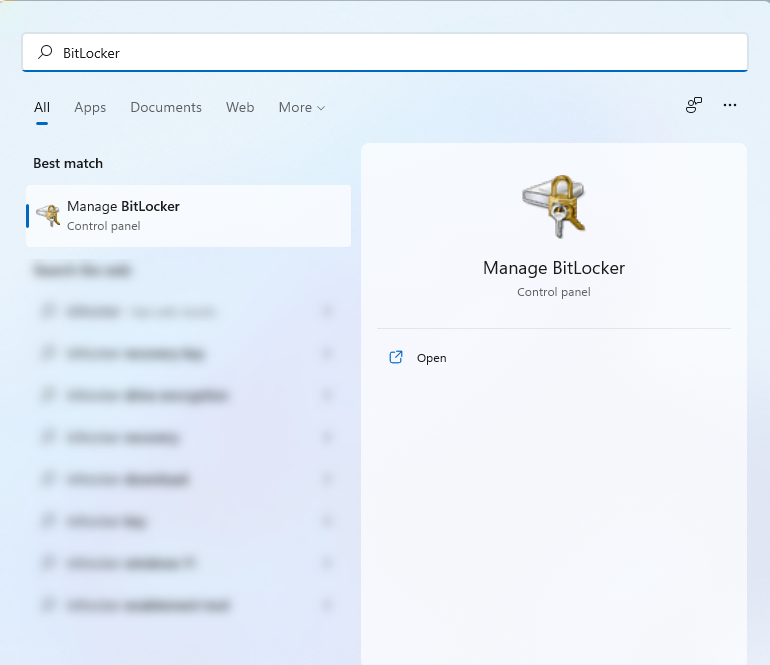
- Press and hold Win + S keys to open Windows Search.
-
Next, type BitLocker on the Windows Search bar and press the Enter button. This will open the BitLocker Drive Encryption Window.
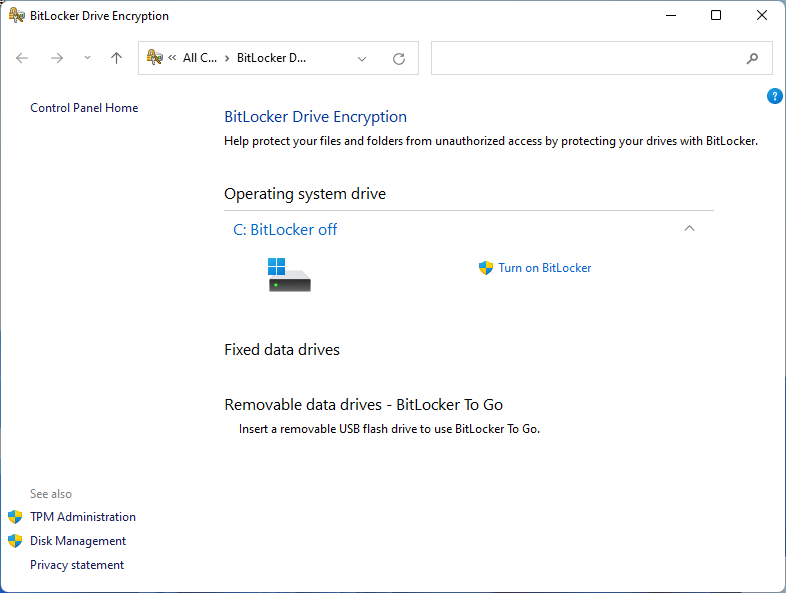
- Then, select which drive you want to encrypt.
-
Now, click Turn on BitLocker to start encrypting your hard drive.
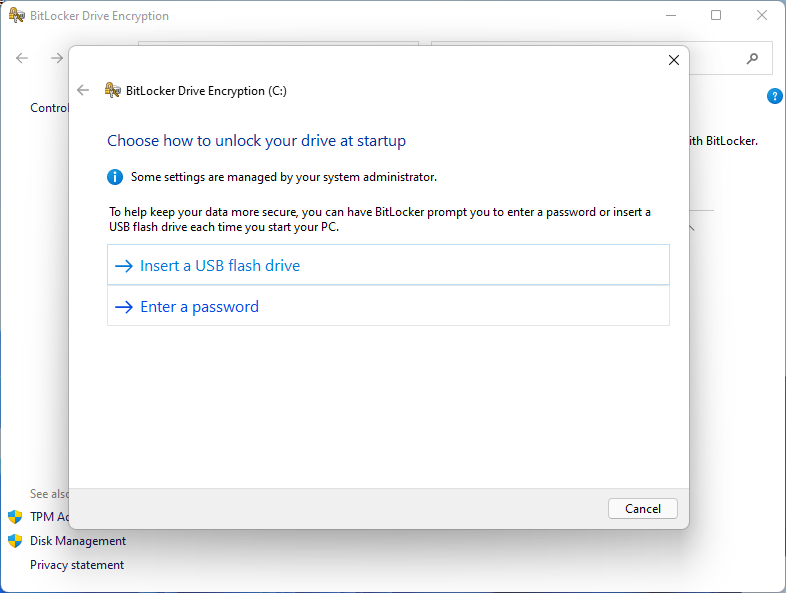
-
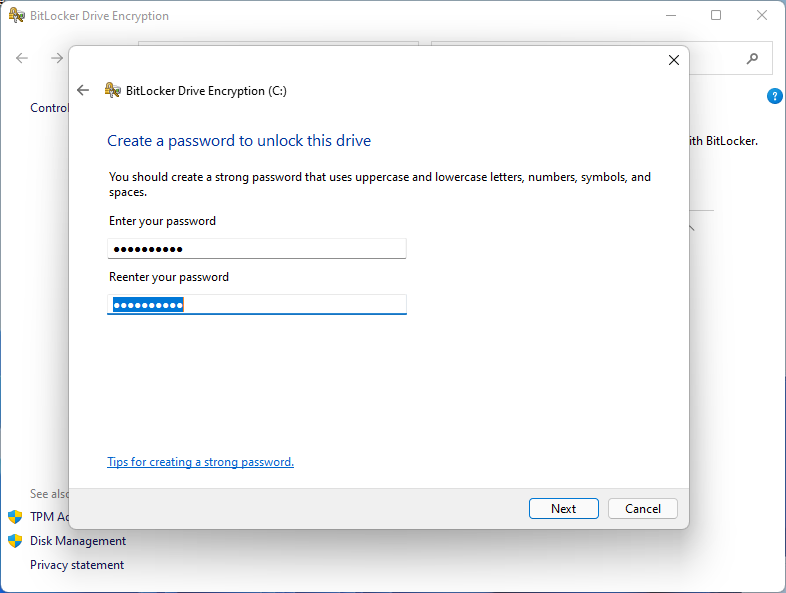
On the popup window, you’ll be asked how you want to unlock your hard drive at startup. We recommend using the password method since it’s more convenient to use. But you can also choose to open it using a USB drive if that’s what you prefer.
-
Then, enter and re-enter your desired password to unlock your drive and click Next.
-
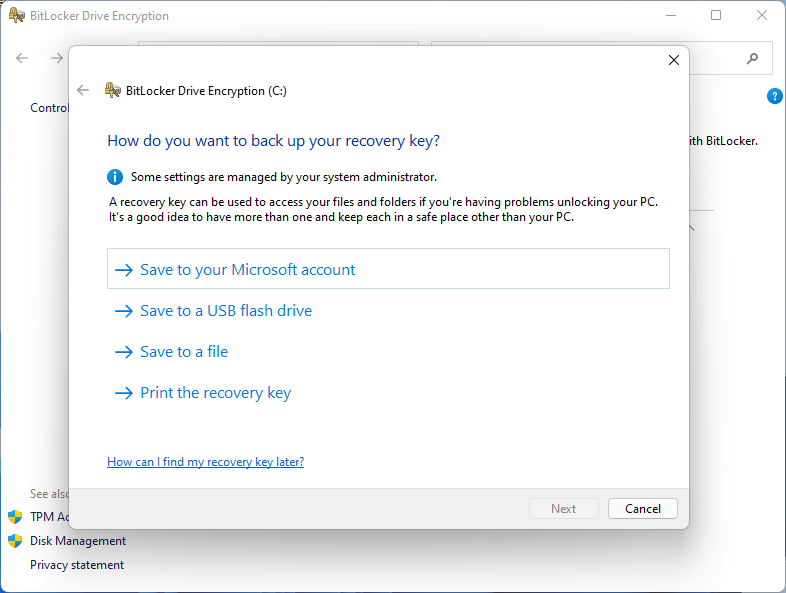
In the next window, you will be asked to choose a recovery option in case you forgot your password. The best option is to save it on a USB drive or your Microsoft account, so you can access it using a different computer in the event that you forgot your BitLocker password and can’t access your PC.
-
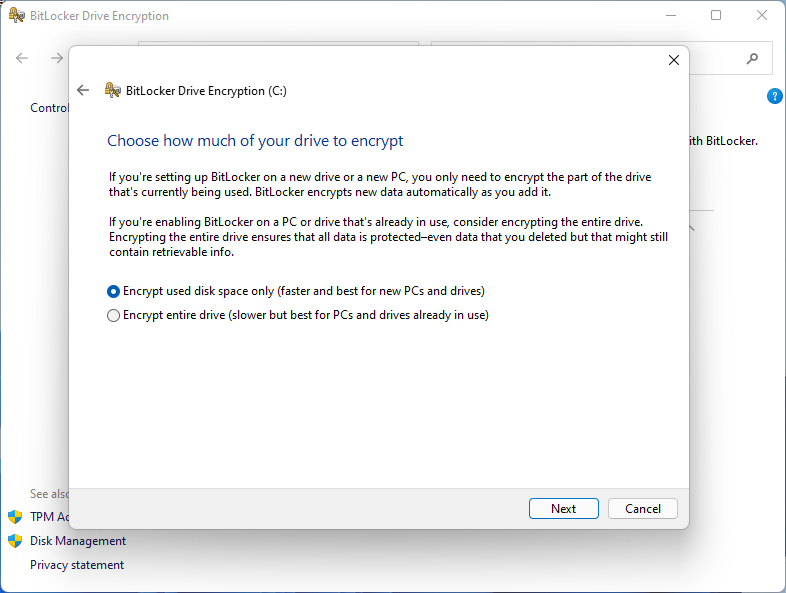
Then, you need to choose if you want to encrypt your whole hard drive or just its used parts.
-
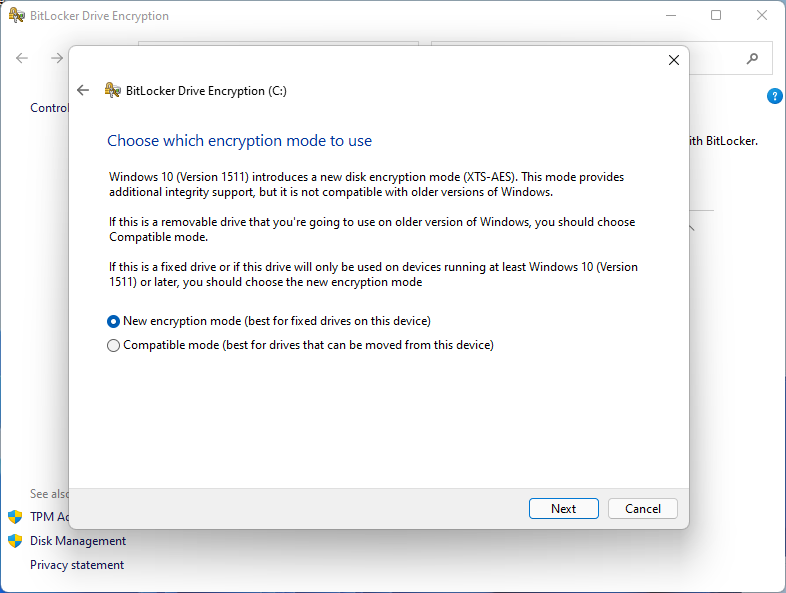
Next, choose how you want to encrypt your drive. You can select the first option if you’re using a fixed drive. But if you plan on moving your hard drive, select the second option.
-
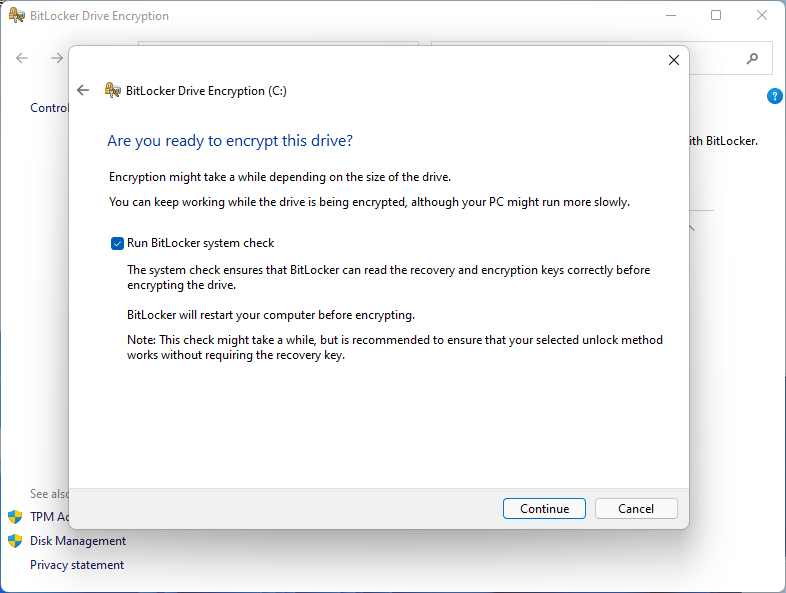
Lastly, check the Run BitLocker system check option and press Continue.
-
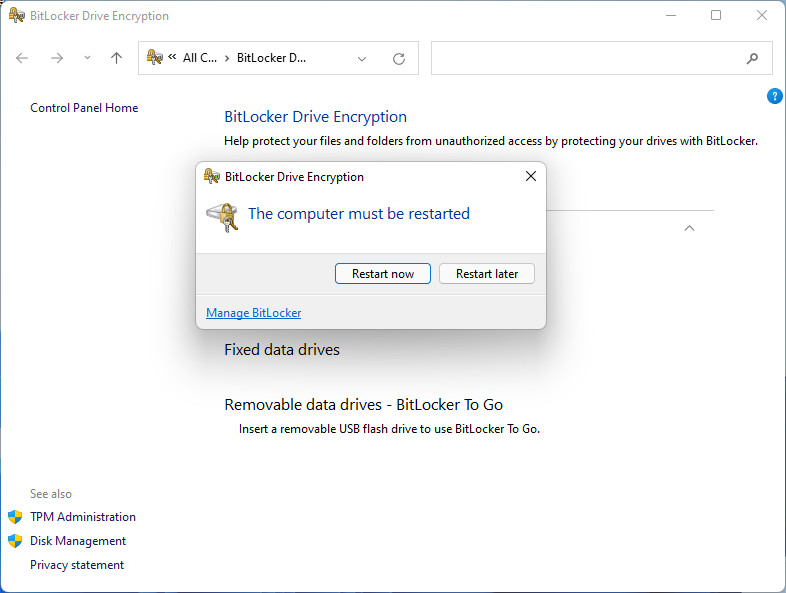
Once the encryption process is finished, you will be asked to restart your computer. If you want to check if the encryption is working, click Restart now. Otherwise, click Restart later if you still need to finish something on your device.


How to Turn Off BitLocker on Windows 11
To disable BitLocker again:
- Open Windows Search by pressing and holding Win + S keys.
-
Type BitLocker on the Windows Search bar and hit Enter.
-
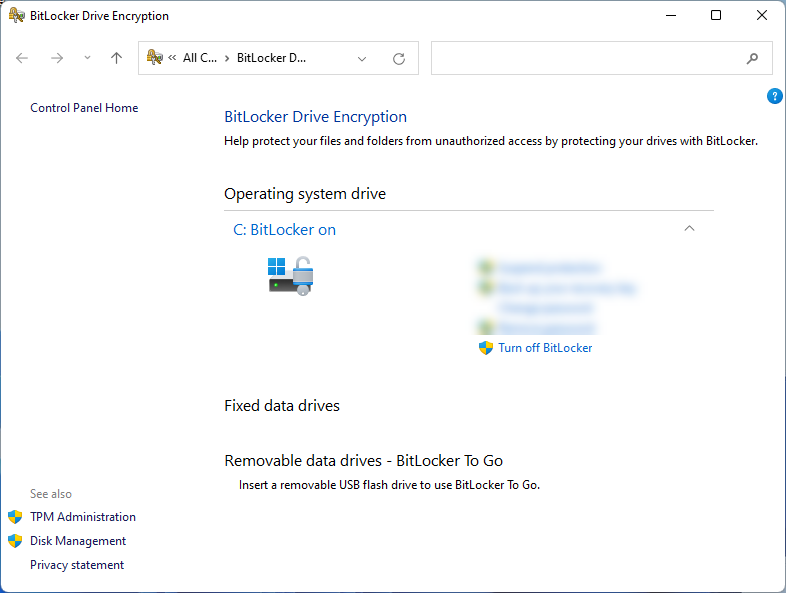
Next, choose the drive you want to decrypt and click Turn off BitLocker.
-
Then, confirm your action by pressing Turn off BitLocker again on the popup window.
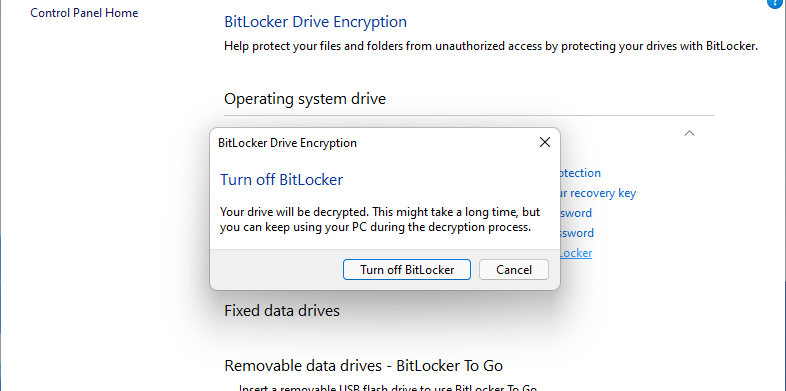
- Wait for the decrypting process to finish before shutting down or restarting your computer.


3. Using Group Policy Editor
If after turning on BitLocker on your device, and you see that it is not available for your Windows 11 device, this means that your computer is not TPM 2.0 ready. But don’t be discouraged. You can still enable BitLocker even if you don’t have a compatible TPM using the Group Policy Editor. Here’s how:
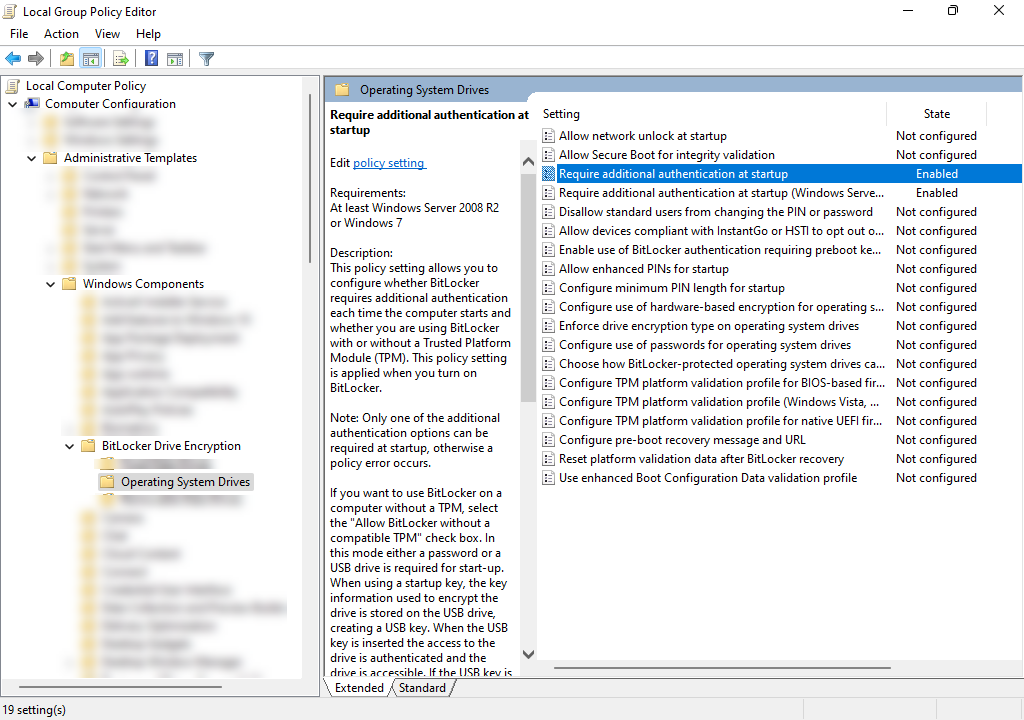
- Open Run by pressing and holding Win + R keys. Then type gpedit.msc and press Enter to open Group Policy Editor.
- In the Group Policy Editor, go to the following path Local Computer Policy > Computer Configuration > Administrative Templates > Windows Components > BitLocker Drive Encryption > Operating System Drives found on the left side navigation.
-
Next, double-click the Require additional authentication at startup key found on the right-side window. This will open a new window.
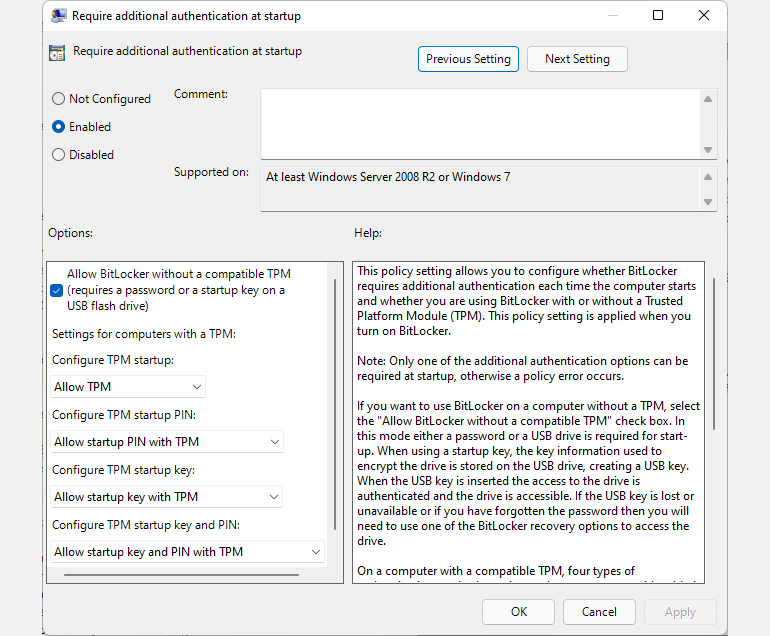
-
On the new window, make sure to choose the Enabled option found in the top left corner of the window, then check the Allow BitLocker without compatible TPM (requires a password or a startup key on a USB flash drive) option and click Apply then OK.
- Now, BitLocker is enabled on your device. Follow the steps above to turn on this feature on your Windows 11.


Safe and Secure Windows 11 Hard Drive
Encrypting your hard drive keeps all of your sensitive data safe and secure. At the same time, it will introduce another layer of protection against threats and malicious actors. However, you need to be careful when enabling this feature because if you’re not too careful with managing your password or keys, you will end up losing access to your precious data.