
DISM is a command-line tool that helps detect and restore the Windows system image. But like any other Windows feature, it can run into errors every now and then. For instance, some users will run into the DISM error 2 while using the tool.
So, if you also face DISM error 2, the below solutions will help you to resolve it for good.
What Is DISM Error 2?
The DISM error 2 pops up when the system can't find a specific file during the DISM scan. The error stops the Windows system image and component store repair process. Fortunately, it's pretty simple to get rid of this error message.
Here are all the effective solutions you can try in this situation.
1. Refresh the DISM Tool
The first workaround to eliminate the error message is to refresh the DISM tool. Refreshing the tool will automatically repair the corrupt files from the operating network.
You can refresh the DISM tool by following the below steps.
- Open Command Prompt in administrator mode.
-
Type the following command and press Enter.
dism.exe/image:C /cleanup-image /revertpendingactions - Next, reboot the system.
- Open Command Prompt again in administrator mode.
-
Execute the following command to clean up the component store.
dism.exe /online/Cleanup-Image /StartComponentCleanup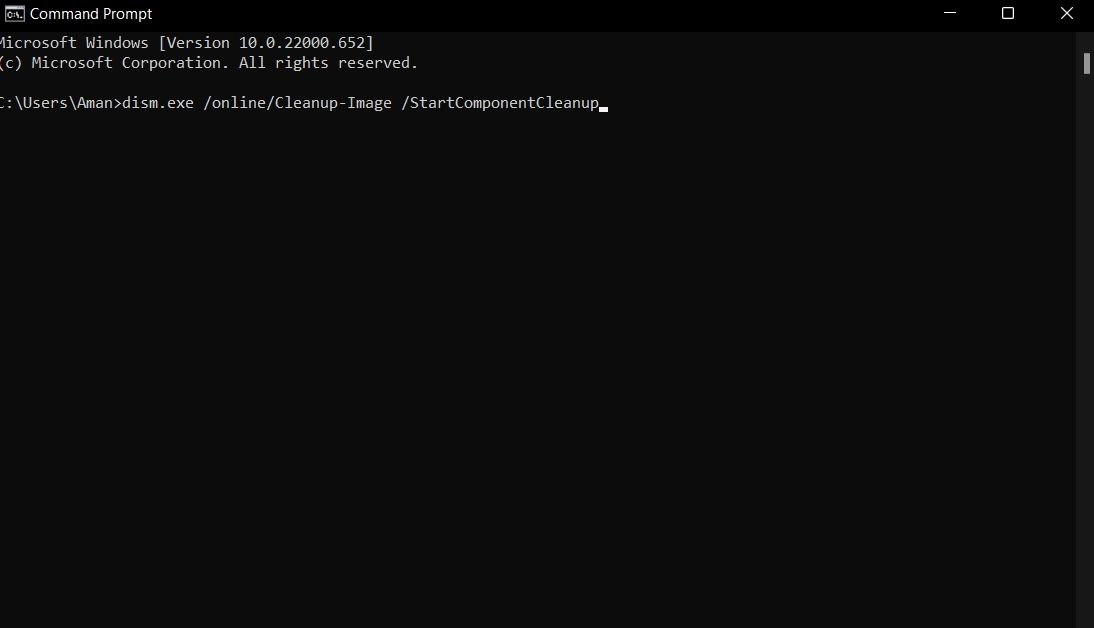
- Reboot the system again, and open Command Prompt with admin rights.
-
Type and execute the following command to run the SFC scan.
sfc/ scannow

That's it. Reboot the system once again, and try to run the DISM scan. Check if the problem continues.
2. Run CHKDSK
The error message can pop up due to disk-related issues. If this is the case, you can consider running the CHKDSK scan.
The CHKDSK scan looks for and resolves all the disk-related issues. Here's how to run it.
- Open Command Prompt in administrator mode.
-
Type the following command and press Enter.
chkdsk /offlinescanandfix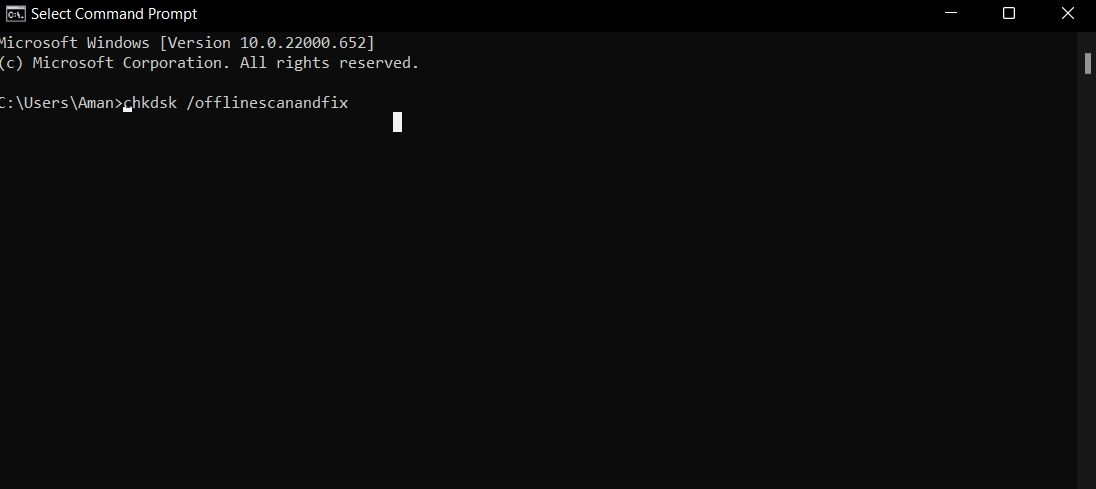

The scanning process will take some time. Once done, reboot the system and check for the issue.
3. Disable Antivirus Program
The DISM error 2 can result from the antivirus program installed on the system. You will have to disable such programs to fix the issue.
Different programs have different disabling methods, but most can be disabled by right-clicking on the program icon in the system tray and choosing the disable option.
If you are using Microsoft Defender Firewall, here's how to disable it.
- Open the Start menu, type Windows Security, and press Enter.
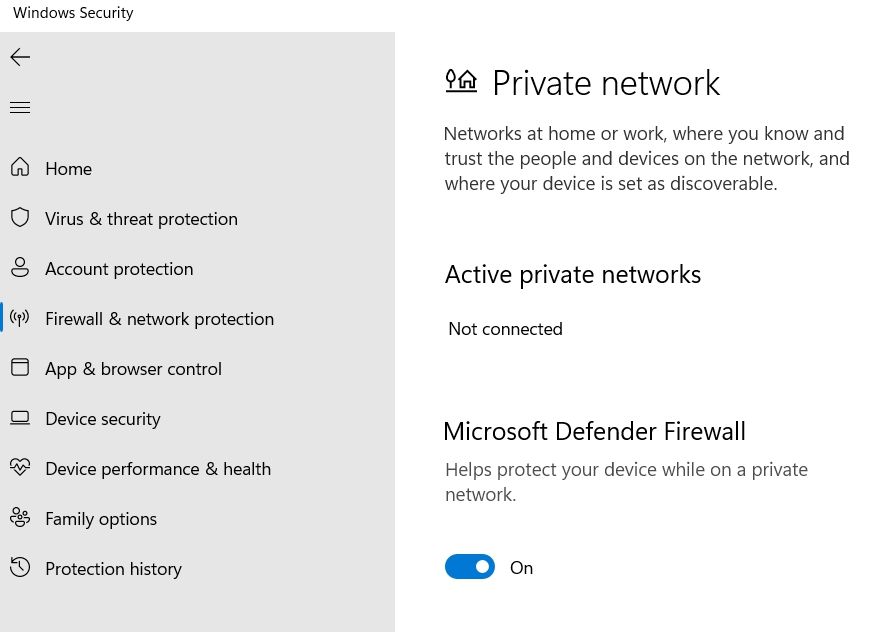
- Choose Firewall & network protection from the left panel.
- Click on Private network.
-
Disable the toggle under Microsoft Defender Firewall.

Try to run the DISM scan, and check if the error message pops up again.
4. Perform a System Restore
Performing a system restore is another solution you can try in this situation. In the process, you will be reverting some changes to your system to an earlier state.
To perform a system restore, you will have to follow the below steps.
- Open the Start menu, type Create a restore point, and press Enter.
- Click on System Restore.
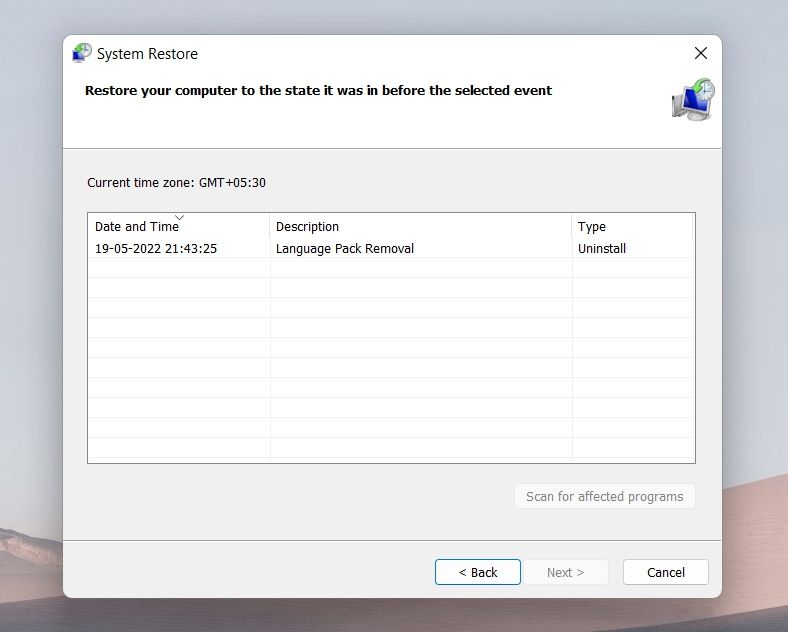
- In the System Restore wizard, click on Next.
-
Select the restore point, and click on Next.

That's it. Wait until the restoration process is complete. Next, run the DISM scan and check if you still face the error message.
5. Reset the PC
If none of the steps was helpful, you could consider resetting the PC. Here's how to reset a Windows PC.
- Open Settings using Win + I.
- Under the System tab, choose Recovery.
- Click on Reset PC.
Follow the on-screen instructions to reset the PC.
DISM Error 2 Fixed
DISM errors can pop up while performing a DISM scan on Windows PC. Fortunately, its easy to troubleshoot DISM errors. If you face DISM error 2, consider trying the solutions above.