Did you ever feel as if someone was watching you? In today's age of technology, it's not just a feeling anymore. Your computer's webcam can be used to spy on you, without you even knowing it.
So, how can you protect yourself? By disabling your webcam, of course. This article will show you how to disable your webcam in Windows 11.
Why Is It Important to Disable Your Webcam?
In today's digital age, hackers can use webcams for their own needs. If a webcam is plugged in and ready to use all the time, you're leaving a way for a hacker to get into your webcam, even when you're not using it. And as we covered in how easy is it for someone to hack your webcam, it's definitely not something that only happens in horror stories.
If you own a USB webcam, the solution to this is easy. Hackers can't hack your webcam when it's not connected to your PC, so simply pull out the USB cord when you're not using your camera.
But what if you're using a device with a built-in webcam, like a laptop? While it's not foolproof by any means, disabling your webcam can stop prying eyes without having to physically alter or cover the camera up.
How to Disable Your Webcam Using the Windows Settings
Although many laptops come with a built-in webcam, you may not always want it to be active. Maybe you're concerned about privacy or just don't need it. Whatever the reason, you can disable the webcam through the Settings menu in Windows 11. Here's how:
- Press the Win + I keyboard shortcut to launch the Settings app.
-
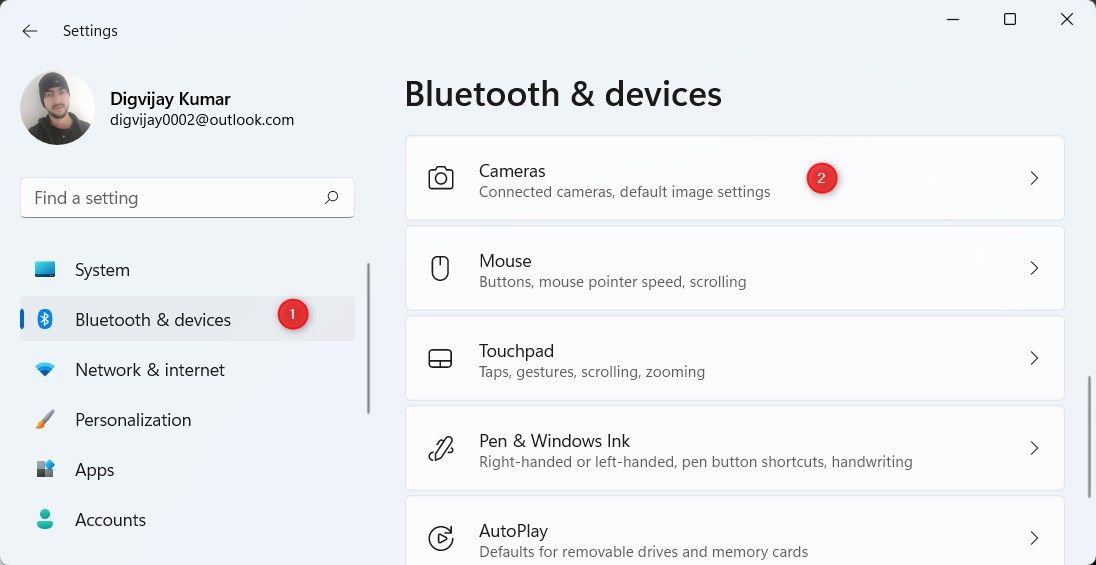
Select Bluetooth & devices from the left pane.
-
On the right side, select Cameras.
-
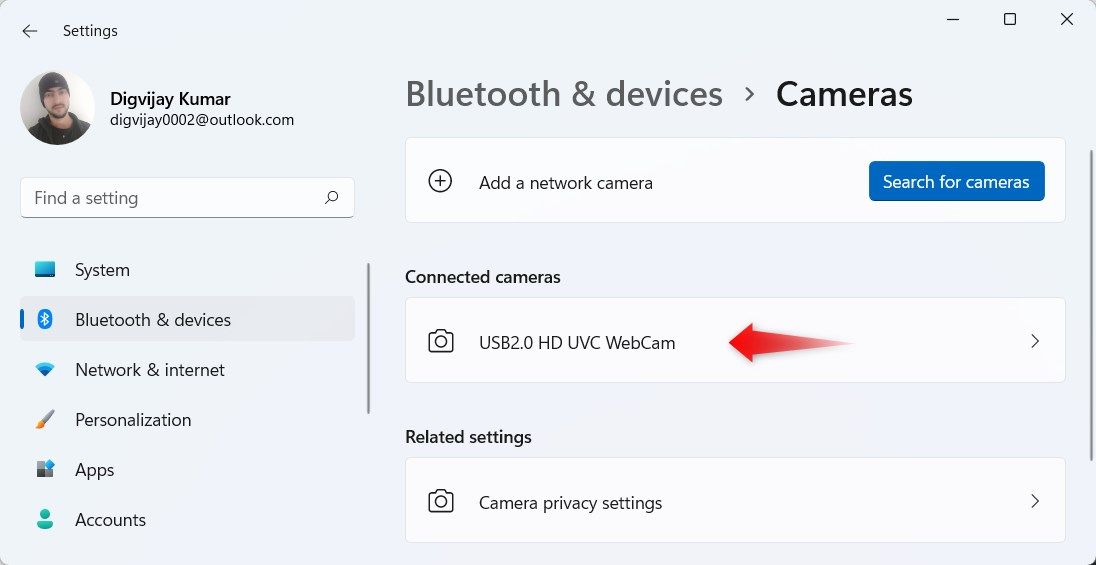
Click on the camera you want to disable under Connected Cameras.
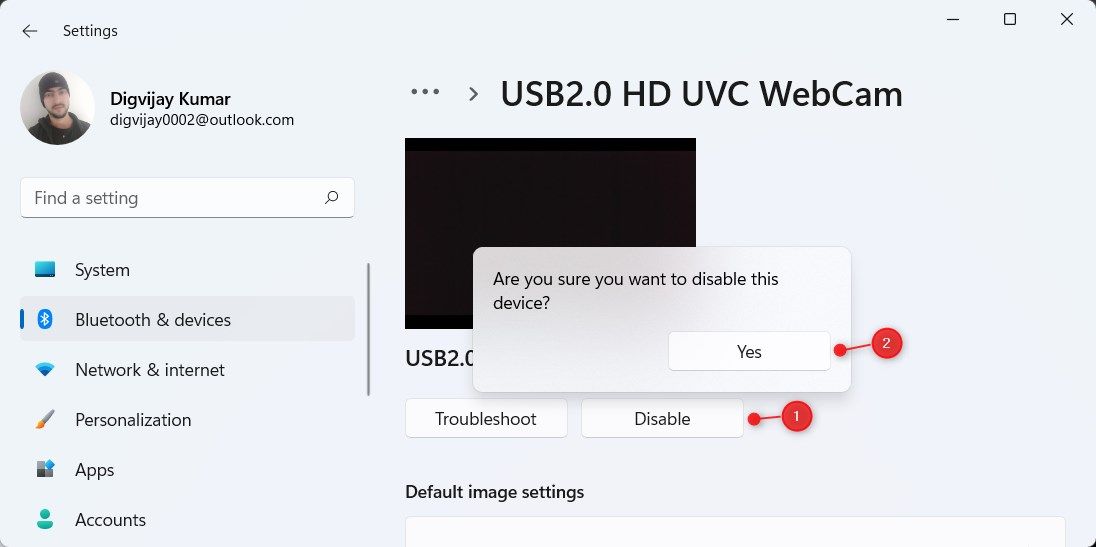
- Next, click on the Disable button.
- Click Yes when the confirmation pop-up appears.


.
How to Enable the Webcam Again Using the Windows Settings
If you want to enable the webcam again in the future, you will need to follow the below steps:
- Open the Settings menu.
- Go to the left pane and select Bluetooth & devices.
-
Select Cameras from the right side menu.
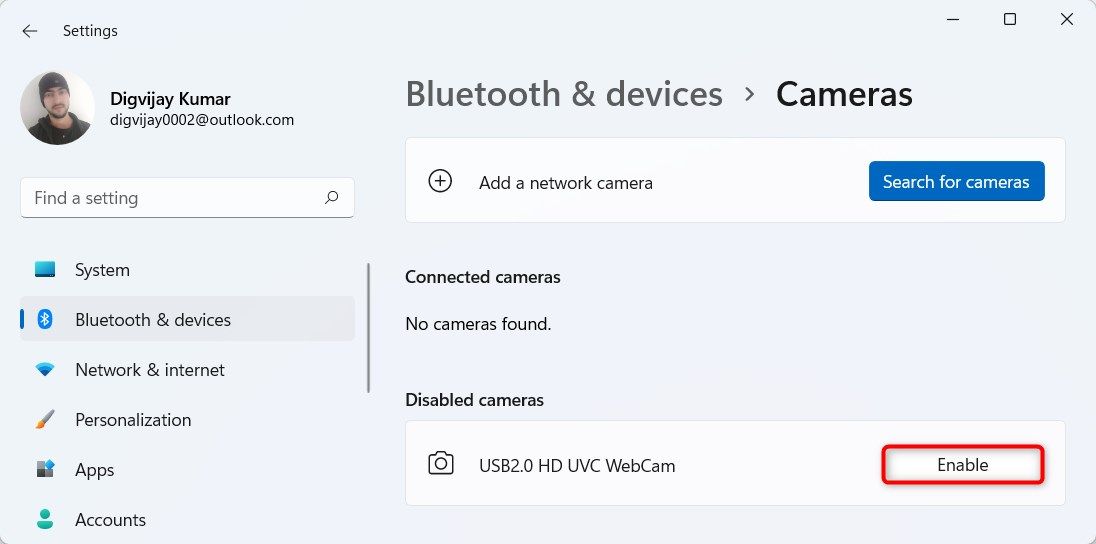
- In the Disabled cameras section, click the Enabled option next to your Camera.

As soon as you have completed the steps, you will be able to use the camera for any application that you want.
How to Disable Your Webcam Through the Device Manager
Alternatively, you can use Device Manager to disable your webcam. Below are the steps to follow:
- Press the Win + I keys to open the Run command dialog box.
- Type devmgmt.msc in the text box and press Enter. This will open the Device Manager.
-
In the Device Manager window, expand the Cameras section.
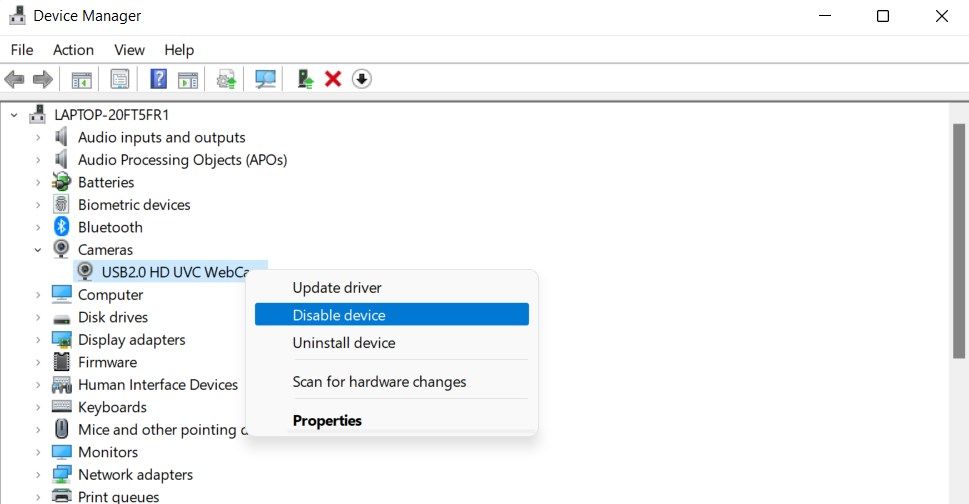
- Right-click on the Camera and select Disable device from the context menu.
- When a warning message appears, click Yes to proceed.

Once you have completed the steps, close the window and restart your computer. In this way, you can disable your Webcam camera using the Device Manager in Windows 11. If ever you need to enable the webcam again, simply follow the same procedure, but select Enable device instead.
It's Time to Disable the Windows Camera
It is highly recommended that you disable your webcam in Windows 11, especially when you aren't using it. The steps above will allow you to easily disable the webcam and improve its overall security. If you want to re-enable the webcam, you can do so via Windows Settings or Device Manager, as explained above.