Windows 11 includes a light and dark mode setting you can switch between. This setting applies two alternative color schemes to apps and the Windows taskbar and Start menu.
The usual way to change those options is to click Custom on the Choose your mode drop-down menu in Settings’ Personalization tab. However, if you want to make those dark and light mode options more accessible, you can add them to the desktop context menu in Windows 11 with these methods.
How to Add Dark/Light Mode Options to the Context Menu With Registry Scripts
The desktop context menu is somewhere you can add many useful options, but Windows doesn’t include any built-in settings for customizing it. You can, however, add dark/light mode options to the context menu by setting up registry scripts. This is how you can add a Windows dark/light mode setting to the desktop’s right-click menu with a registry script.
- Click the search tool’s button on the taskbar (the one with the magnifying glass icon).
- Input Notepad within the search text box to find that app.
- Open Notepad by selecting its search result.
-
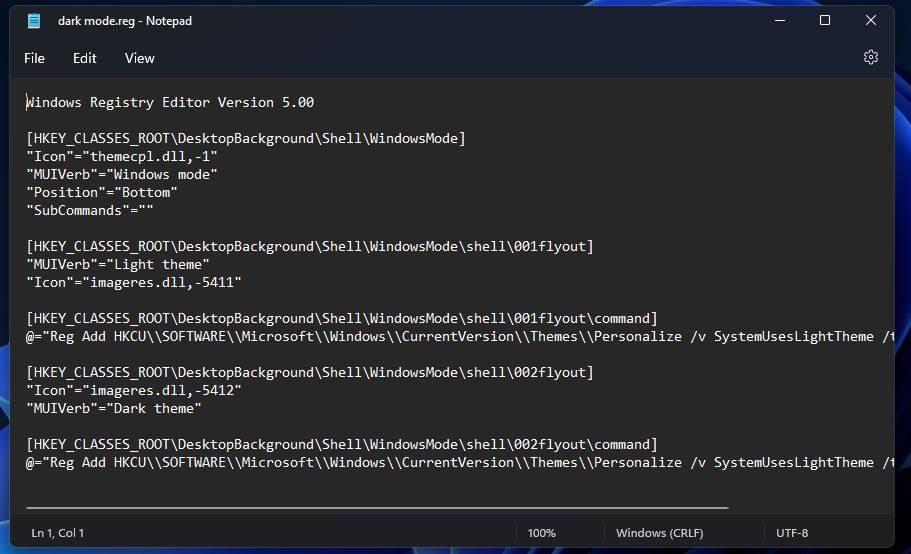
Copy this registry script code by selecting its text and pressing the Ctrl + C key combo.
        Windows Registry Editor Version 5.00

	[HKEY_CLASSES_ROOT\DesktopBackground\Shell\WindowsMode]
	"Icon"="themecpl.dll,-1"
	"MUIVerb"="Windows mode"
	"Position"="Bottom"
	"SubCommands"=""

	[HKEY_CLASSES_ROOT\DesktopBackground\Shell\WindowsMode\Shell\001flyout]
	"MUIVerb"="Light theme"
	"Icon"="imageres.dll,-5411"

	[HKEY_CLASSES_ROOT\DesktopBackground\Shell\WindowsMode\Shell\001flyout\command]
	@="Reg Add HKCU\\SOFTWARE\\Microsoft\\Windows\\CurrentVersion\\Themes\\Personalize /v SystemUsesLightTheme /t REG_DWORD /d 1 /f"

	[HKEY_CLASSES_ROOT\DesktopBackground\Shell\WindowsMode\Shell\002flyout]
	"Icon"="imageres.dll,-5412"
	"MUIVerb"="Dark theme"

	[HKEY_CLASSES_ROOT\DesktopBackground\Shell\WindowsMode\Shell\002flyout\command]
@="Reg Add HKCU\\SOFTWARE\\Microsoft\\Windows\\CurrentVersion\\Themes\\Personalize /v SystemUsesLightTheme /t REG_DWORD /d 0 /f" -
Click within Notepad and press the Ctrl + V keyboard shortcut to paste in the script.
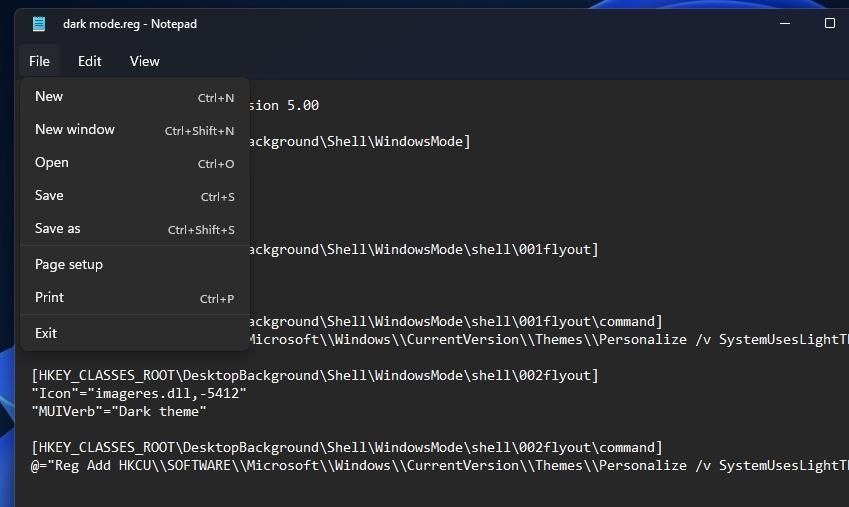
- Next, click the File menu.
-
Chose the Save as option.
-
Select the All files option on the Save as type drop-down menu.
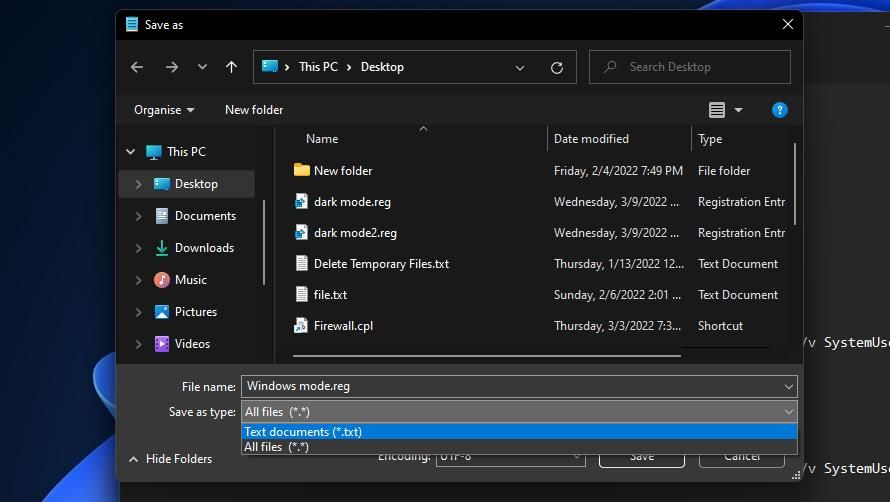
- Type Windows mode.reg within the File name box.
- Choose to save the file to the desktop.
- Press the Save button to finish.
- Double-click the Windows mode.reg file on the desktop, and select Yes within the Registry Editor confirmation prompt.
- Press the OK button on the second dialog box that pops up.


Now try out the new Windows mode context menu option. Right-click a part of your desktop and select Show more options. Move the cursor over the Windows mode submenu, and select a Light or Dark option there. That option changes the color scheme of the taskbar and Start menu.

You can add a dark/light App mode option to the context menu with a registry script much the same as a Windows mode one. However, you’ll need to copy and paste a different registry script code for it into Notepad. Follow the instructions above, but input this code in Notepad instead:
        Windows Registry Editor Version 5.00


[HKEY_CLASSES_ROOT\DesktopBackground\Shell\AppMode]

"Icon"="themecpl.dll,-1"

"MUIVerb"="App mode"

"Position"="Bottom"

"SubCommands"=""


[HKEY_CLASSES_ROOT\DesktopBackground\Shell\AppMode\Shell\001flyout]

"MUIVerb"="Light theme"

"Icon"="imageres.dll,-5411"


[HKEY_CLASSES_ROOT\DesktopBackground\Shell\AppMode\Shell\001flyout\command]

@="Reg Add HKCU\\SOFTWARE\\Microsoft\\Windows\\CurrentVersion\\Themes\\Personalize /v AppsUseLightTheme /t REG_DWORD /d 1 /f"


[HKEY_CLASSES_ROOT\DesktopBackground\Shell\AppMode\Shell\002flyout]

"Icon"="imageres.dll,-5412"

"MUIVerb"="Dark theme"


[HKEY_CLASSES_ROOT\DesktopBackground\Shell\AppMode\Shell\002flyout\command]

@="Reg Add HKCU\\SOFTWARE\\Microsoft\\Windows\\CurrentVersion\\Themes\\Personalize /v AppsUseLightTheme /t REG_DWORD /d 0 /f"
Double-click the App mode registry script file to add its option to the desktop’s right-click menu. Then you’ll also see an App mode option on the classic context menu. You can change UWP apps’ color schemes with that option. For example, Settings will have a white background if you select Light.

If you’re wondering how you can remove those dark/light mode options from the context menu, you’ll need to delete their keys from the registry. This is how you can erase their registry keys.
- Open Windows 11’s "type here to search" box.
- Type the keyword Registry Editor in the search utility.
- Click the Registry Editor search result’s Run as administrator option.
-
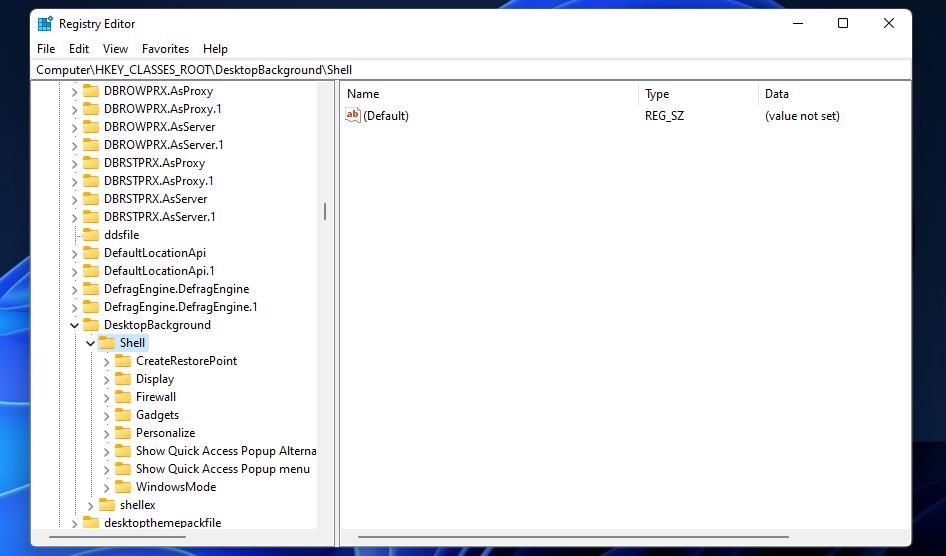
Input HKEY_CLASSES_ROOT\DesktopBackground\Shell within Registry Editor’s address bar to open the key in the snapshot directly below.
-
Right-click the WindowsMode and AppMode keys there to select their Delete options.
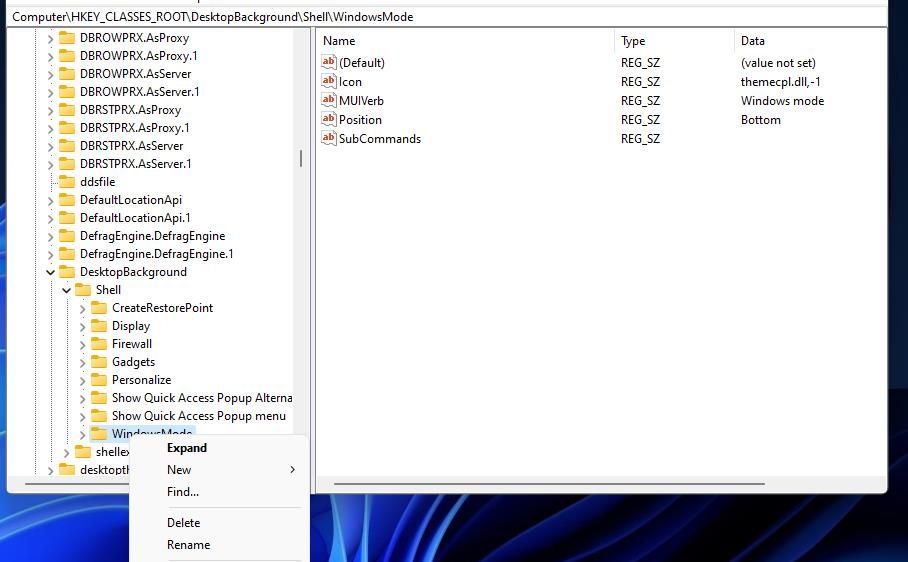
- Click Yes on the Confirm Delete Key dialog boxes to confirm.


How to Add Dark/Light Mode Options to the Context Menu With Winaero Tweaker
Winaero Tweaker is an excellent freeware program for customizing Windows 11’s context menu. It includes an option with which you can easily add Windows and app dark/light mode options to the context menu. You can add dark/light mode options to the right-click menu with Winaero Tweaker like this.
- Open the Winaero Tweaker website.
- Scroll down the homepage on that website to click Download Winaero Tweaker.
- Press the Win + E keys at the same time to bring up the Explorer utility.
- Open the folder that includes Winaero Tweaker’s downloaded file, and double-click that ZIP archive to open it.
-
Click Explorer’s Extract all button to open the window shown directly below.
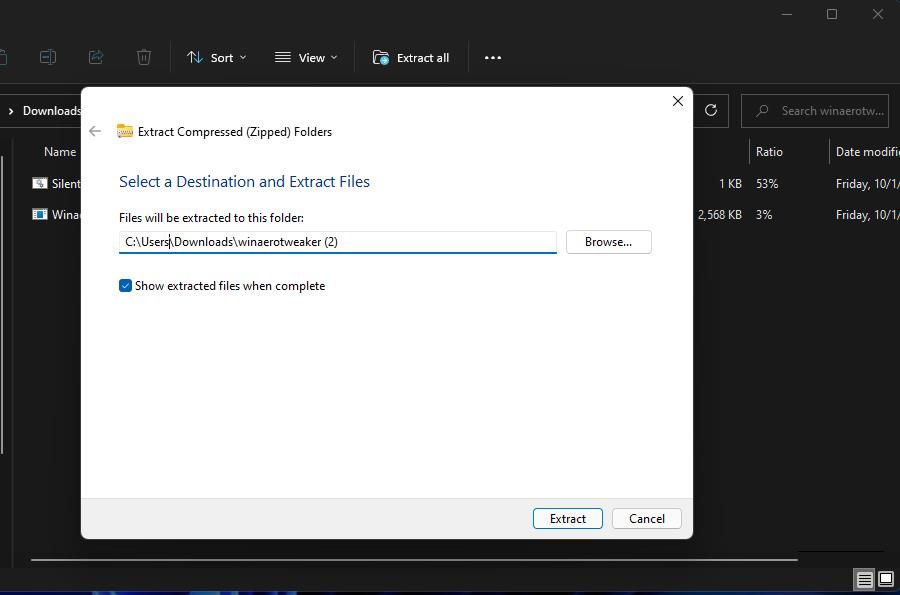
- Make sure the Show extracted files is complete checkbox is selected there, and click the Extract option.
- Double-click the Winaero Tweaker EXE file to open the setup wizard for that software.
- Click the Next button to select the Normal mode and I accept the agreement options.
-
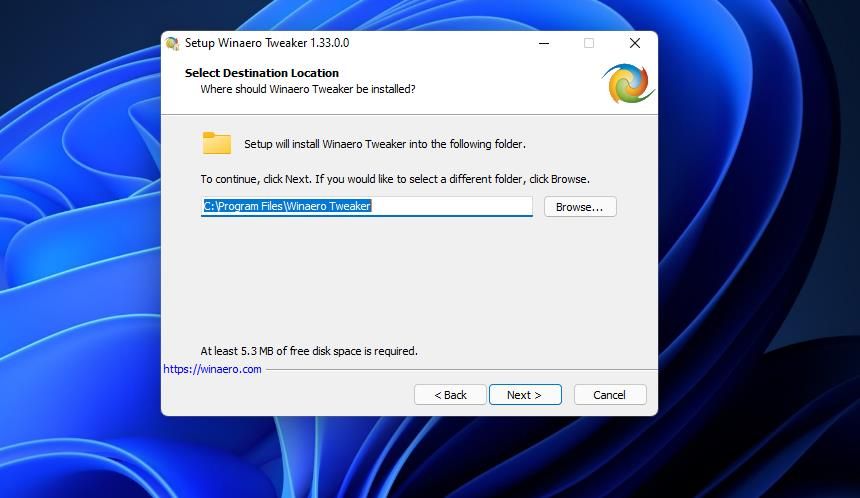
If you prefer to select an installation directory, click the Browse option. Choose a folder to install it in, and select the OK option.
- Keep on clicking Next and then select Install.
- Select the Run Winaero Tweaker checkbox and click Finish after installing.
- Double-click Context Menu to expand that customization category within the left sidebar.
-
Click Aero Mode to select that option.
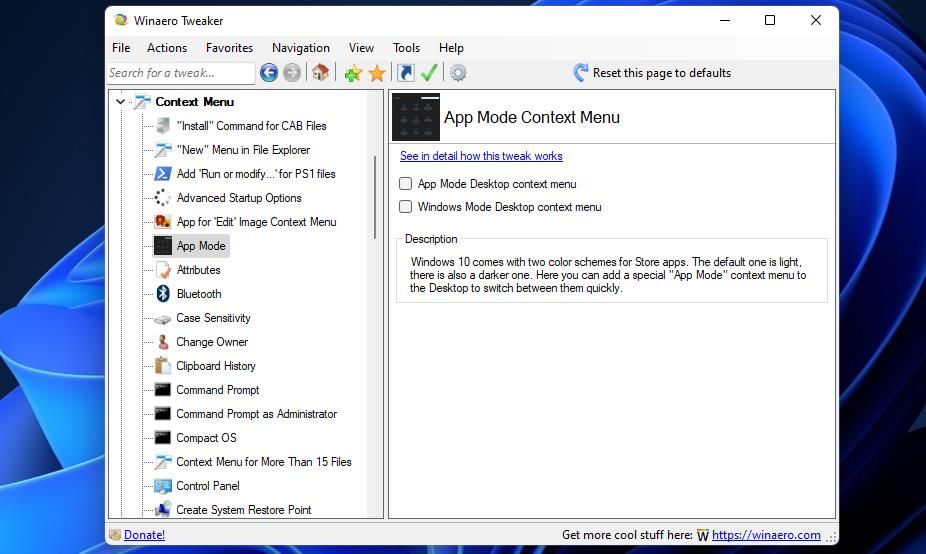
- Select the App Mode Desktop context menu checkbox.
- Click the checkbox for Windows Mode Desktop context menu.
- Close the Winaero Tweaker software.


Check out the new dark/light mode options on Windows 11’s right-click context menu. Winaero Tweaker adds Windows mode and App mode options to the classic context menu much the same as the registry scripts. The only difference is that you’ll find those settings at the top, not the bottom, of the classic context menu.
You can remove those options within Winaero Tweaker. To do so, click Reset this page to default within the App Mode option. Or you can manually deselect the checkboxes there.
Customize Windows 11’s Color Scheme From the Context Menu
Adding dark/light mode options to the context menu will enable you to change Windows 11’s color scheme directly from the desktop. It’s much more convenient to have those options available there whenever you want to change them. Note that the above methods for adding dark/light mode options to the context menu will also work in Windows 10.