On a typical PC, the local C: drive storage stores your software, along with system and user files. If you run short on local drive space, you might not always have enough space to install new software. That’s especially likely if you often install large programs, such as games.
As such, it’s a good idea to sometimes check how much free storage space is available on your PC’s local drive. Then you can see if you need to free up any storage for future software installations. Here are several ways you can check the amount of available storage space on your local drive in Windows 11.
1. How to Check Drive Storage Space With File Explorer
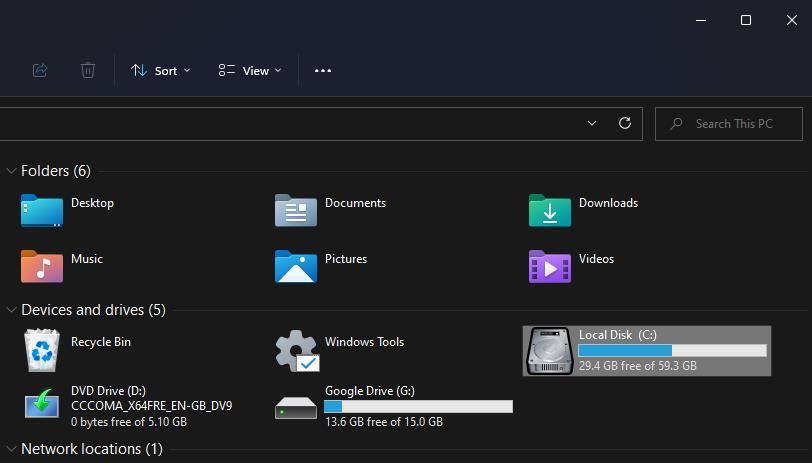
File Explorer includes a This PC section that shows you your PC’s drives. There you can quickly check available storage from the drive storage bar displayed. To check your local drive’s available storage space in Explorer, follow these steps:
- Open the Explorer app (it has a convenient Win + E keyboard shortcut you can press).
- Click This PC on Explorer’s left navigation bar.
- Double-click the Devices and drives section to expand it if you can’t see your local drive.
-
Then you can have a look at the local disk drive icon that tells you how much free space is available on it.
-
To view a ring chart, right-click the local disk drive’s icon and select Properties. You’ll see a ring chart for your drive on the General tab.
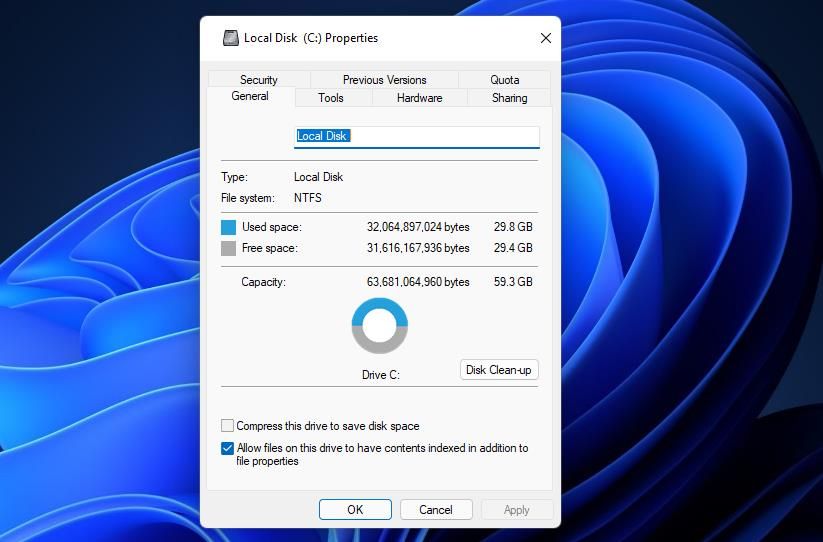
- If you need to free up some storage space, click the Disk Clean-up option from there. Then you can eradicate some junk files with the Disk Cleanup tool.

2. How to Check Drive Storage Space With the Command Prompt
The Command Prompt app is one of two command-line interpreters that come with Windows 11. You can easily check drive storage space with that app by entering a quick command in it. This is how to open the Command Prompt and check drive space with it:
- First, open Run, which you can launch with a Win + R key combination.
- Type cmd in the Open box and click OK.
- Input cd \. and press Enter to return to the root directory.
- Type dir in the Command Prompt and press Return.

Then you’ll see a directory list appear with a big bytes free figure at the bottom of it. That figure could be 11 to 12 numbers long. You only really need to take notice of the numbers at the beginning of that figure. For example, a figure of 52,454,213,948 amounts to approximately 52.4 gigabytes of free space. If you have less than a billion bytes of storage left (one gigabyte), you need to free up some space.
3. How to Check Drive Storage Space With the System Information App
The System Information app provides a detailed overview of your PC’s specifications. It includes a storage section that provides total size and free space details for your local drive. You can check drive storage details with the System Information app like this:
- Open the Start menu and type System Information within its search box.
- Click System Information to open that app’s window.
- Double-click Components and Storage to expand those categories.
-
Select Drives to view the system info below.
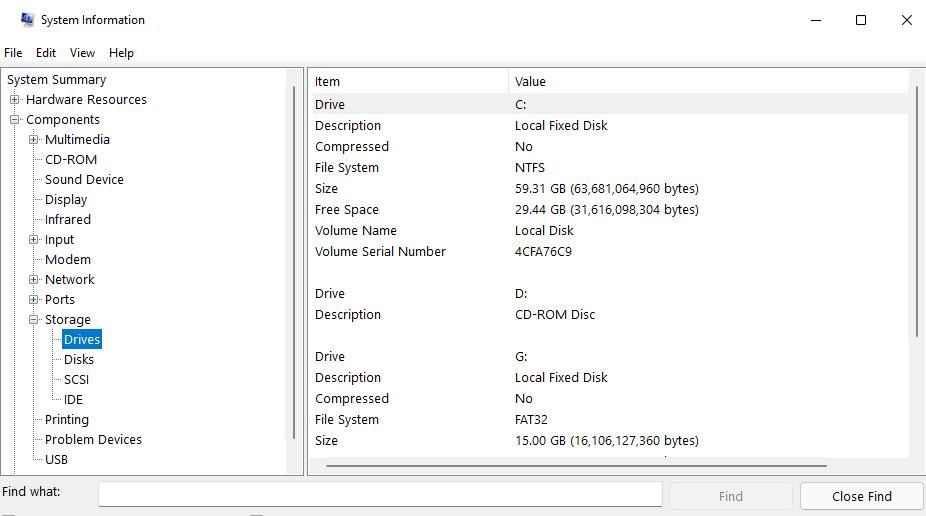
- Then you can check the free space figure for your PC’s C: drive there.

4. How to Check Drive Storage Space With Settings
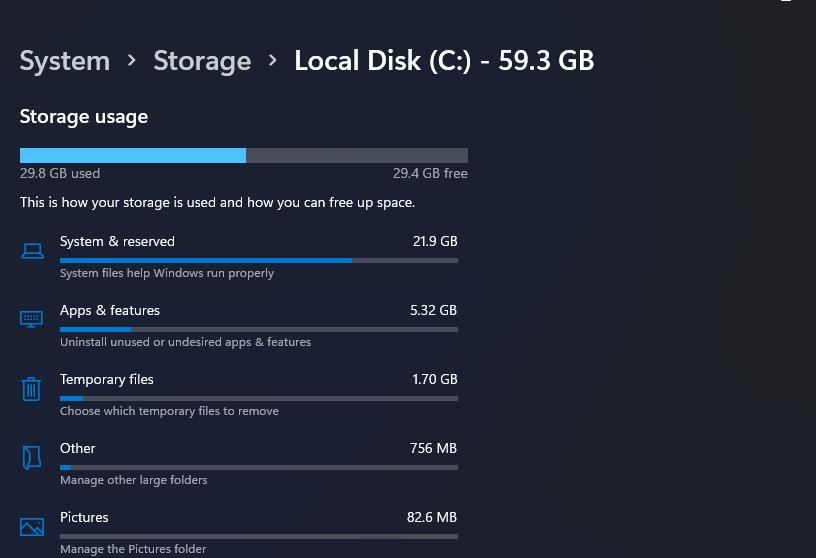
Windows 11’s Settings app includes a tab that displays a more detailed breakdown of your PC’s drive storage space. The Storage tab in Settings shows how much space apps, user files, and temporary files consume on your local drive. This is how you can view storage details in Settings:
- Open Settings the quick way by pressing its Win + I key combination.
- Select Storage on the System tab.
-
Click Show more categories to view all storage details as in the snapshot directly below. There you can view an overall storage usage bar and others for more specific categories.
- From that tab, you can also turn on the Storage Sense feature that automatically frees up local drive storage space. To do so, click the toggle button on for the Storage Sense option there.

5. How to Check Drive Storage Space With Resource Monitor
Resource Monitor is an app that provides a general overview of your PC’s system resource utilization. It displays graphs for CPU, RAM, disk, and network usage. You can also check how much free space there is on your PC’s local drive with Resource Monitor as follows:
- Input the keyword Resource Monitor within your Start menu’s search box.
- Select the Resource Monitor search result.
- Click the Disk tab in Resource Monitor.
-
Then click the Storage section there to expand it.
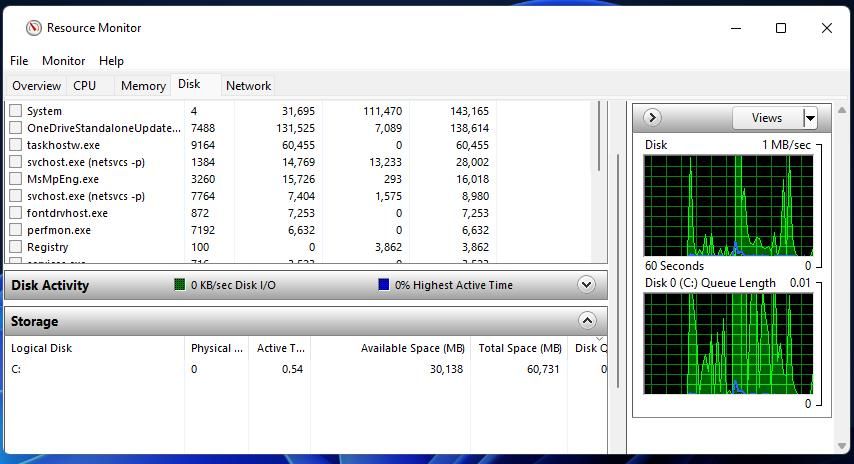
- Look at the Available Space column there to check how much free storage your local drive has.

6. How to Check Drive Storage Space With PowerShell
PowerShell is Windows 11’s default command-line interpreter. You can check storage space with PowerShell’s Get-Volume cmdlet, which provides an overview of drive volumes. These are the steps for checking drive storage space with the Get-Volume cmdlet:
- First, bring up the "Type here to search" box by opening the Start menu.
- Click in the Type here to search box and enter PowerShell there.
- Right-click the Windows PowerShell search match and select Run as administrator to launch that app.
-
Input this command:
Get-Volume - Press the Return key to view the drive details. The Size remaining column includes the free storage space figures for the local drive and others.

7. How to Check Drive Storage Space With 8GadgetPack
You can also check how much remaining storage space is on your local drive with some desktop gadgetry. 8GadgetPack is third-party software with which you can add a DriveInfo gadget to your desktop. That gadget includes a local disk storage bar you can view directly from the desktop. This is how you can add 8GadgetPack’s DriveInfo widget to Windows 11:
- Open the 8GadgetPack download webpage within the browser software you utilize.
- Click the Download button to get the setup wizard for 8GadgetPack.
- Bring up the Explorer file manager, and open the download folder that 8GadgetPack’s setup wizard is in.
- Press the Install button within the 8GadgetPack Setup.
- Click the Show gadgets when setup exits option, and press the Finish button.
-
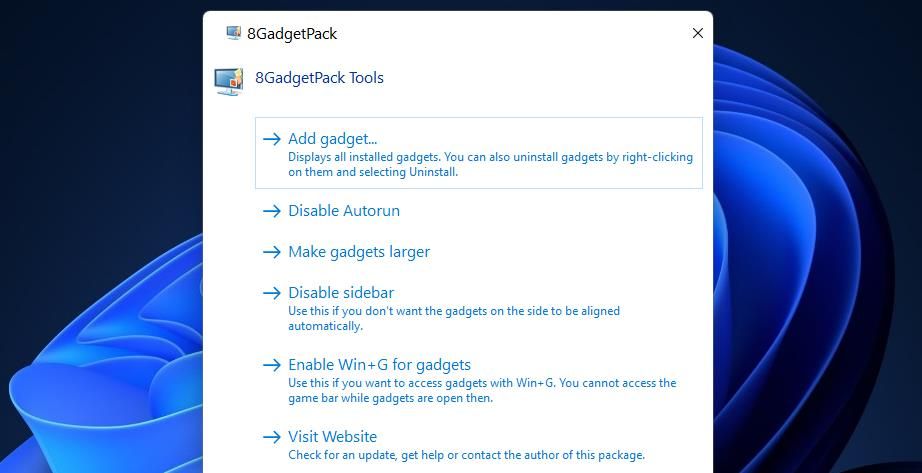
Select the Add gadgets option at the top of the 8GadgetPack sidebar that opens to bring up the window shown directly below.

-
Then select the DriveInfo gadget to add it to the desktop.

-
If you want to remove the sidebar, right-click it and select 8GadgetPack Tools. Select the Disable sidebar option from there.


Keep an Eye on Your Local Drive’s Storage Space
Insufficient drive storage space can impact software updates and aspects of your PC’s performance. So, it’s important to check your local drive’s available storage space with any of the alternative methods above. If less than 10 percent of your drive’s storage space remains free, clean it up by uninstalling unneeded software and eradicating junk files.