
Windows 11 lets you change the default sound output device from the quick settings panel. Useful when you want to quickly switch from your headphone to speaker and vice versa. But there is more than one-way switch between your audio devices.
Apart from the quick settings panel, you can change the sound output device from Windows Settings panel the classic Sound Control panel. In this article, we show you the many ways to change the sound output devices in Windows 11.
1. Switch Audio Device Using the Quick Settings Panel
The easiest way to change the sound output device is via the Windows 11 quick settings panel. Here’s how to swap between audio devices in Windows 11 using the same.
-
Make sure the audio devices you want to use are connected to your PC.
-
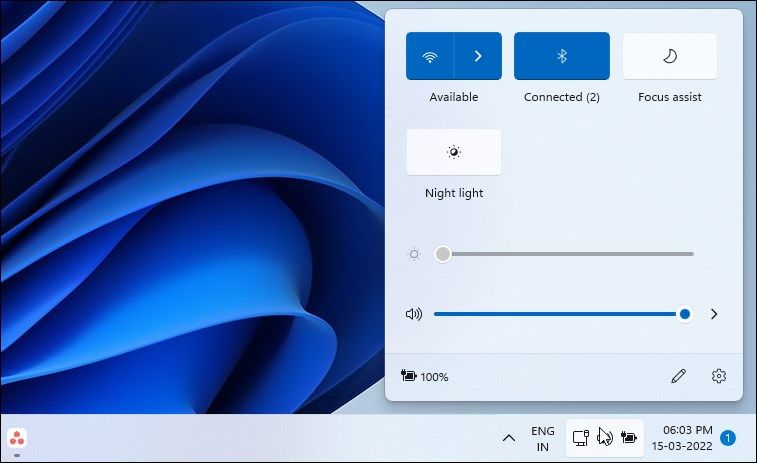
Next, click the quick settings panel icon in the bottom left corner. It includes your Ethernet, Volume, and Battery control icons.
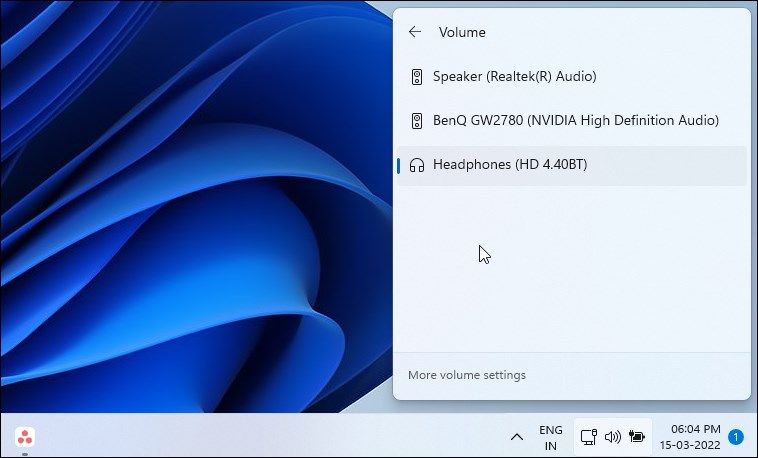
- When the panel pops up, click the right arrow icon at the end of the volume slider. This will bring up all the audio devices connected to your PC.
- Click on any device to set it as the sound output device.


2. Switch Sound Output Devices via Volume Mixer
Volume mixer in Windows 11 lets you manage your volume levels, input, and output devices, as well as configure volume levels for different apps installed on your PC.
To set the Output device using volume mixer:
-
Right-click on the Volume icon in the quick settings panel.
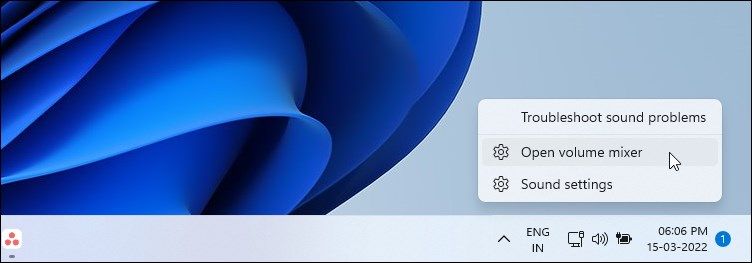
- Next, click on Open volume mixer from the context menu. You can also open the volume mixer from Settings > Sound > Volume mixer.
-
In the Volume mixer window, click the drop-down for Output device and select the audio device you want to use.
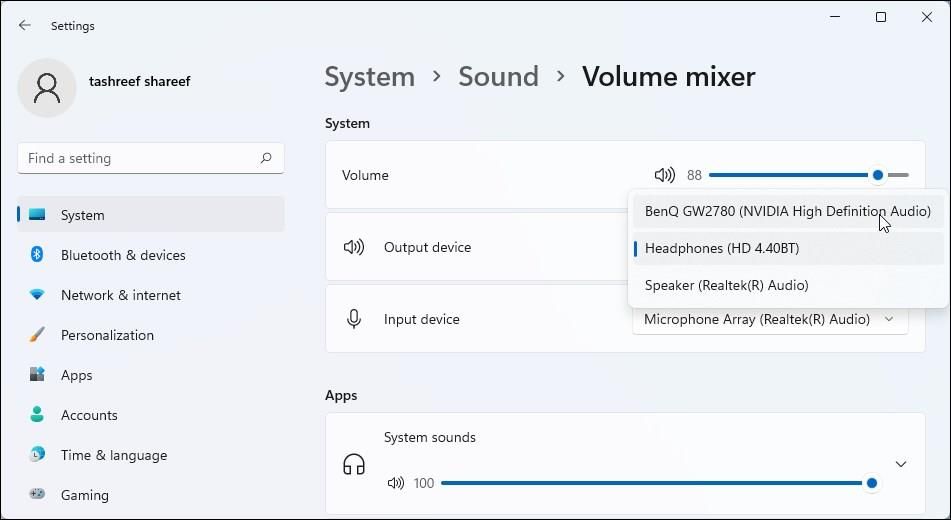
- Additionally, you can also select your input device and set the volume level for multimedia apps that you are currently using.


3. Change the Sound Output Device Using the Settings Panel
If you want more control over the output device and its properties, you can do it in Windows Settings. Apart from swapping the output devices, you can also control volume, change output settings, enable or disable enhance audio and choose your spatial sound technology.
Follow these steps to change your sound output device in Windows Settings:
- Press Win + I to open Settings.
-
In the System tab, click on Sound.
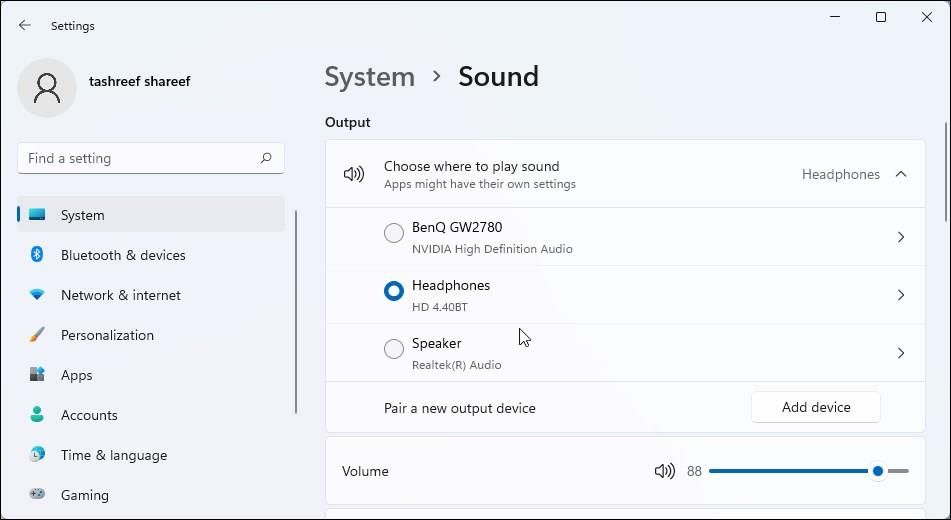
- The Sound panel lists all the audio devices connected to your PC and can play sound. Click on the device you want to set as your Output device.
-
To configure the output device for the advanced features discussed above, click the right arrow icon for the output device to view its Properties.
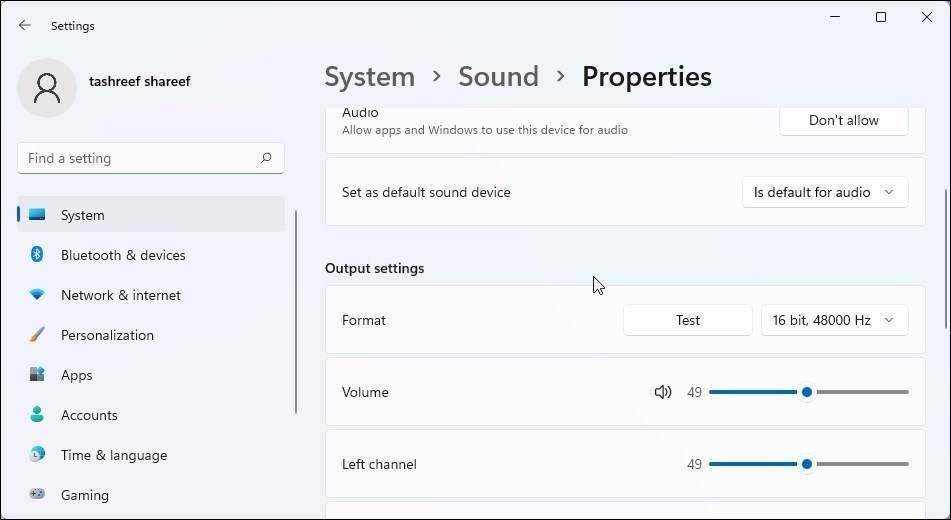
- Here, you can change the audio quality, format, and more for the device. You can set and use your sound device as a default device for audio and communications.


4. Set Default Sound Output Device Using Xbox Game Bar

Xbox Game Bar is a built-in customizable game overlay available on Windows 11 and 10 computers. You can access it with the Win + G shortcut. It gives you instant access to game capture tools, performance statistics, and audio controls.
You can also use Xbox Game Bar to change your default audio device during gameplay or otherwise. Here’s how to do it.
- Press the Win + G combo on your keyboard to launch the Xbox Game Bar overlay.
- In the Audio window, open the Mix tab.
- Click the drop-down for Windows Default Output and select your headphone or speaker.
- Press the Esc key to exit the overlay. The changes made via the Game Bar overlay are applied system-wide.
5. Switch Audio Output Device Using SoundSwitch
SoundSwitch is a third-party volume control app for Windows. It lets you switch between your audio output devices from the Taskbar. You can also use it to access the classic volume mixer and sound control panel in Windows.
However, what makes SoundSwitch so interesting is that it lets you set up custom volume control hotkeys in Windows 11. You can assign multiple keyboard shortcuts to different sound output devices and switch between the devices instantly.
Follow these steps to assign hotkeys to your default playback devices in Windows using SoundSwitch:
- Go to the SoundSwitch page and download the latest installer. Then, run the installer and complete the installation.
-
To assign a hotkey, you need to access the SoundSwitch settings. So, click the up arrow icon in the taskbar to expand system tray.
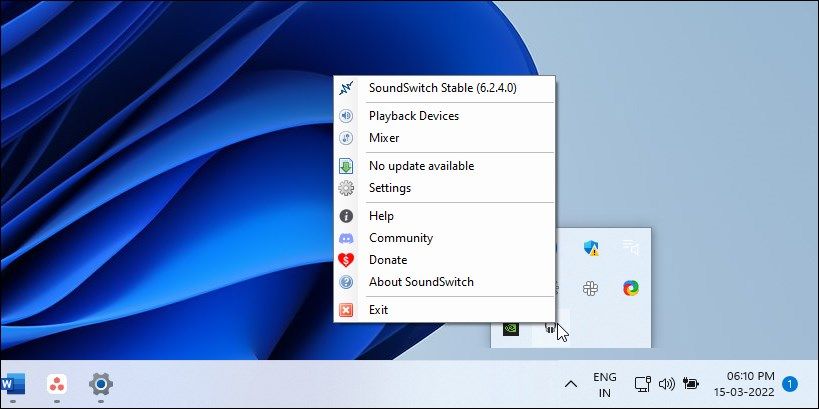
- Right-click on the SoundSwitch icon (headphone icon) and select Settings.
- In the Playback tab, select your default playback device.
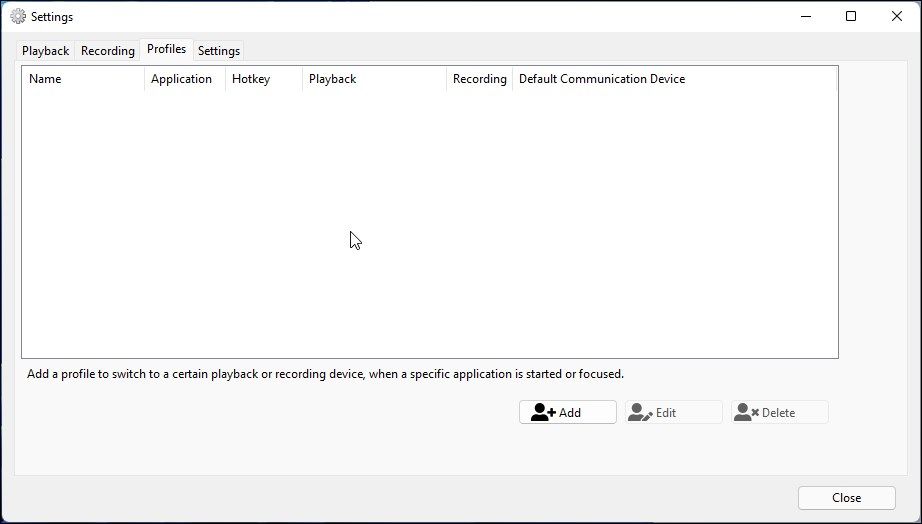
- Next, open the Profiles tab.
-
Here, click the Add button to create a new profile for your output device.
- In the Add Profile window, type a name for the profile.
- Next, select the Also switch default device option.
- Click the drop-down for Playback and select the sound output device for which you want to set the hotkey.
-
Next, click the drop-down for Available Triggers and select Hotkey.
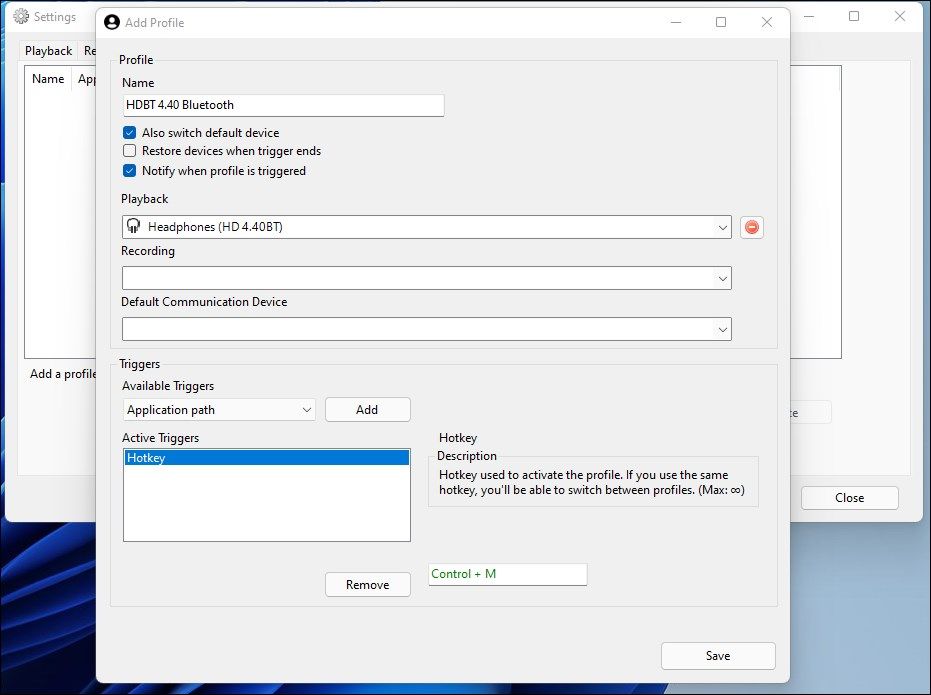
- Click the Add button.
- Click on the Hotkey field and press the hotkey you want to use. For example, if you want to use Ctrl + M to switch to the default audio device, press Ctrl + M to assign it as the hotkey.
- Click Save to add the profile.
- Repeat the steps to add hotkeys for other devices.


To remove profiles, open SoundSwitch settings and click on the Profiles tab. Next, select the profile you want to remove and click Delete.
Download: SoundSwitch (Free)
6. Set Default Sound Output Device using Sound Control Panel

You can use the classic Sound control panel to set a default audio device in Windows 11. Useful if you use one audio output device more than the other and prefer to keep it as your default device for all the apps.
To set a default output device in Windows 11:
- Press Win + R to open Run.
- Type control mmsys.cpl sounds and click OK to open the Sound control panel.
- Next, open the Playback tab.
- Right-click on the device that you want to set as default and select Set as Default Device.
- Click Apply and OK to save the changes.
Swiftly Switch Between Audio Output Devices in Windows 11
In Windows 10, you could switch between different playback devices with a right-click on the volume icon. However, Windows 11, in its quest to simplify things, made the process a bit tricky.
Now you need to use the quick settings panel and access the volume settings to switch between the devices. If you find the process bit laborious, consider using the SoundSwitch app to swap your playback devices with a hotkey.