On PCs, setting the correct resolution for your monitors is important. If you set a resolution that's too low for your current monitor, things will look odd; likewise, some older apps run better at lower resolutions. Changing resolution settings can sometimes fix certain display issues too.
For whatever reason you might need to change resolution, these are four ways you can do so in Windows 11.
1. How toChange the Display Resolution Via Settings
The Settings app is where you can change most options in Windows 11. That app includes a Display tab from which you can configure the resolution and numerous other monitor options. Here is how you can configure the resolution via Settings:
- First, click Windows 11’s Start menu button.
- Select Settings to bring up that app’s window.
- Click the Display navigation option on the System tab.
-
Next, click the Display resolution drop-down menu shown directly below.
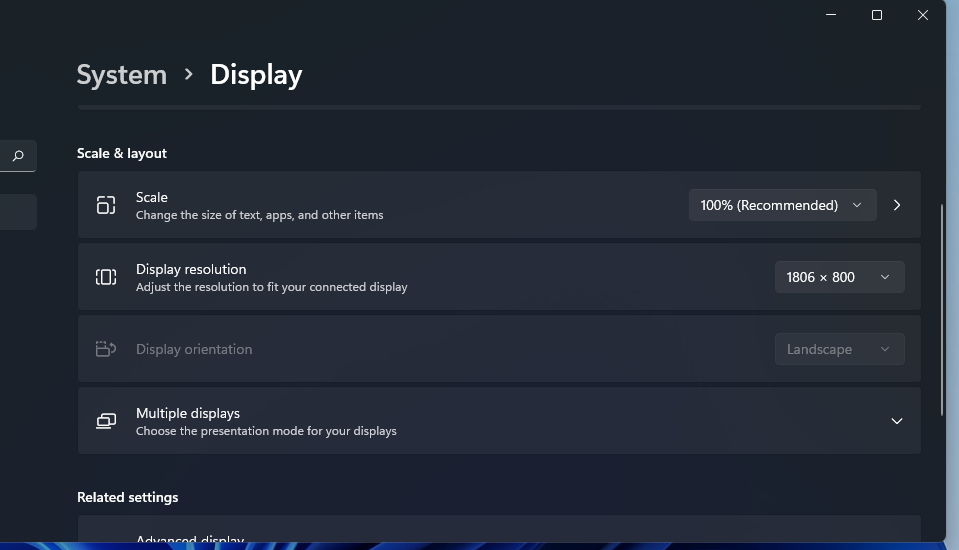
- Choose an alternative resolution setting there.
- Select the Keep changes option.

2. How to Change the Display Resolution via Display Adapter Properties
The display adapter properties window includes graphics card details. That window also includes a List All Modes button you can click to select different screen resolutions. You can change the resolution via that window as follows:
- Bring up the Settings app.
- Click Display > Display navigation in Settings.
-
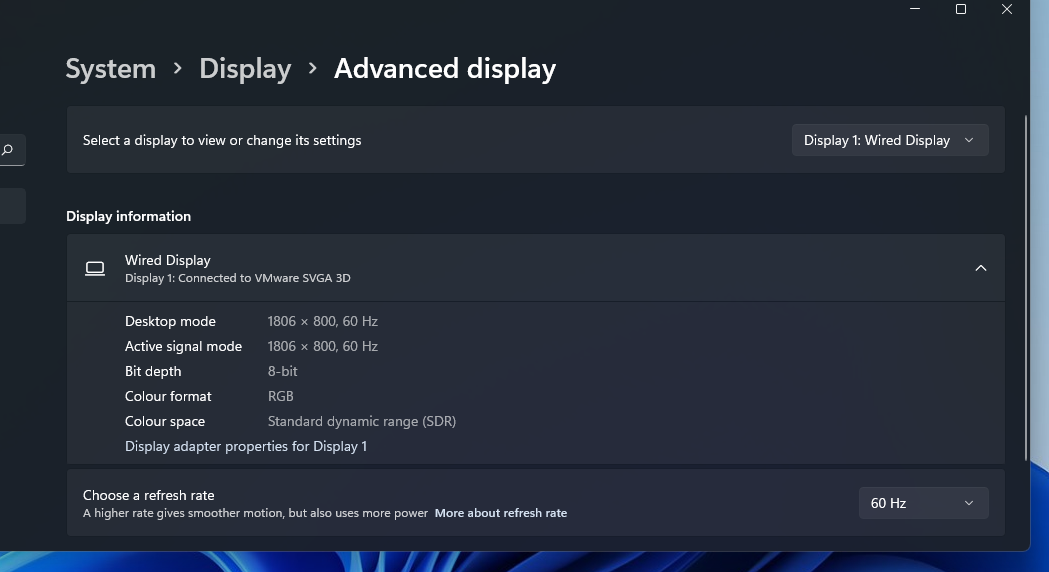
Then select Advanced display to bring up display information.
-
Click the Display adapter properties option to open the window in the screenshot directly below.
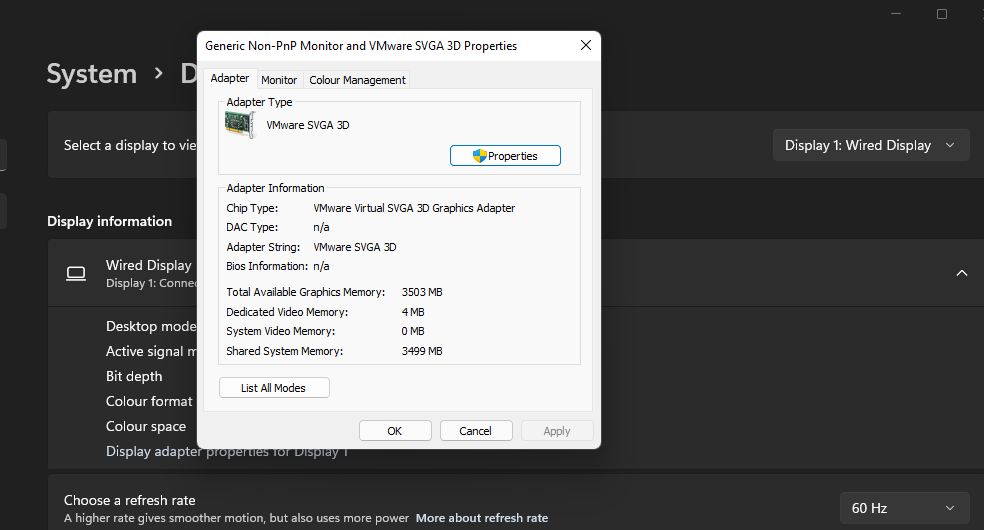
- Press the List All Modes button there.
-
Then choose a resolution option on the List All Modes window.
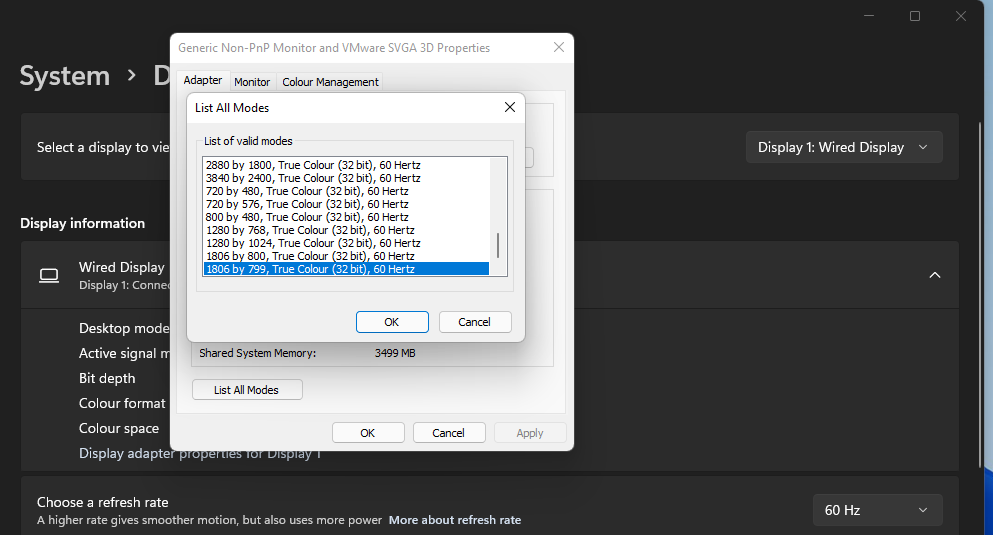
- Click the OK button on the List All Modes window.
- Select the Apply option on the properties window to save the settings.


3. How to Change the Display Resolution via the Intel UHD Graphics Control Panel
Many Windows 10 and 11 PCs have integrated Intel GPU (Graphics Processing Units). Therefore, many users can change resolution settings via the Intel UHD Graphics Control Panel, which includes various graphical options. If your PC has an Intel GPU, you can change the resolution like this:
- Right-click the destkop and select Show more options.
- Select the Intel Graphics Settings context menu option.
- Click the Display tab.
-
Then click the Resolution drop-down menu on the General Settings tab.
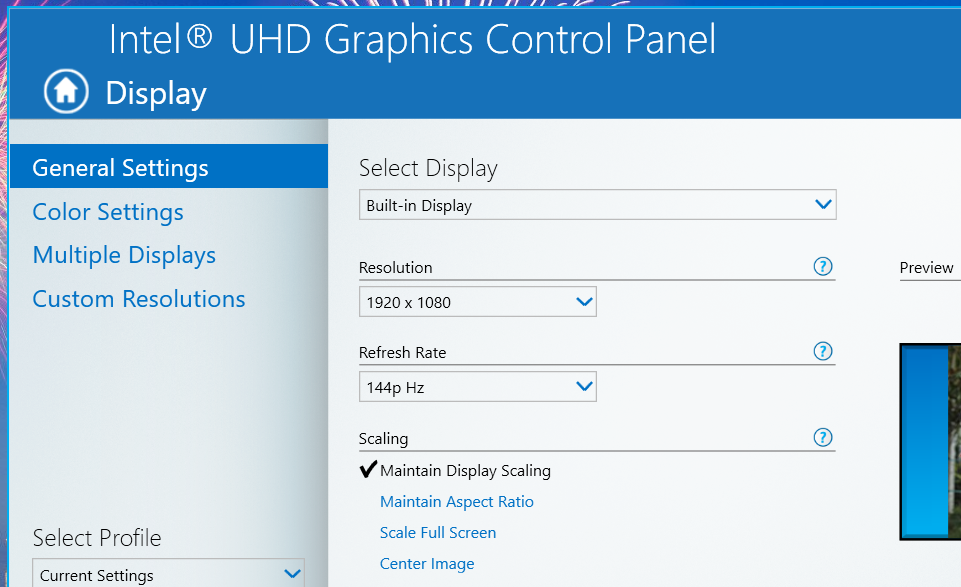
- Choose a resolution option on the drop-down menu.
-
To set customized resolutions, click Custom Resolutions tab.
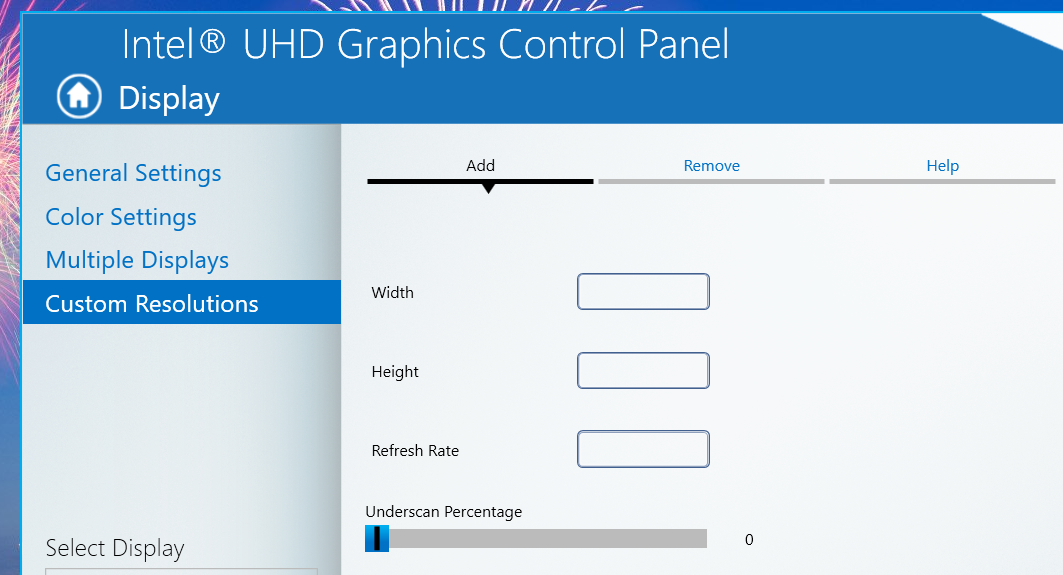
- Select Yes to confirm.
- Then input your custom resolution values in the Width and Height boxes. You’ll also need to enter a refresh rate value.
- Click the Add button.
- Select your custom resolution on the Resolution drop-down menu.
- Press the Apply button to save your selected resolution options.


4. How to Change the Display Resolution With Keyboard Shortcuts
Windows 11 doesn’t include any built-in hotkey options for resolutions. However, you can still set up keyboard shortcuts for different screen resolutions with HotKey Resolution Changer (HRC), which is compatible with all Windows platforms from XP up.
This freeware app enables you to establish keyboard shortcuts that change the resolution when pressed. To set up resolution hotkeys with HRC, follow the steps below.
- Open the HotKey Resolution Changer webpage within your browser.
- Click the Download button to save the Hotkey Resolution Changer ZIP archive.
- Press the File Explorer taskbar button (the folder icon).
- Open the folder that includes the HRC ZIP archive.
- Double-click the HRC ZIP to open it.
-
Click Extract all on File Explorer’s command bar.
- Select Browse to choose a path for the extracted folder.
-
Select the Show extracted files when complete checkbox on the Extract Compressed (Zipped) Folders window.
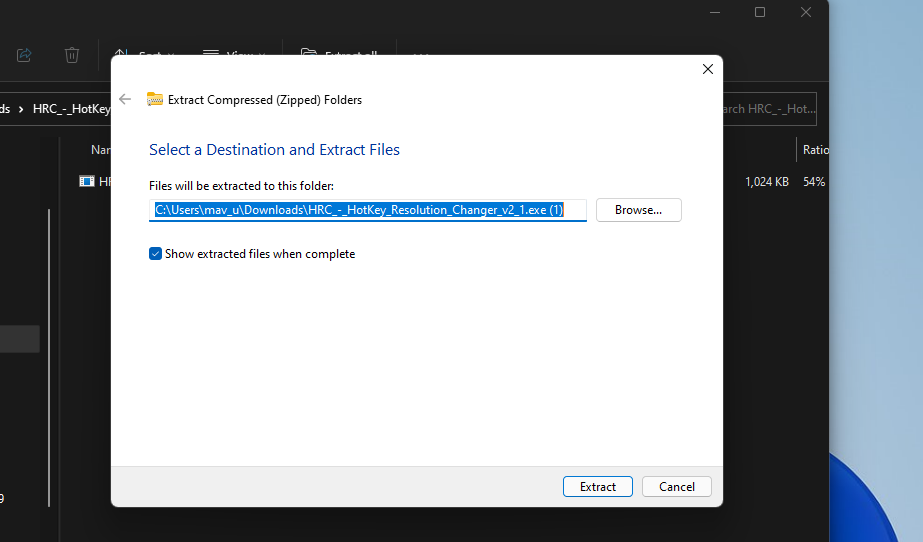
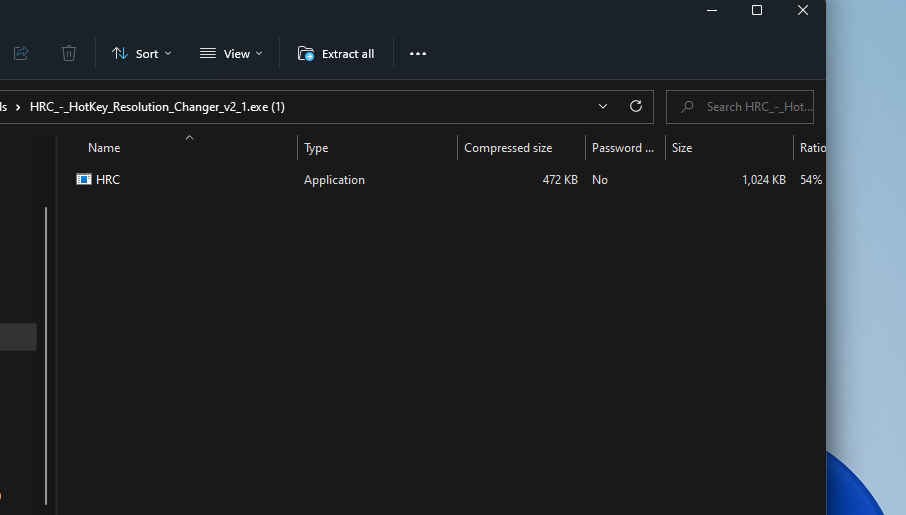
- Click Extract to finish. An extracted folder will then open.
-
Thereafter, double-click HRC in its extracted folder to open the window in the screenshot directly below.
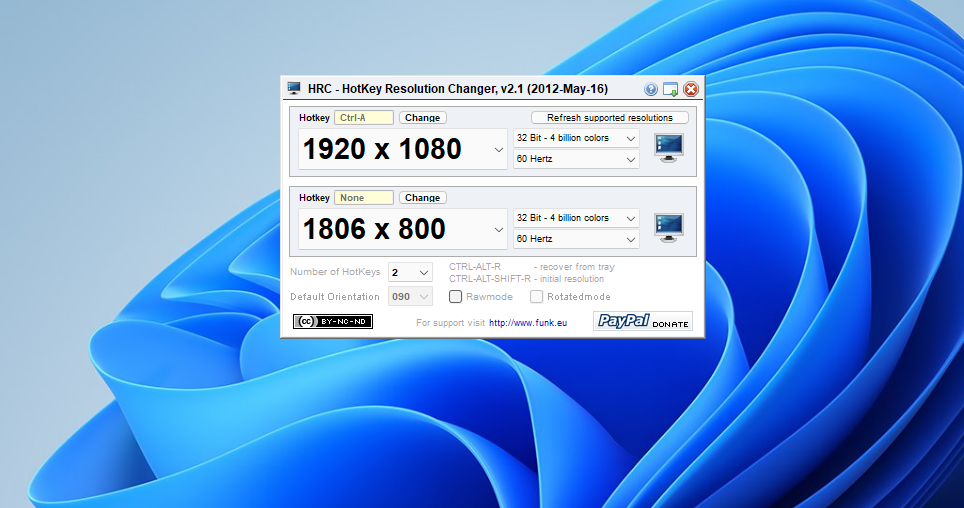
- Next, click a hotkey resolution drop-down menu to select a resolution for a keyboard shortcut to apply.
- Press the Change button beside the Hotkey box.
- Then press the hotkey you want to change the resolution with, and click the Set button.
- You can also select additional color bit and refresh rate values for the keyboard shortcut to apply on the hotkey’s other two drop-down menus.
- Now press the hotkey you just set up with HRC to change your display resolution.


You can set up nine resolution keyboard shortcuts with the HRC app. To add more, click the Number of HotKeys drop-down menu and select 9. If you frequently need to switch resolutions, nine hotkeys for them will certainly come in handy.
Change the Screen Resolution Whenever You Need to
You can change your monitor’s resolution whenever required with all the alternative methods above. The Settings app’s display settings might be enough for most users. However, the Intel Control Panel includes more flexible custom resolution options. Changing resolution settings with hotkeys is undoubtedly the most convenient method.