It can be annoying to play something on your computer and hear nothing coming from your primary sound device. Before long, you figure out that Windows 11 somehow switched the audio device automatically without your permission. And the worst part is that it keeps doing it no matter how many times you switch it back.
There are a few things you can do to stop that from happening. Try these seven troubleshooting steps.
1. Update Windows 11
If the problem is a bug with Windows, perhaps an update can fix the issue.
To manually update Windows 11, follow these steps:
- Press Win + I to open the Settings app.
- Navigate to Windows Update.
-
Click the Check for updates button in the top right.

-
If a Windows update is available, click Download & install.
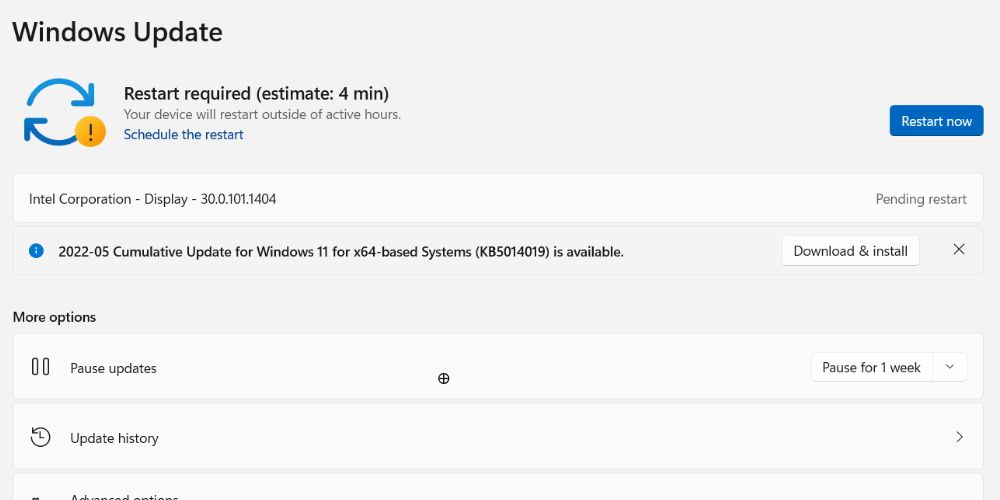


Windows will then download the update, and you’ll have to restart your computer for the OS to install it.
2. Troubleshoot Windows 11 Update Issues
Not all Windows updates are perfect, and some can introduce bugs that can make your system misbehave to the point of switching audio devices behind your back. If you notice that the problem started happening after an update, there are a couple of ways you can fix update errors in Windows 11.
But before you do anything drastic, like resetting Windows 11, you should try uninstalling the update and see if that helps.
Here’s how to roll back an update in Windows 11:
- Press Win + I to open the Settings app.
- Navigate to Windows Update > Update History.
-
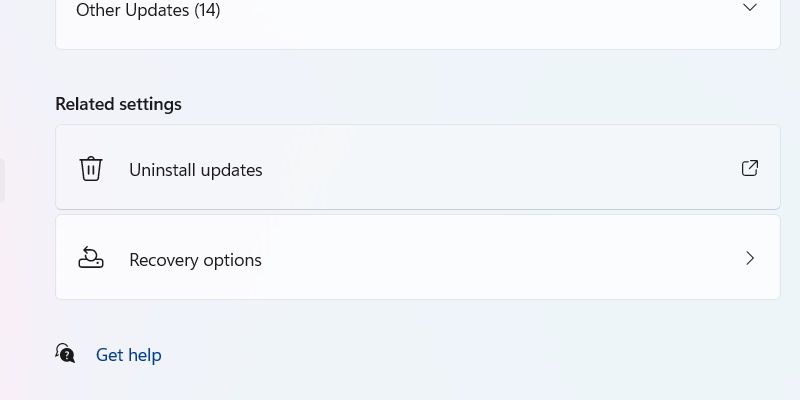
In the Related settings section, click Uninstall updates.
-
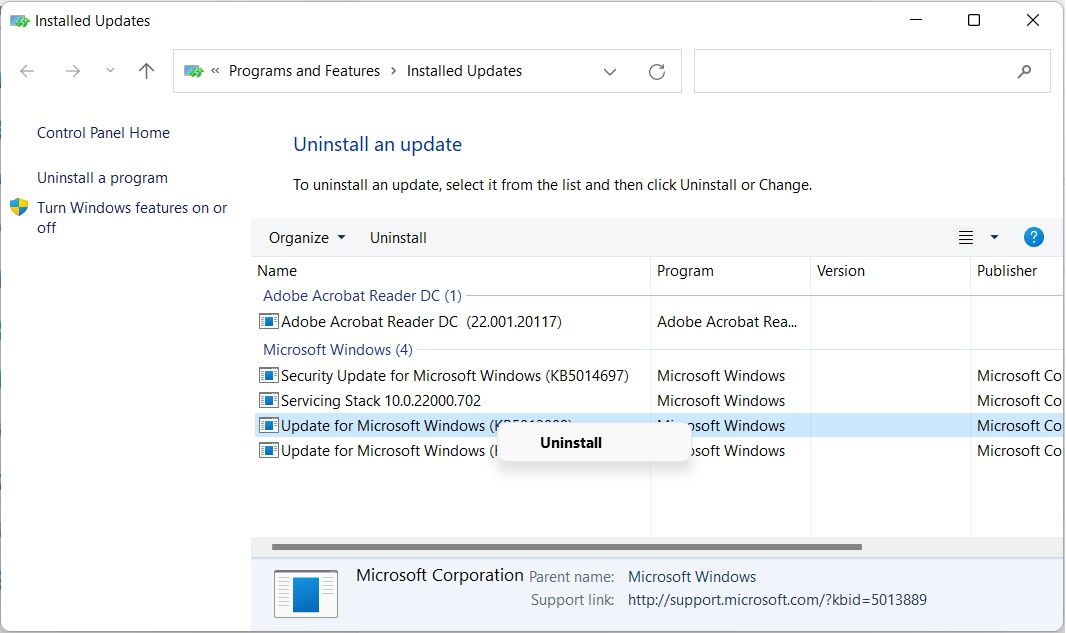
Right-click on the recently-installed Windows update and select Uninstall.


Now that you’ve rolled back the Windows 11 update, the problem might go away. And when Microsoft releases another update, which will likely contain a bug fix for the issue, update Windows and see if it happens again.
3. Install or Uninstall the Sound Driver
An outdated driver can also cause the automatic audio device switching problem. You just need to update it in Device Management to fix it if that's the case.
Here are the steps to update the sound driver:
- Press Win + S to open Windows Search.
- Type device manager in the search box and select Device Manager in the search results.
- Scroll down the list of devices and expand Sound, video and game controllers.
-
Right-click your primary sound device from the list of devices and select Update driver.
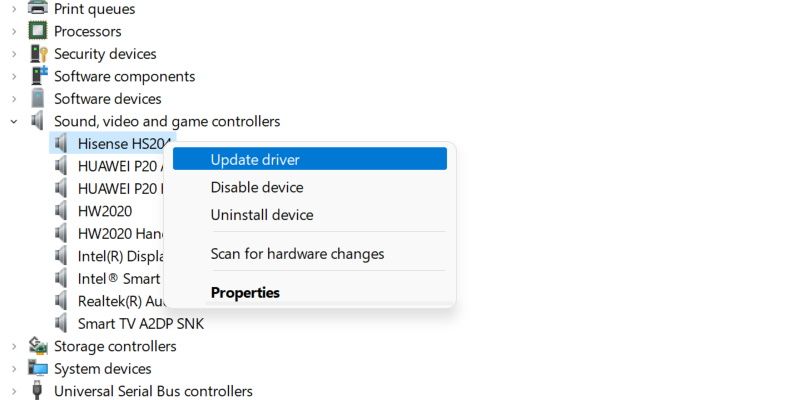
- A pop-up will appear, and you should click Search automatically for drivers.

If the issue started after a driver update, you can roll it back by doing the following.
- Open Device Management, right-click the main audio device, and select Properties.
- Select the Driver tab in the Properties window.
-
Click Roll Back Driver.
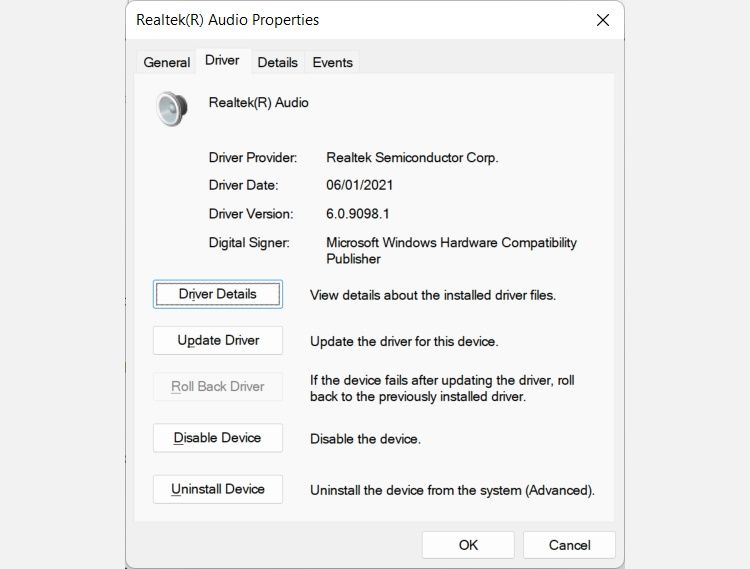

That will return the driver to the previous version that was working.
4. Run the Playing Audio Troubleshooter
When you’re experiencing sound issues, it’s always a good idea to use the Playing Audio troubleshooter. It's a handy tool that can help you fix many sound problems automatically, especially when you don't know what to do.
Here are the steps to launch the Playing Audio troubleshooter:
- Press Win + I to open the Settings app.
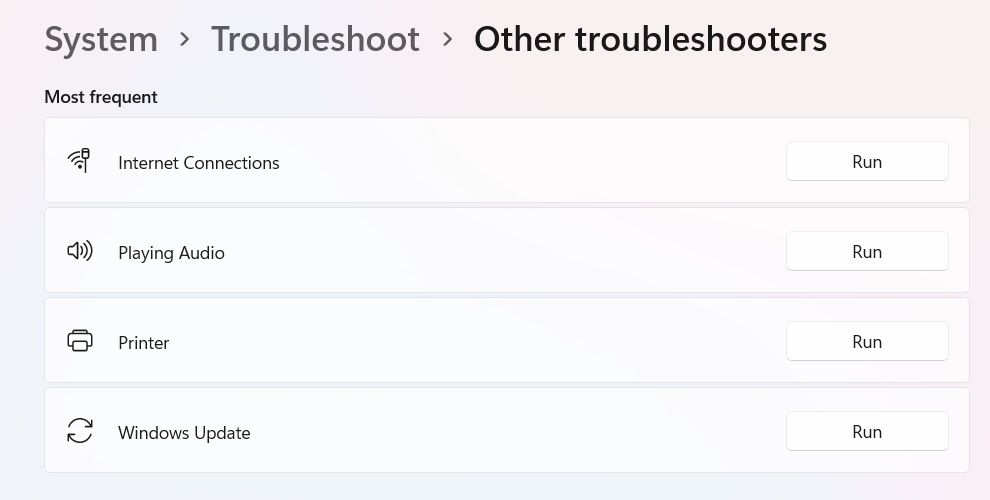
- Navigate to System > Troubleshoot > Other troubleshooters.
-
Click the Run button next to Playing Audio.
- The troubleshooter will detect problems and ask which device you want to troubleshoot.
-
Select the radial button for your primary sound device and click Next.


The Playing Audio troubleshooter will scan the sound device for problems, and if it finds any, it will suggest a fix.
5. Makes Sure You've Set Your Primary Audio Device as the Default
Windows 11 could be switching to the other audio device because it's confused as to which sound device is your default. You just need to let the OS know.
Follow the steps below to set the default audio device in Windows 11:
- Press Win + I to open the Settings app.
-
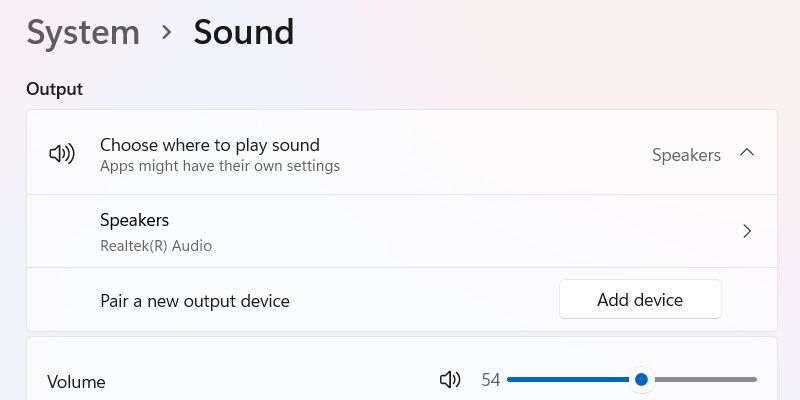
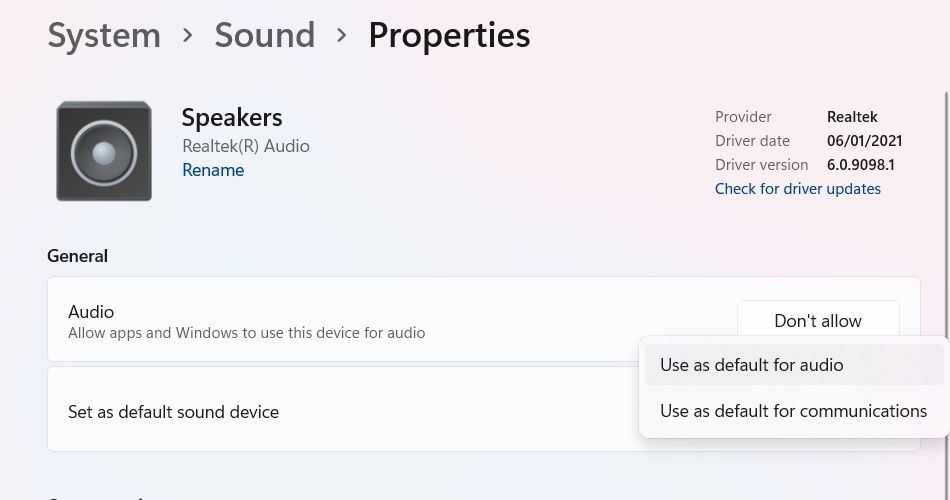
Navigate to System > Sound and click on the sound device you want to be the default.
-
Expand the dropdown for Set as default sound device and select Use as default for audio.


Now Windows 11 will always know which audio device is the default.
6. Unplug and Disable the Audio Device Windows Keeps Switching To
If the audio device your Windows PC keeps switching to is still connected, disconnect it. But even though you’ve disconnected it, Windows can still try to connect to it because it's still registered in the system. So, to hit the final nail in the head, you can disable it in Device Management as well.
To disable a sound device in Windows, follow the steps below:
- Press Win + R to open Windows Run.
- Type devmgmt.msc in the text box and hit Enter to open Device Management.
- In Device Management, scroll down and expand the dropdown for Sound, video and game controller.
- Right-click the problematic sound device and select Disable.
Hopefully, now that you’ve unplugged and disabled the other sound device, Windows will stop switching to it. You can plug in and re-enable the device whenever you need to use it again.
7. Check If Your Primary Audio Device Has a Fault
If nothing has worked so far, it could be that the sound device you’re using has a fault. You can scan it for problems using the Hardware and Devices troubleshooter.
Here are the steps to run the Hardware and Devices troubleshooter:
- Press Win + S to open Windows Search.
- Type powershell in the search box and click Windows PowerShell in the search results.
-
Copy and paste the below command in PowerShell and hit Enter to run it:
msdt.exe -id DeviceDiagnostic
The below screenshot shows what the command should look like in PowerShell.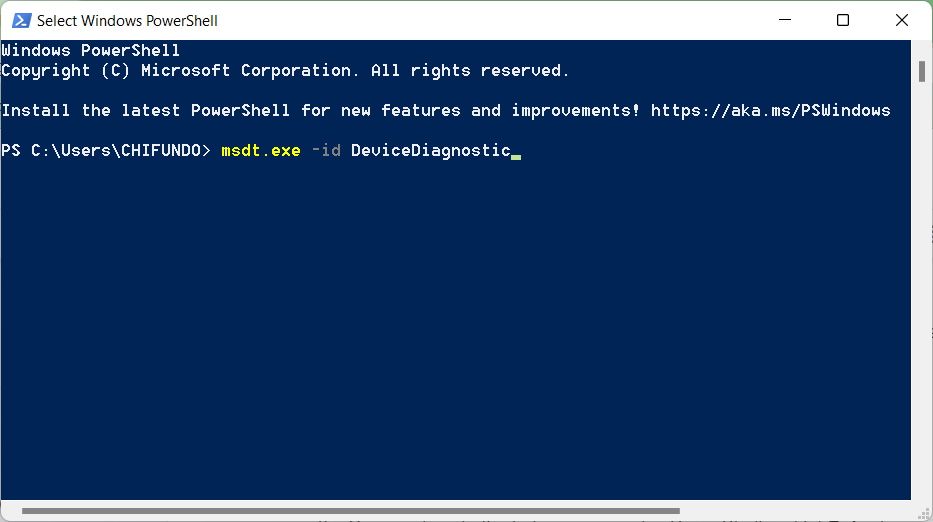
-
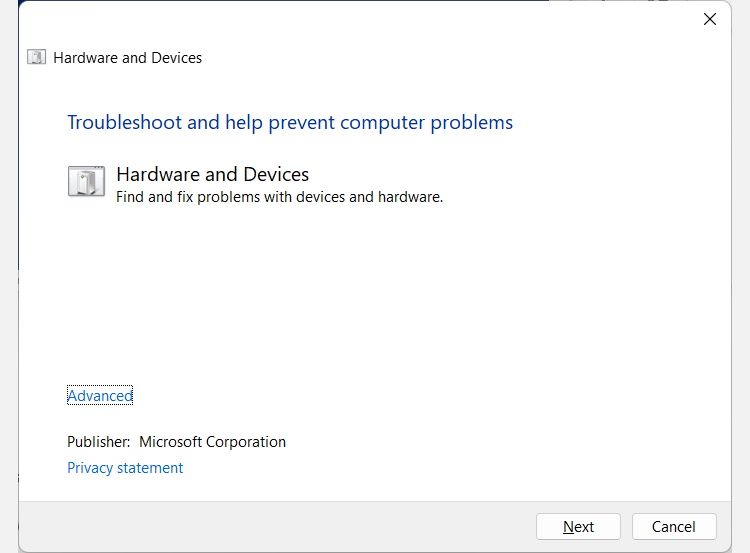
Doing this will launch the Hardware and Device troubleshooter. Click Next.
-
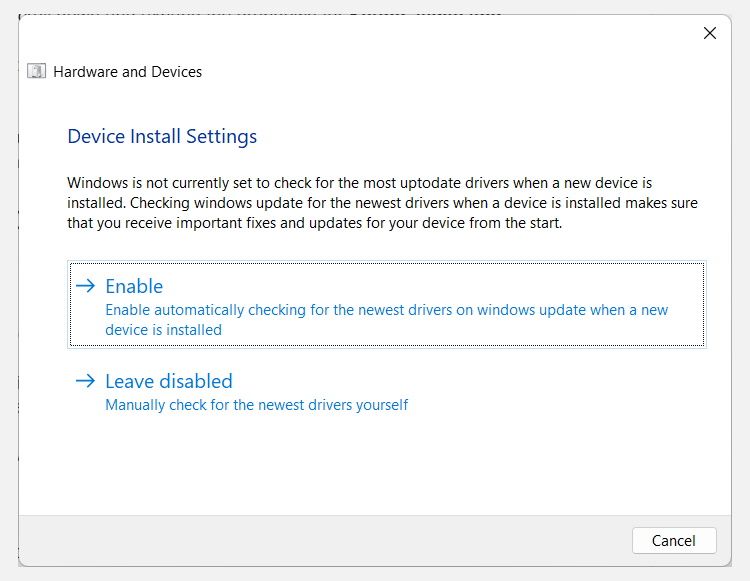
The troubleshooter will ask you to allow it to search for and install the latest device drivers as well. Click Enable.


With those steps, the Hardware and Device troubleshooter will scan every device on your system, including your primary sound device, for problems. If your audio device has a fault that Windows can’t fix, you might need to get a hardware professional to help.
Getting Windows to Stick With One Audio Device
When your audio device keeps switching on you in Windows 11, it can put a damper on anything you’re trying to listen to. While these troubleshooting steps aren’t 100% guaranteed to work, there’s a high chance one of them will resolve your issue.
We’ve covered several fixes here, including updates, drivers, and troubleshooters. You just have to try them all and see which one works for you.
If your Windows PC’s sound isn’t just working in general, then there are other troubleshooting steps you can try.