Large image files can waste many megabytes, even gigabytes, of drive storage space on your PC. For that reason alone, it’s a good idea to either delete superfluous image files or compress the ones you want to keep.
There are quite a few different ways you can compress images within Windows 11. As such, here are six alternative methods for compressing images in Windows 11.
1. How to Compress Images With an Online Compression Tool
There’s no shortage of online compression tools on the World Wide Web. Those are utilities that reduce the data size of uploaded image files. Optimizilla is an online image compression tool with which you can compress GIF, JPG, and PNG files. This is how you can compress images with Optimizilla.
- Open the Optimizilla compression tool in a web browser.
-
Press the Upload Files button.
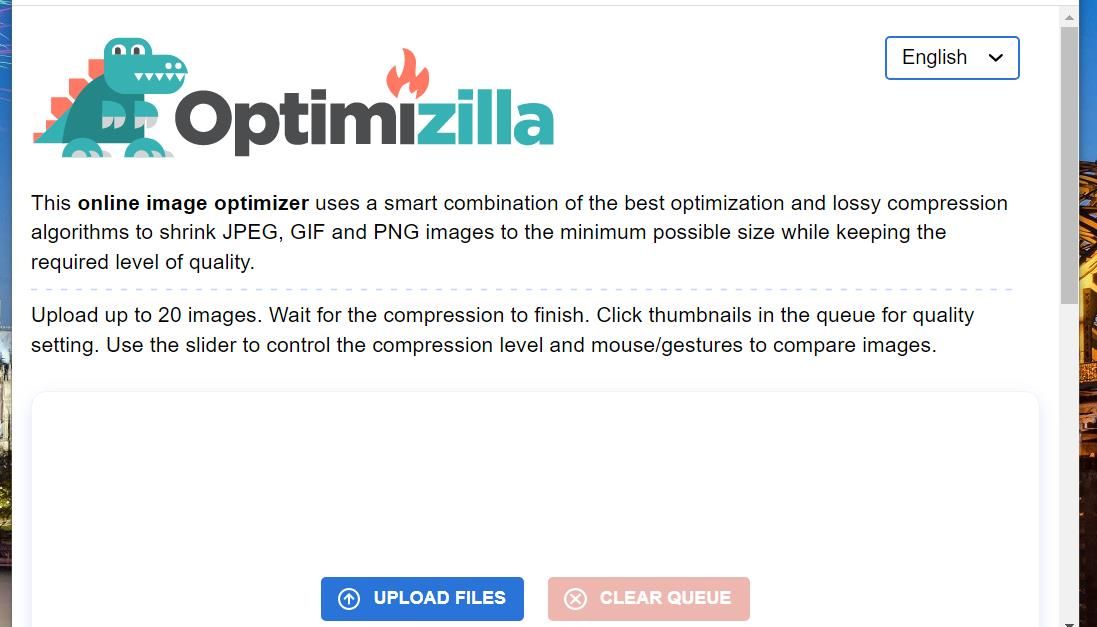
- Select up to 20 image files to compress, and click the Open button.
-
Next, drag the Quality bar's slider down or up to configure the compression. Selecting a lower quality setting increases the amount of file compression.
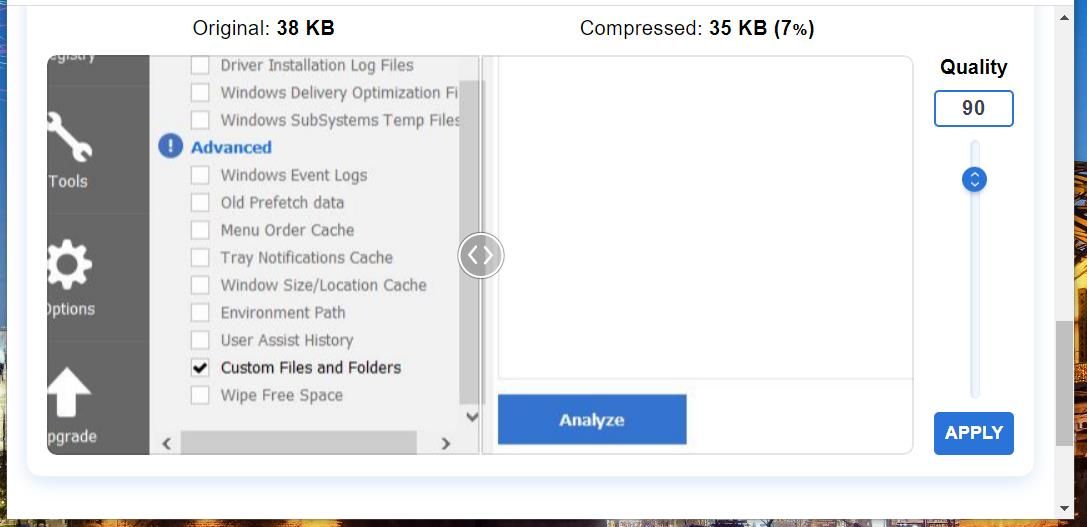
- Click the Apply button to compress images.
- Select the Download All button.


2. How to Compress Images by Reducing Their Dimensions in MS Paint
If you don’t want to compromise picture quality, reducing images’ dimensions is a good alternative method to utilizing compression tools. Smaller pictures have lower file sizes. Windows 11’s Paint app includes sufficient options for reducing the width and height of pictures. You can resize your photos with Paint as follows:
- Open the Start menu, and click within its search box.
- Type Paint to find that app.
- Select Paint to open its window.
-
Click the File menu, and select the Open option.
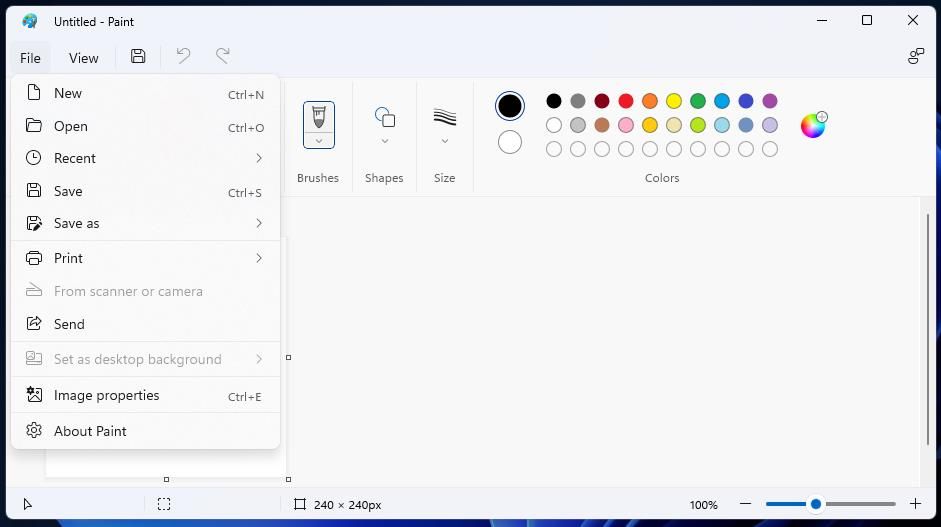
- Select an image to resize, and press the Open button.
-
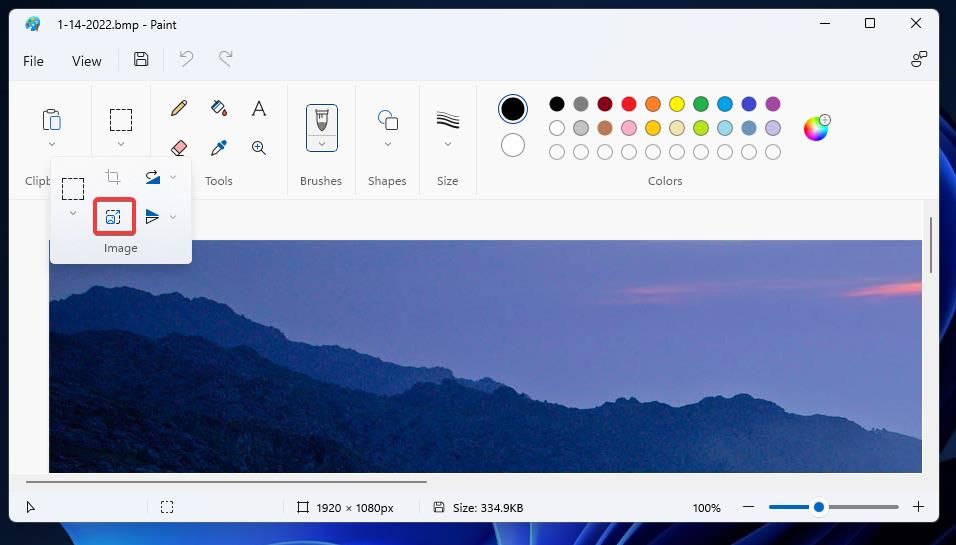
Click the Image option to select Resize.
- Select the Percentage radio button.
-
Enter percentage figures in the Horizontal and Vertical boxes to reduce the image size. For example, you would need to enter 70 to reduce an image’s size by 30 percent.
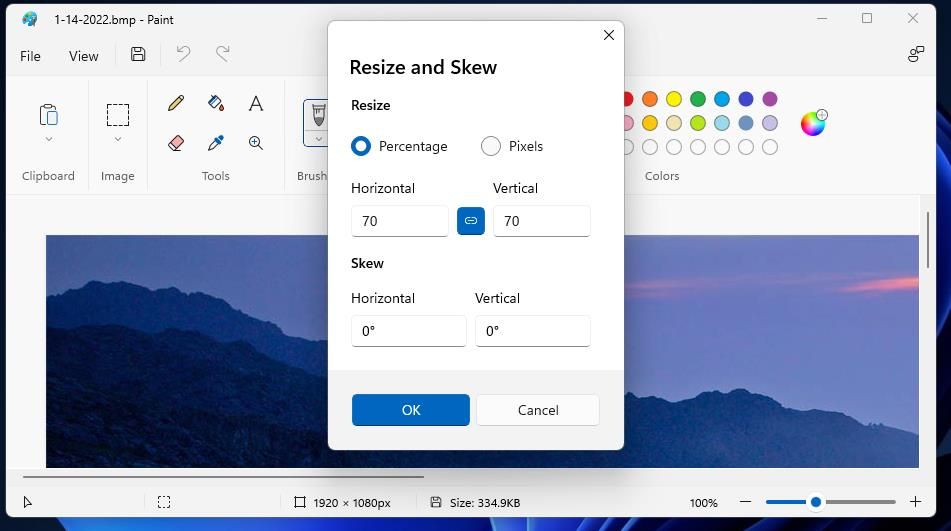
- Press the OK button to exit the Resize and Skew window.
- Click File and Save.


3. How to Compress Images by Cropping Them in MS Paint
Paint also has a cropping tool with which you can erase the outside edges of images. As cropping removes some of a picture, it reduces the overall data size of its file. So, cropping can be a good compression method for photos that look like they do with such editing.
This is how to crop a photo in Paint:
- Open Paint and an image to edit in it as covered in the first five steps of the previous compression method.
- Click Paint’s Image button.
-
Then click the Select option.

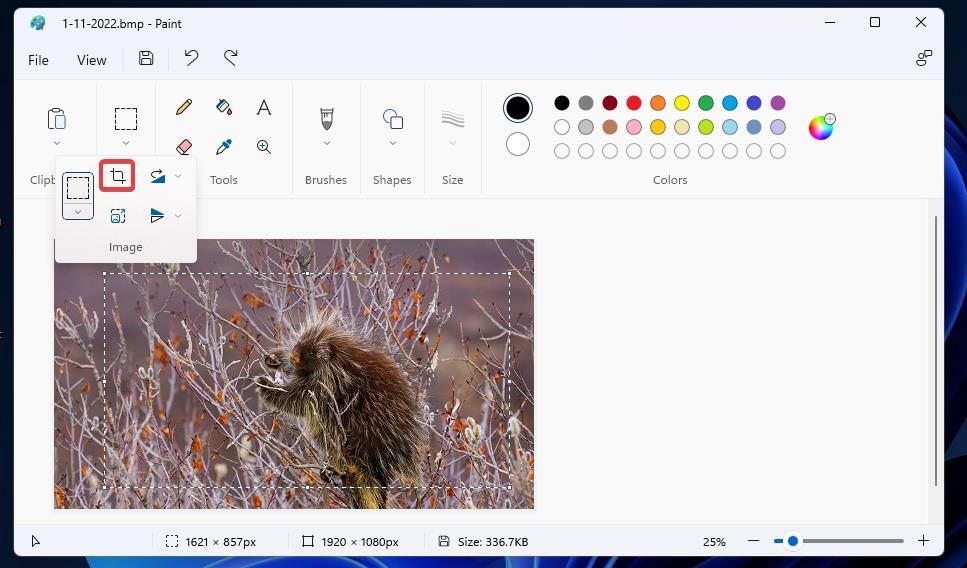
- Hold the left mouse to drag a highlight over an area of a photo you want to keep in the picture.
- Select the Image option again.
-
Click the Crop option to remove the area outside your selection.
- Save the image by selecting that option on the File menu.


4. How to Compress Images With ZIP Archives
A ZIP is a compressed archive format that can include multiple files. Zipping a selection of images will reduce their overall file size. Some users compress images in ZIP archives to reduce their combined file size for email attachments. Windows 11 includes a ZIP option with which you can compress image files as follows:
- Open File Explorer’s window.
- Bring up a folder that includes some images for a ZIP archive.
- Hold the Ctrl key to select multiple images to include in the ZIP archive.
- Right-click one of the selected images to select Show more options.
-
Then select Send to on the classic context menu.
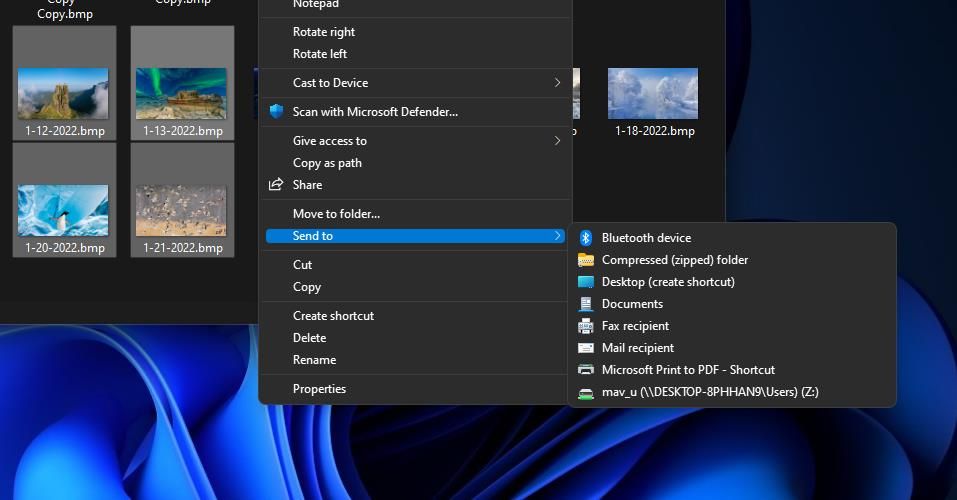
- Select the Compressed (zipped) folder option on the submenu.
- Enter a title for the ZIP file, and press the Return key.

Double-click your new ZIP archive to open it much the same as a folder. You’ll see all the compressed images within the archive. The Compressed size column shows the reduced file size for each picture in the archive.

If you ever want to decompress the ZIP file, click the Extract all option in Explorer. Then you can select a path for an extracted folder on the window that opens by selecting Browse. Click Extract to decompress the archive at the selected folder location.
5. How to Compress Images by Converting Them to JPG Format
There are numerous image file formats. JPG is the preferred compressed format for website images because it has a lower average file size. Images with the JPG format generally have smaller data sizes than TIFF, PNG, and BMP files. If there are many TIFF and BMP images on your PC, converting them to JPG will free up some storage space. You can convert images to JPG simply by saving them to that format with Paint like this.
- Start the Paint app as outlined in method two.
- Click the File > Open options.
- Choose a TIFF or BMP image, and select the Open option.
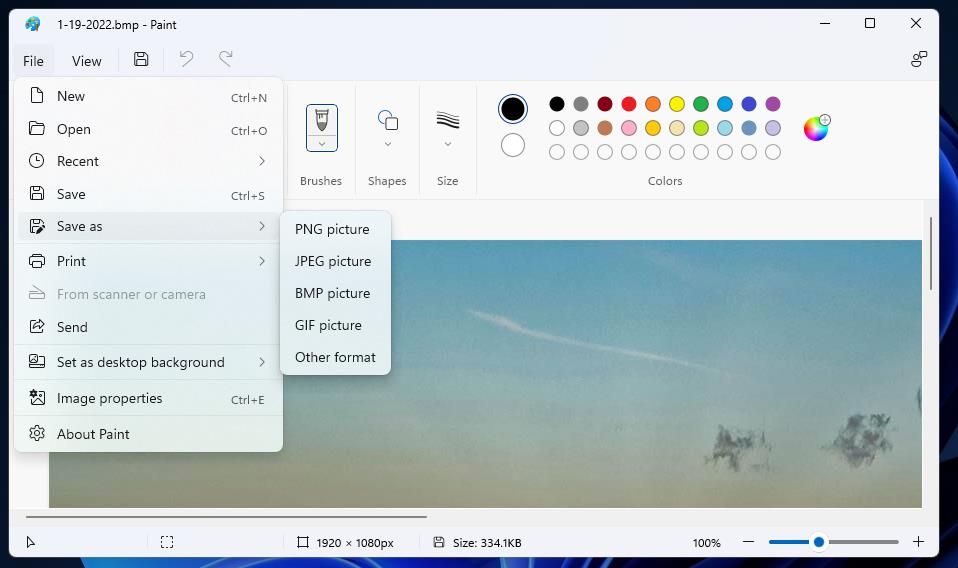
- Then select File > Save as.
-
Click the JPEG picture option.
- Type in a tile within the File name box.
- Select the Save option.

6. How to Compress Images With Compression Software
Third-party image compression software packages include the tools you’ll need to quickly reduce photos’ file sizes. There are plenty of freely available image compressors for Windows to choose from. RIOT (Radical Image Optimization Tool) is easy to use and efficient freeware compression utility for JPEG, PNG, and GIF formats. This is how to compress photos with RIOT.
- Open the RIOT website.
- Click the Download button, and select the Riot x64 application installer link.
- Press the Windows + E keyboard keys simultaneously, and open the folder RIOT’s setup wizard downloaded in.
- Double-click RIOT’s setup file.
- Select the I Agree and Install options in the RIOT Setup window.
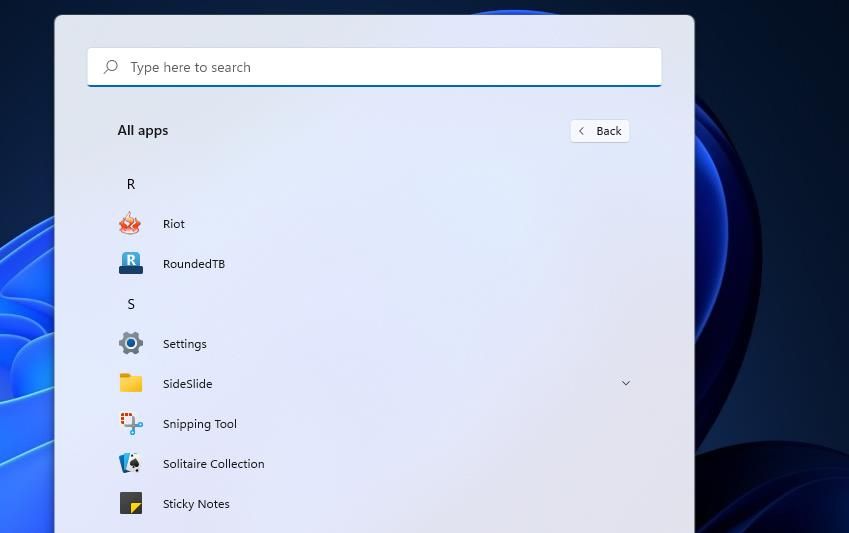
-
After installing the software, click the Start button and All apps. Select RIOT on the Start menu to open the image compression utility.
- Press the Open button in RIOT.
- Choose an image to compress, and click the Open option.
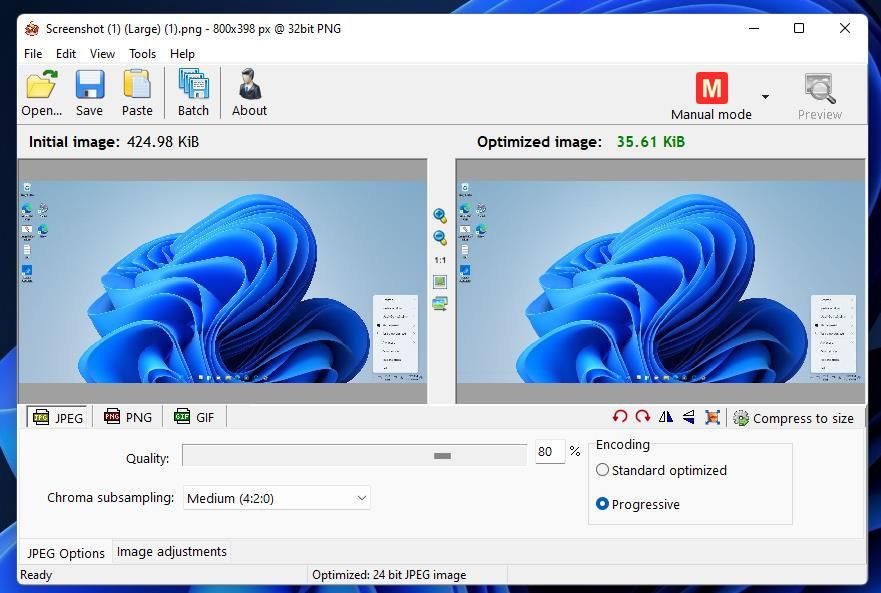
- Select RIOT’s JPEG tab.
-
Drag the Quality bar's slider left or right to increase or decrease the compression. The optimized image figure on the right tells you what the compressed output file’s size will be.
- Click Save when you’re done.
- Input a file name in the text box, choose a folder for the output image, and click Save.
- Then you can open the compressed image file from the folder you saved it in.


Save Hard Drive Space by Compressing Images
What image compression method do you prefer? You can get significant image file size reductions with the RIOT and Optimizilla compression tools (albeit at the expense of picture quality). However, the other methods will also reduce file sizes for pictures to varying extents. So, you’ll free up some hard drive storage space by compressing your photos with any of the above methods.