
Windows 10 is packed with many innovations to make computing a smooth and enriching experience. You may be using most of these features in your everyday work or leisure time.
However, there are some lesser-known tricks and shortcuts that might have escaped your attention. Here are three such features that may have escaped your attention all this time.
1. A More Visual Experience in Windows Search
We all use Windows search to look for apps, files, folders, and even search the web. If you're a Windows power user, you might also be aware of the "Enhanced search" mode that lets you find anything on your PC.
There's one more search tool that's built right into the search bar UI, but you might have overlooked it. It's the Bing Visual Search and it enables you to search for almost anything on the web using just screenshots. Let's explore how:
-
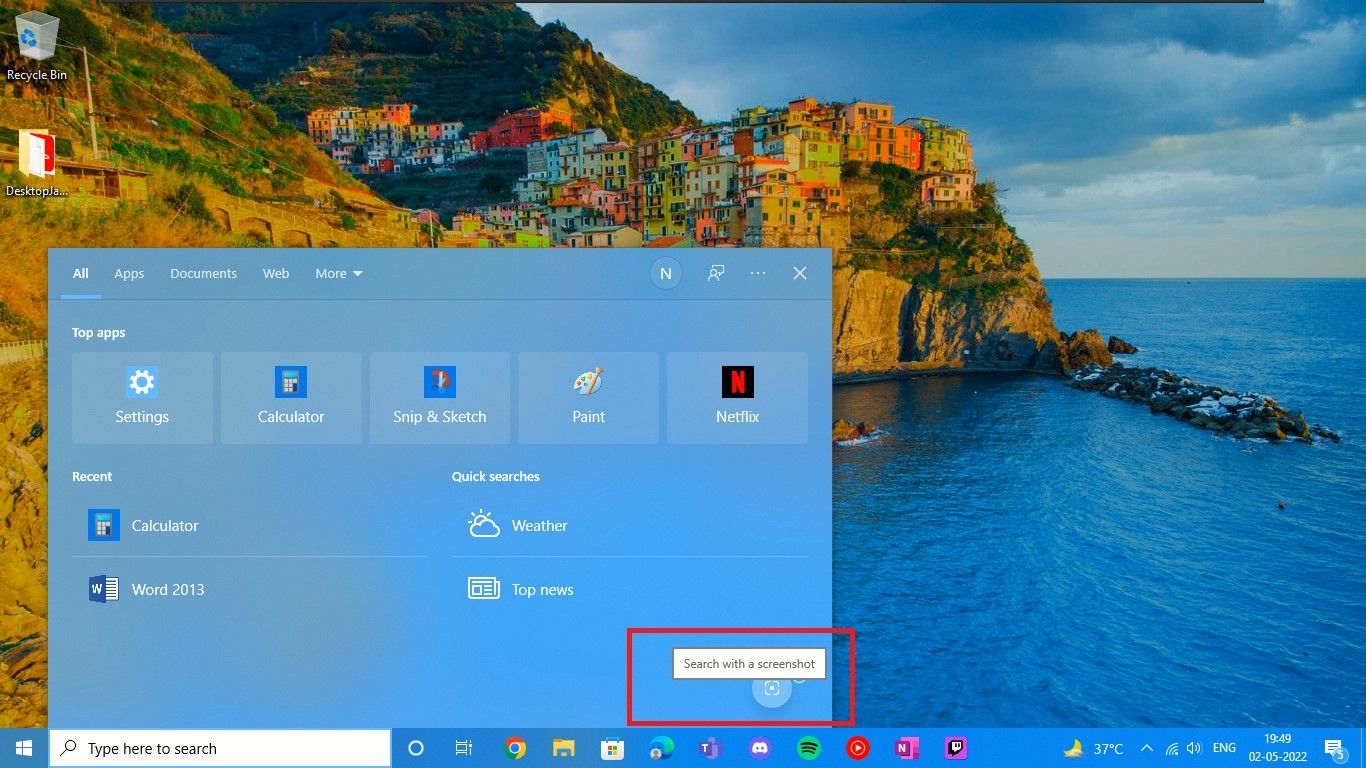
Click on the Windows search bar on your PC to open the Windows search UI. Clicking on the camera icon on the bottom right is how you can do a visual search. Hover on the icon and you will see a pop-up stating, Search with a screenshot.
-
Once you click on the camera icon, the Windows snipping tool will open up. Now you can easily select and search for an image—from a website, or a picture from an album that's open on your computer screen. For this tutorial, I selected the wallpaper of my PC as I wanted to know more about the scenic coastal area portrayed in the image.

-
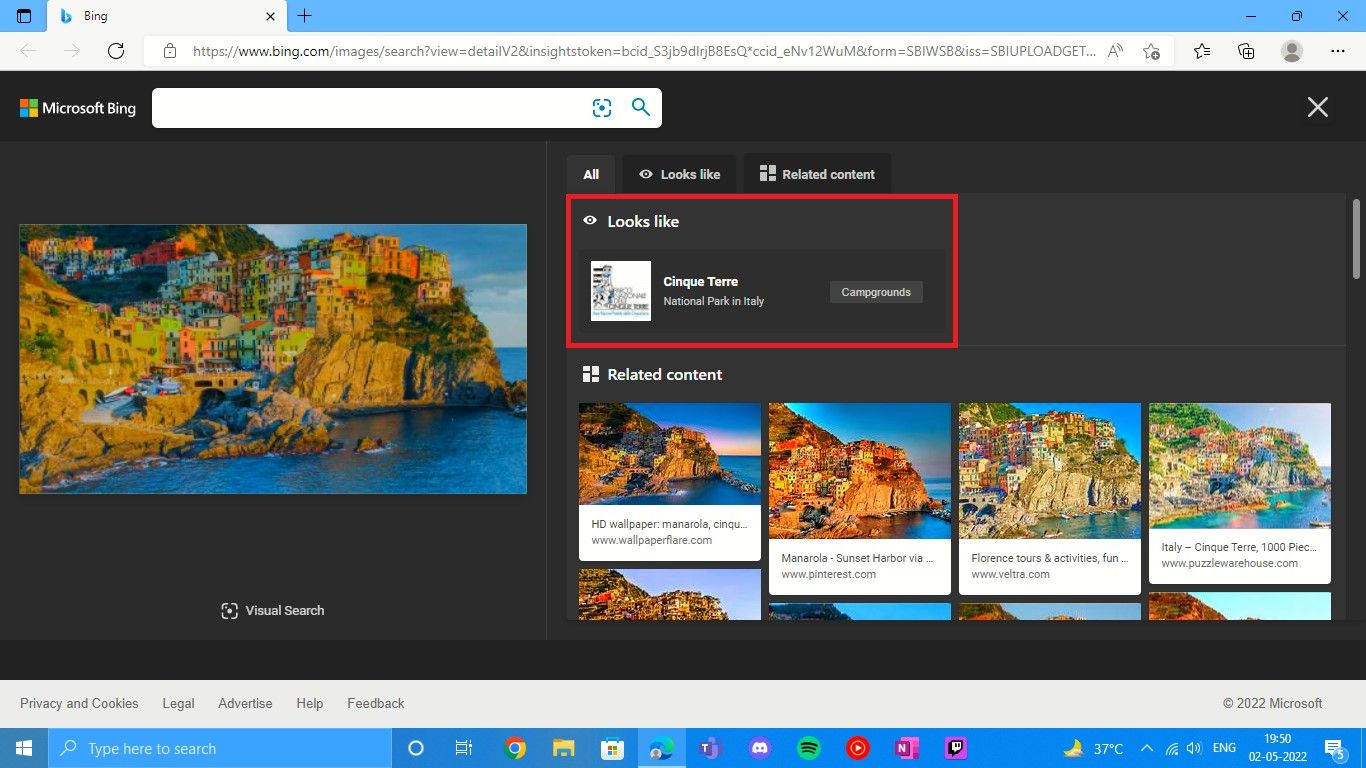
Once you select the image the Bing Visual Search will notify you: Searching for similar images from the web. Within seconds Bing’s Visual Search will bring up images similar to the image you have selected on the Microsoft Edge browser. Moreover, the search will feature related content, pages with the image, and also have a section about what the image Looks like. As you can see in the screenshot below, the search states that the image looks like Cinque Terre National Park in Italy, which is a UNESCO World Heritage Site, and several image options from various websites are displayed.


Yes, searching for information and related content of images is as easy and snappy as that—all without opening a browser. Imagine how useful it could be to search and shop for products you like.
For example, if you like a dress or a jacket you've seen a celebrity or your favorite YouTuber wearing and want to shop for something similar. Simply do a visual search to view and explore similar items and related content on the web.
This feature can recognize landmarks, flowers, celebrities, animals, and text within images and can be used to find similar products.
Though Bing Visual Search is available on the web, the visual search from the Windows search bar is available for users with the Windows 10 May 2019 Update or newer.
2. Set a Calendar Event From the Taskbar
Caught wind of an event you want to attend, but you're too busy to drop everything and schedule it in your planner? Luckily for you, you can set a calendar event right from the taskbar. Here's how:
-
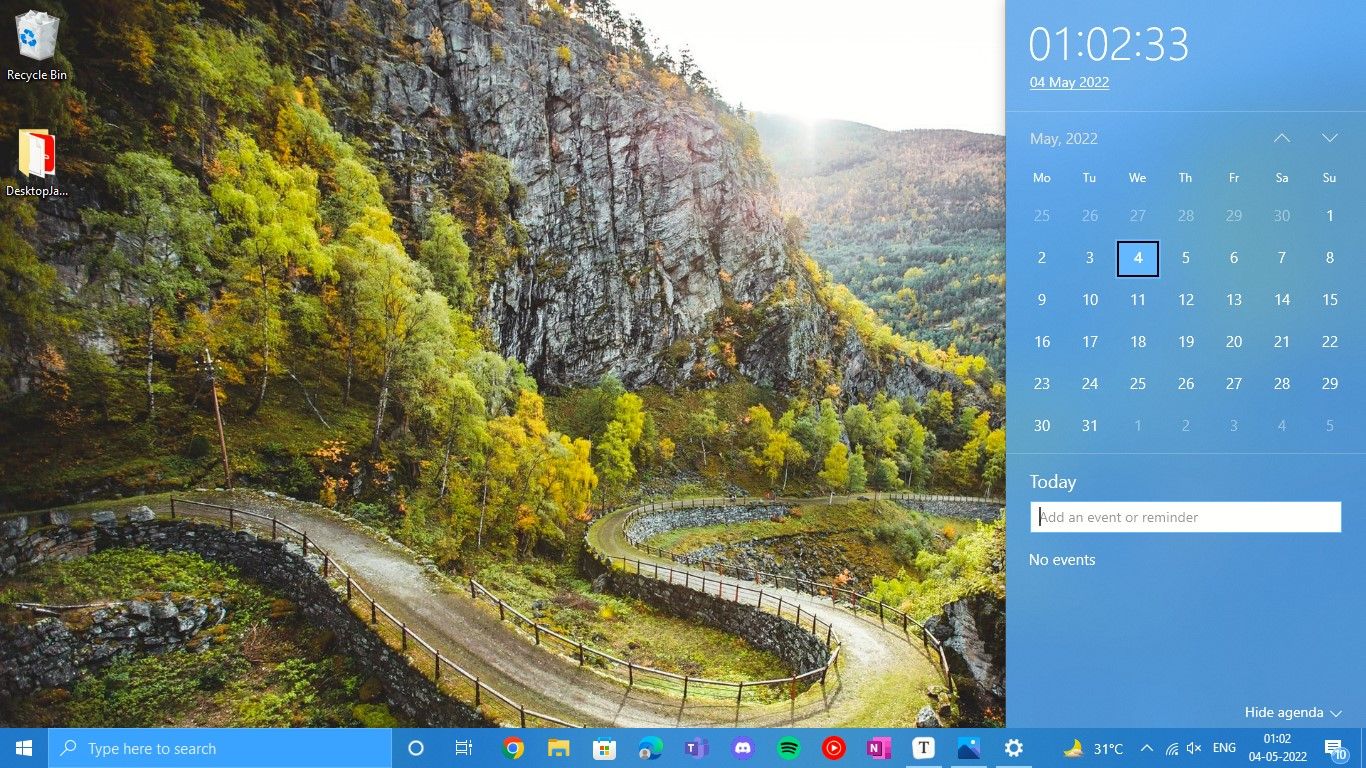
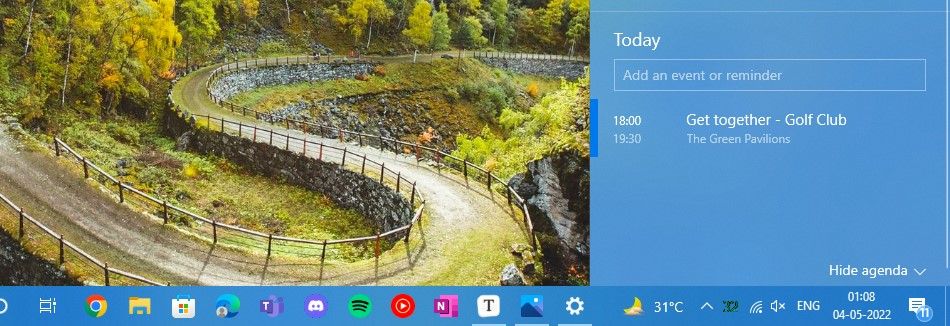
Click on the Date and Time button on the bottom right of the taskbar. The calendar for the current month will open up and you can jump from month to month by using the up and down arrow keys. Just below it, you will the word Today along with a row to Add an event or reminder.
-
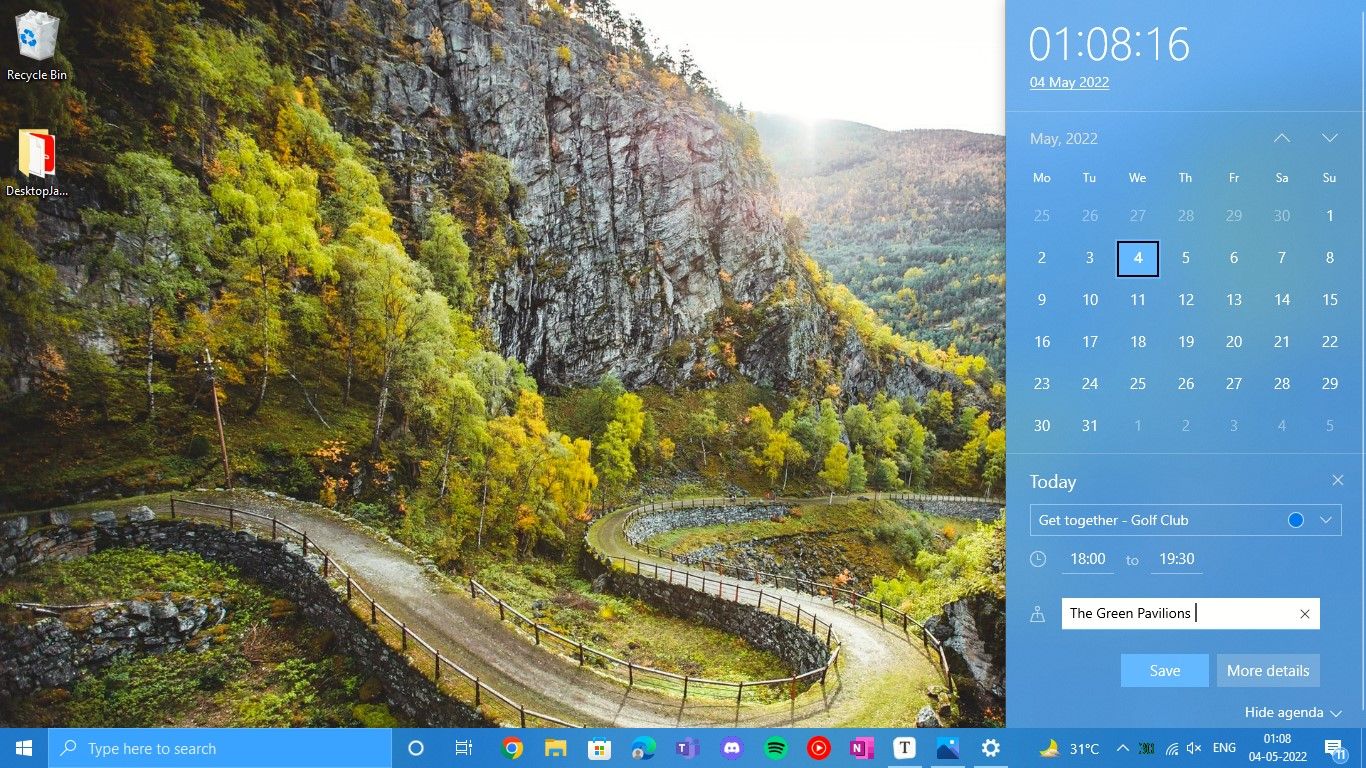
You can choose to set an event for today or select a date from the calendar above. As soon as you start typing the event name in the row, the options to set the time and location open up below. Choose and set the date and time and add the location.
-
Then simply Save the event or reminder and it will show up in the calendar panel.
-
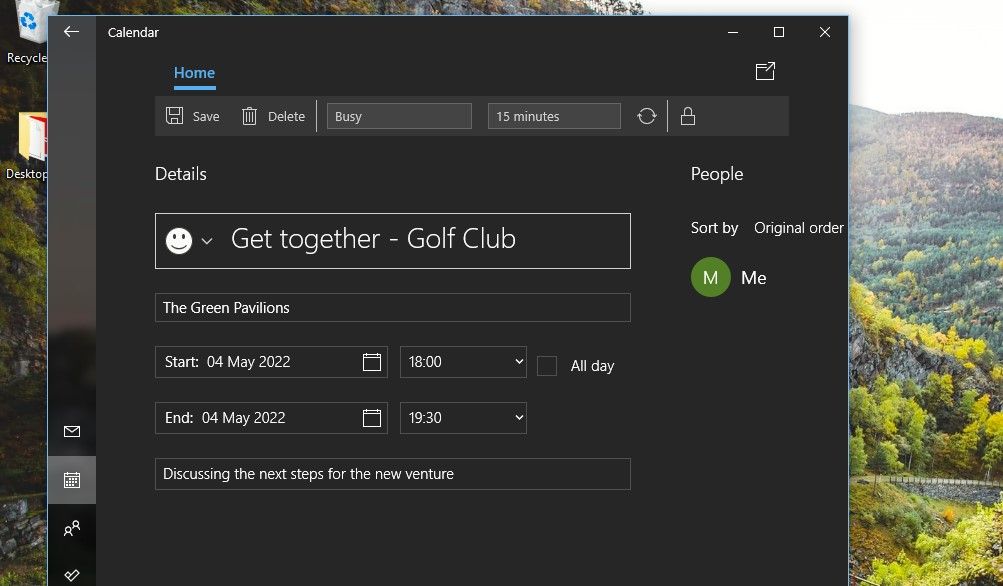
If you click on the More details button, it will open up the Calendar app where you can set a reminder for the event or add the event's description.


3. Slide to Shut Down Your PC
There are times when you feel that shutting down your PC is better than using sleep mode. Have you ever wondered if there is an easier way to shut down your Windows PC? And one that looks cool too? Then you should enable the Slide to Shut Down feature.
Just follow the steps below to add this new way to shut down your PC:
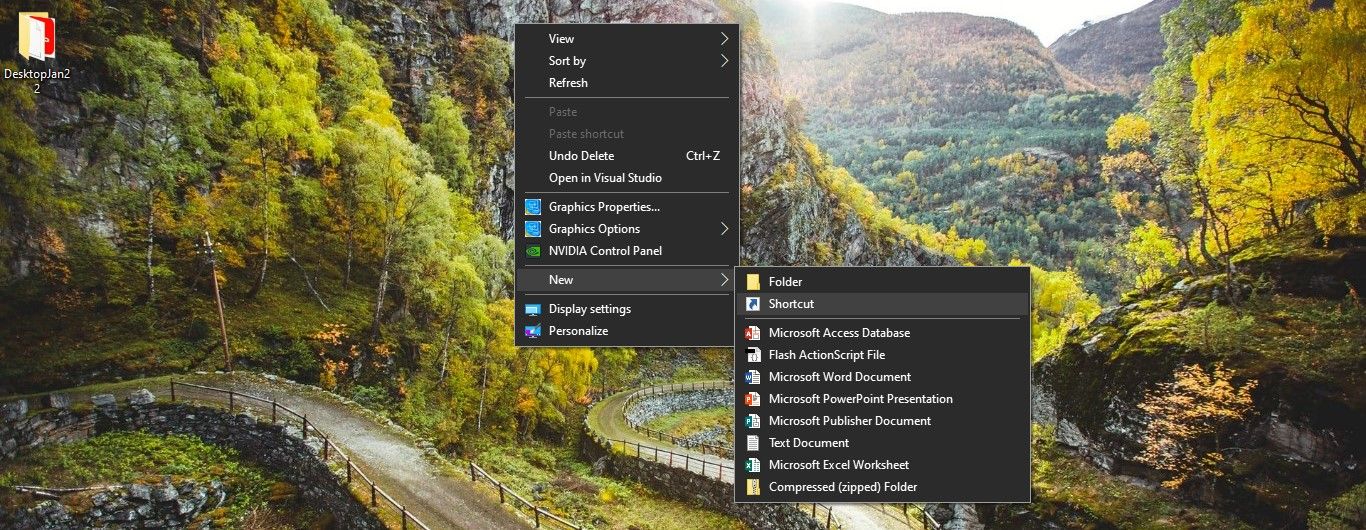
- Right-click on any blank space your Windows screen
-
From the menu that opens, Select New, and then Shortcut.
-
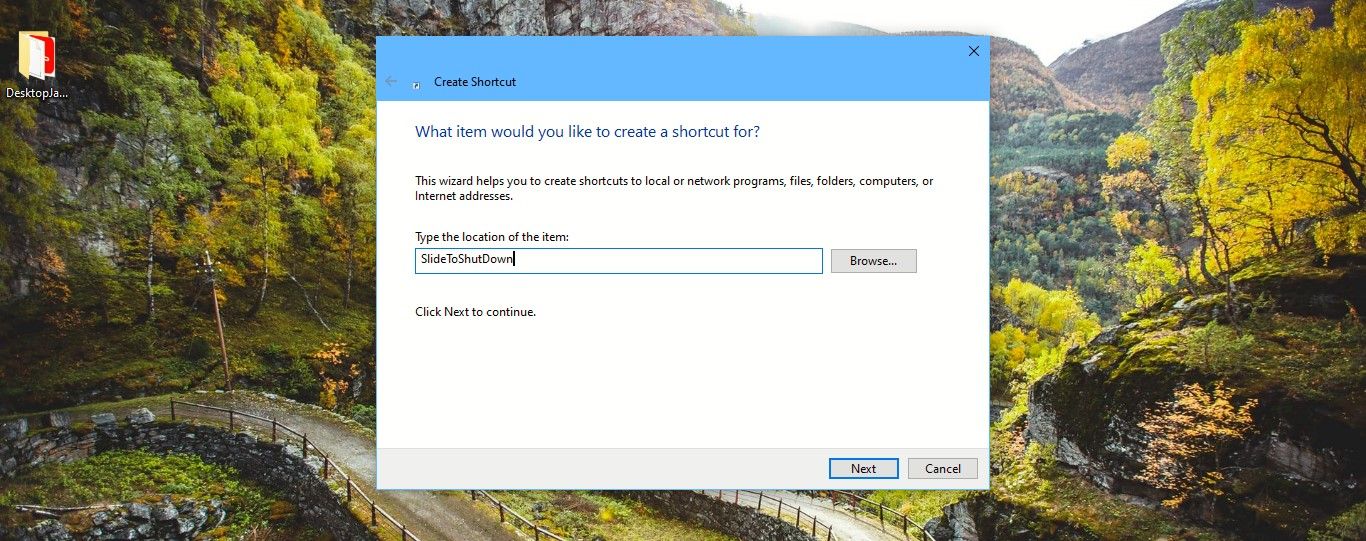
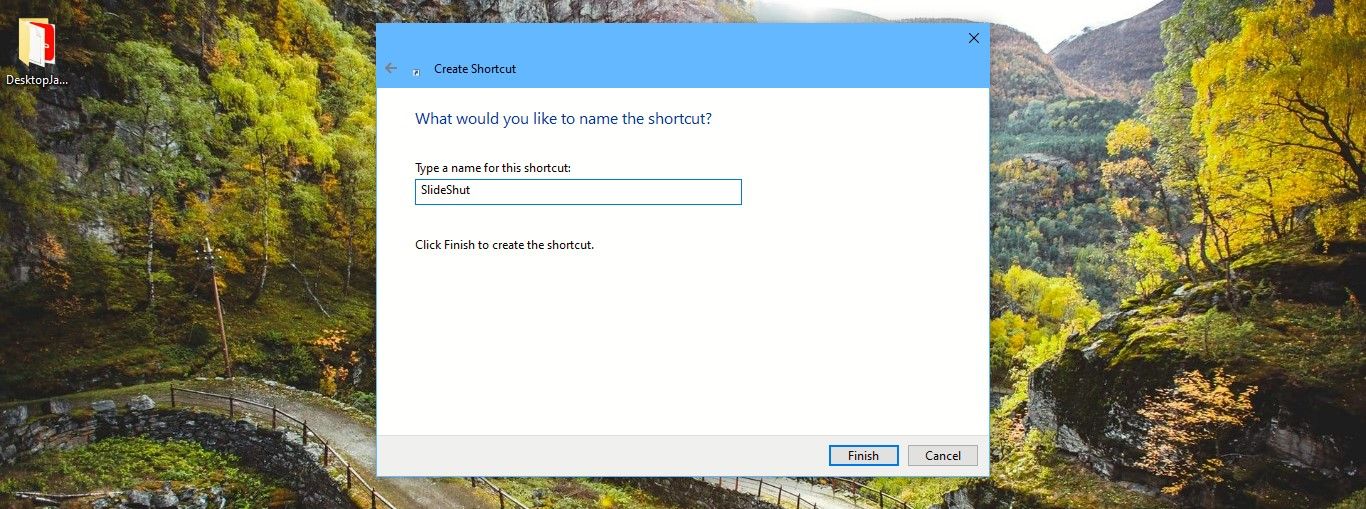
The Create Shortcut window will open. Type SlideToShutDown as is, in the location box. Then click on Next.
-
In the new window that opens, type a new name to the shortcut (you can keep the same name too). As you can see in the screenshot, I have given the name SlideShut to the shortcut. Then click Finish and the shortcut will be created on the desktop.
-
Now whenever you want to shut down your PC, just double-click on the shortcut. It will launch the Slide to Shut Down feature and you will see your lock screen slide down halfway through the screen with the words Slide to shut down your PC.
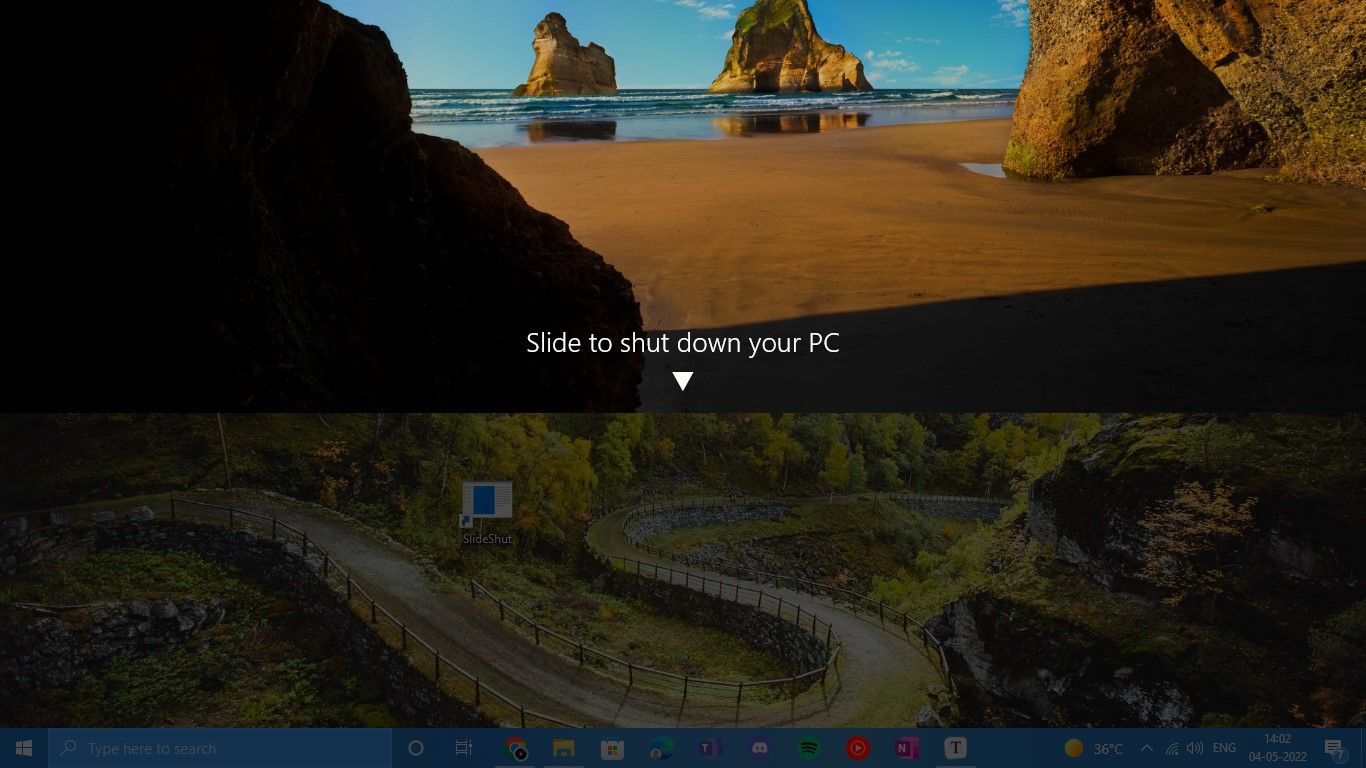
- Simply drag the lock screen down with your cursor, or if you have a touchscreen slide the arrow down with your finger—and your PC will shut down.


Another way to slide to shut down your PC is to type SlideToShutDown as is, in the Windows search bar. You will see the SlideToShutDown Run command under Best match. Then just click enter and the lock screen will roll down halfway on your screen for you to drag it down and shut down your PC.
Though the best and easiest way is to create a shortcut as you don't need to type the SlideToShutDown command every time. The shortcut can permanently be on your desktop—just double-click it to shut down.
Make Windows Easier and Better to Use
Now you know how the features discussed above can enhance your computing experience as you work, shop, browse, update your calendar, and even when you retire for the day.
So go ahead and try out these useful features and make your Windows experience even better.